*This post is in partnership with Sherwin-Williams ® . I am working with Sherwin-Williams this year and received payment for my work on this project. Product has been provided by Sherwin-Williams and all thoughts, opinions, and hard work is courtesy yours truly!*
Hi friends! Thank you all so much for the massive love on our backyard makeover reveal. The response has been overwhelming and we have really been enjoying our new space…well we WERE before this rogue and super disrespectful heatwave hit our area and has had temperatures looming above 106 for a couple weeks now. Ya’ll its UNBEARABLE out there. Needless to say I can’t wait for it to pass so we can get back to spending more time outside. As hot as it’s been lately, we actually started feeling the heat just before the outdoor space was complete during one of the biggest projects of the whole makeover: staining the deck. Luckily I was able to get it done before the real scorchers got here. Today I’m sharing the process of how I took on that project.
The biggest goal I wanted for our outdoor space was that it feel like an extension of the inside of our home. I wanted to really blur the lines between interior and exterior and I knew staining the deck would be a big factor in contributing to that end result. As beautiful as the natural redwood was I really didn’t want it to look or feel like a standard wood deck. I love the warmth of the color of our hardwood floor on the inside of our home and I hoped to replicate that on the outside as well.
Because we used redwood we needed to wait several months after it was built before we could apply any stain or protective coat to it. This allows the wood and oils to thoroughly dry so it will accept the stain better and give a great color payoff. The build was finished in February and we allowed it to dry for 5 months before I stained it in July. If you are working with a wood such as pine or douglas fir you may not have to wait as long (if at all) before staining. Once I came up with a game plan on how to tackle the project I placed an order for curbside pickup for the stain and materials from Sherwin-Williams.
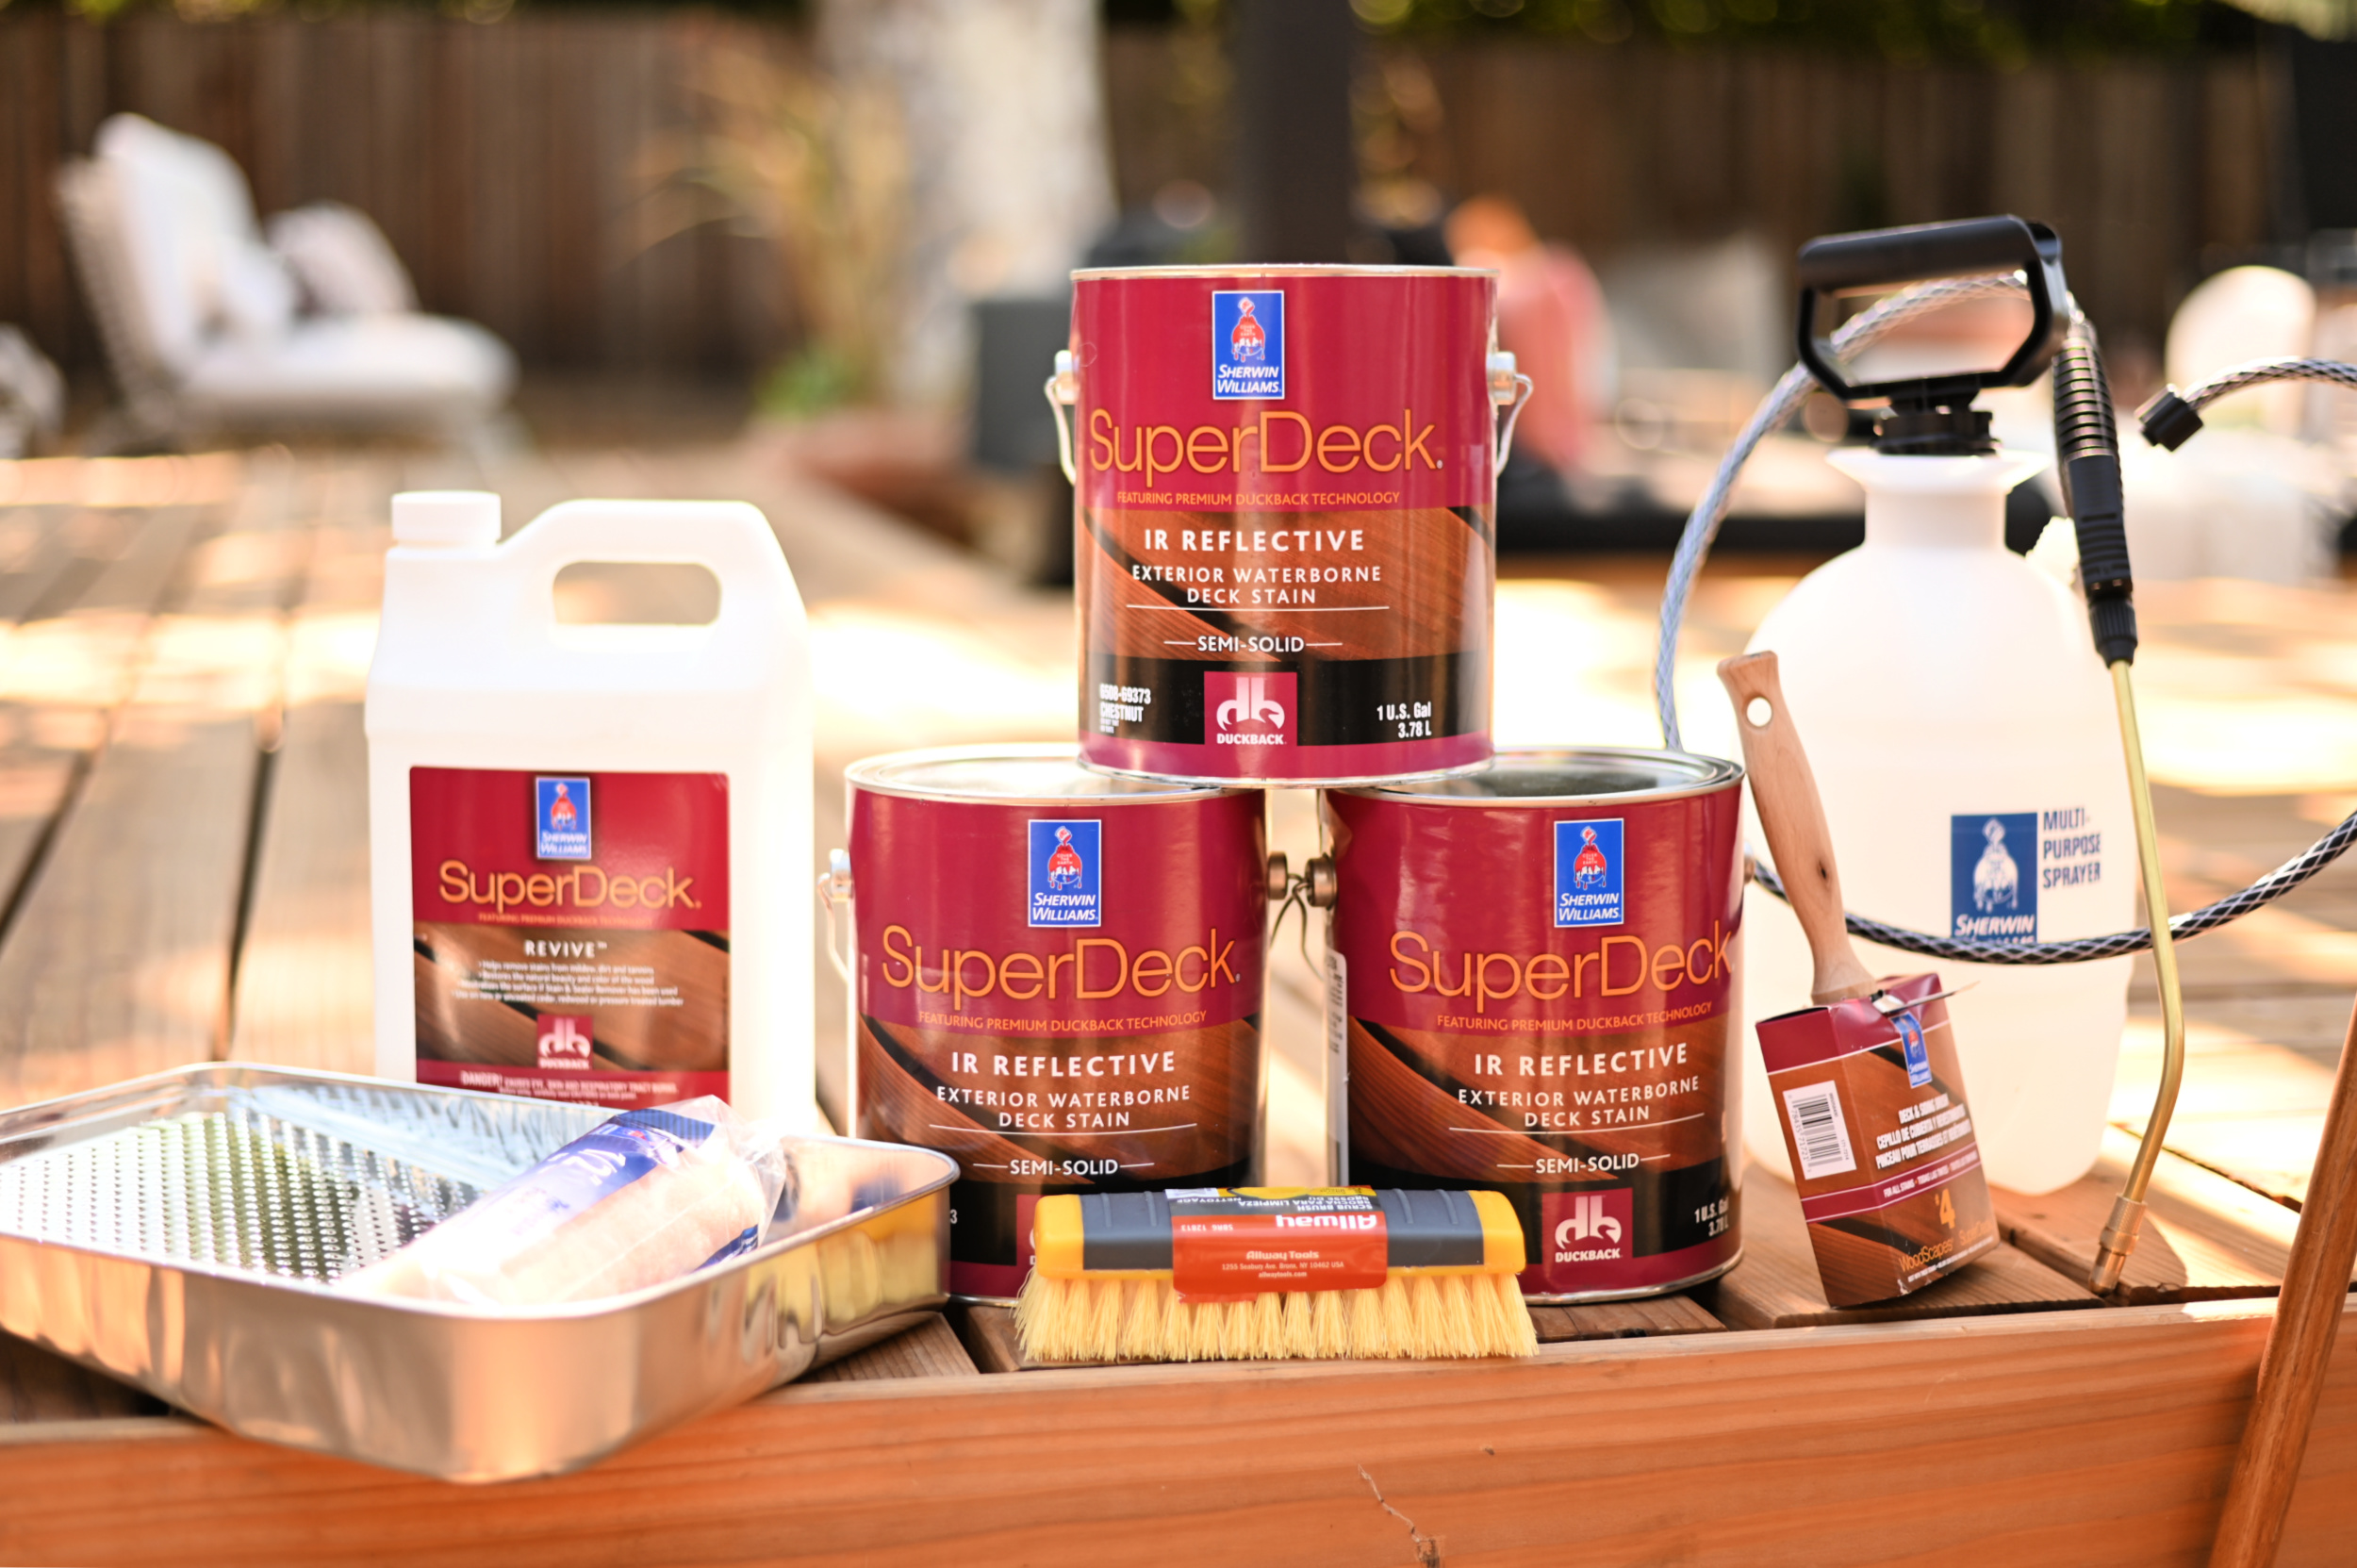
I used a series of brushes, a roller, metal tray, spray pump, and Sherwin-Williams SuperDeck cleaner and stain to complete the project.
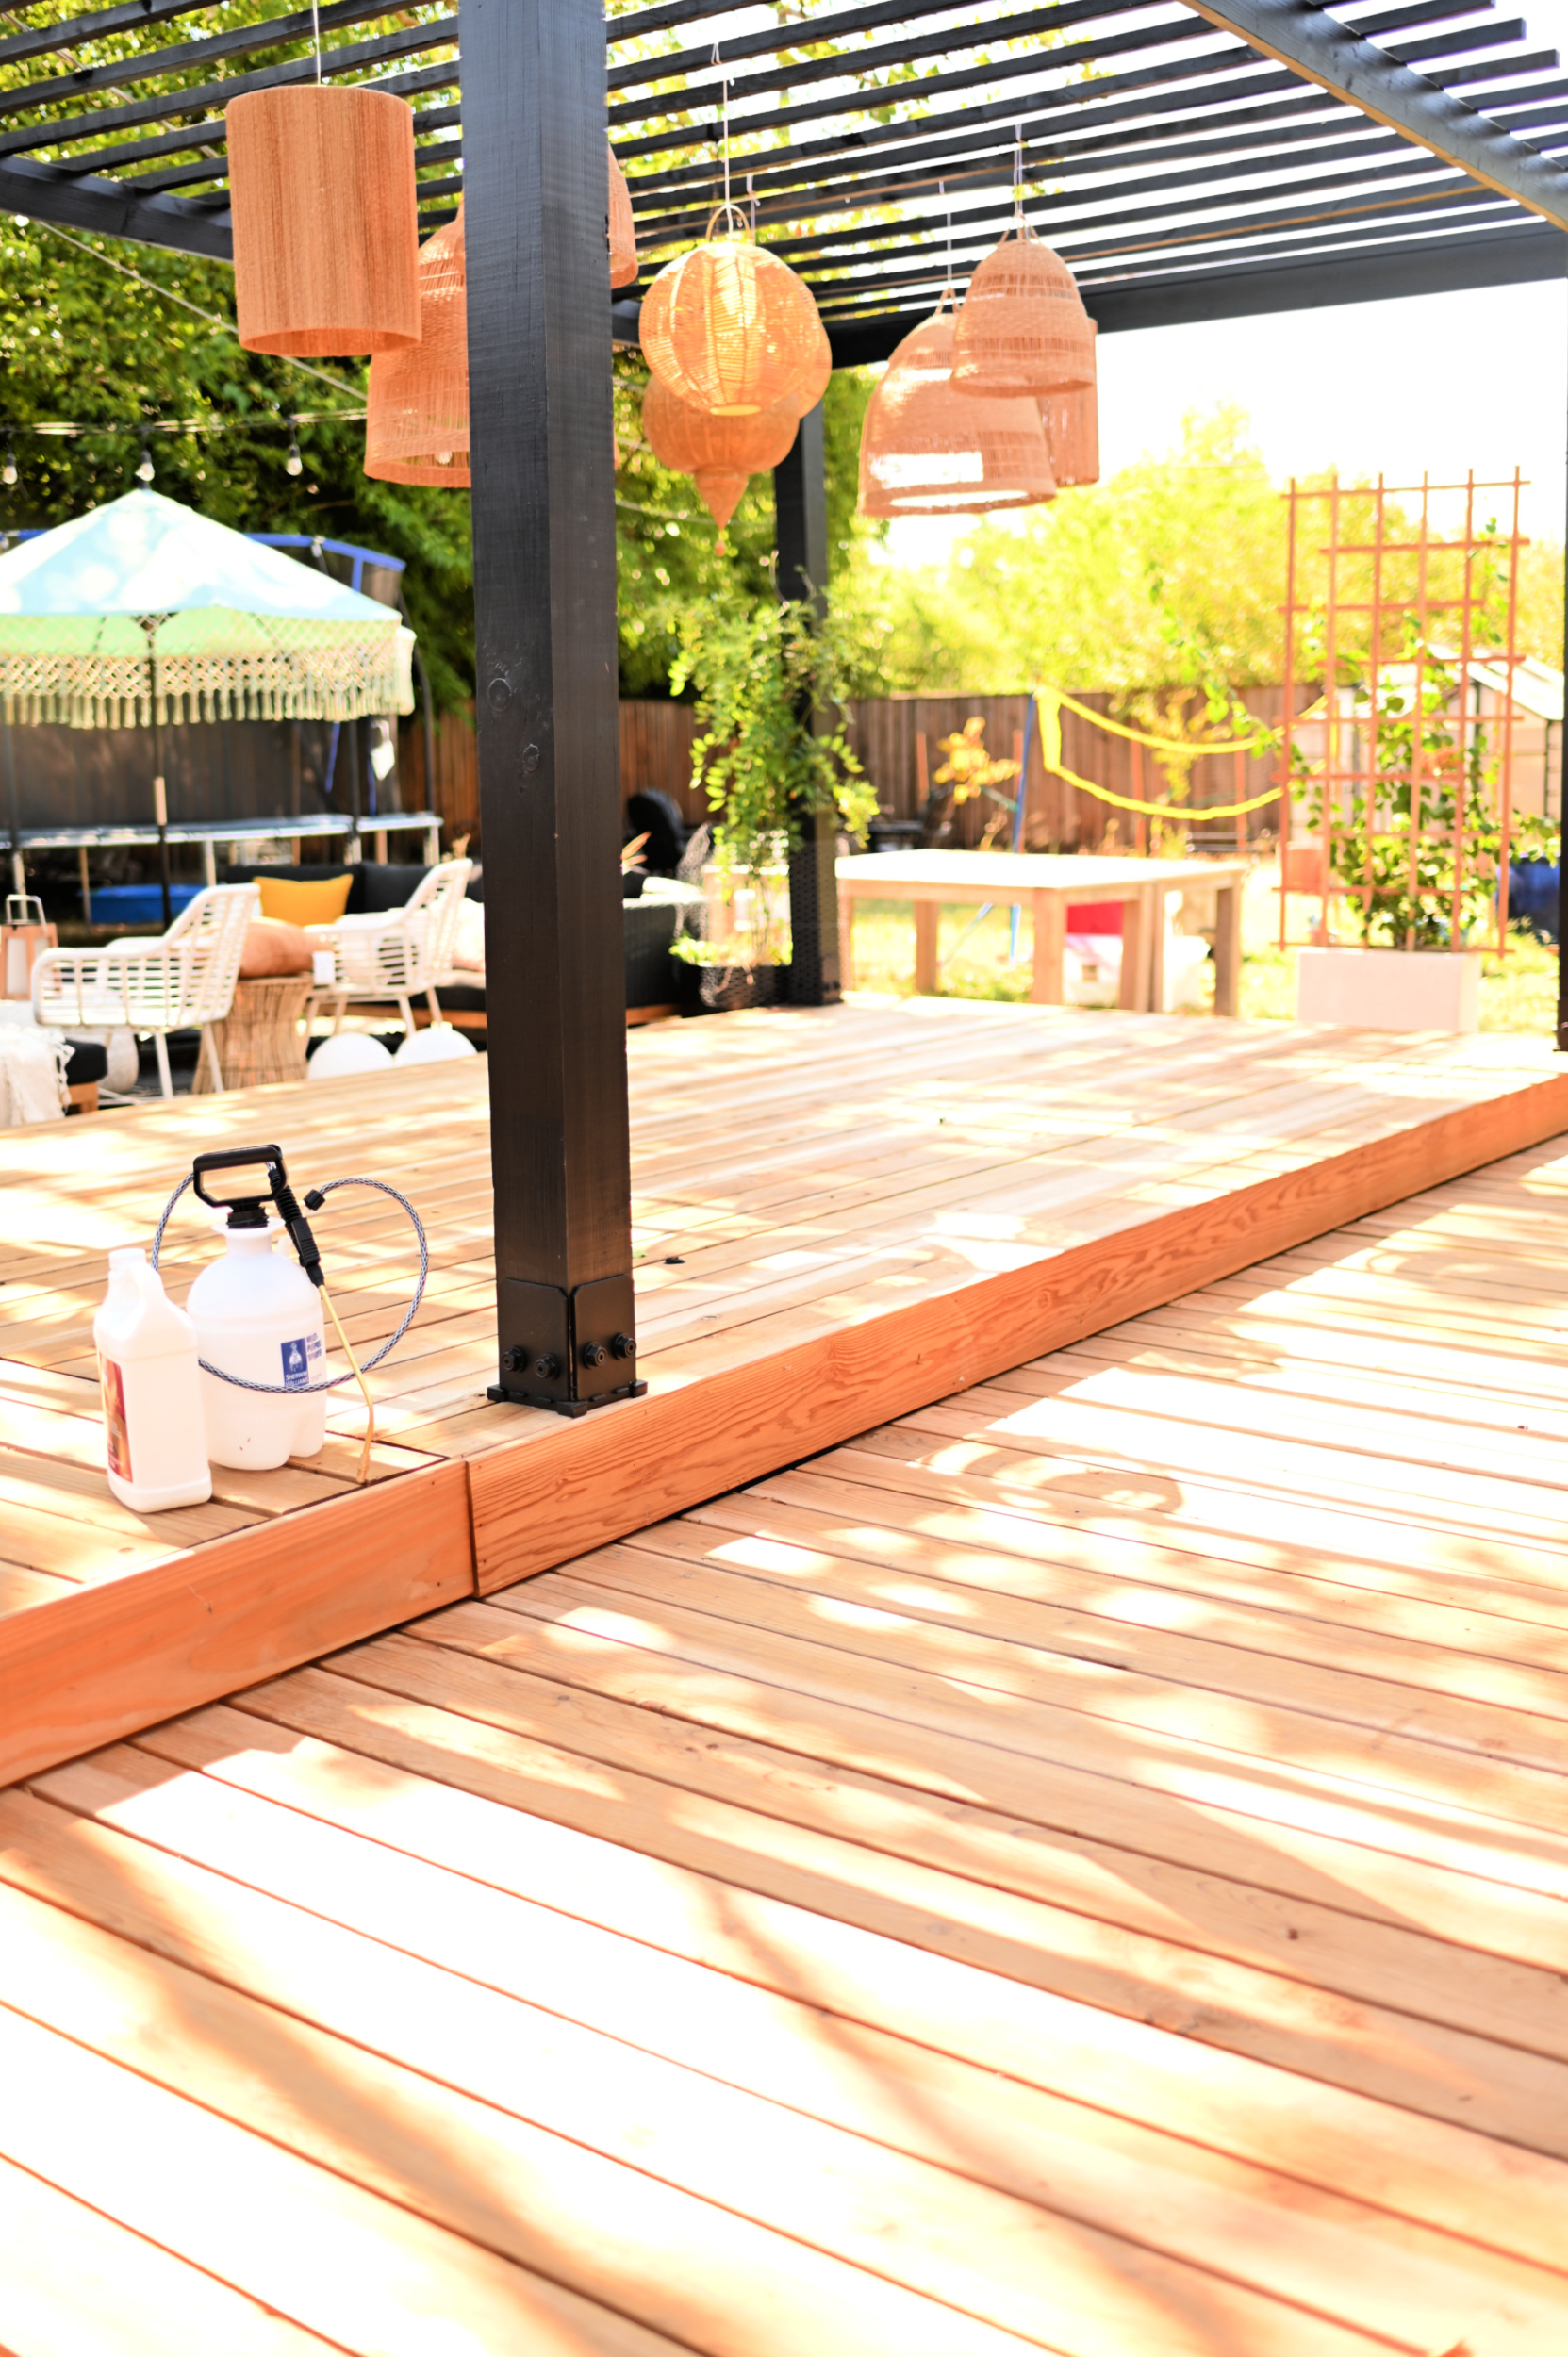
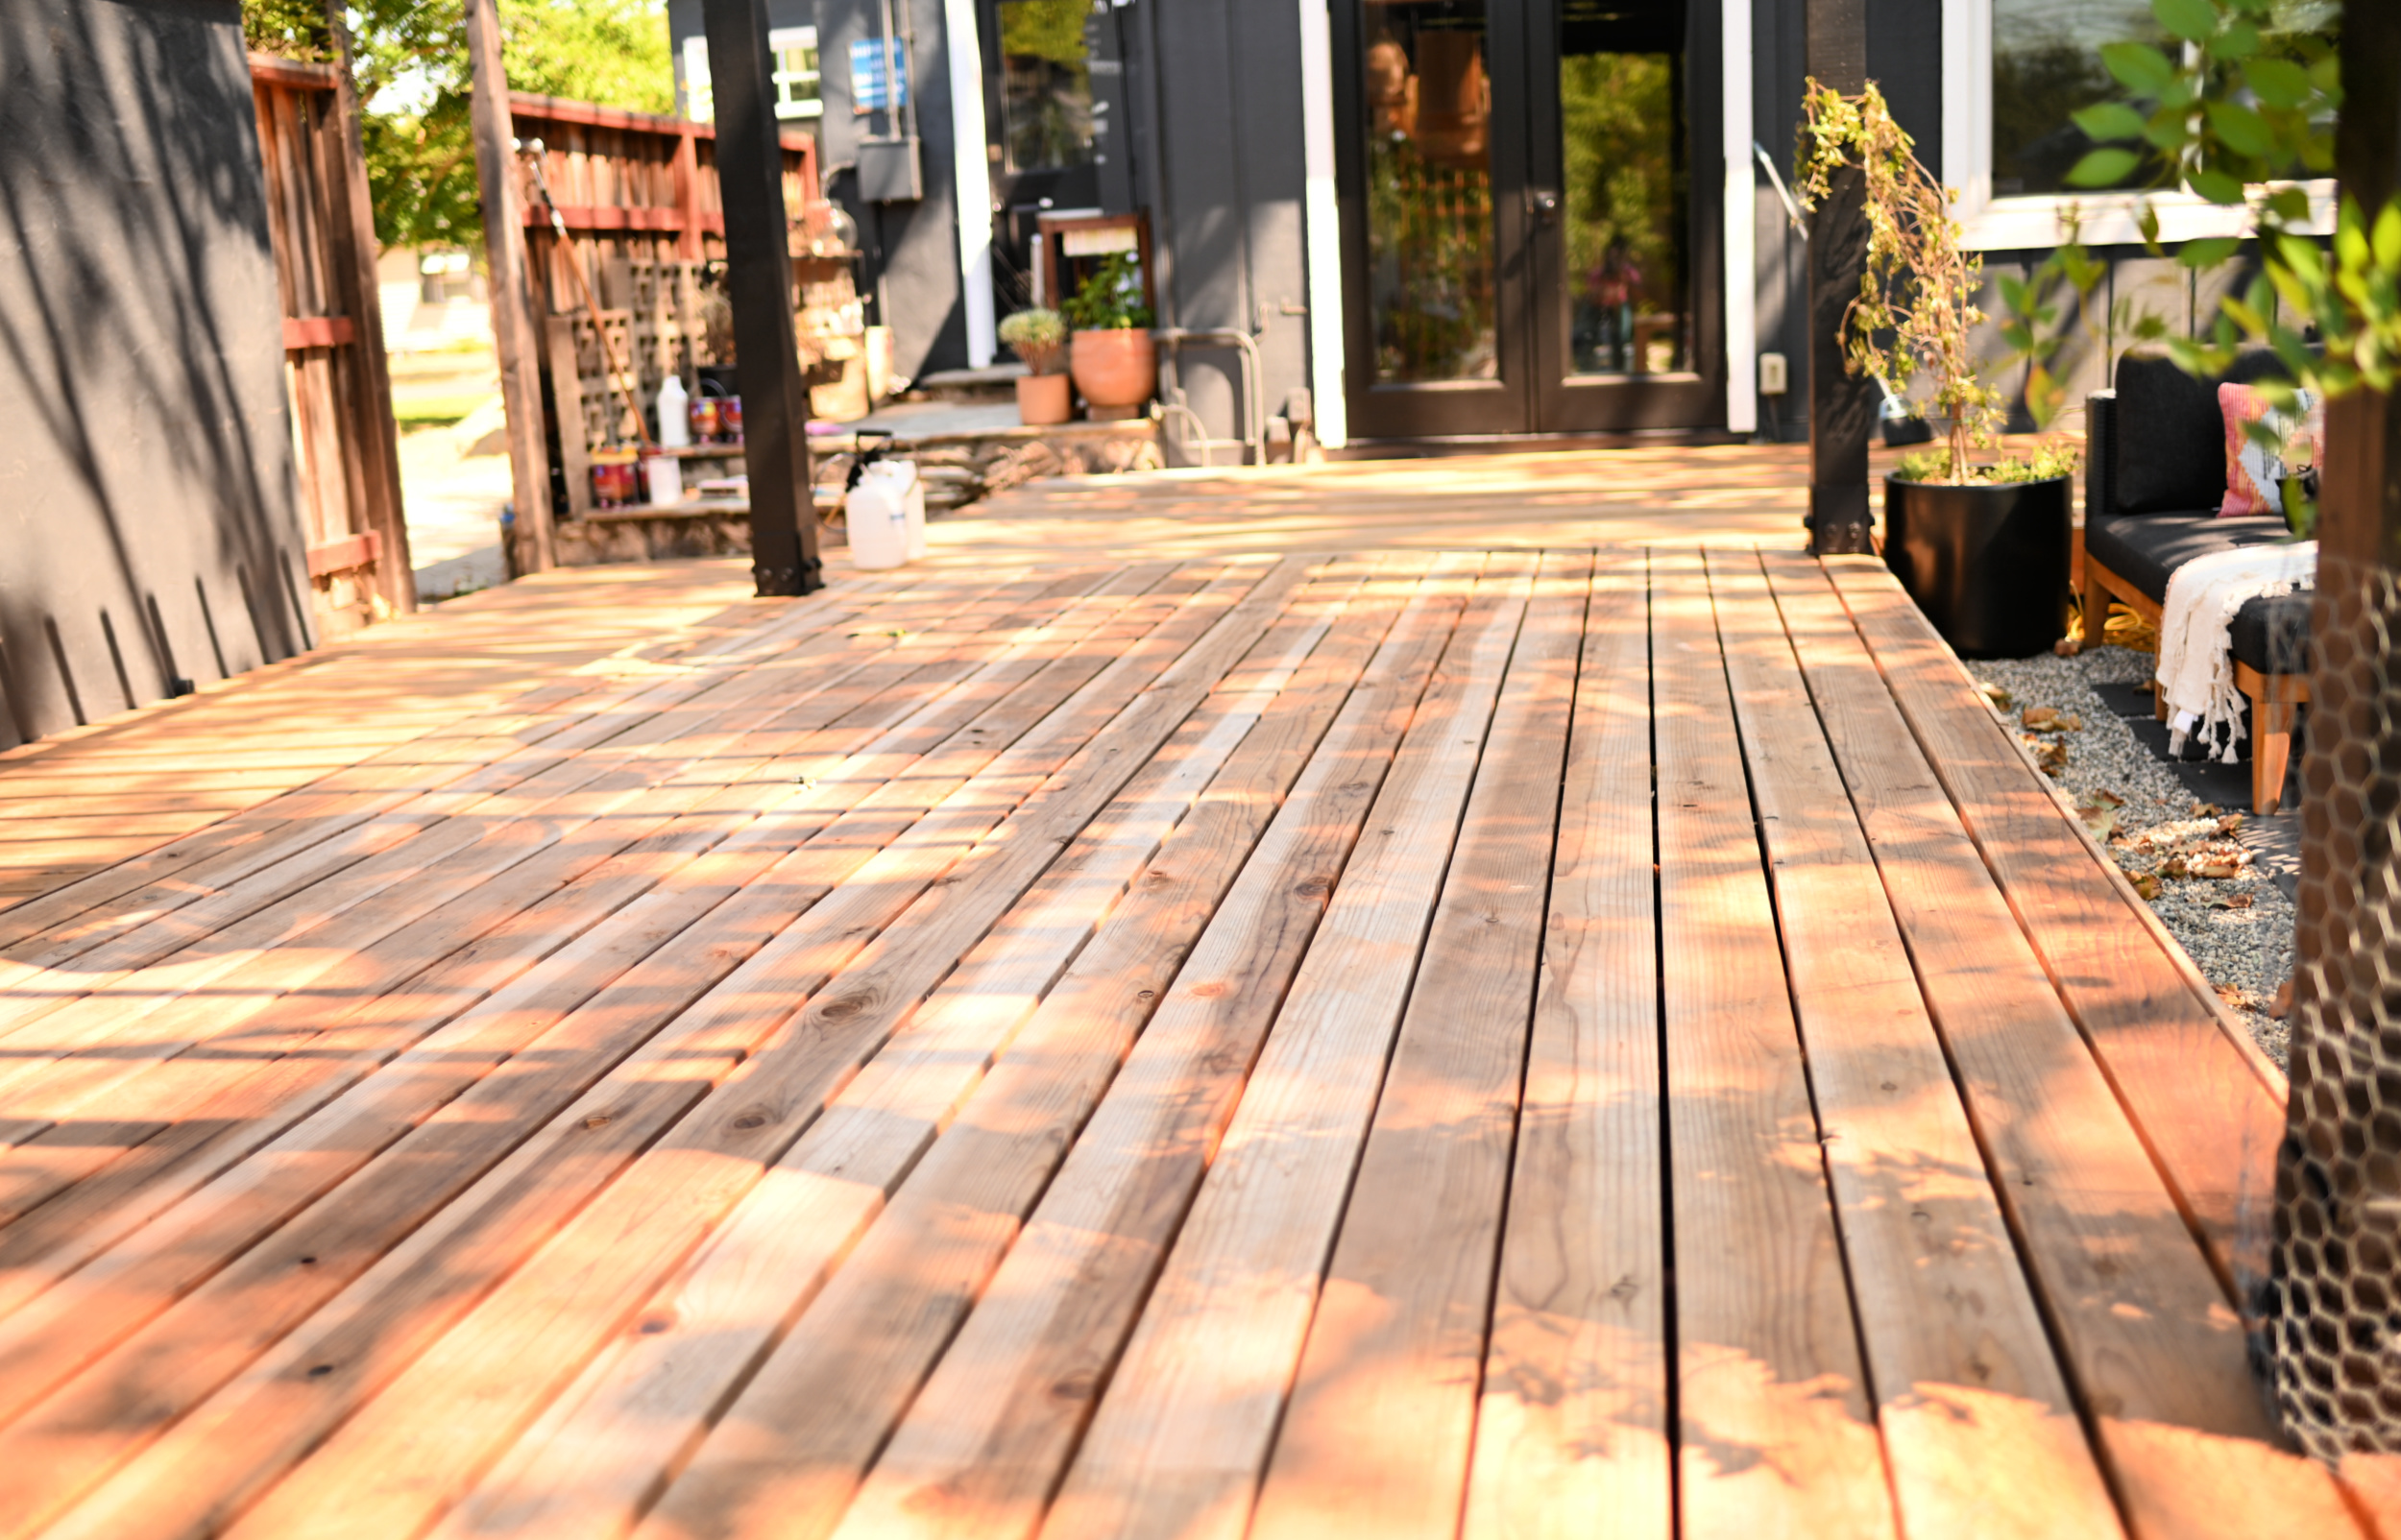
As with any painting project, a great result starts with a clean and thoroughly prepped surface. I started by clearing everything off the deck and swept it. Next, I gave it a good scrub down. To clean and wash the deck I used the SuperDeck Revive Deck and Siding Brightener. This formula is specifically meant to be used on new or uncoated cedar, redwood or pressure-treated lumber.
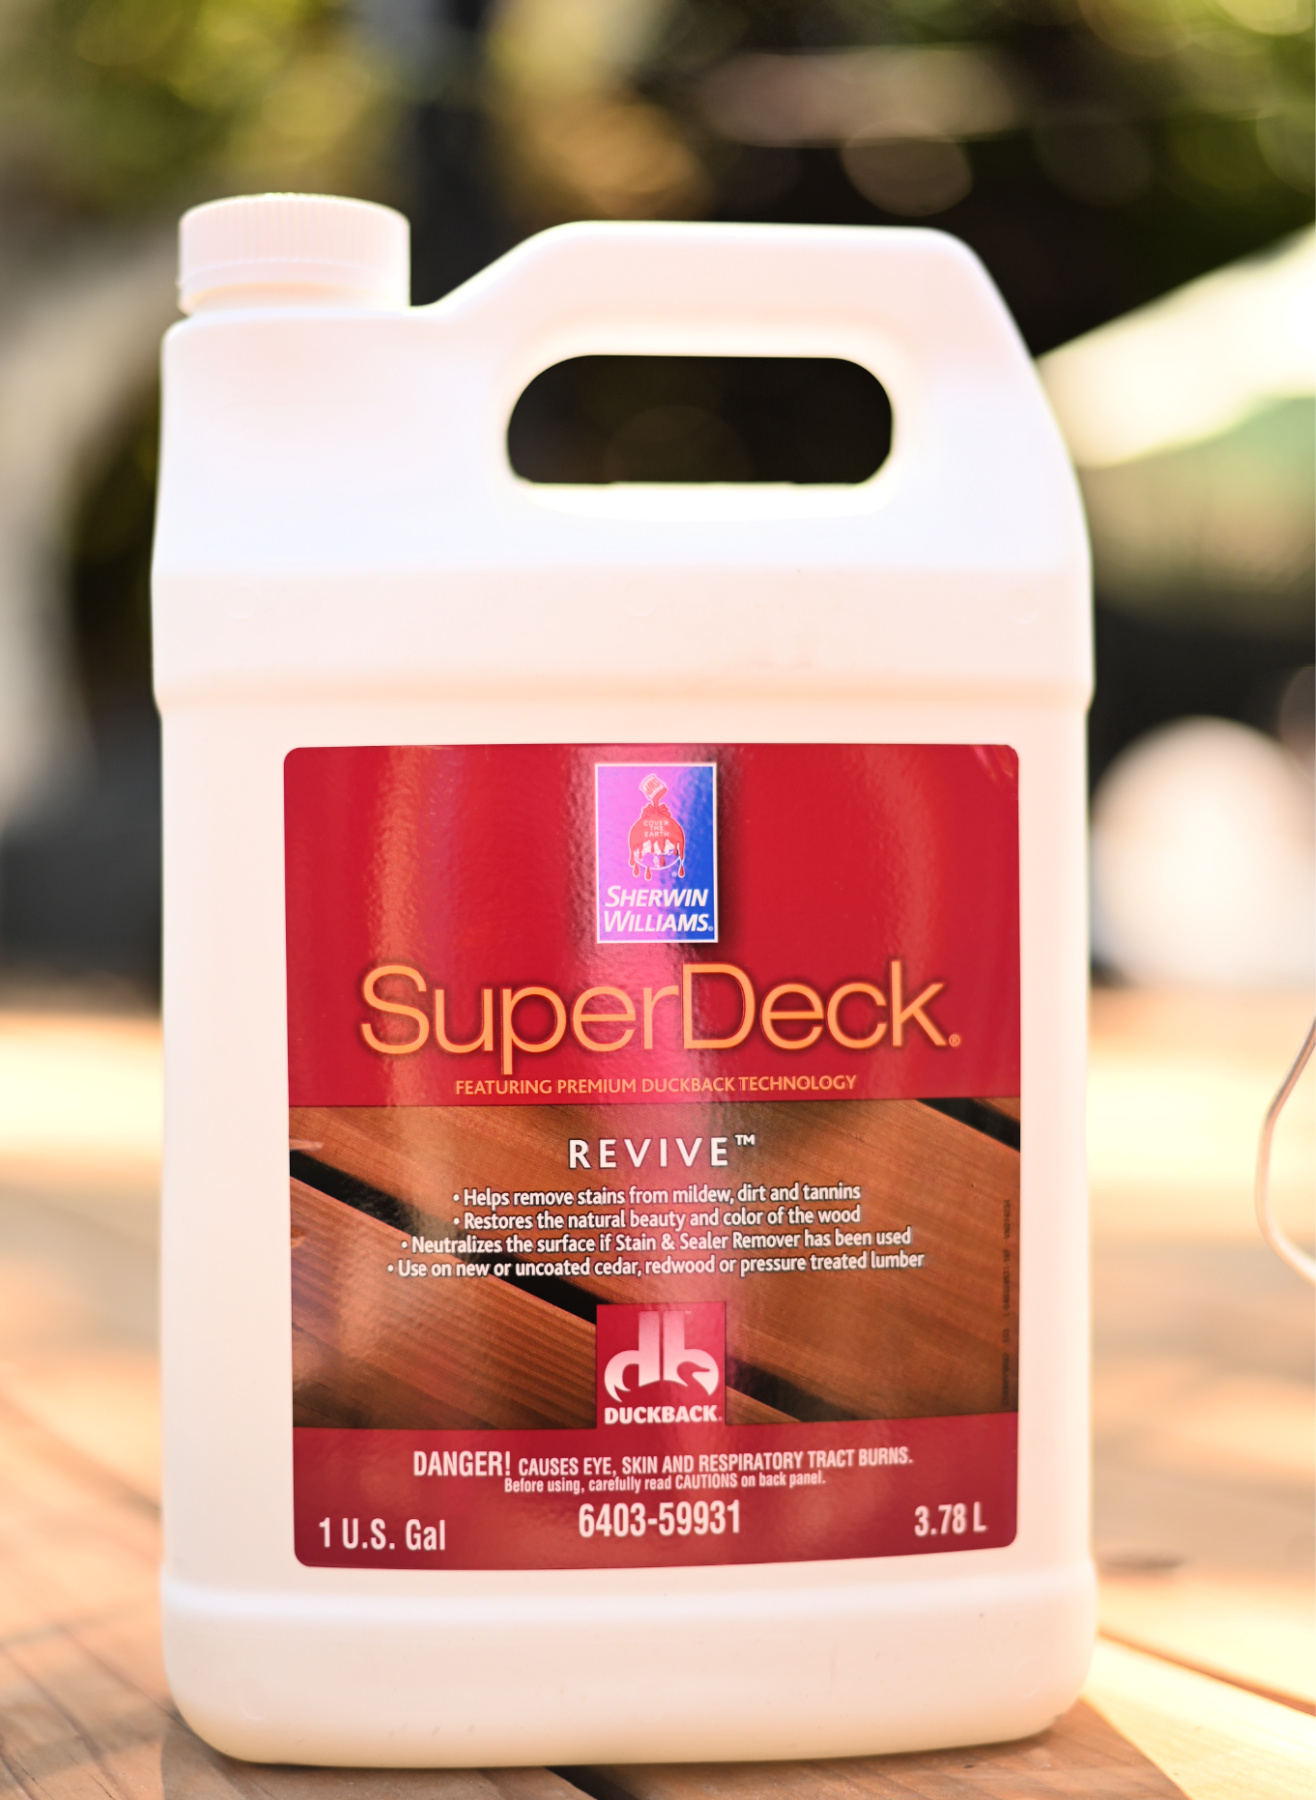
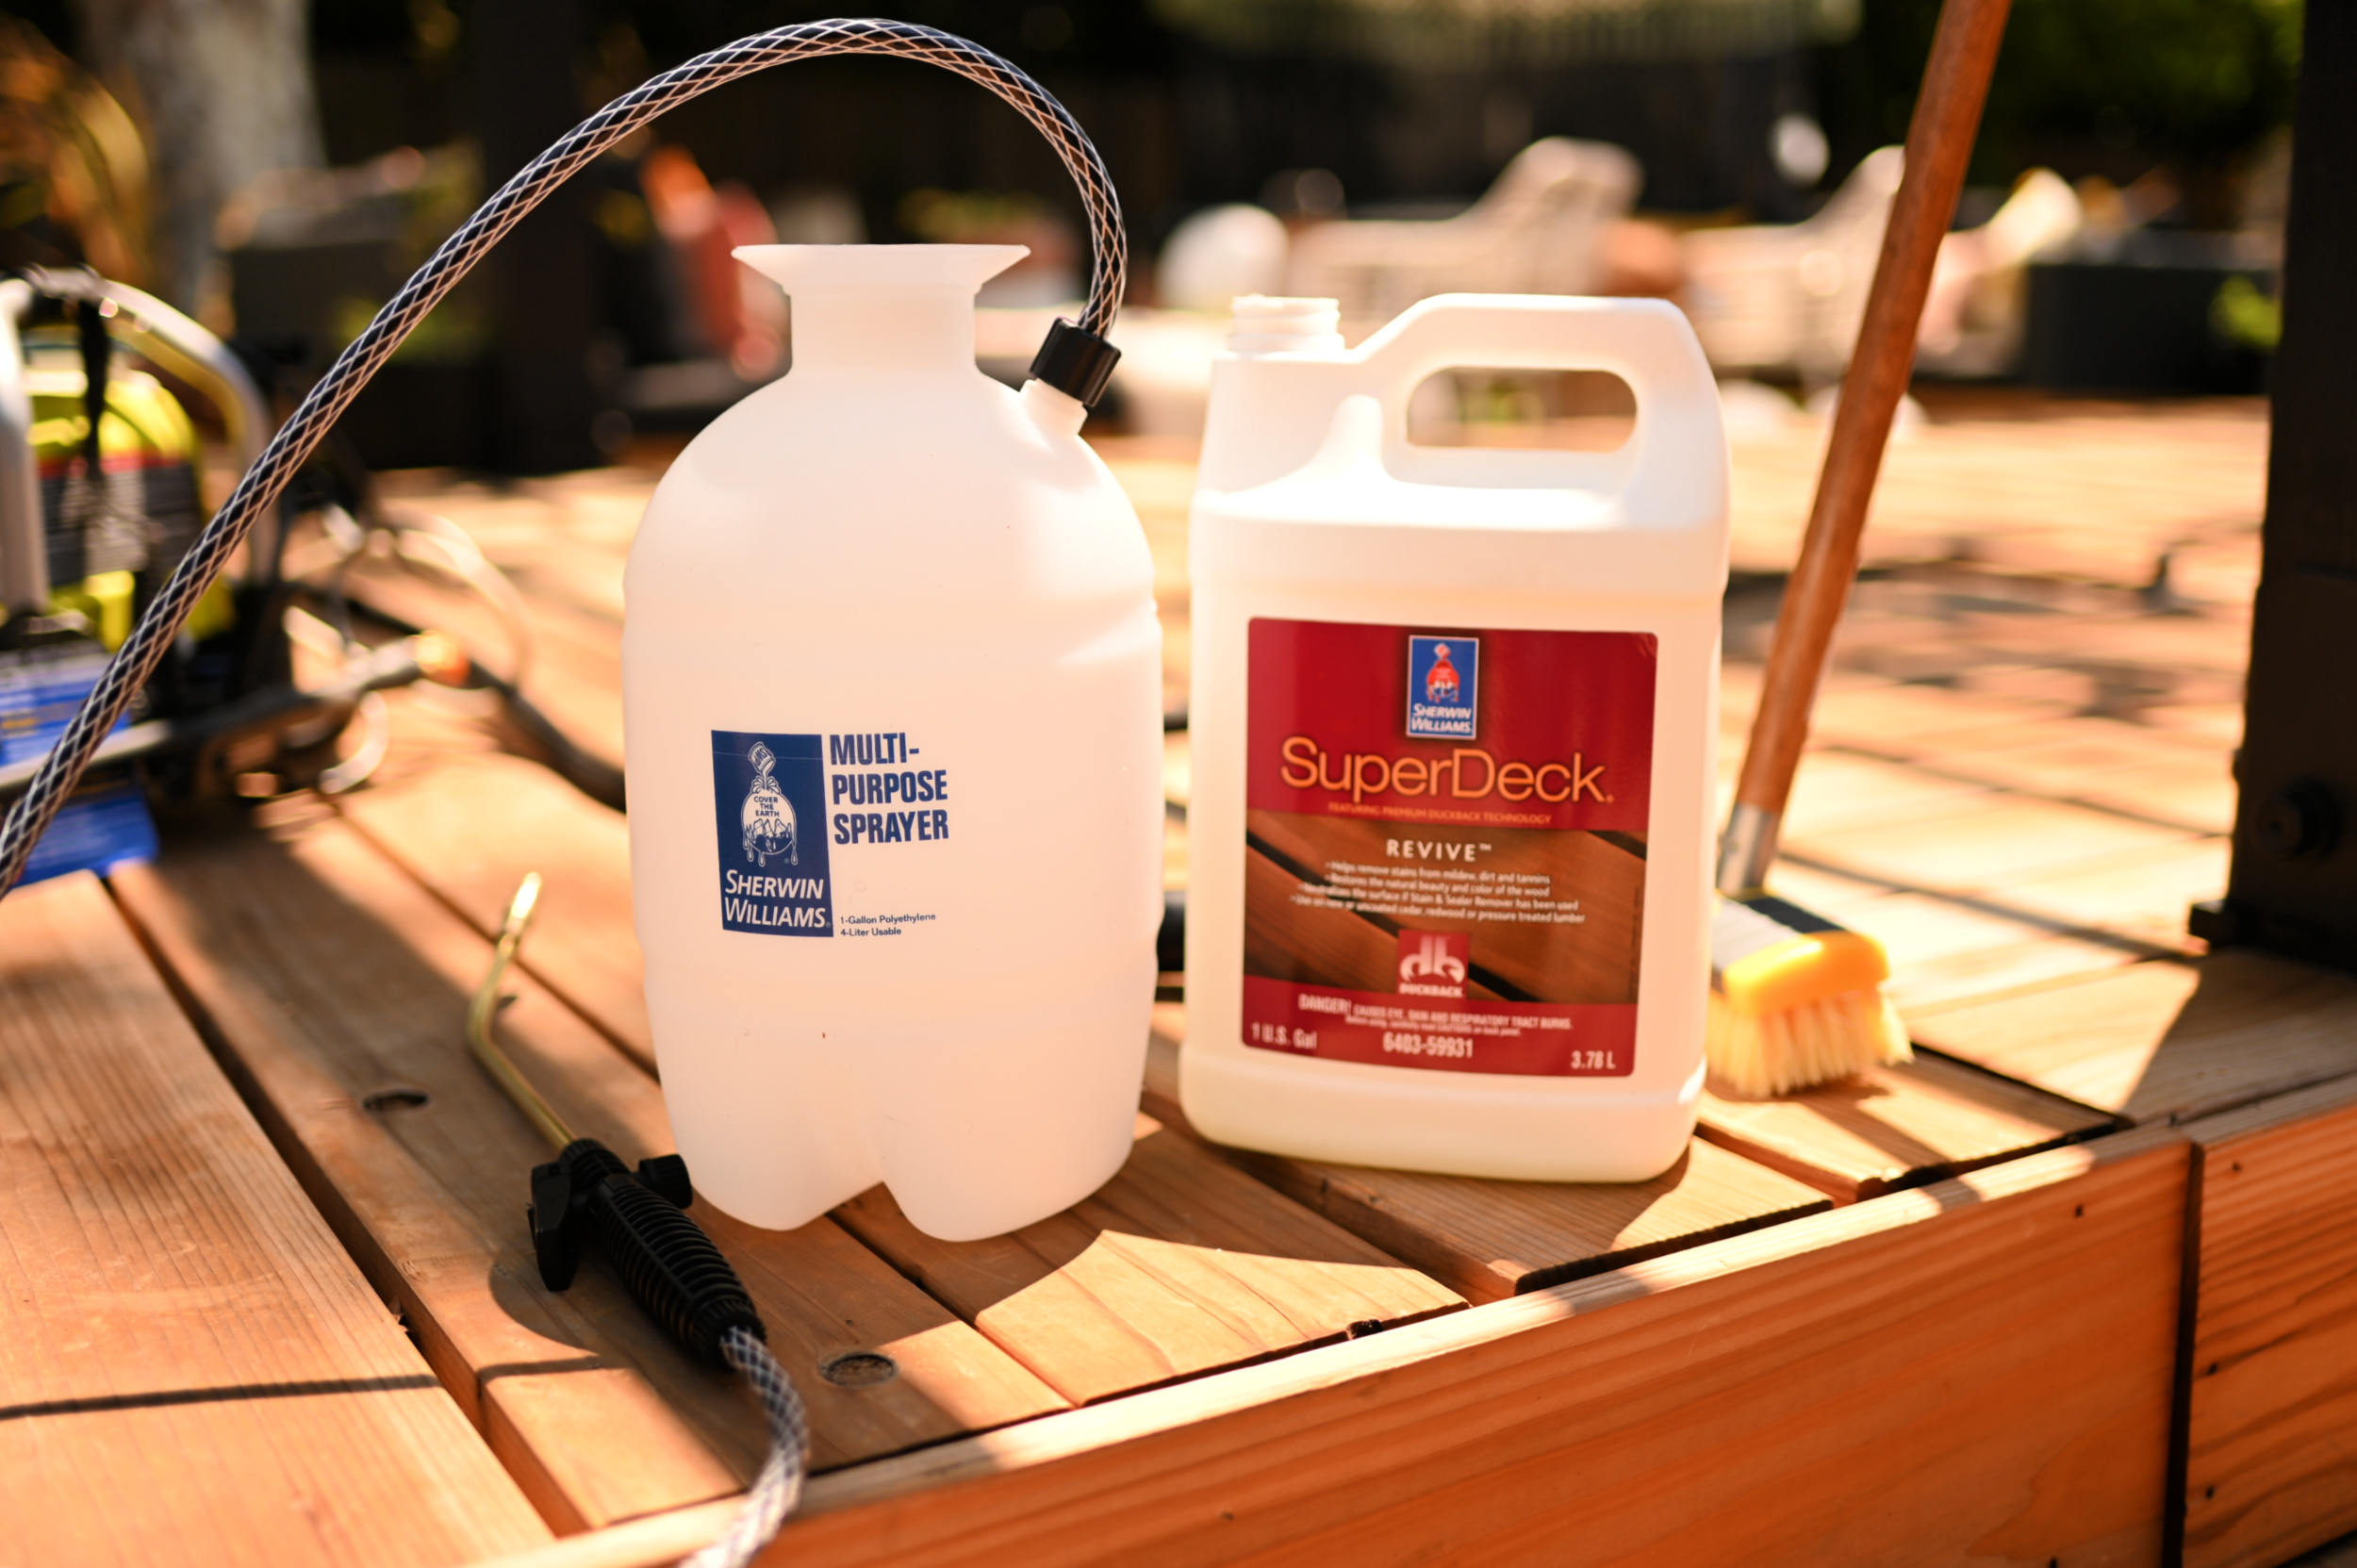
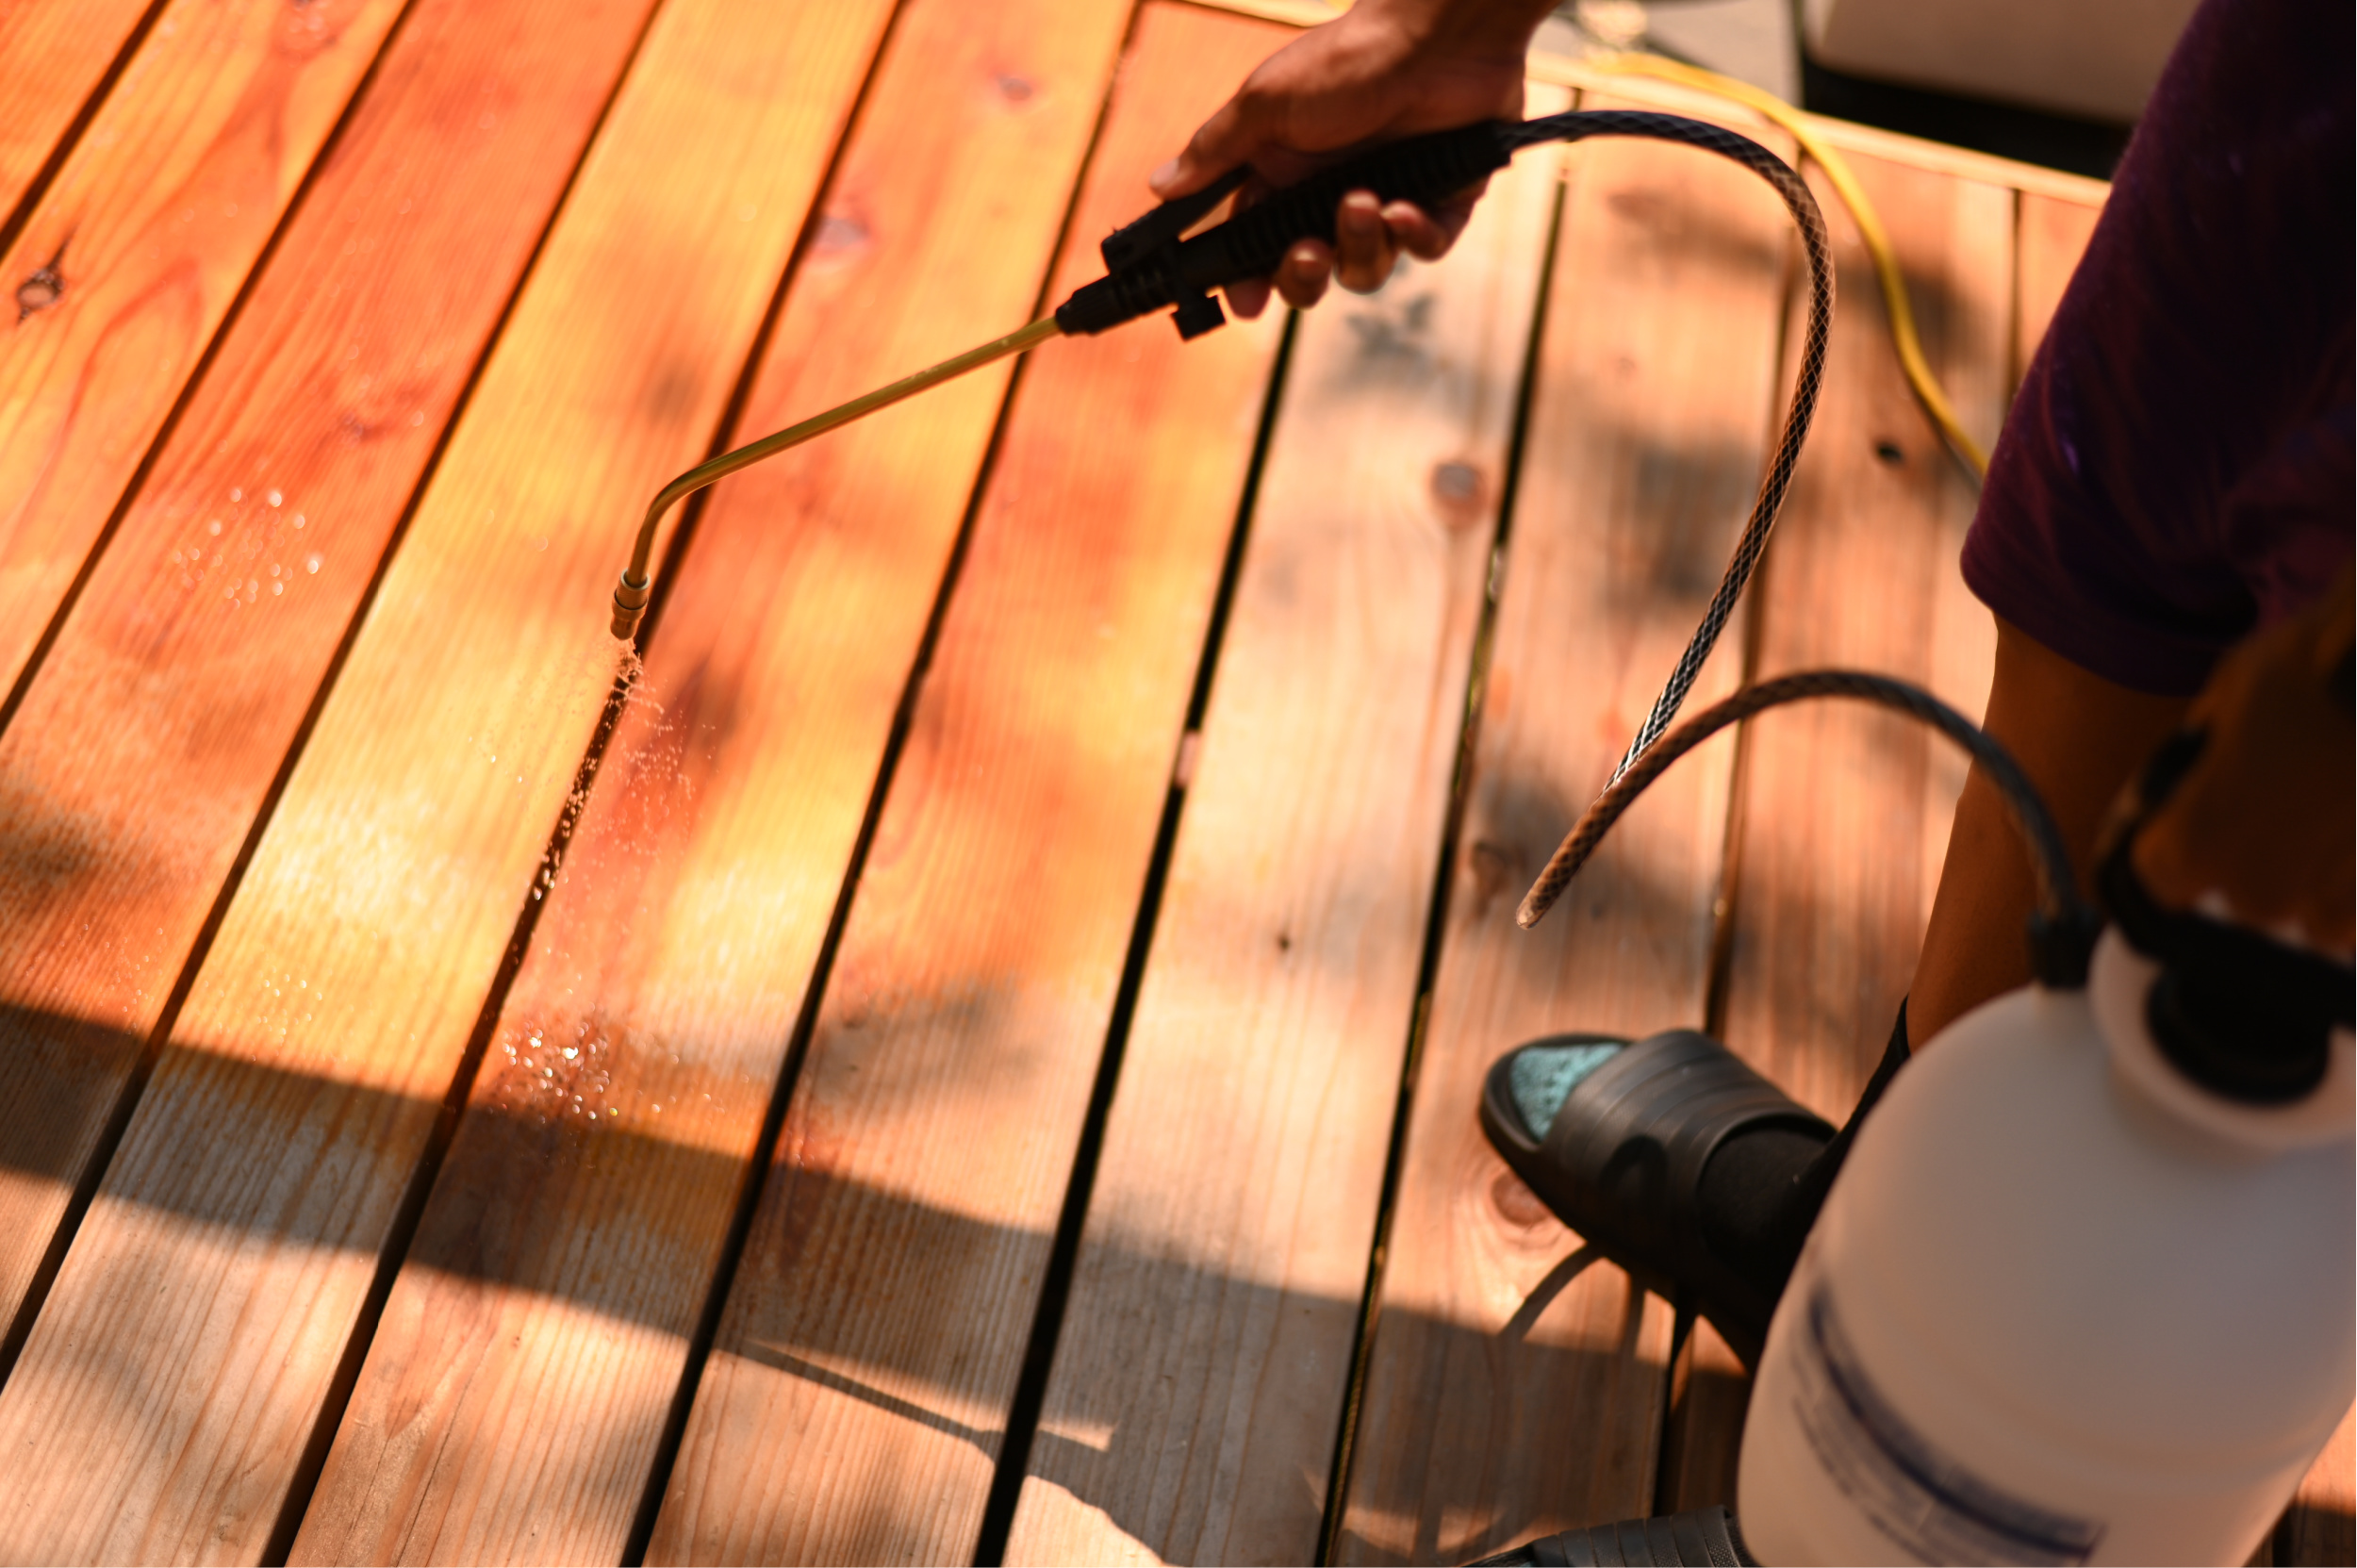
I got some help with this portion of the project because you have to make sure you don’t allow the product to dry out on the wood during application. Naomi and I worked in small sections wetting the area and applying the SuperDeck Revive with a pump sprayer.
After application, she used a poly bristle brush to scrub the area. We then let it sit for about 10 minutes and rinsed with a hose on a high pressure setting.
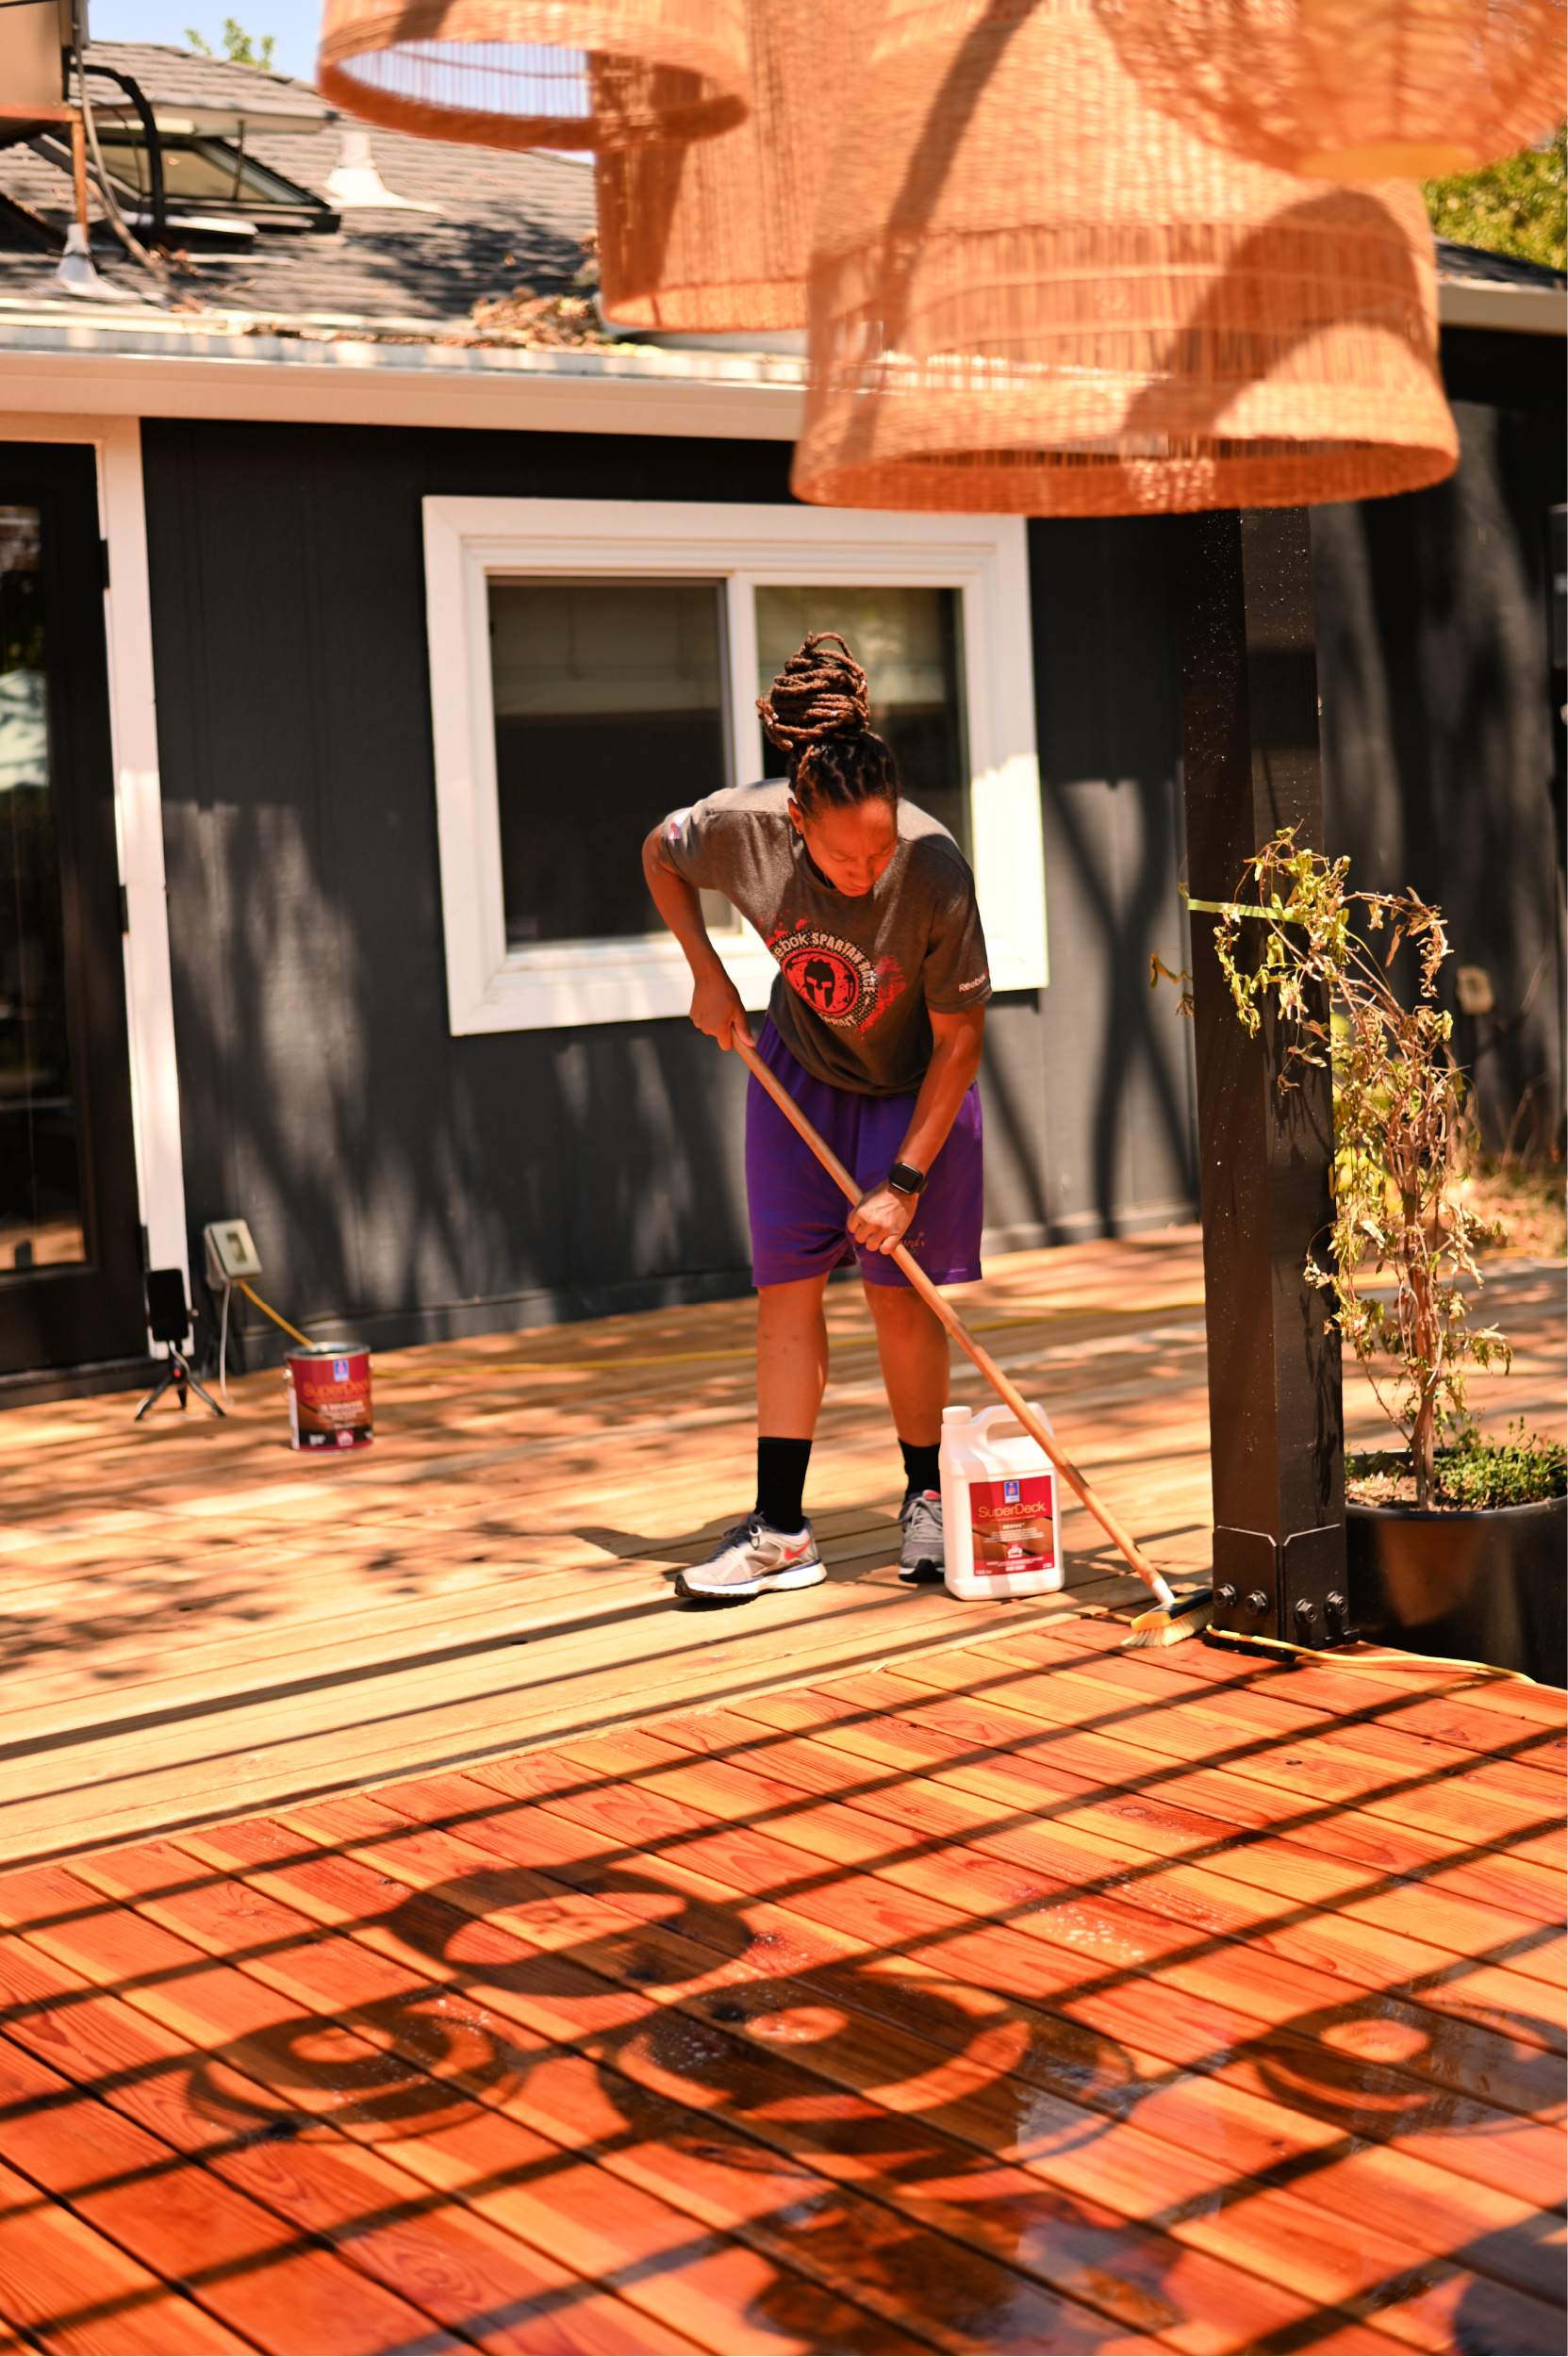
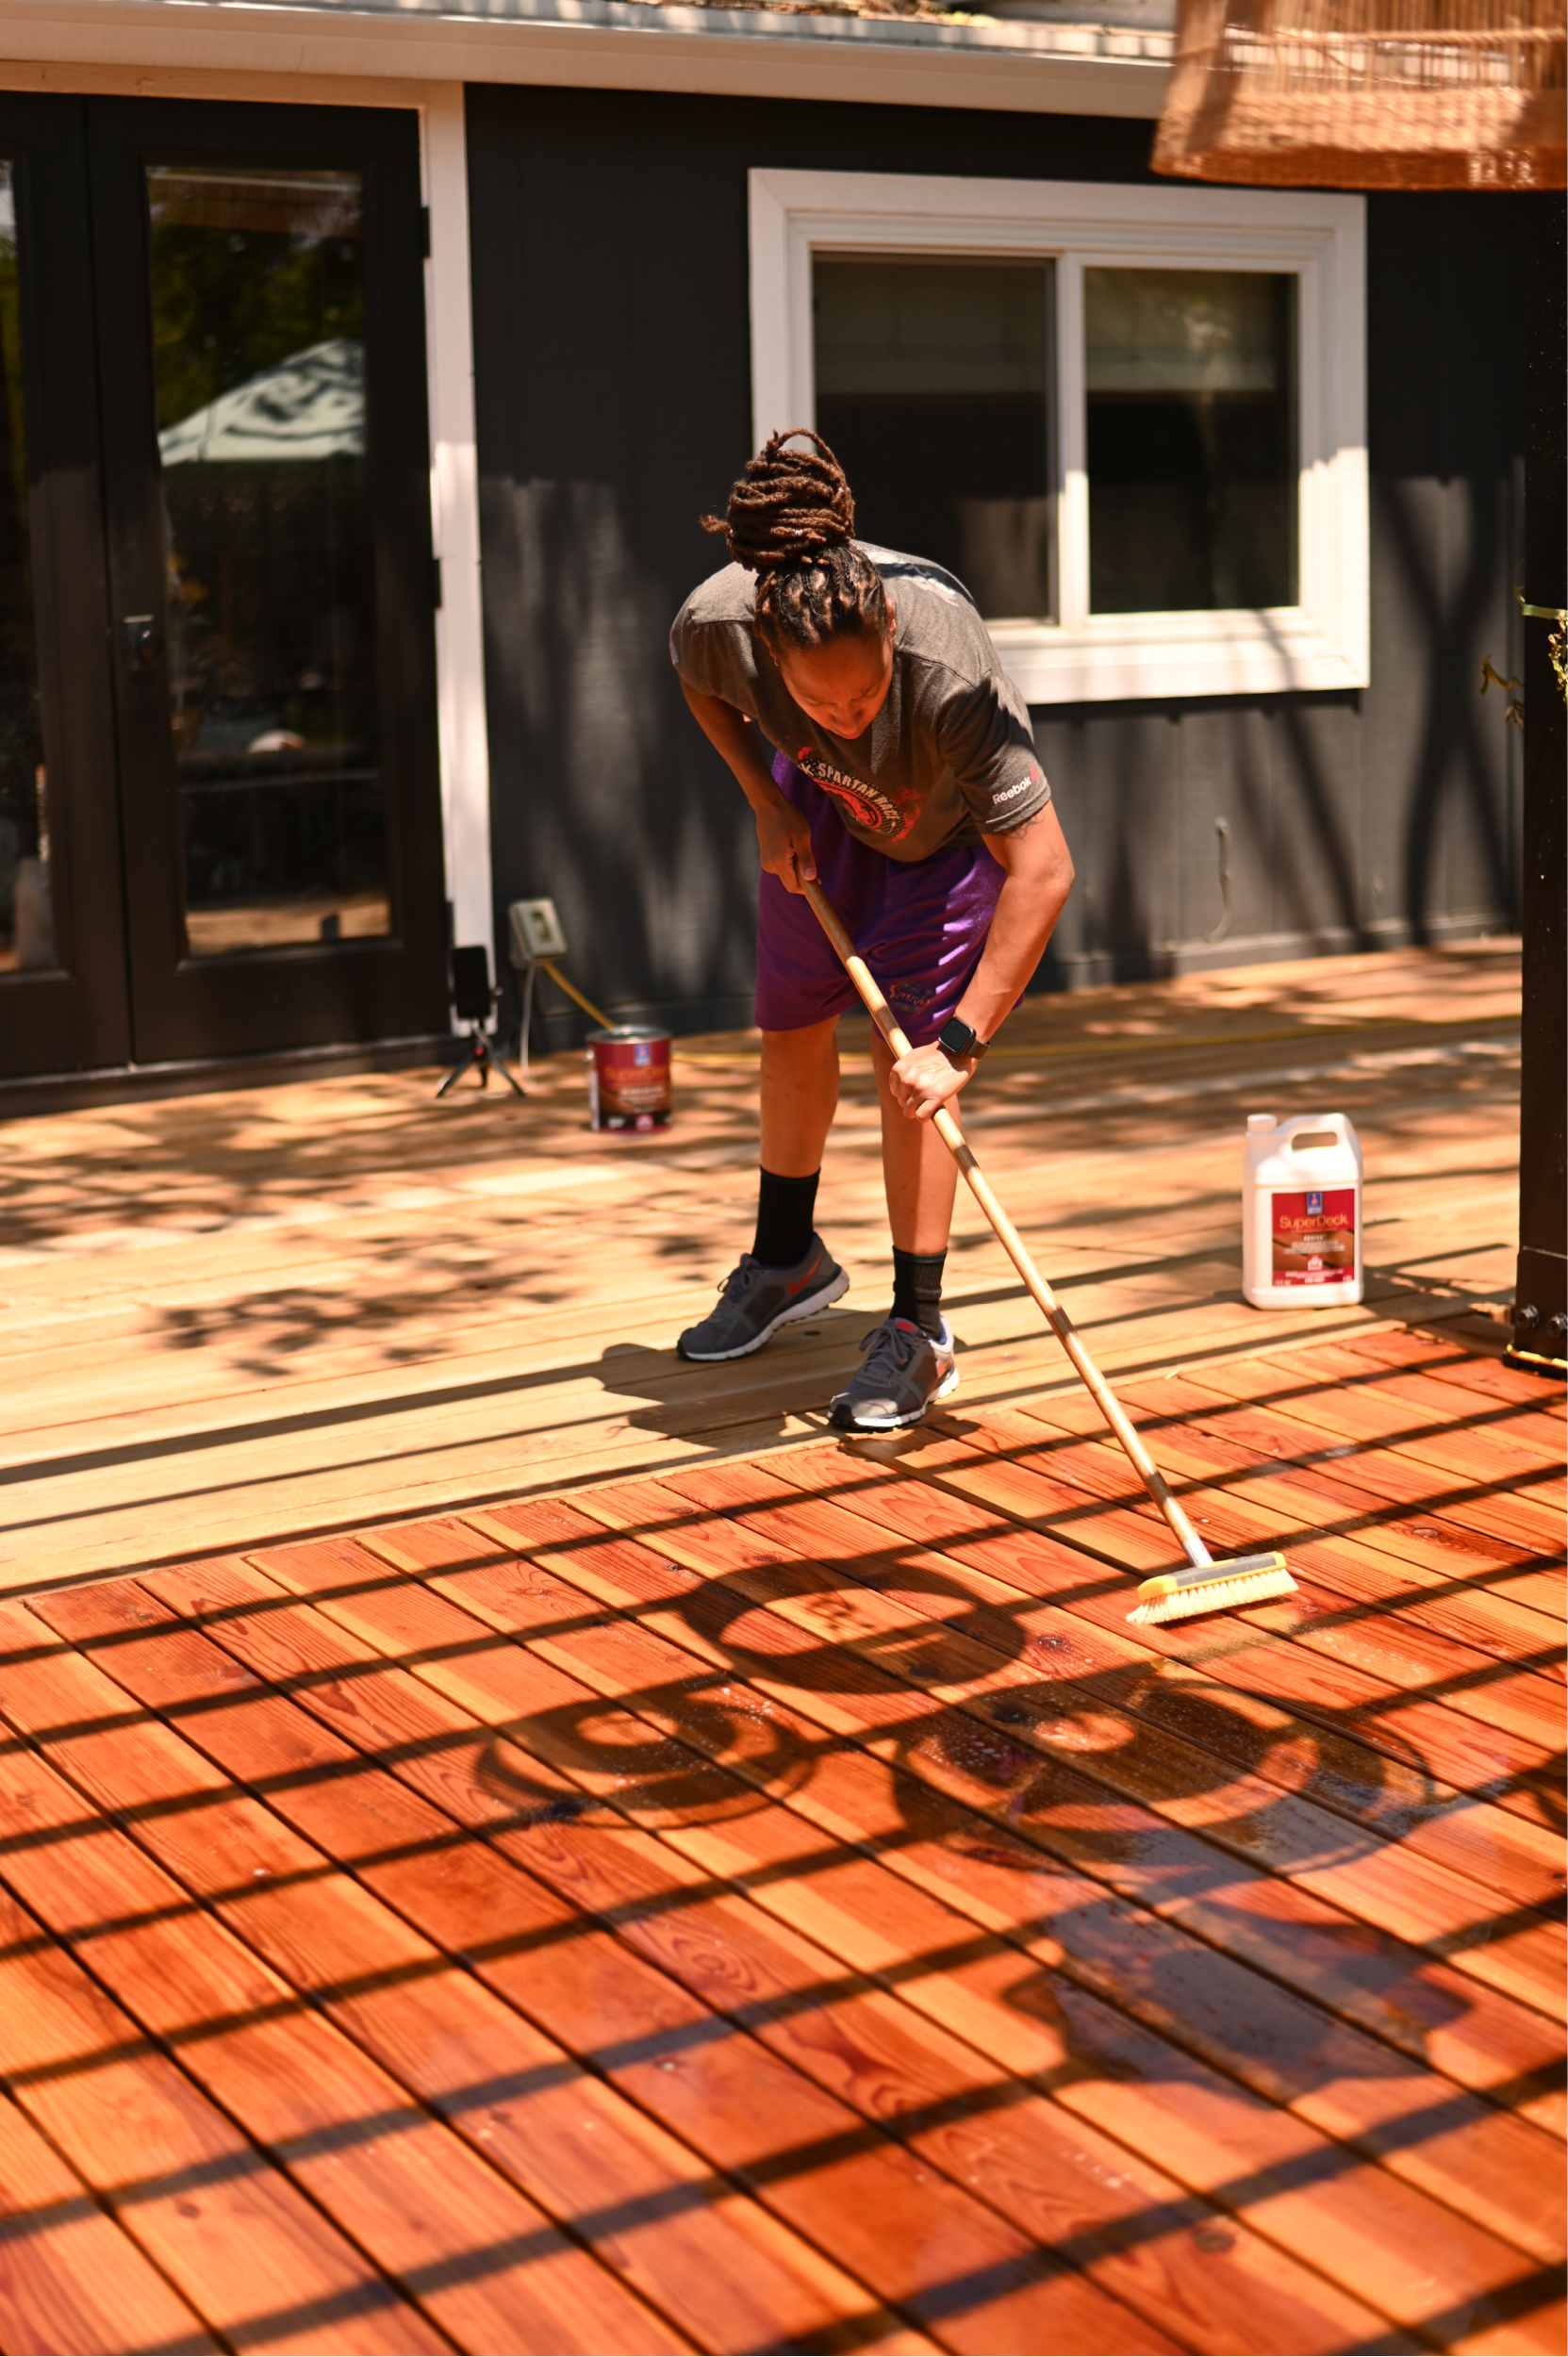
Once we got a groove going things went fairly quickly. After the entire deck was cleaned we allowed it to dry overnight. The next morning the wood looked fresh and renewed and revived….like it was brand new again!
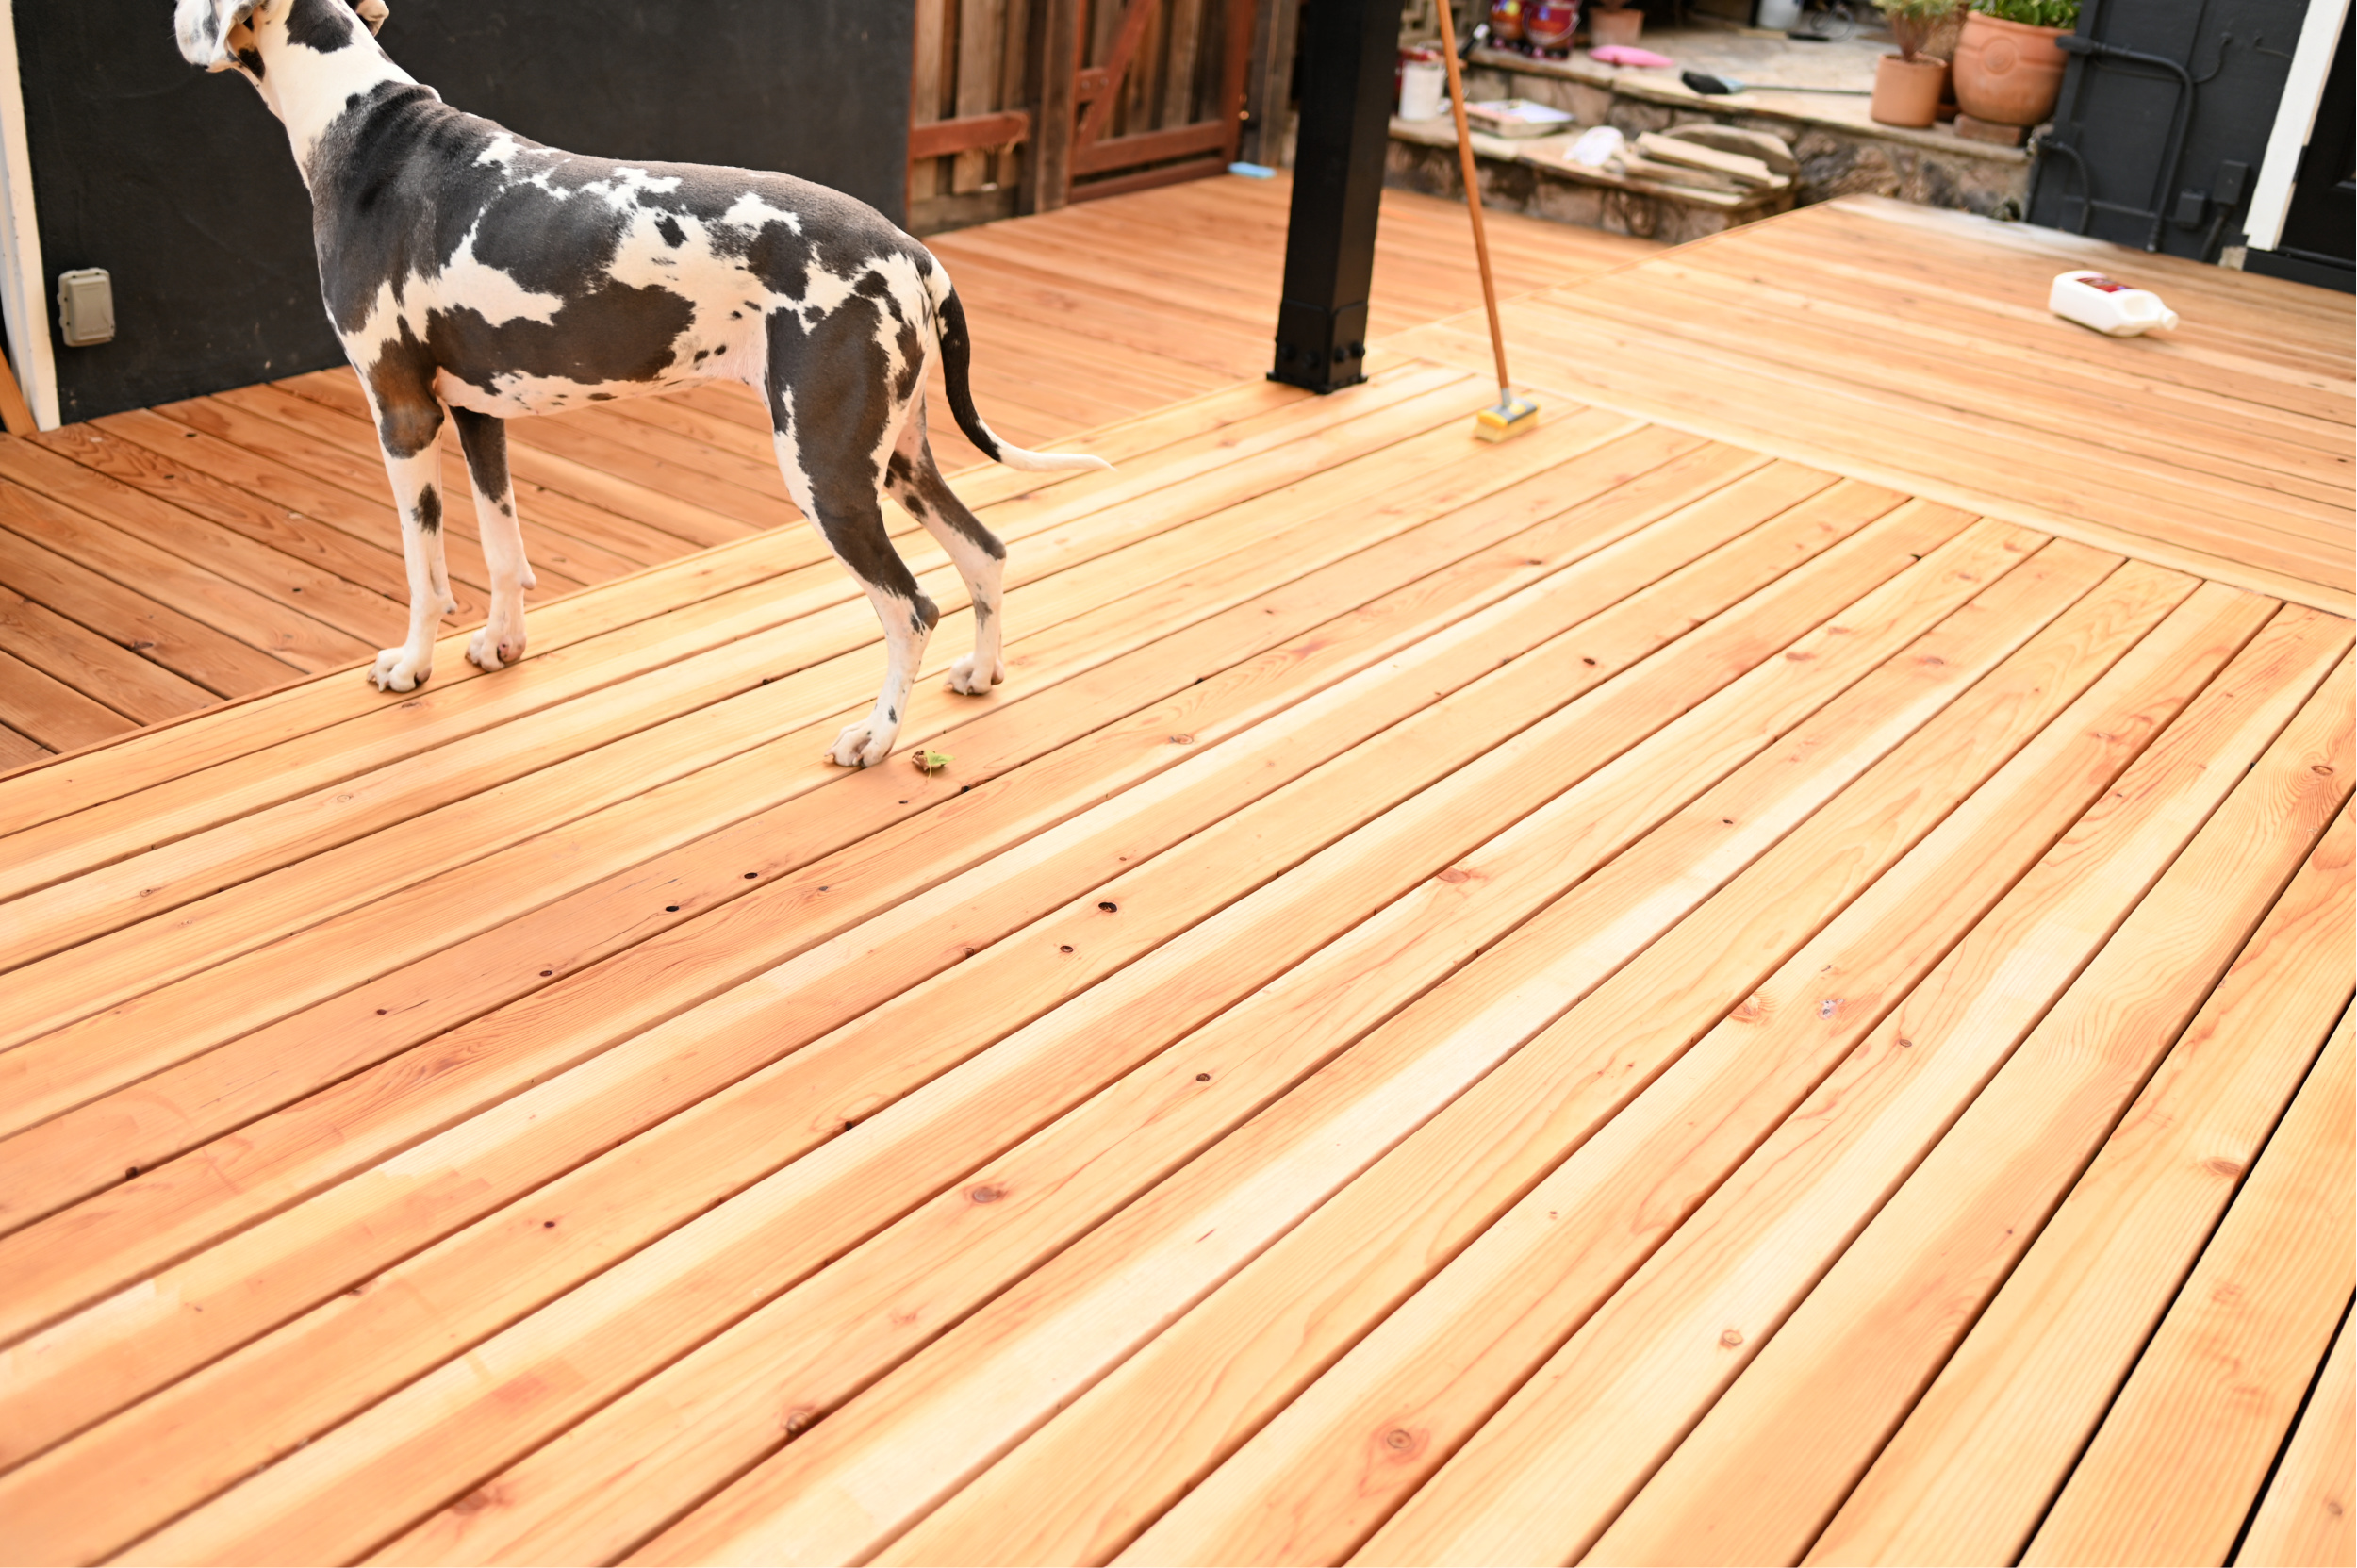
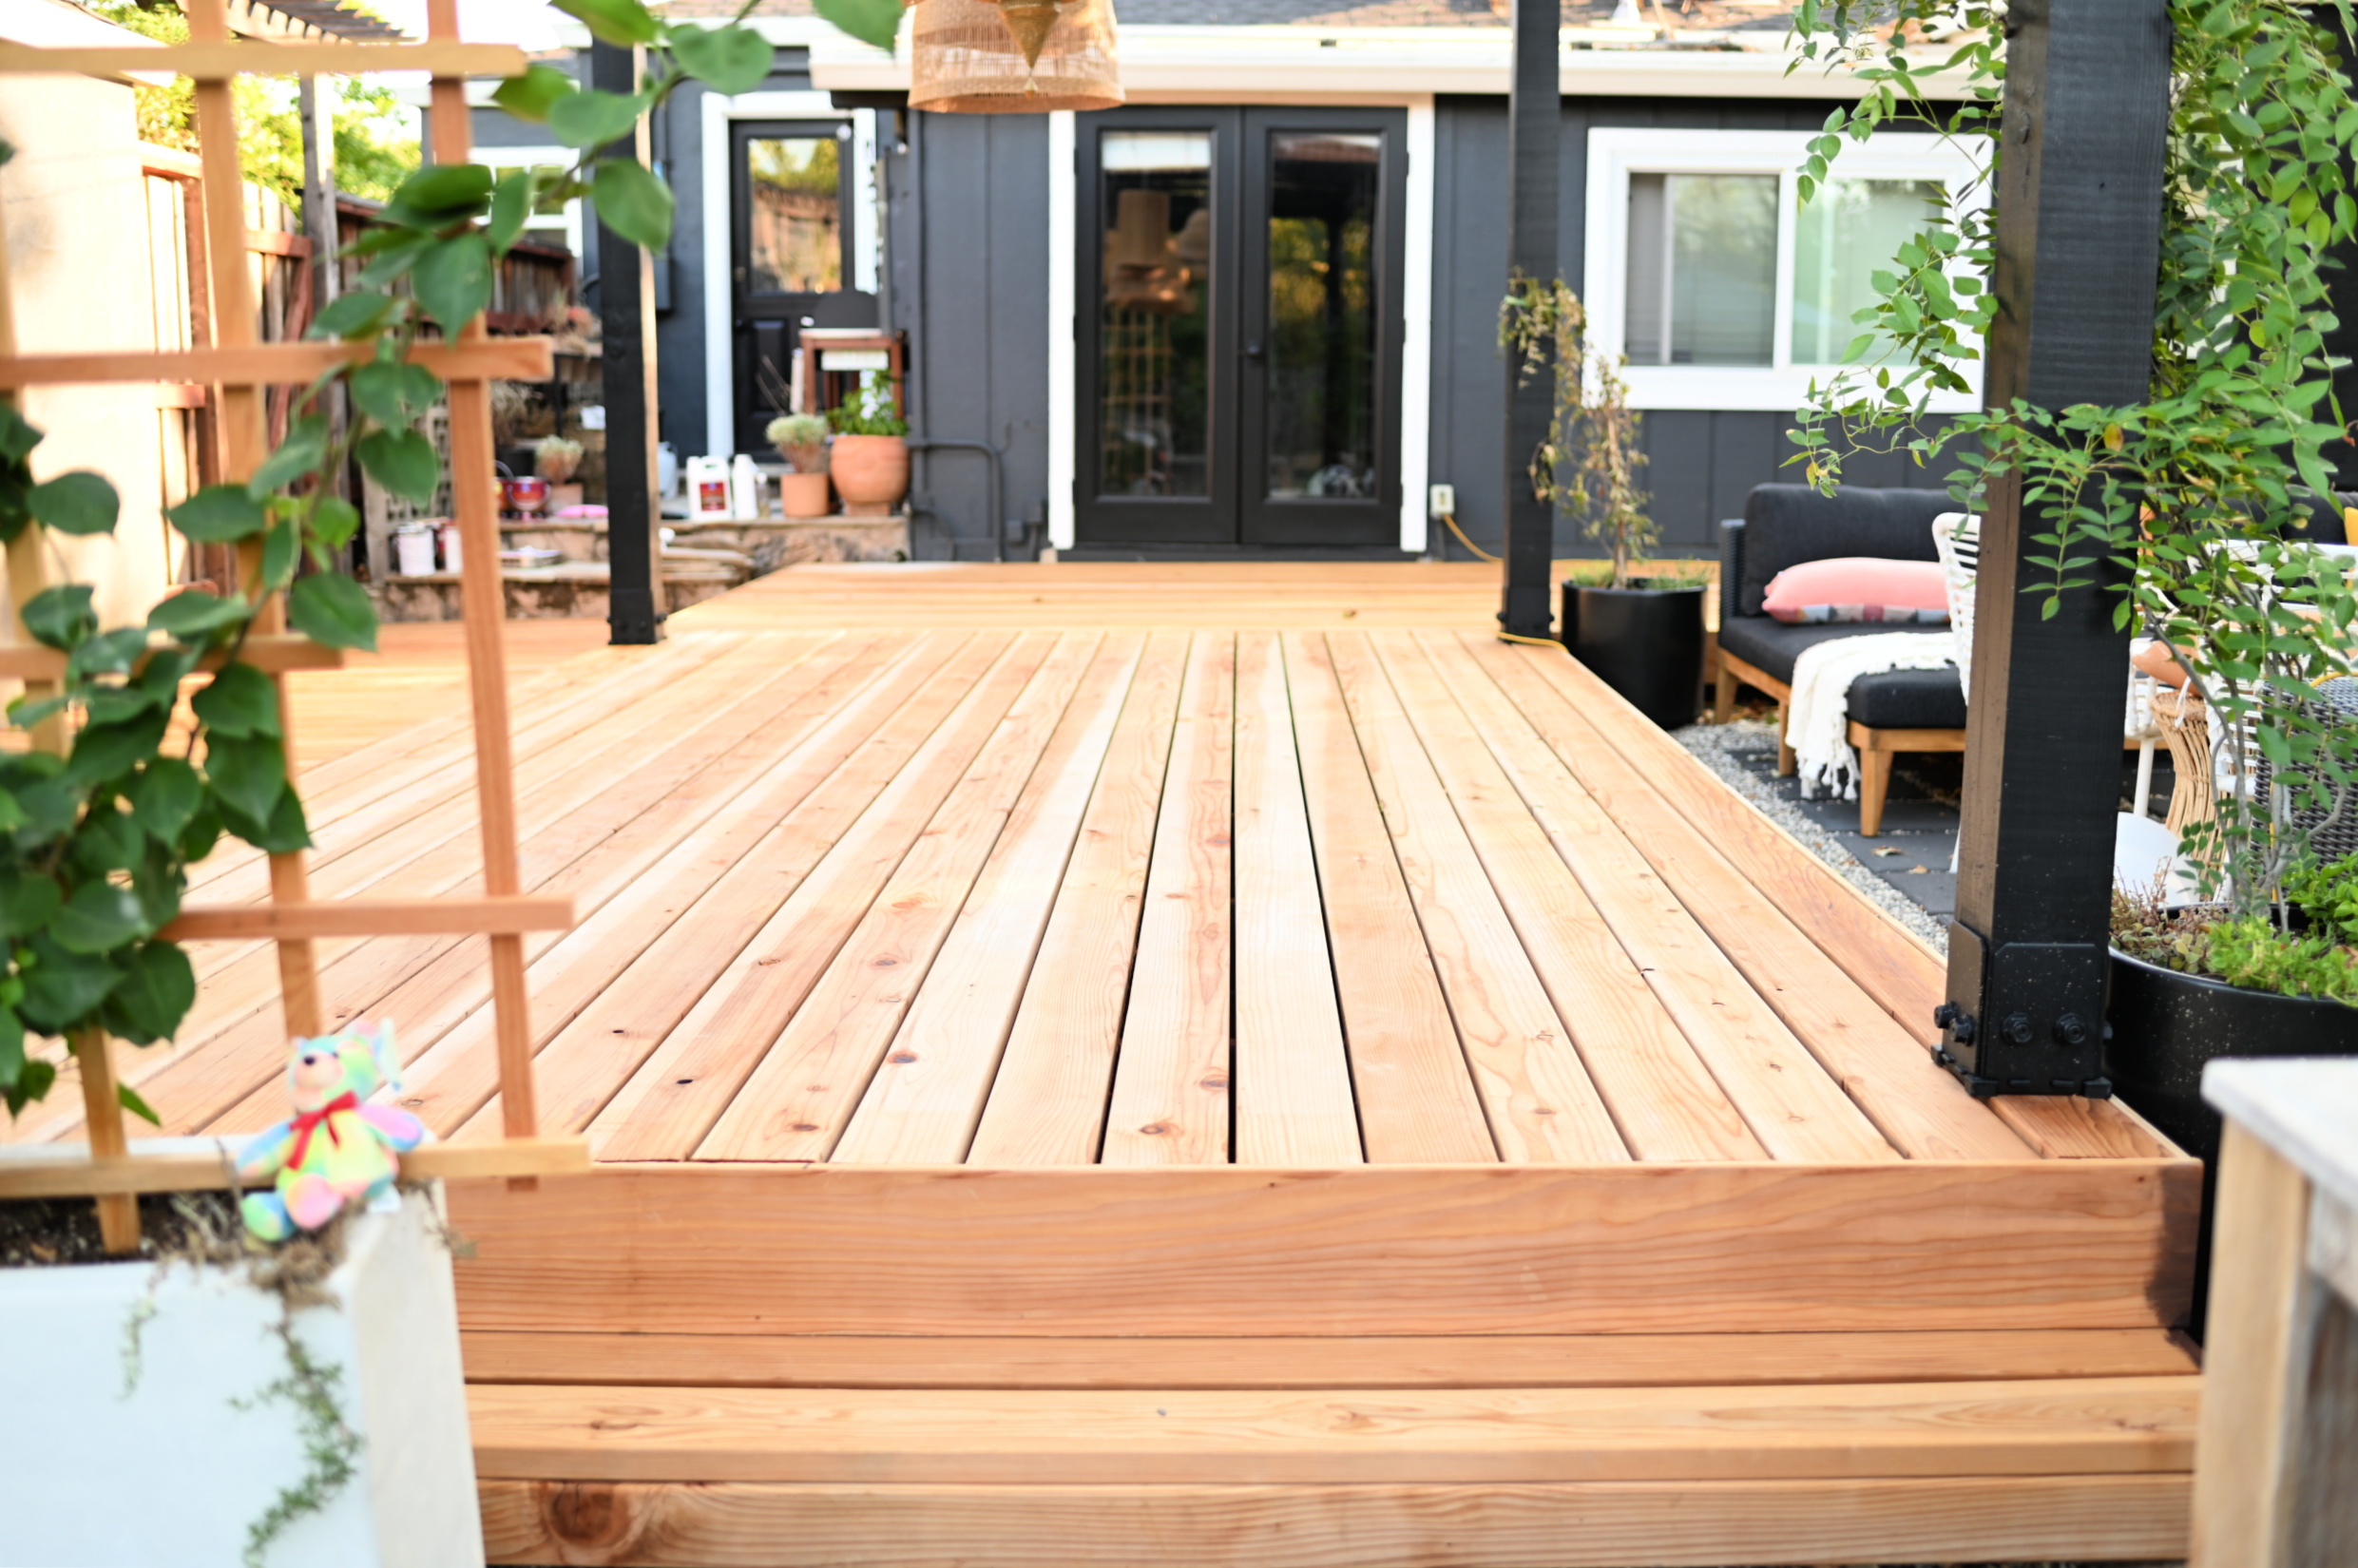
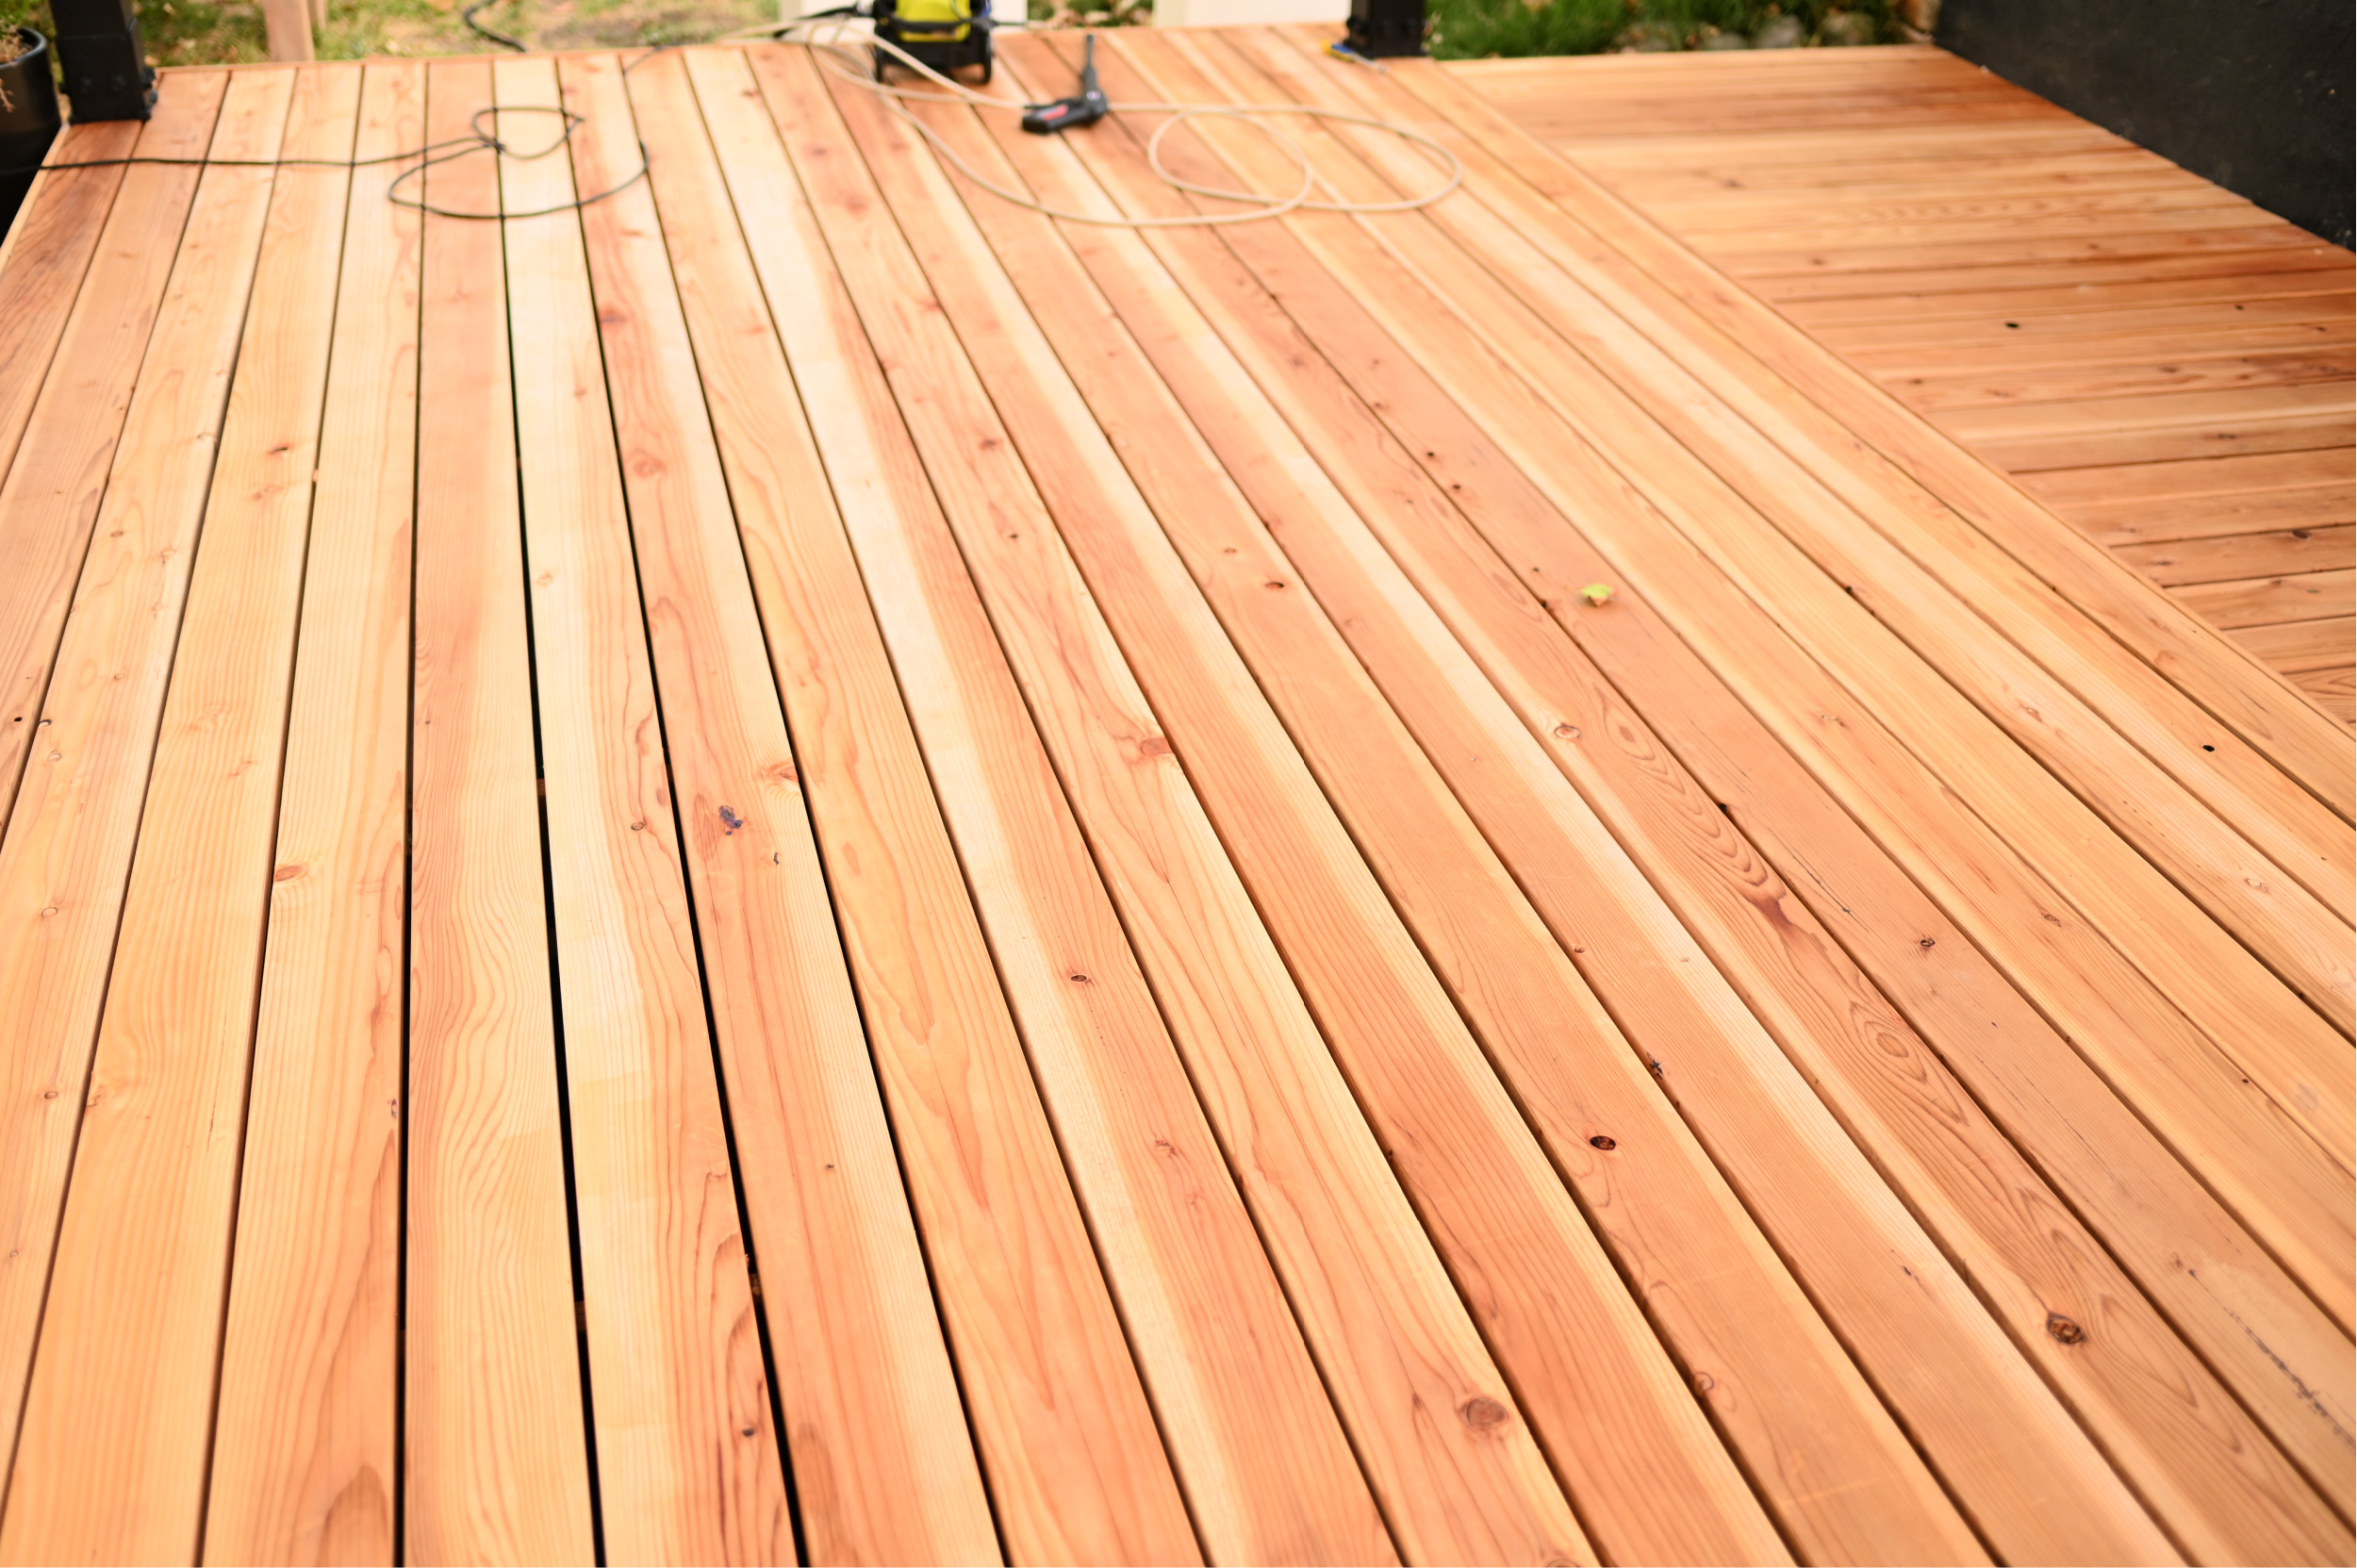
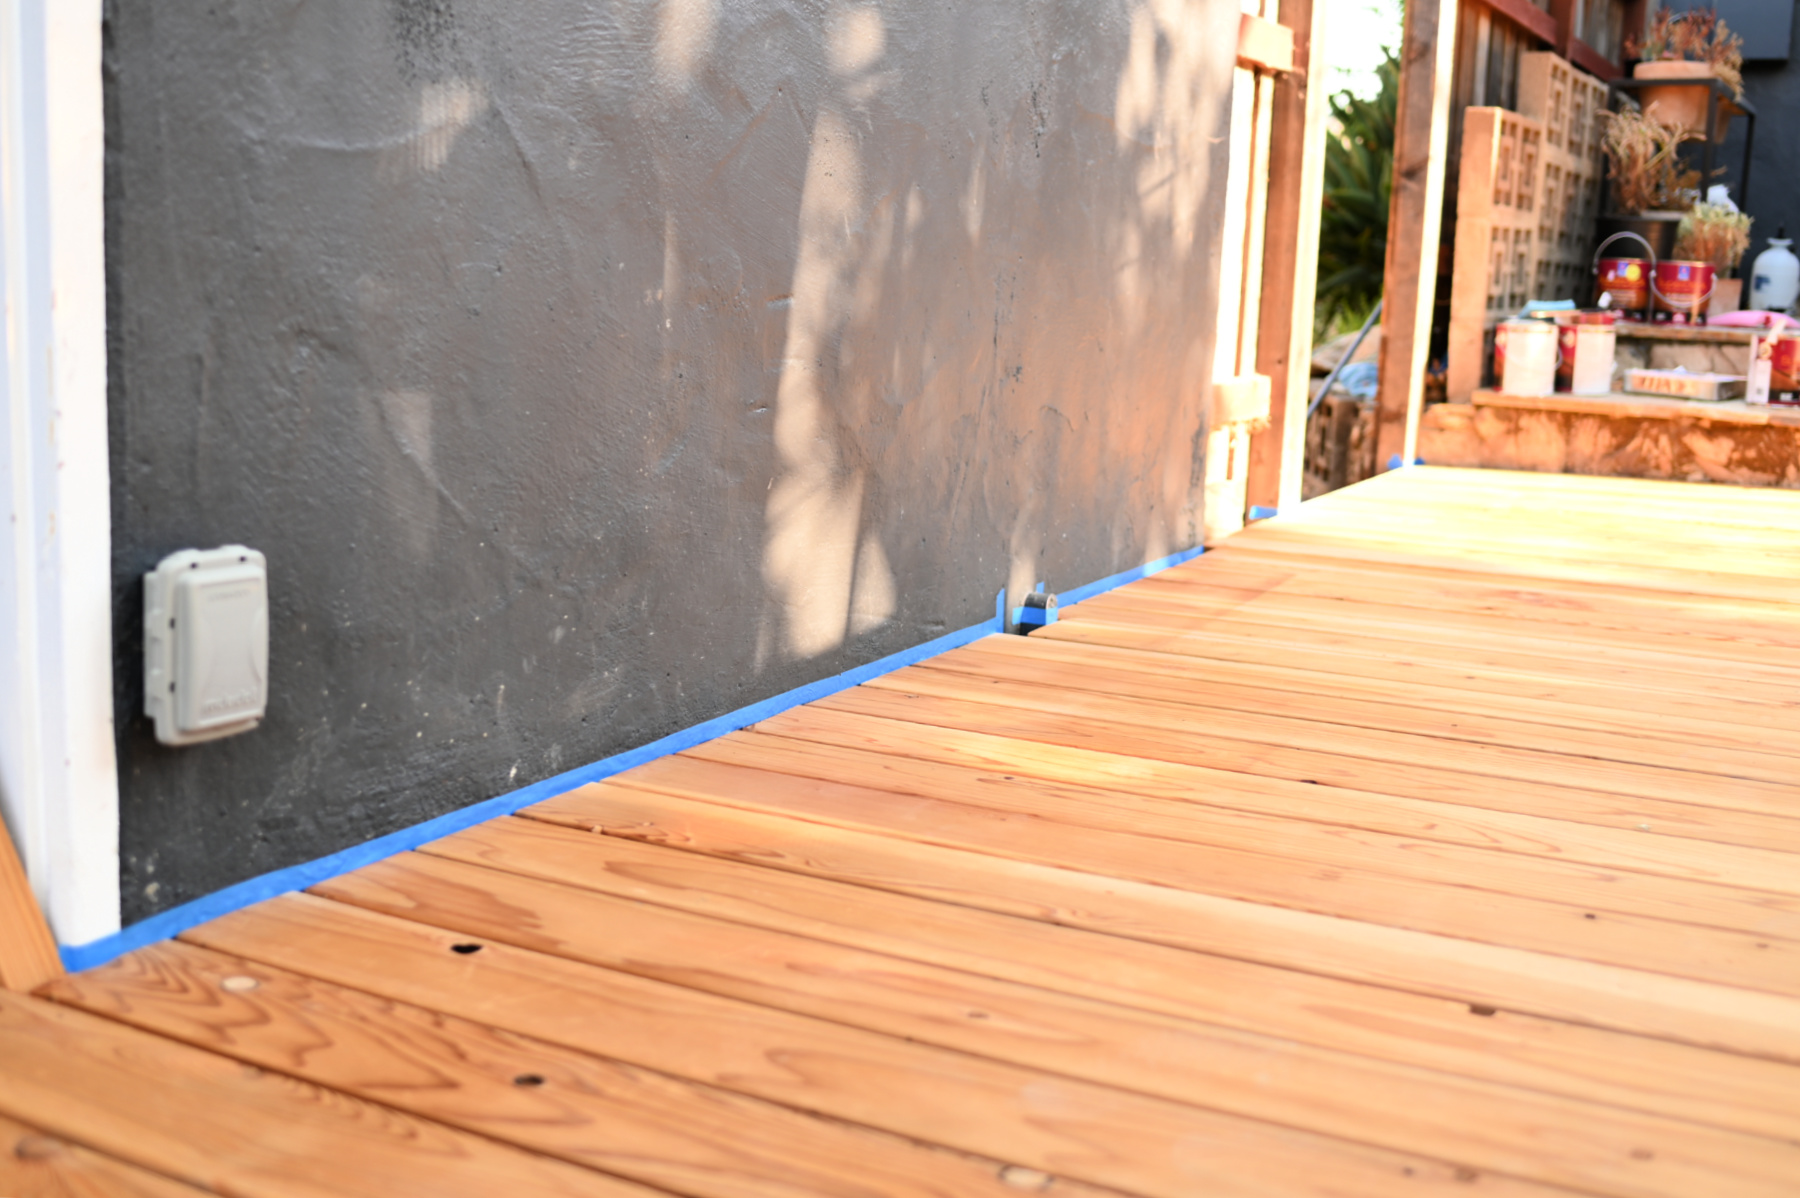
With the deck washed and ready for stain I did one more pass over with the broom and taped along the house where the deck meets it to protect the exterior paint.
Now it was time to stain. I chose SuperDeck Exterior Waterborne formula in Semi-Solid Color Stain. When choosing a deck stain you want to consider maintenance and how often you may need to re-coat it. A good rule of thumb is the darker, or more opaque the transparency, the less often the maintenance. Clear coats and semitransparent stains will require more frequent maintenance and re-applications, where as semi-solid or solid stains can go longer before needing to be reapplied. SuperDeck is great because you can even apply it to damp wood.
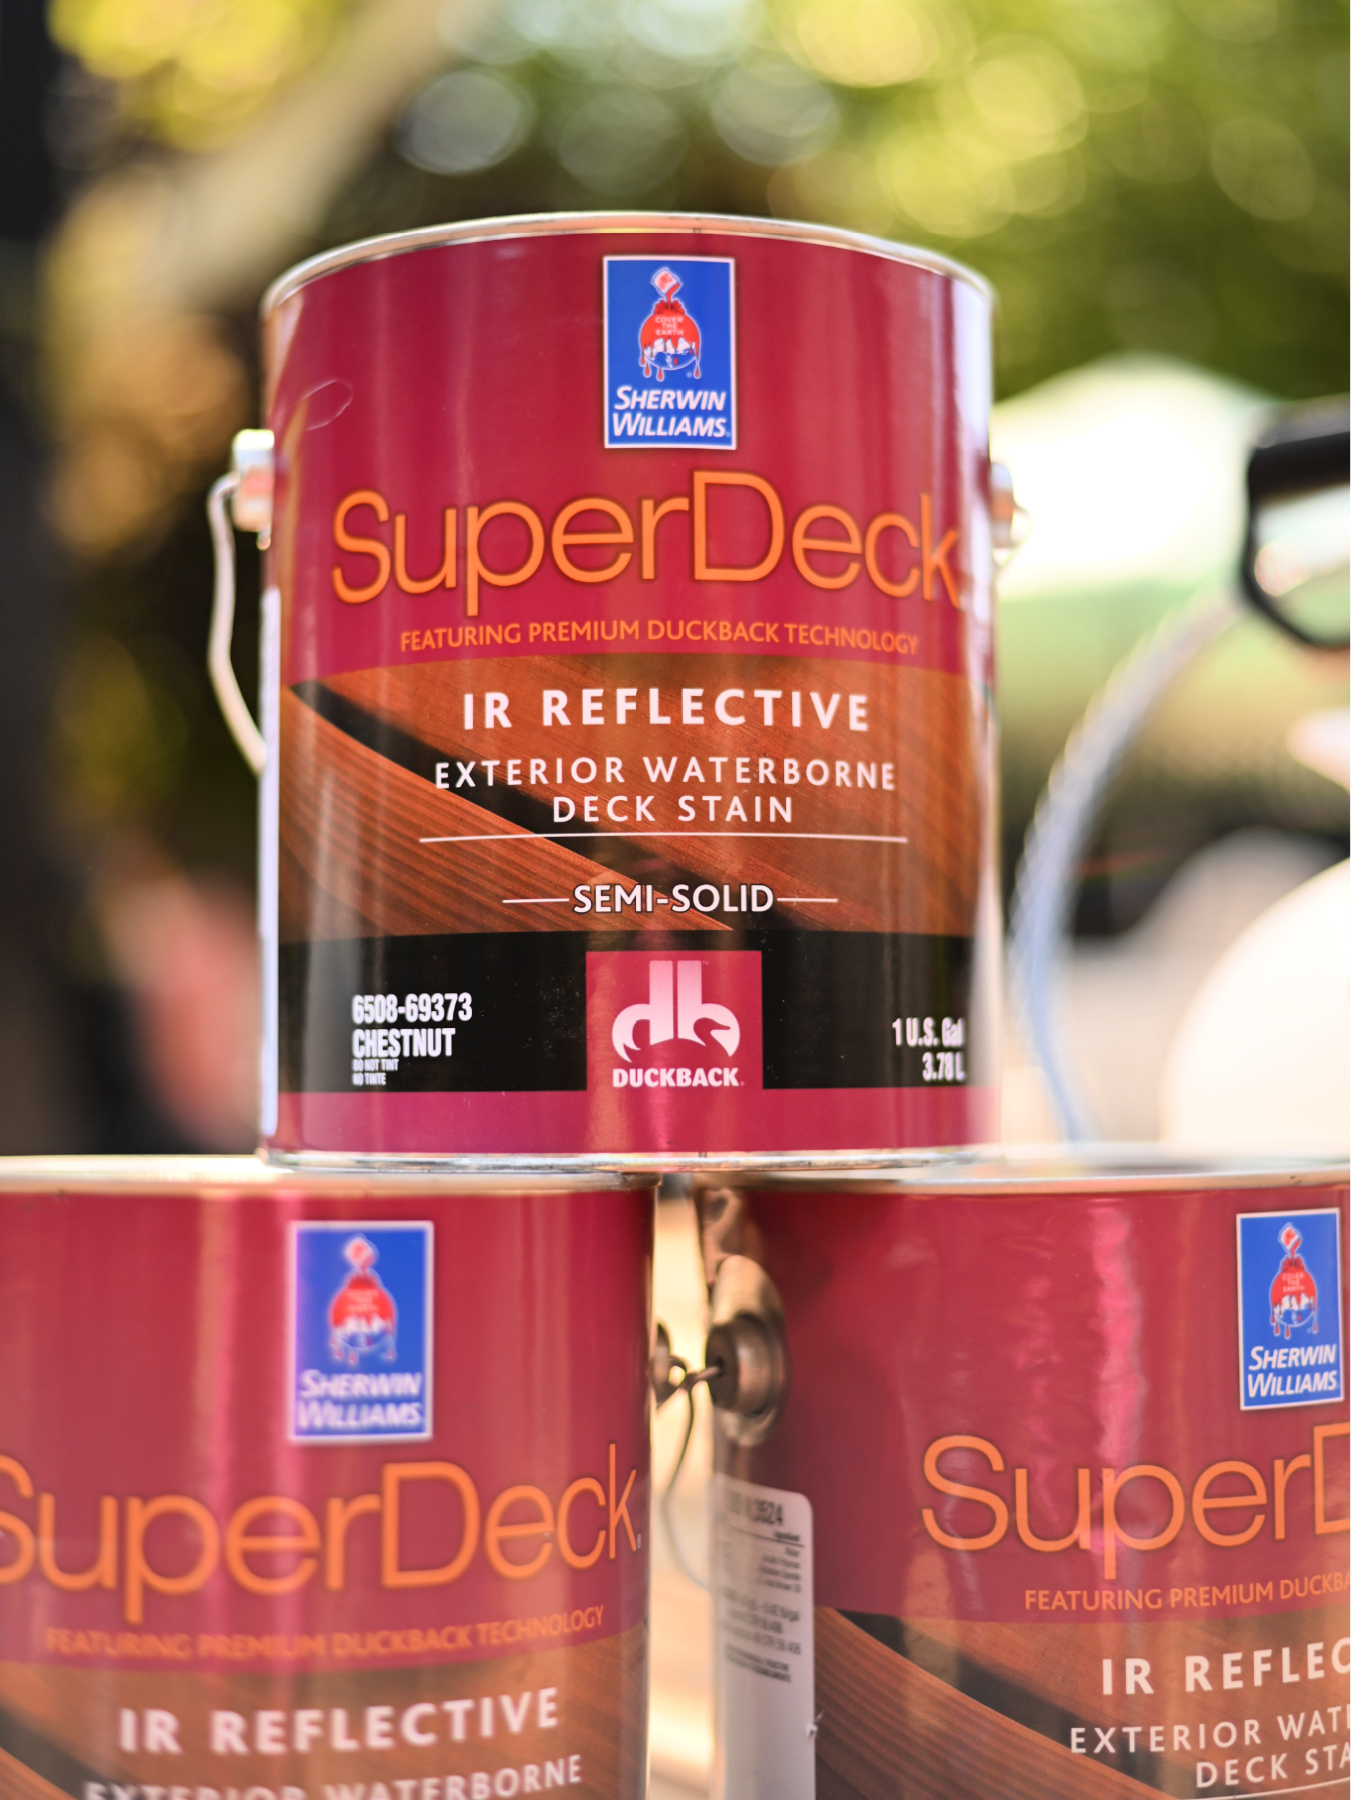
The SuperDeck stain comes in lots of color options and I chose the color Chestnut SW 3524. I wanted a deep rich brown and this color was perfect when I tested color swatches a couple of months prior. I swatched a small area one more time just to be sure this was the way I wanted to go.
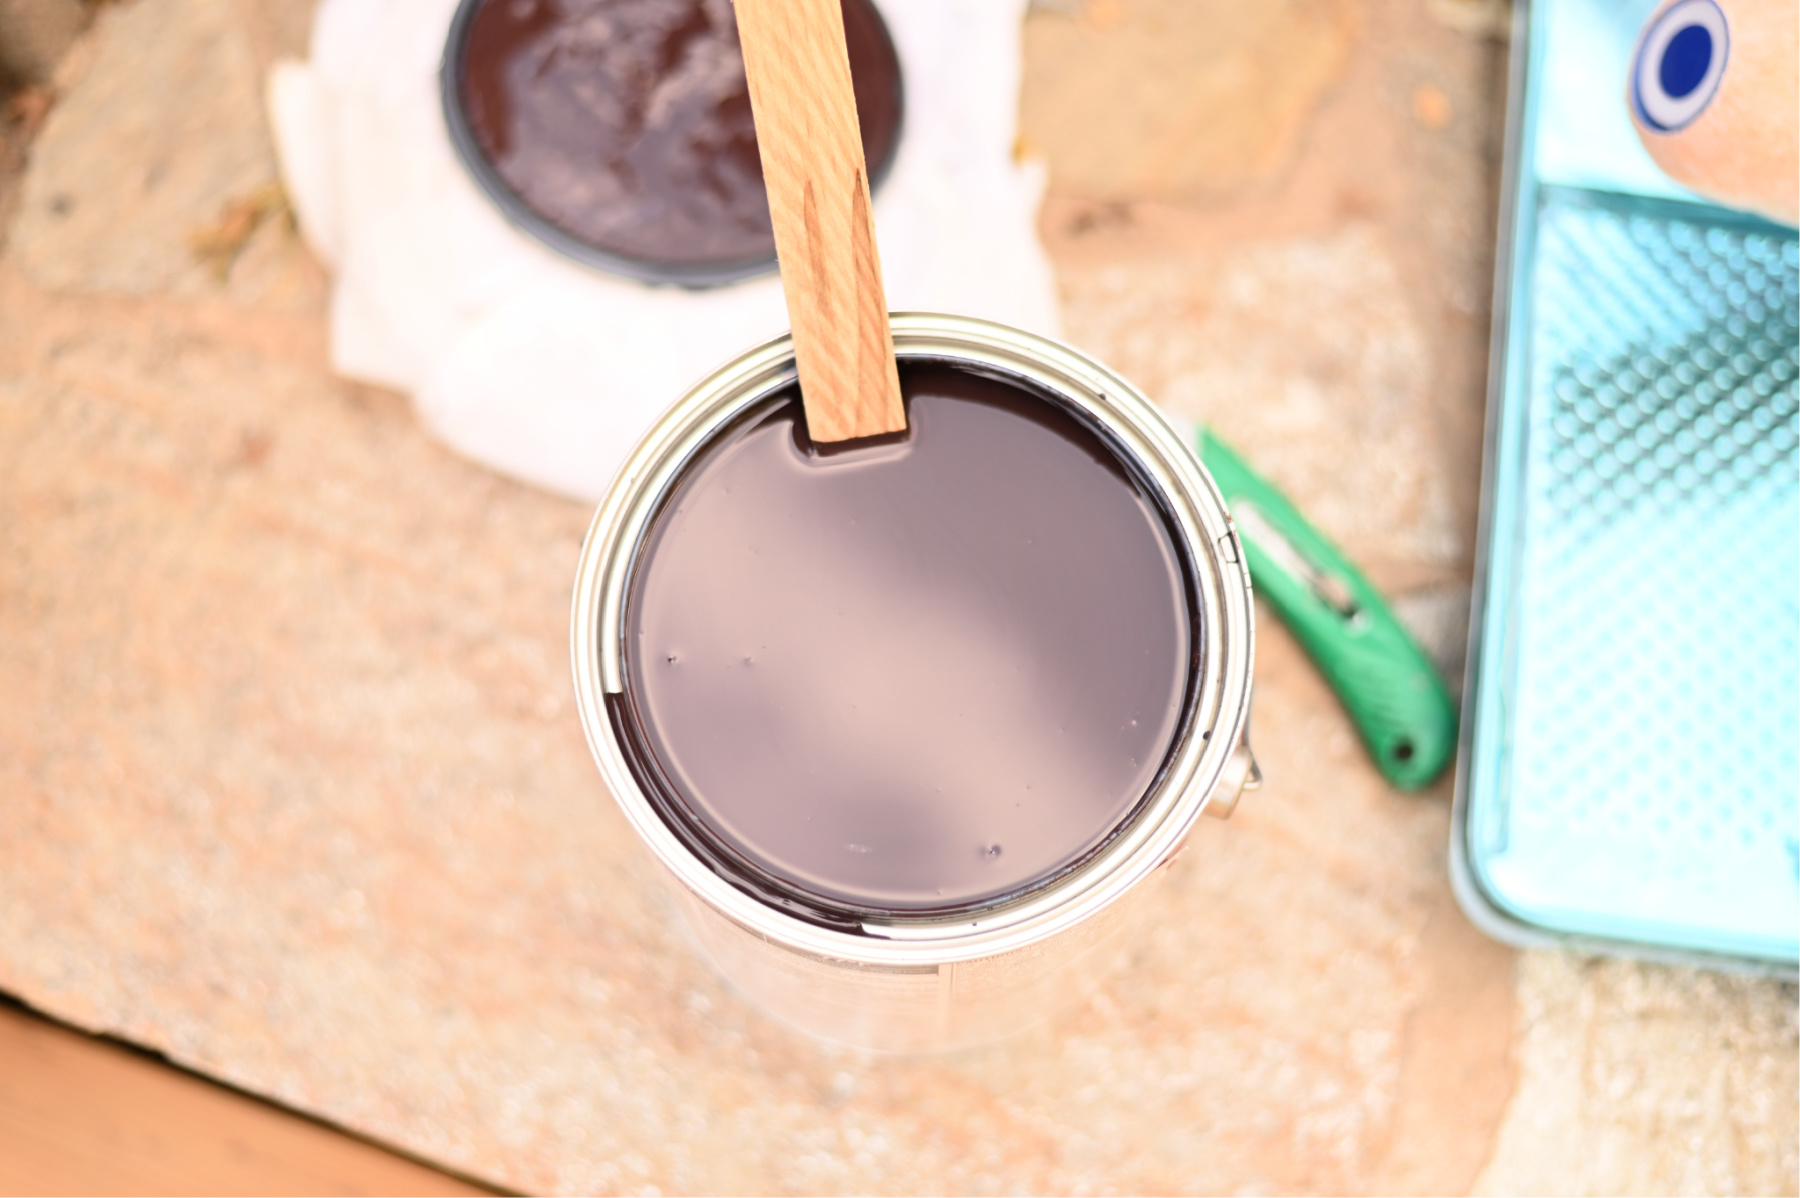
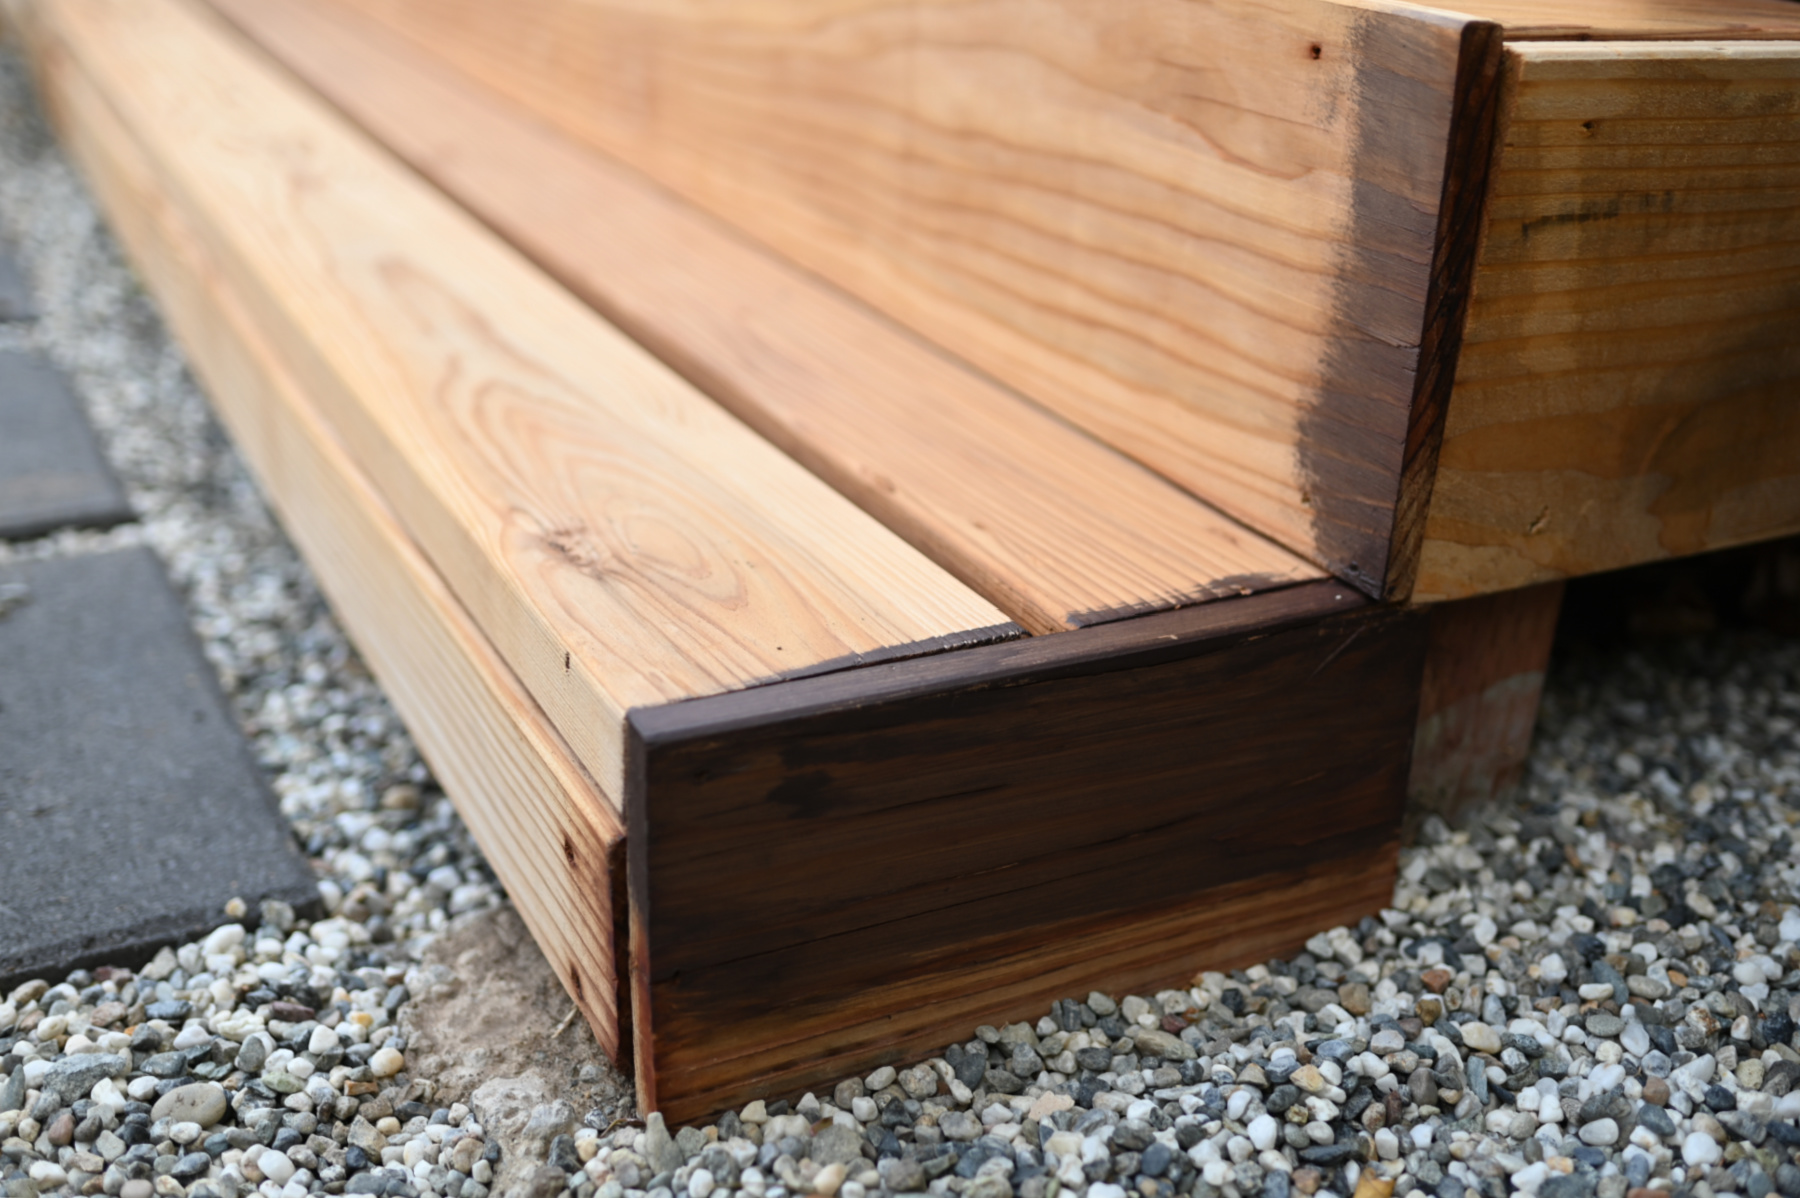
Now listen friends….your girl was scared to make that first brush stroke. Like super scared. We saved for a long time to have the deck built and the last thing I wanted to do was ruin it. This was a project that really challenged me to trust my vision and trust the process. I started by rolling on the stain with a short nap roller then used a 6 inch deck brush to gently back brush over it to smooth it out. Always applying with the direction of the grain.
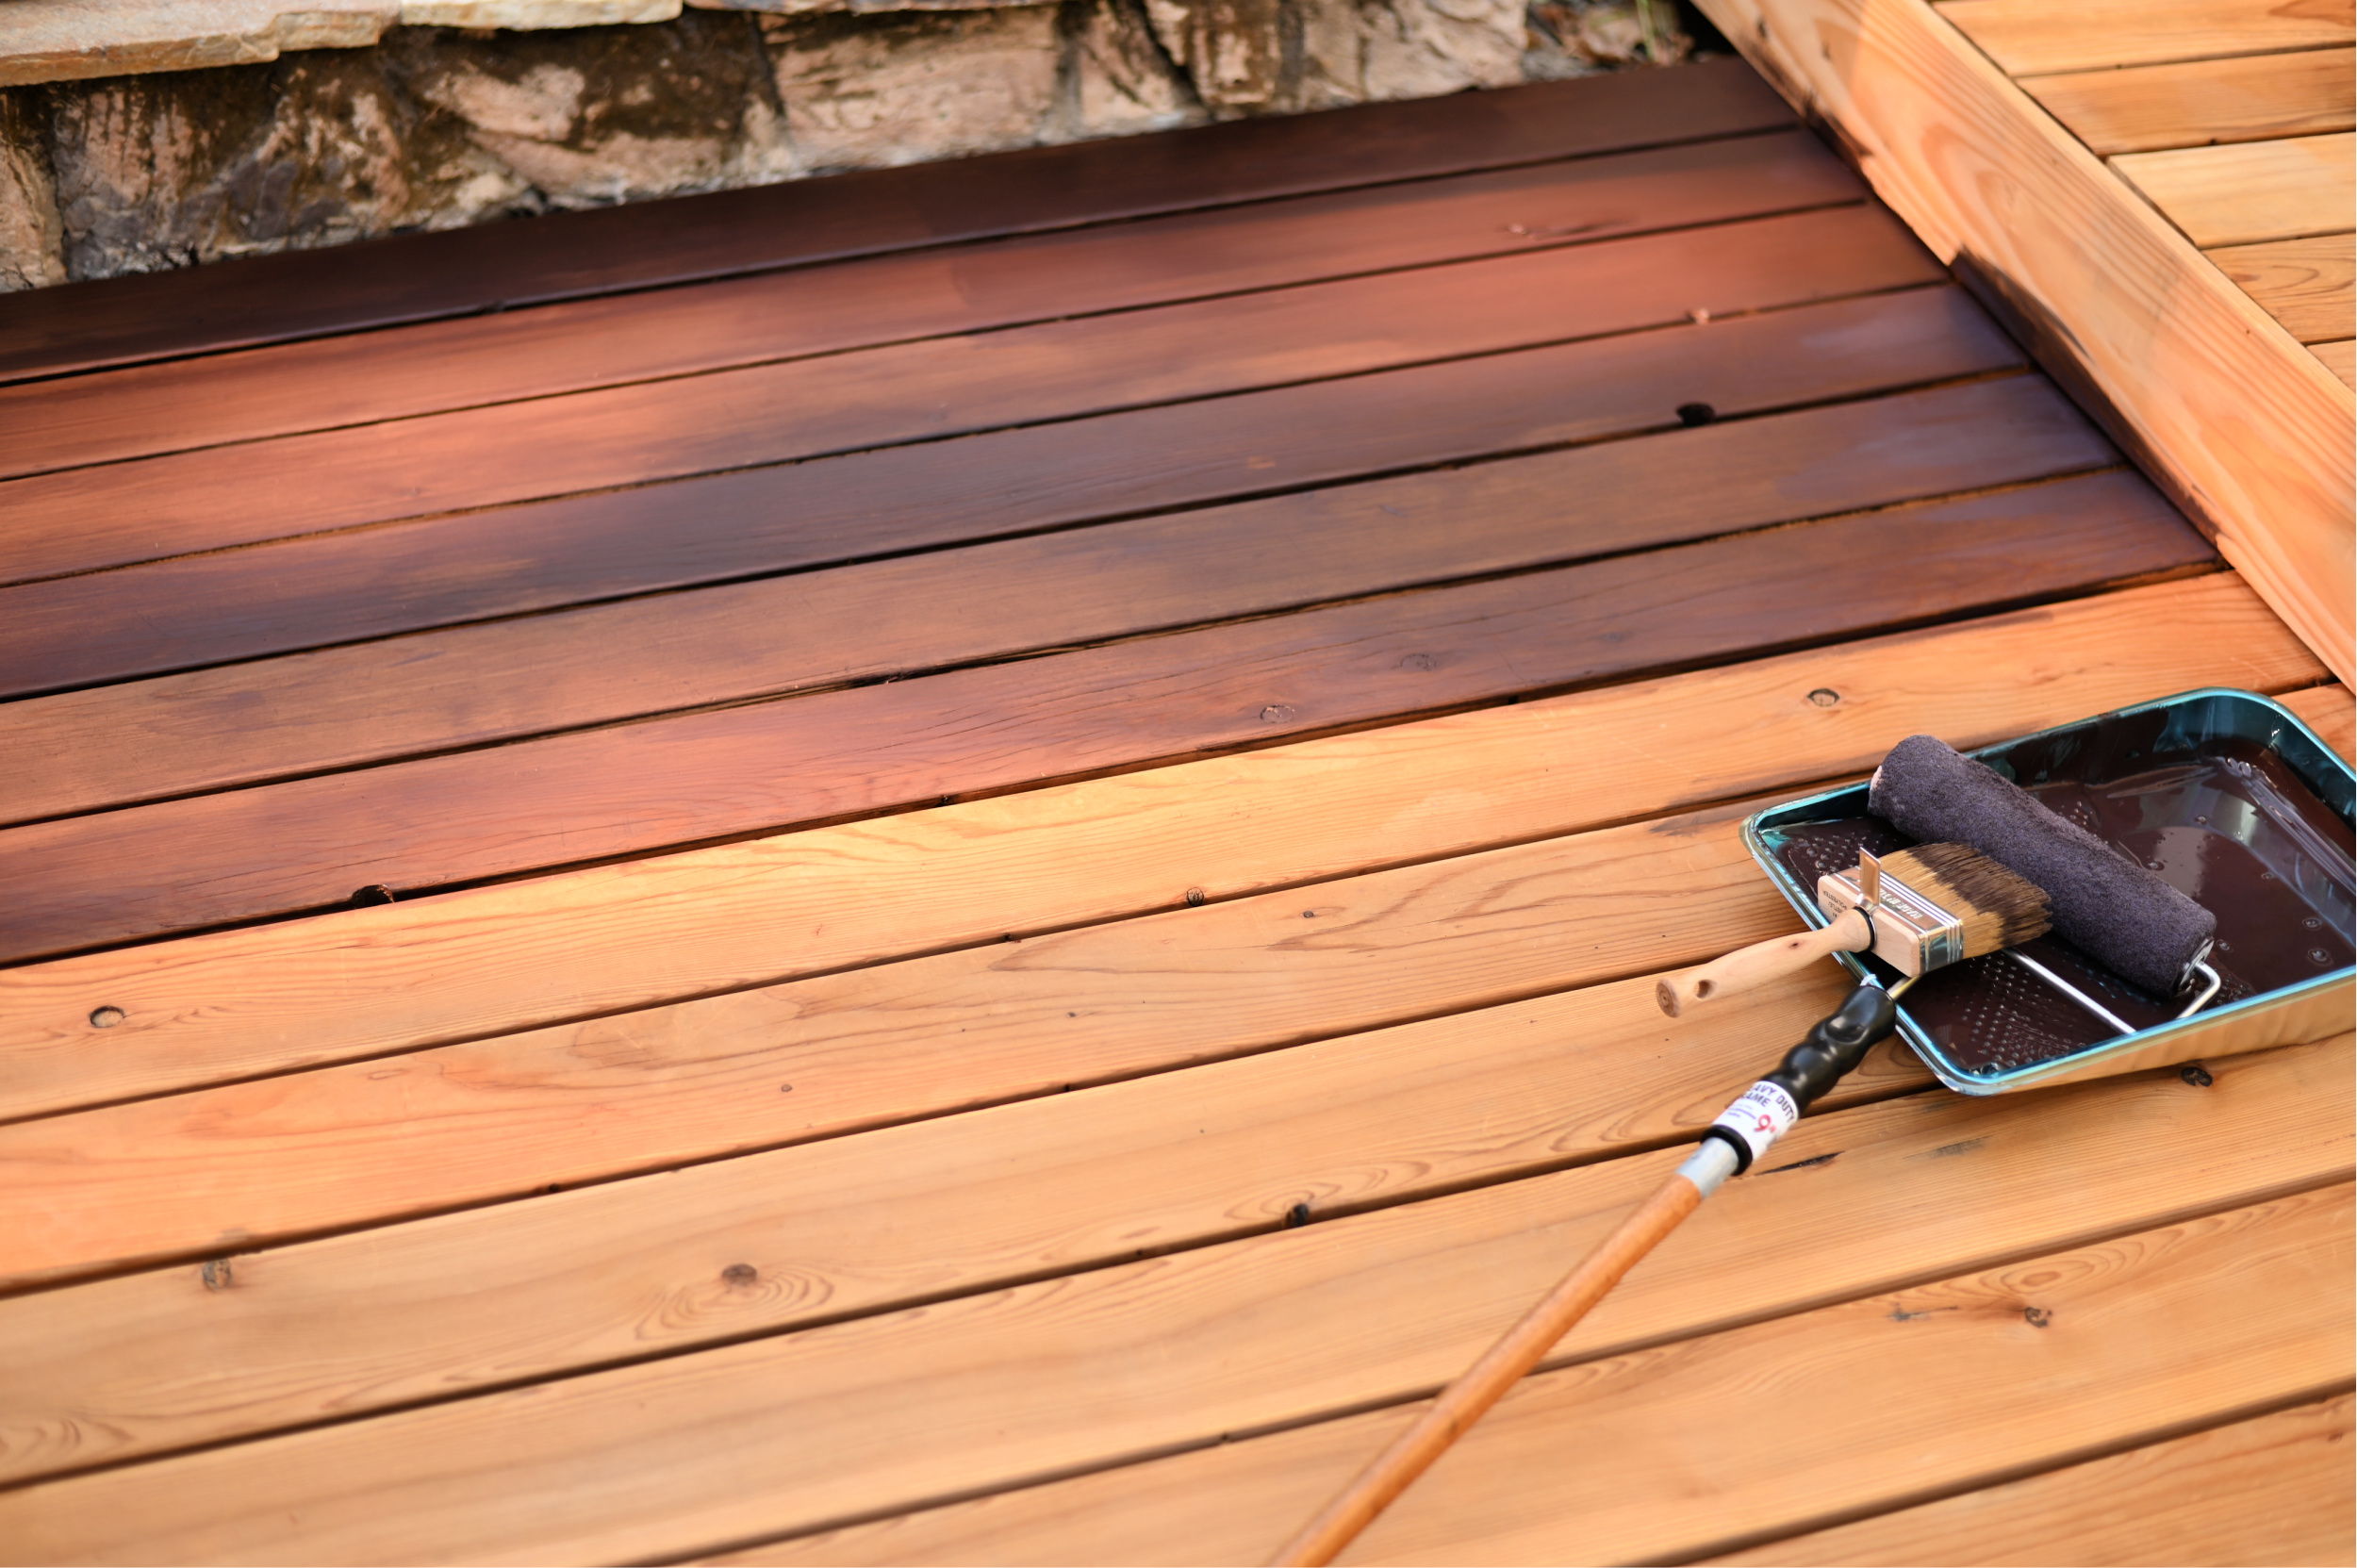
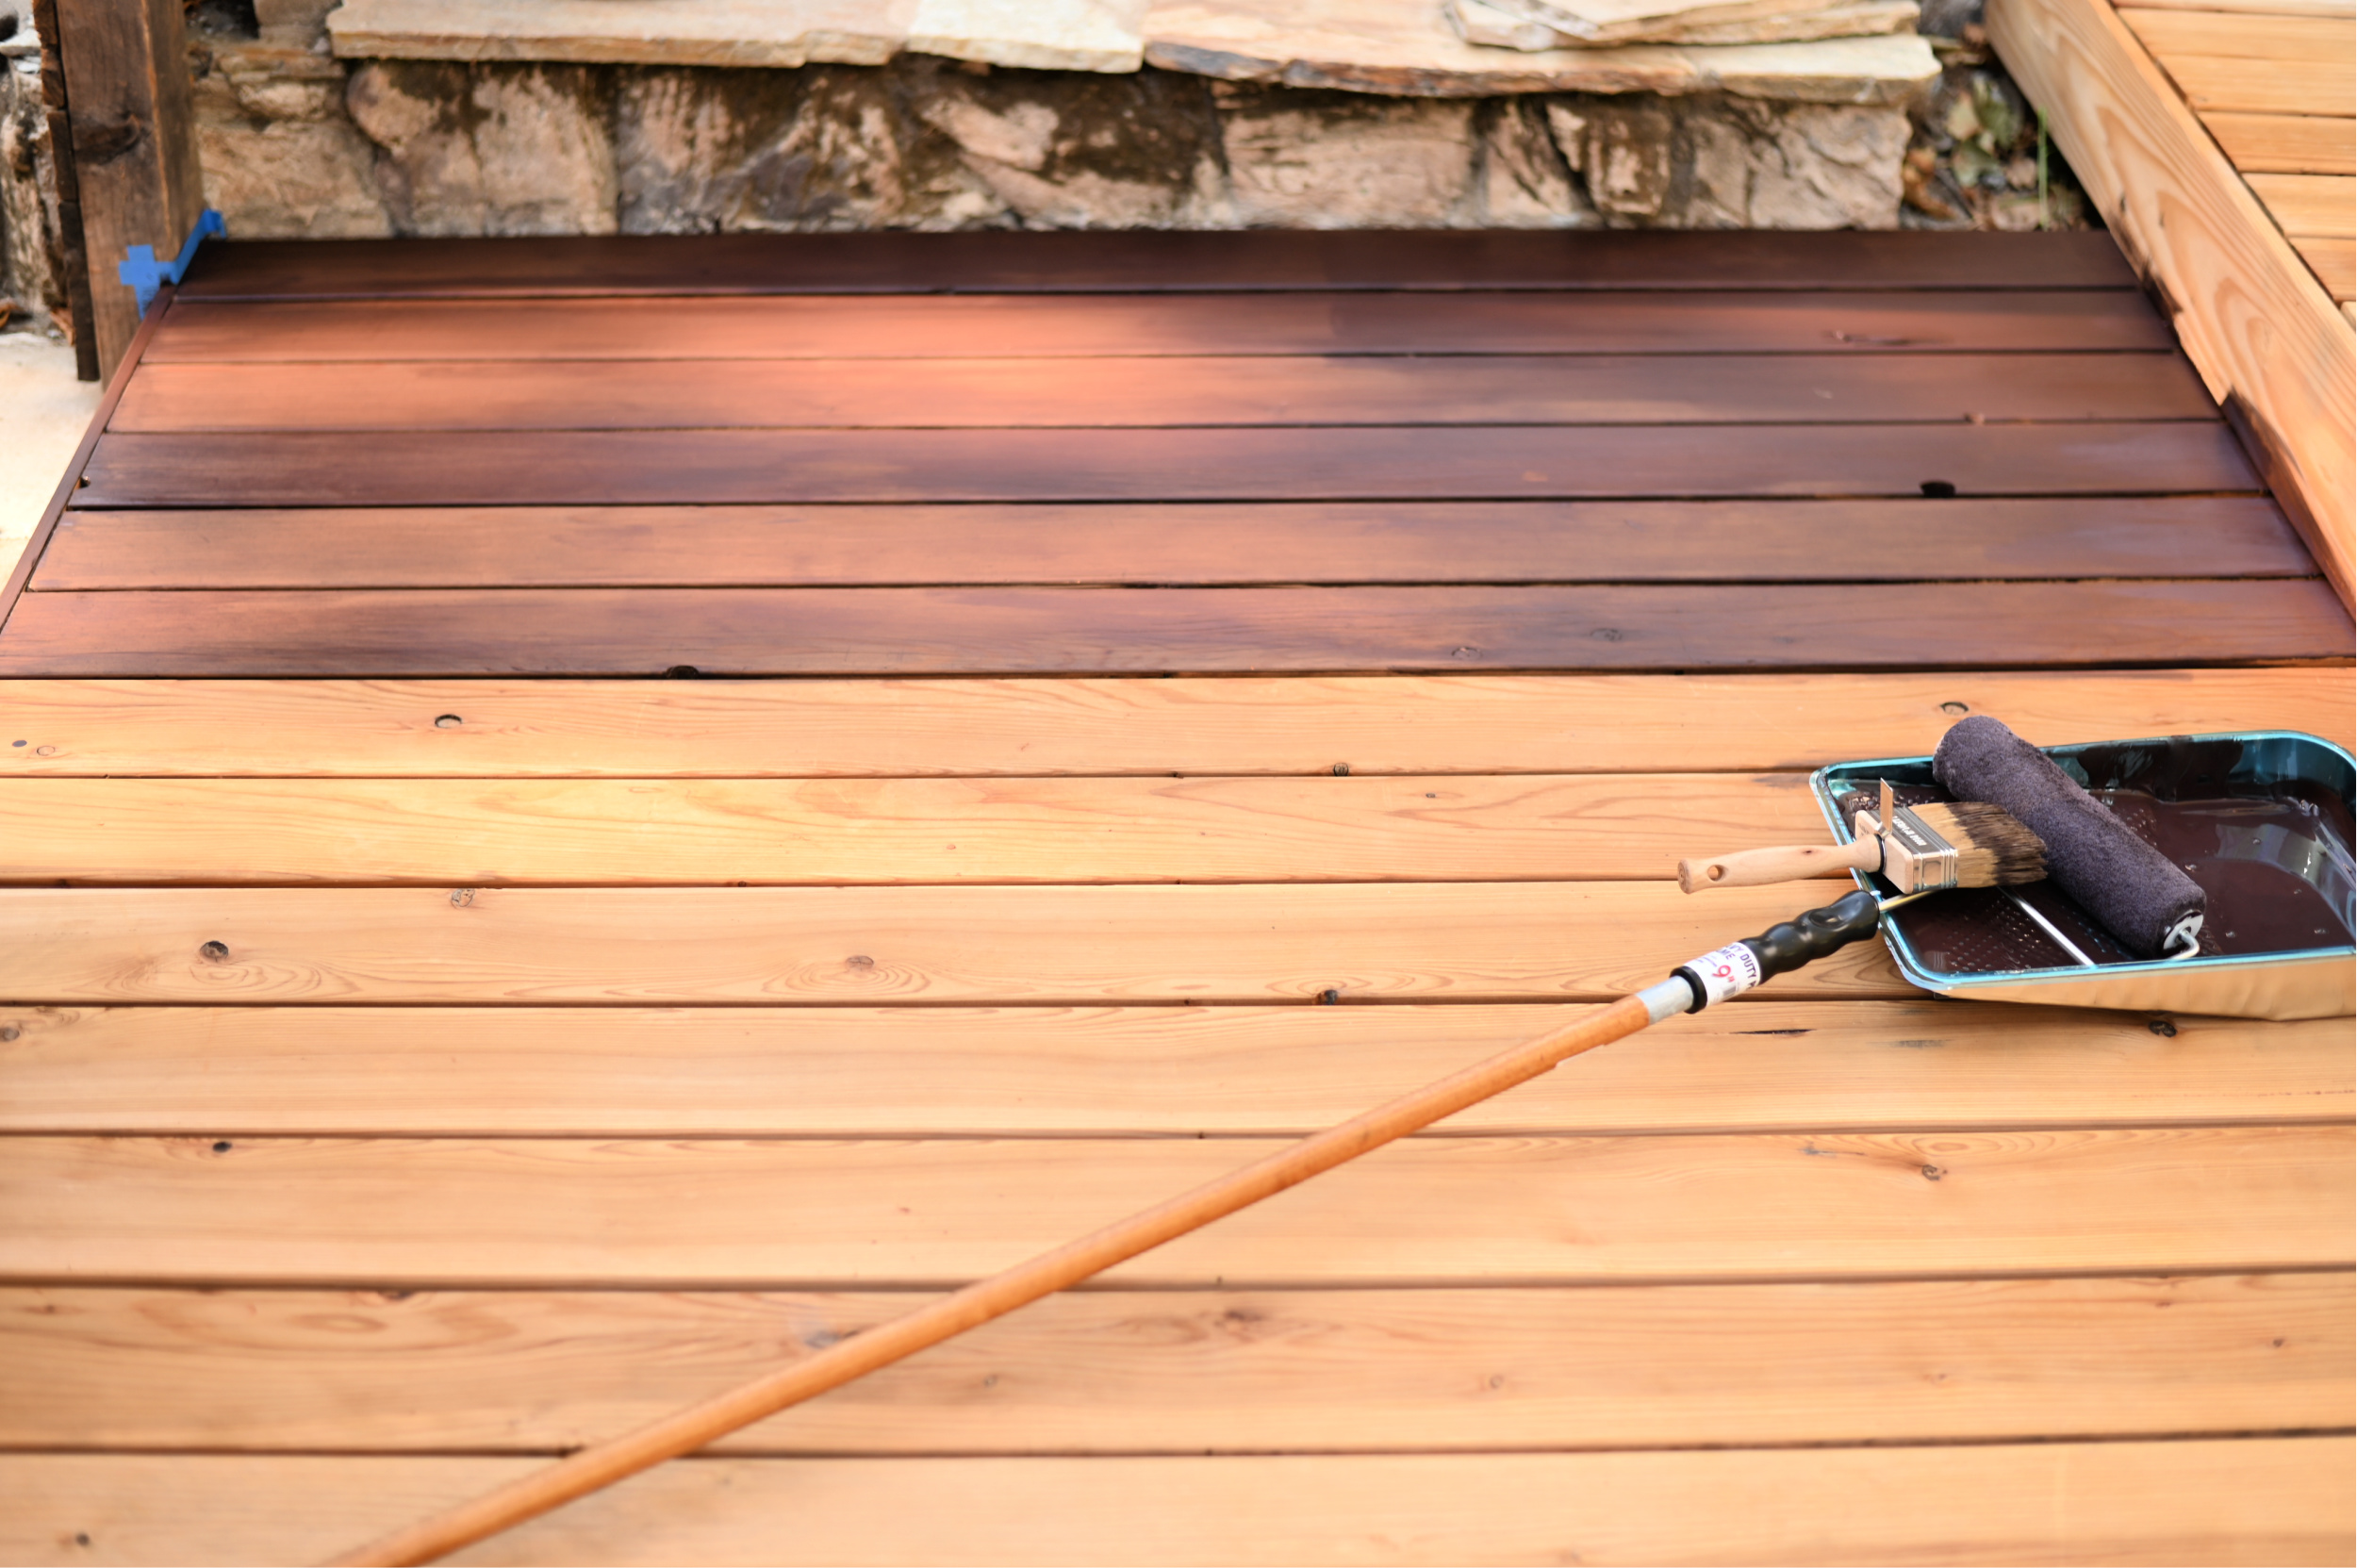
There was a bit of a learning curve when working with the stain because it was unlike using any other stain I’ve used before. You apply it like you would a paint and just roll/brush on the product without wiping off the color after allowing it to sit on the wood for a few minutes. It took me a little while to get my bearings with it, but once I did it was smooth sailing. I was also working against the heat so I had to move pretty quickly. After the first day I realized I preferred just applying the stain using a brush so I pulled out some of my other workhorse brushes (Purdy’s are my FAVE!) and used them for the duration of the project.

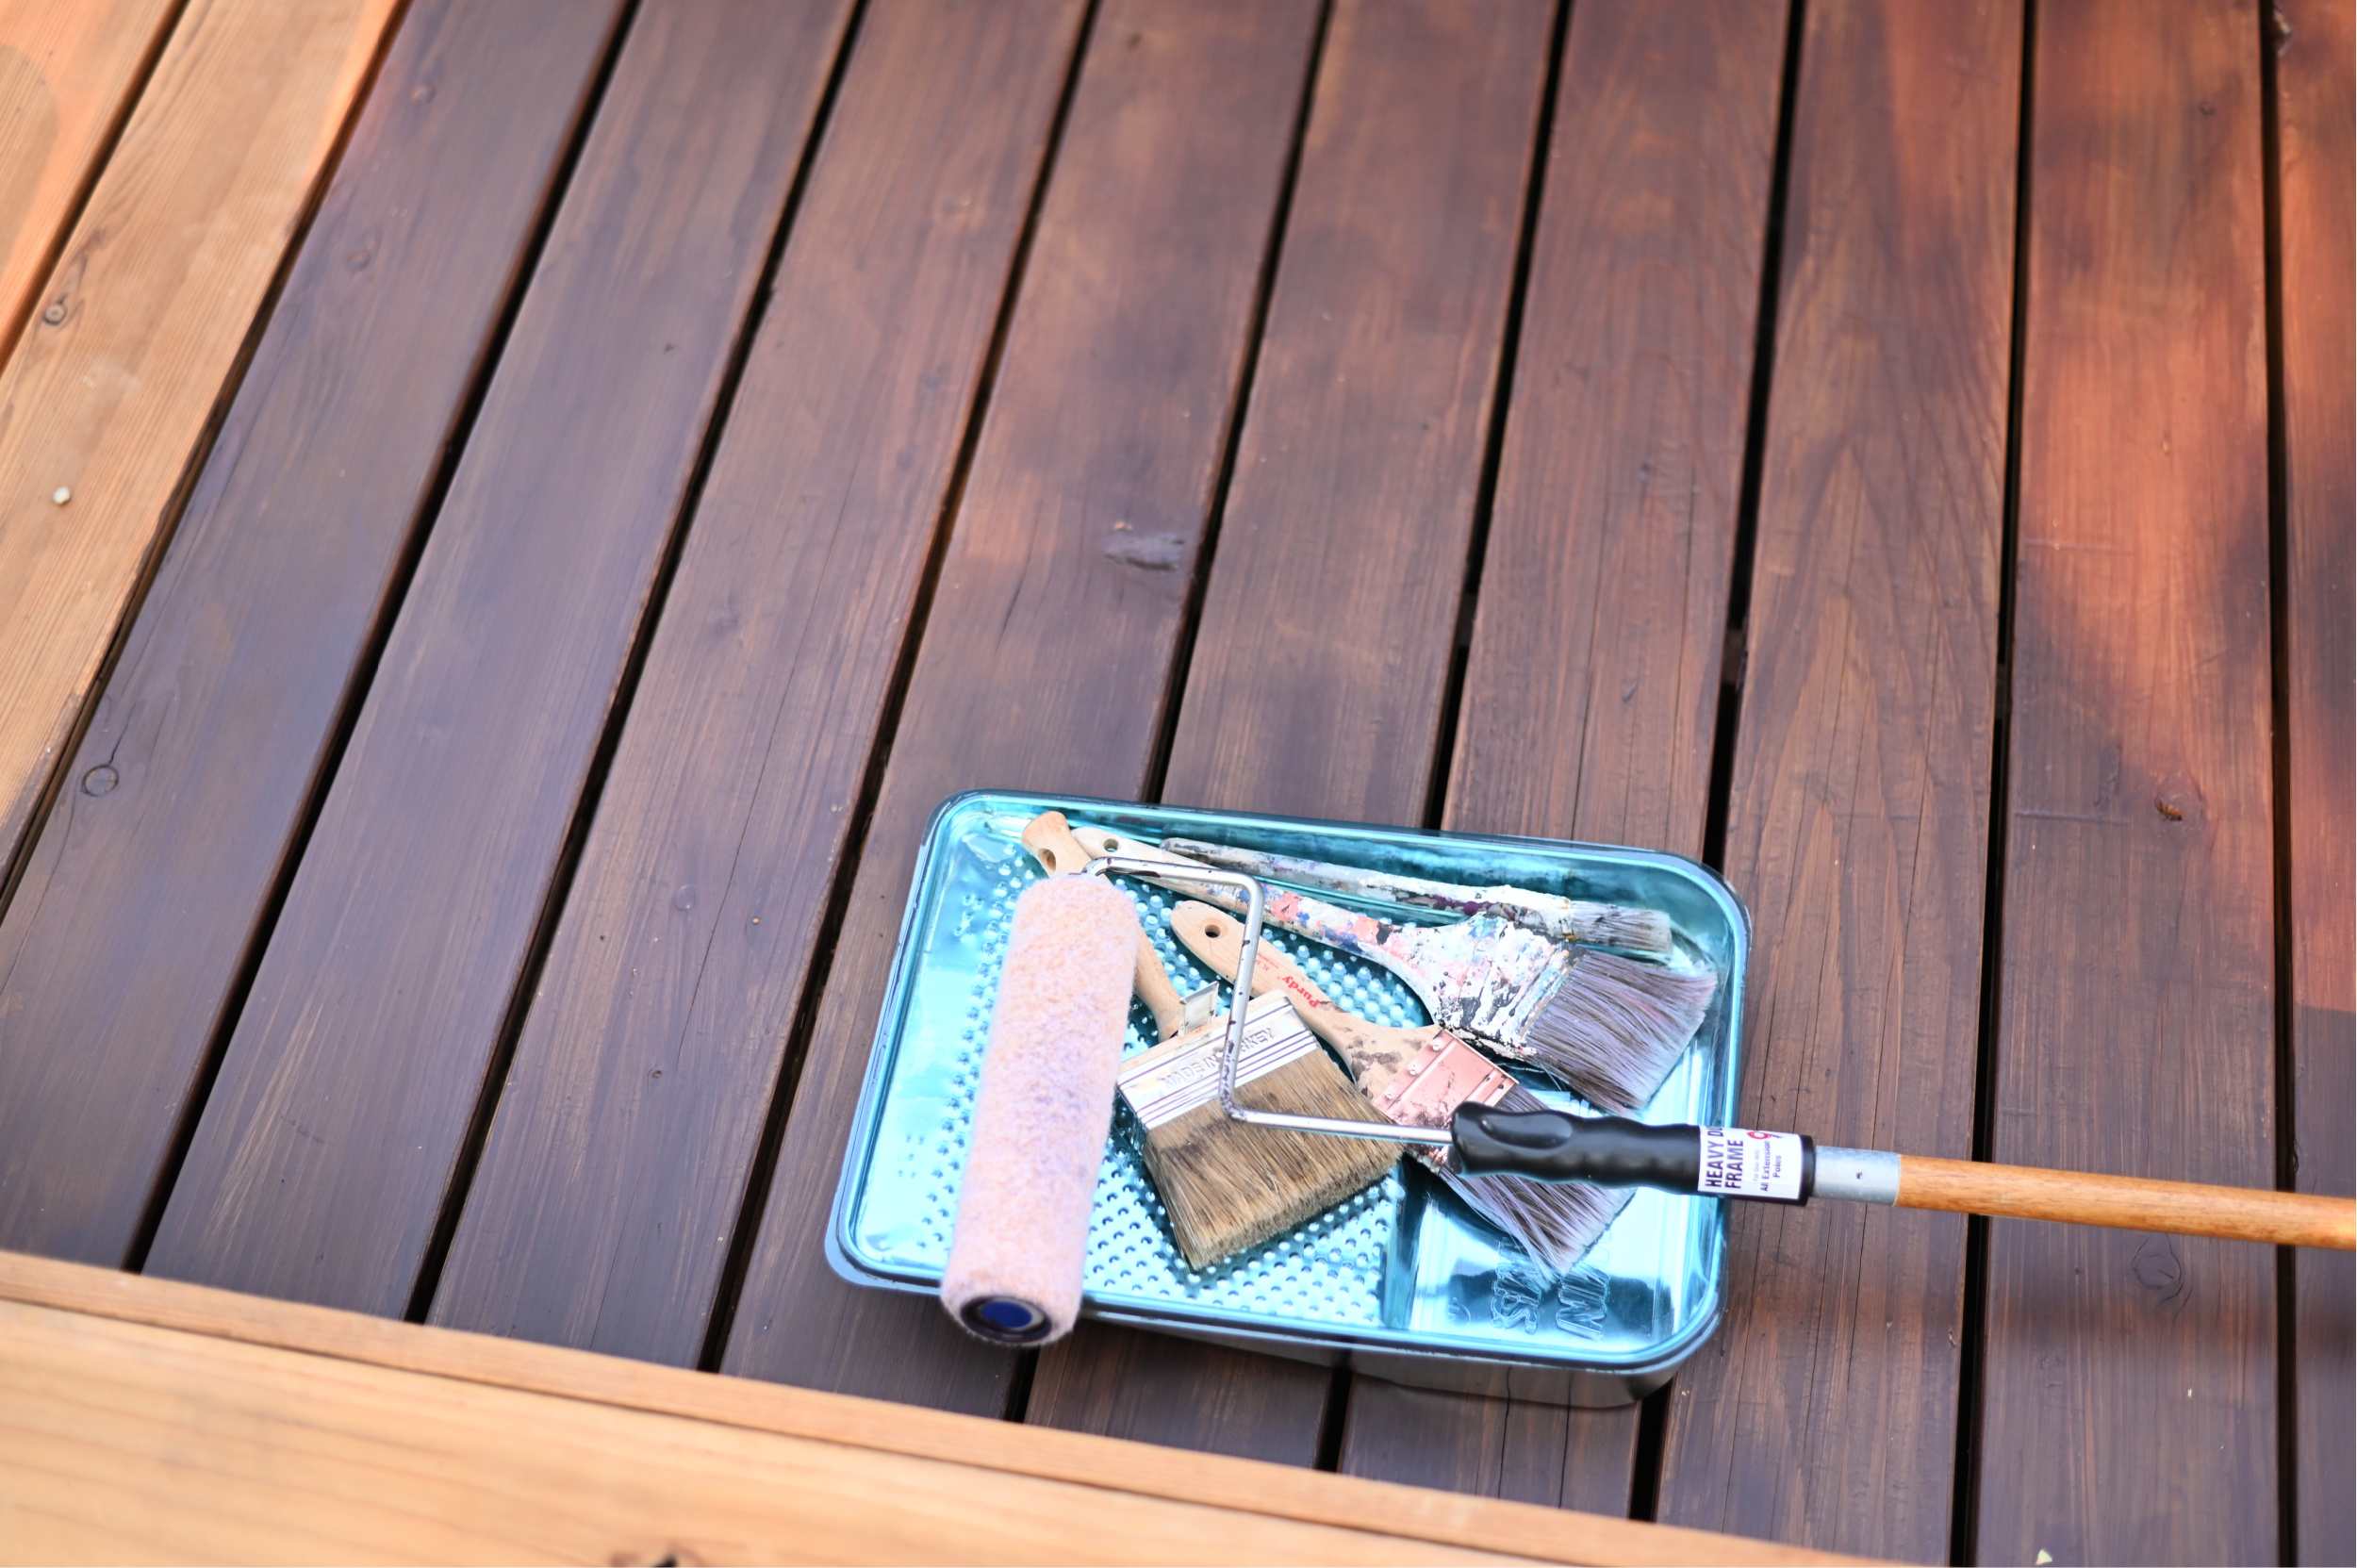
Y’all the next time I get the crazy idea to stain a deck again please save me from myself! When I tell you this took FOREVER!!! I had no idea just how big the deck was until I had to stain it. By hand. Board by board. It’s massive and it took much longer than I anticipated just because of its size. Also I could only work on it for a short amount of time in the early morning and later in the evening when the temperatures outside were under 90 degrees. I would recommend you take on a deck staining project in either fall or spring when the weather isn’t too hot or too cold…just be sure there’s no rain in the forecast. And don’t even get me started on having to brush between every. single. board.
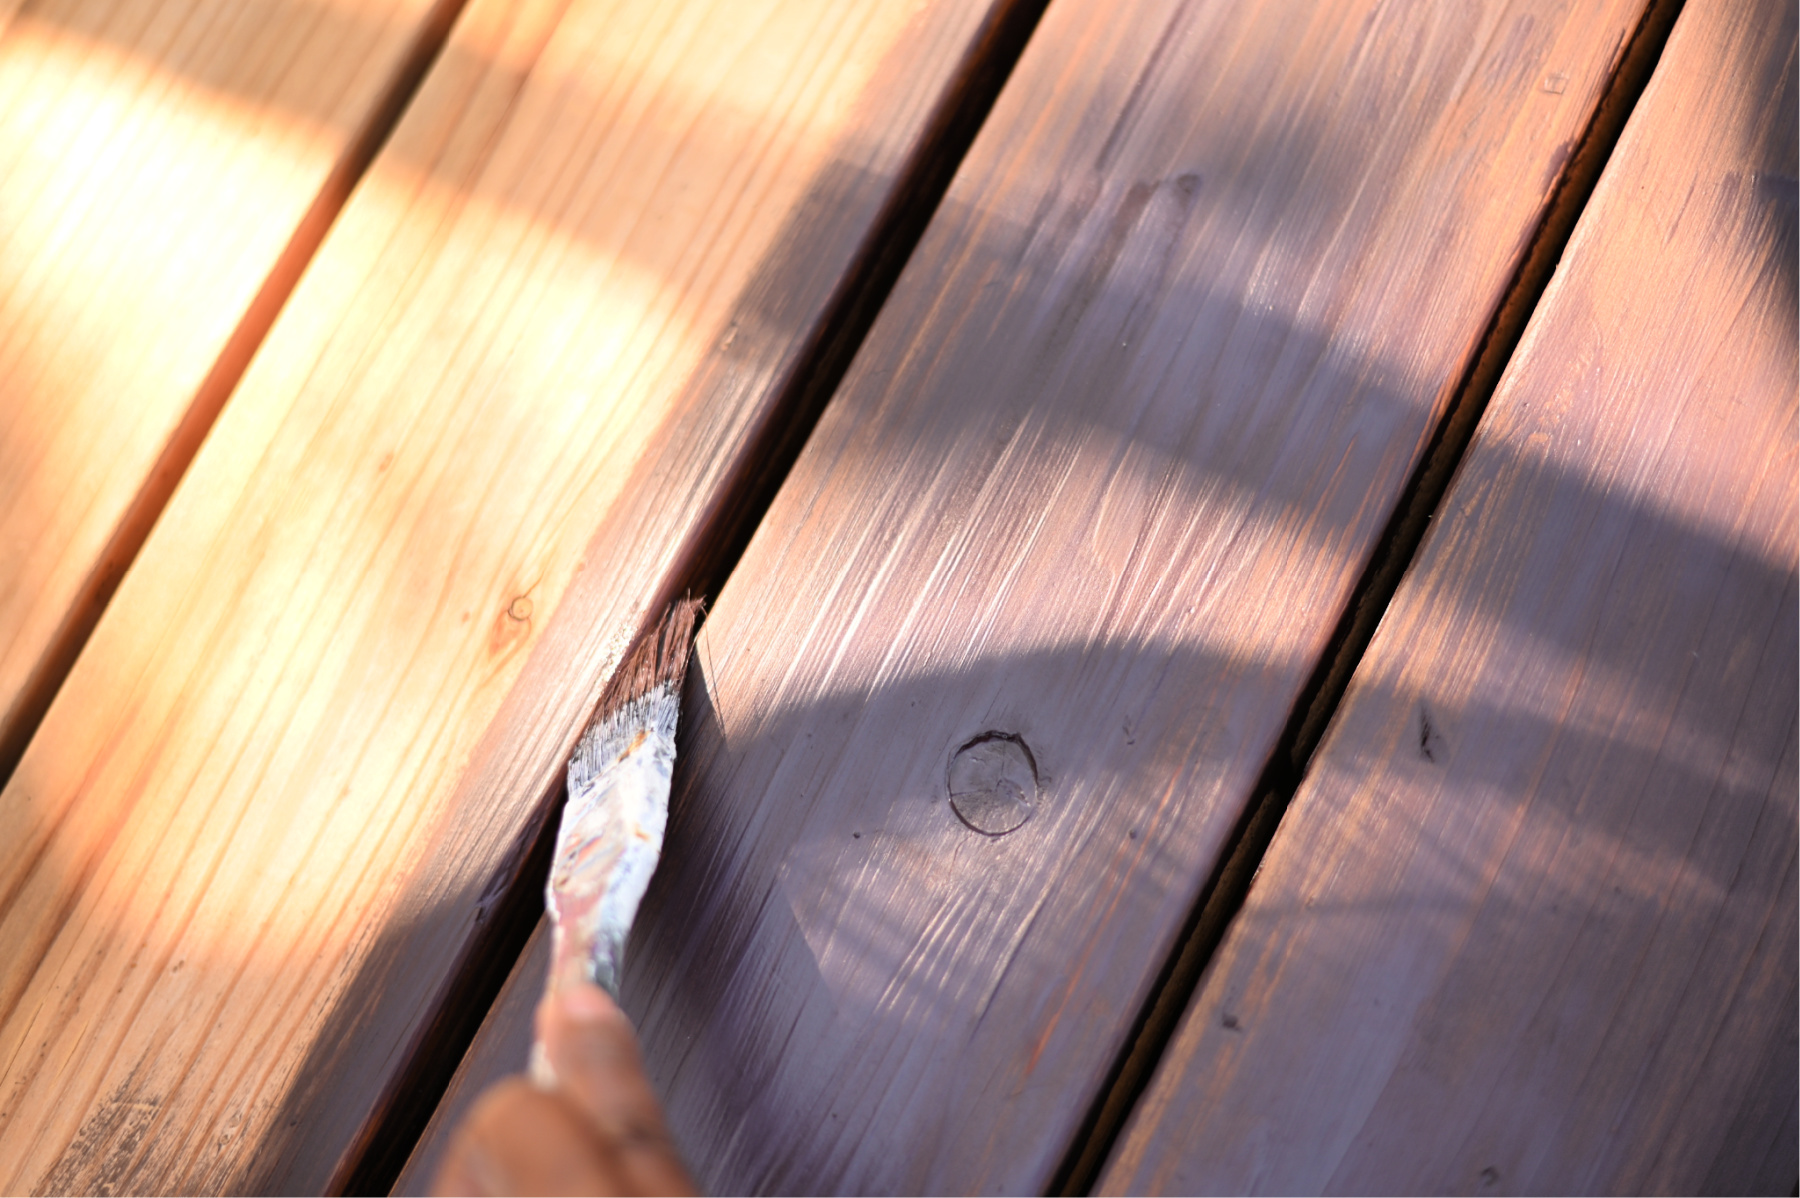
It took a couple of days, but I finally got the first coat finished. I really wanted to take my time so I could get a nice even finished result. Little by little I could see the vision starting to come together.
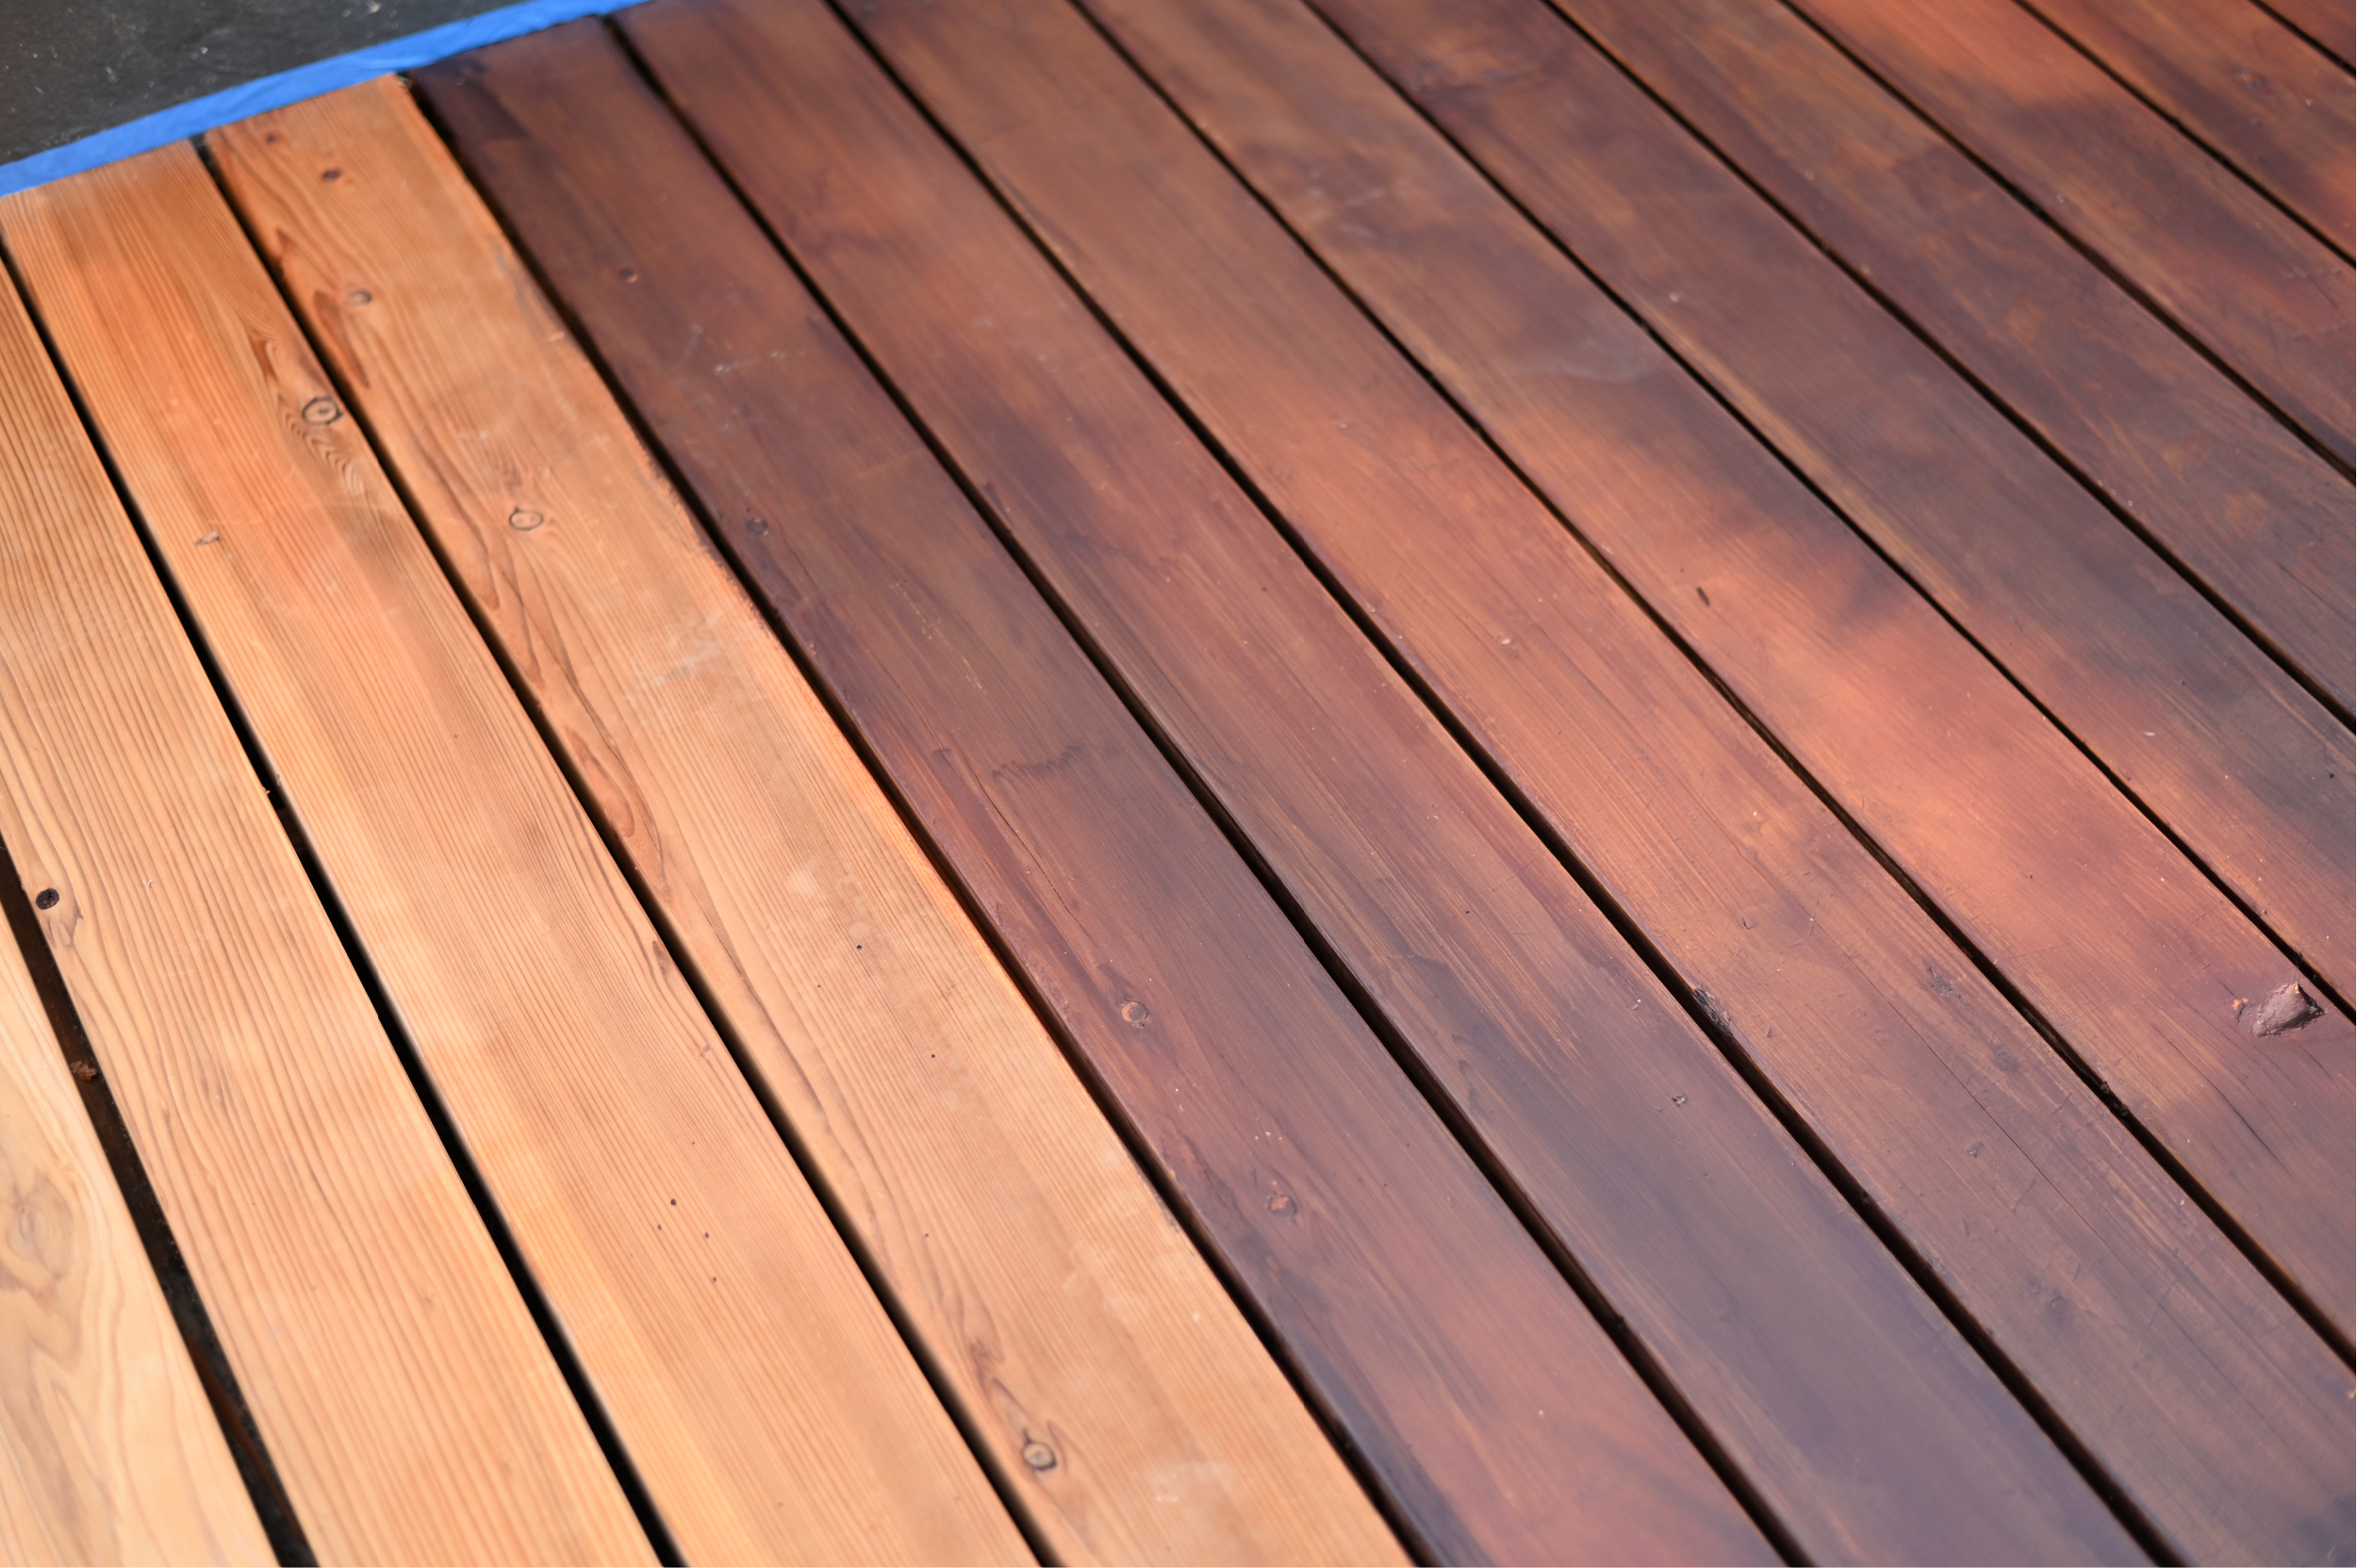
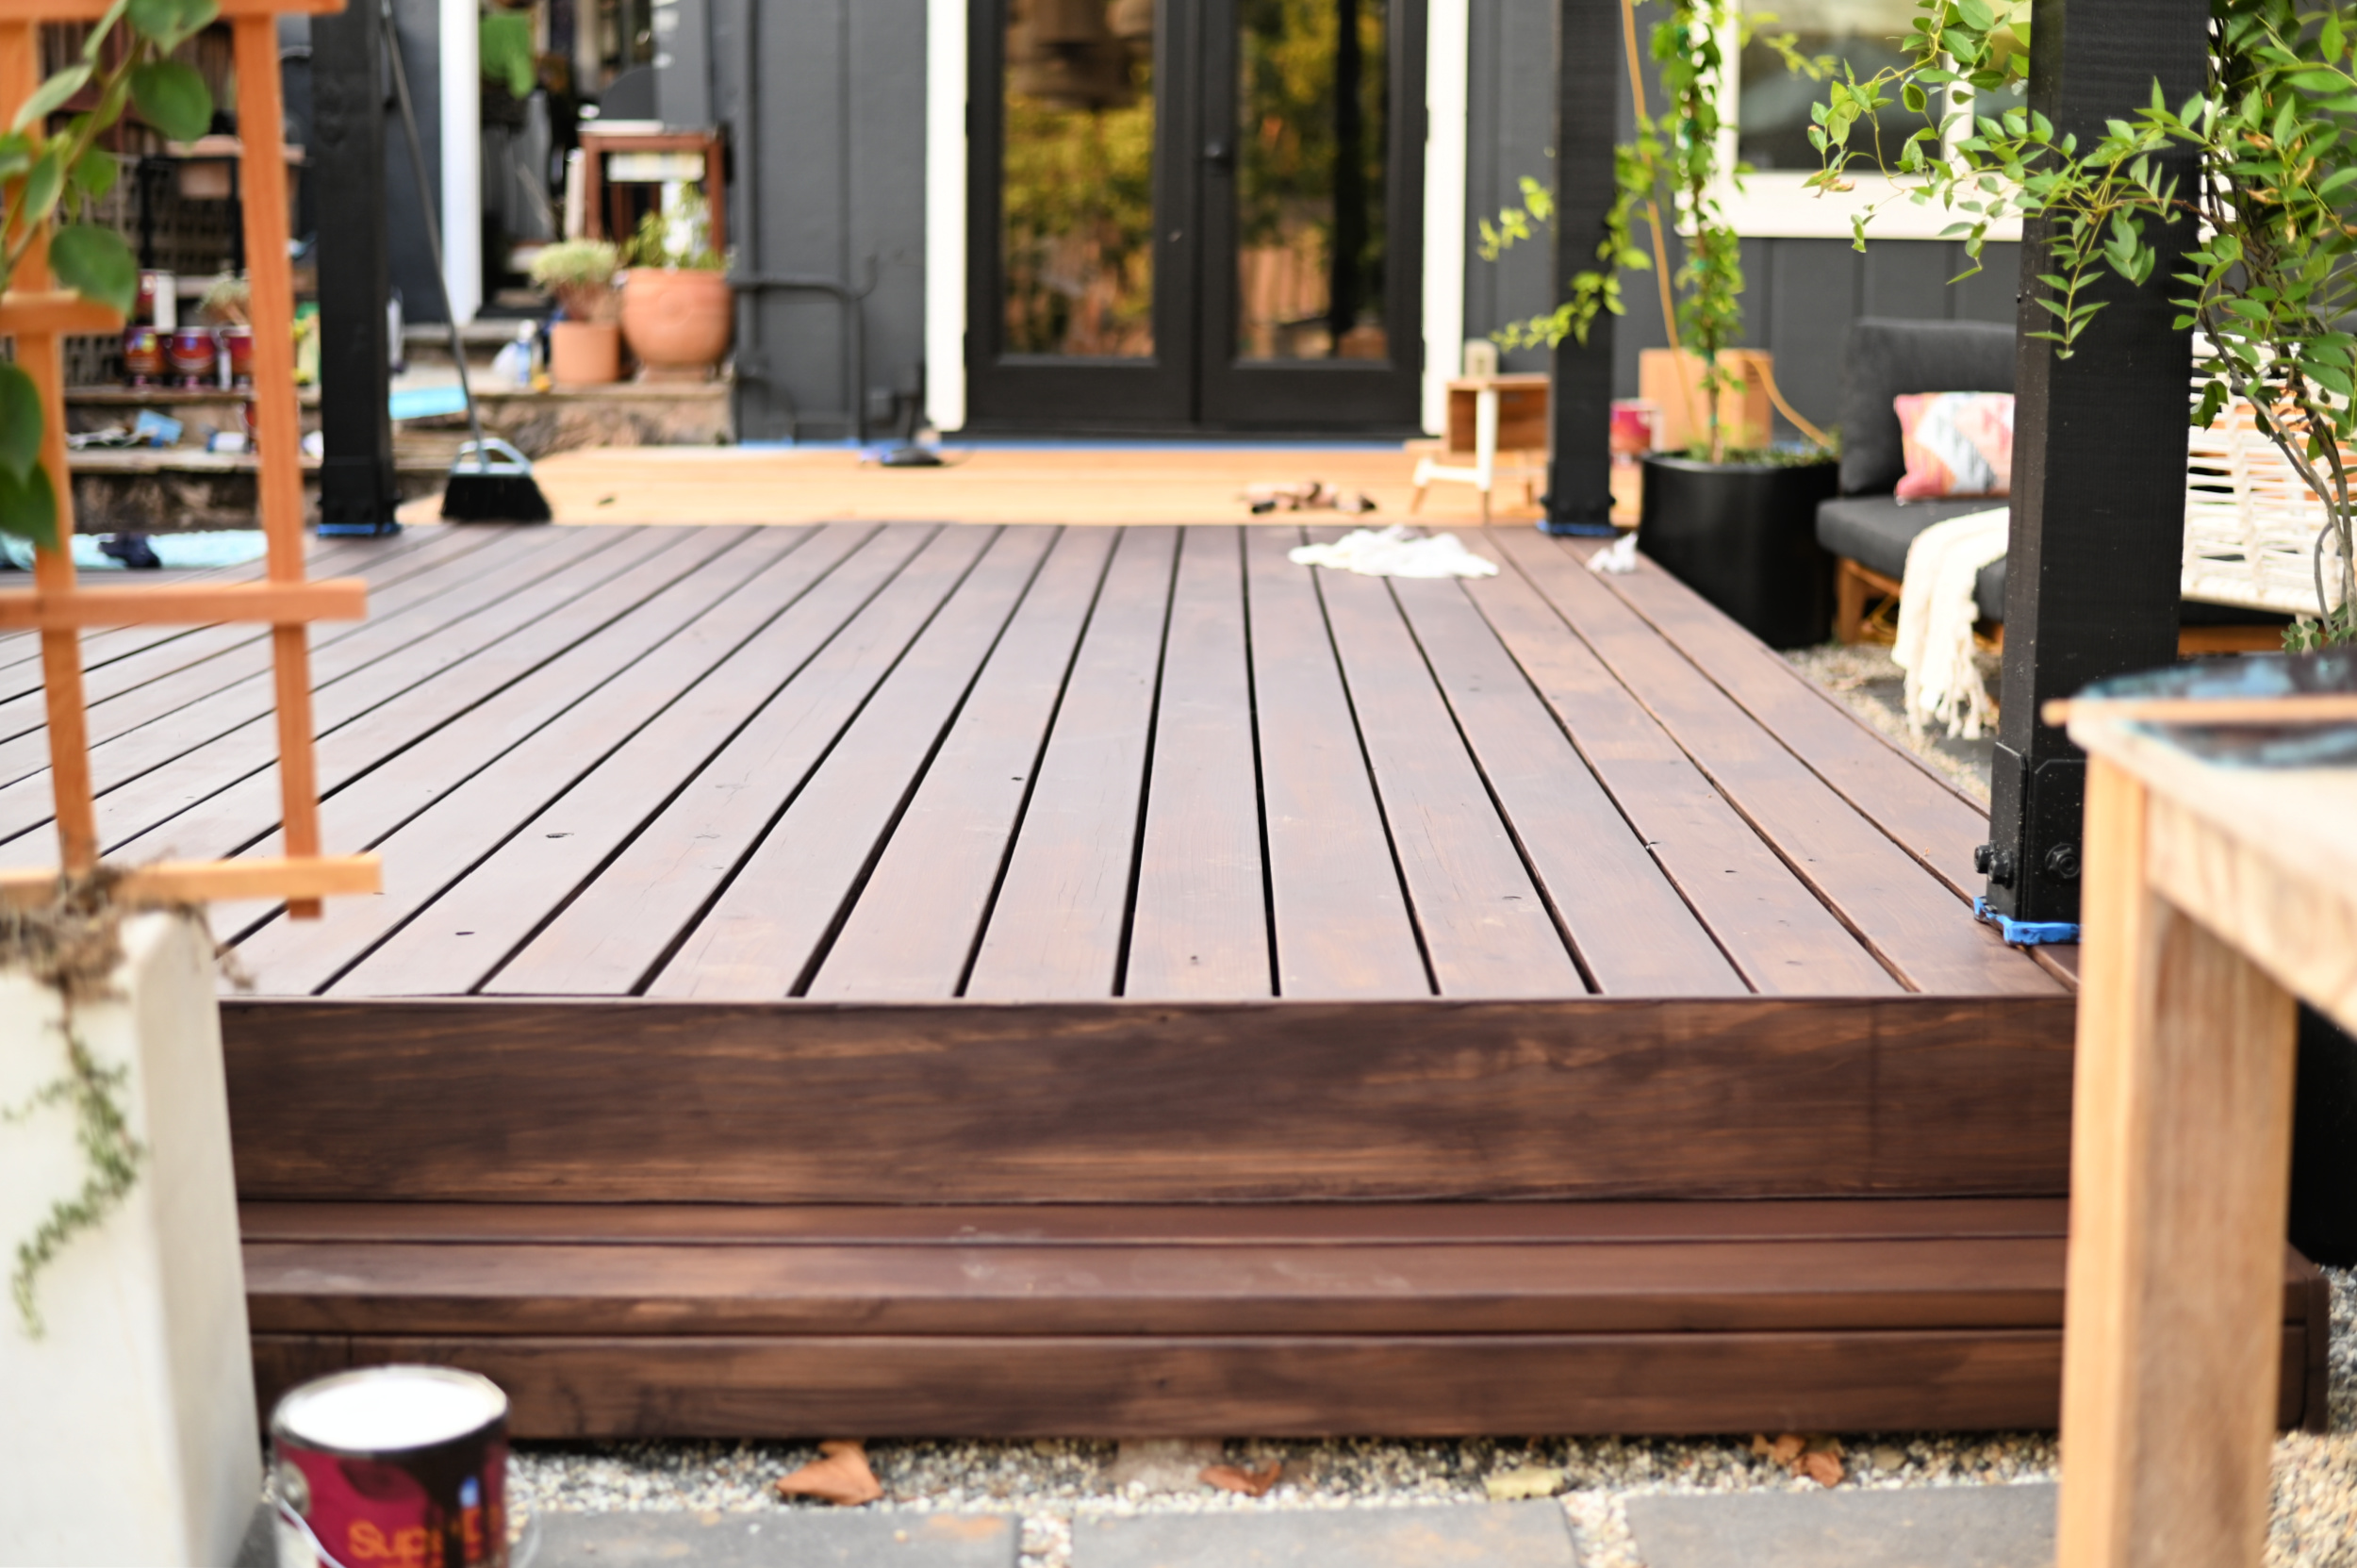
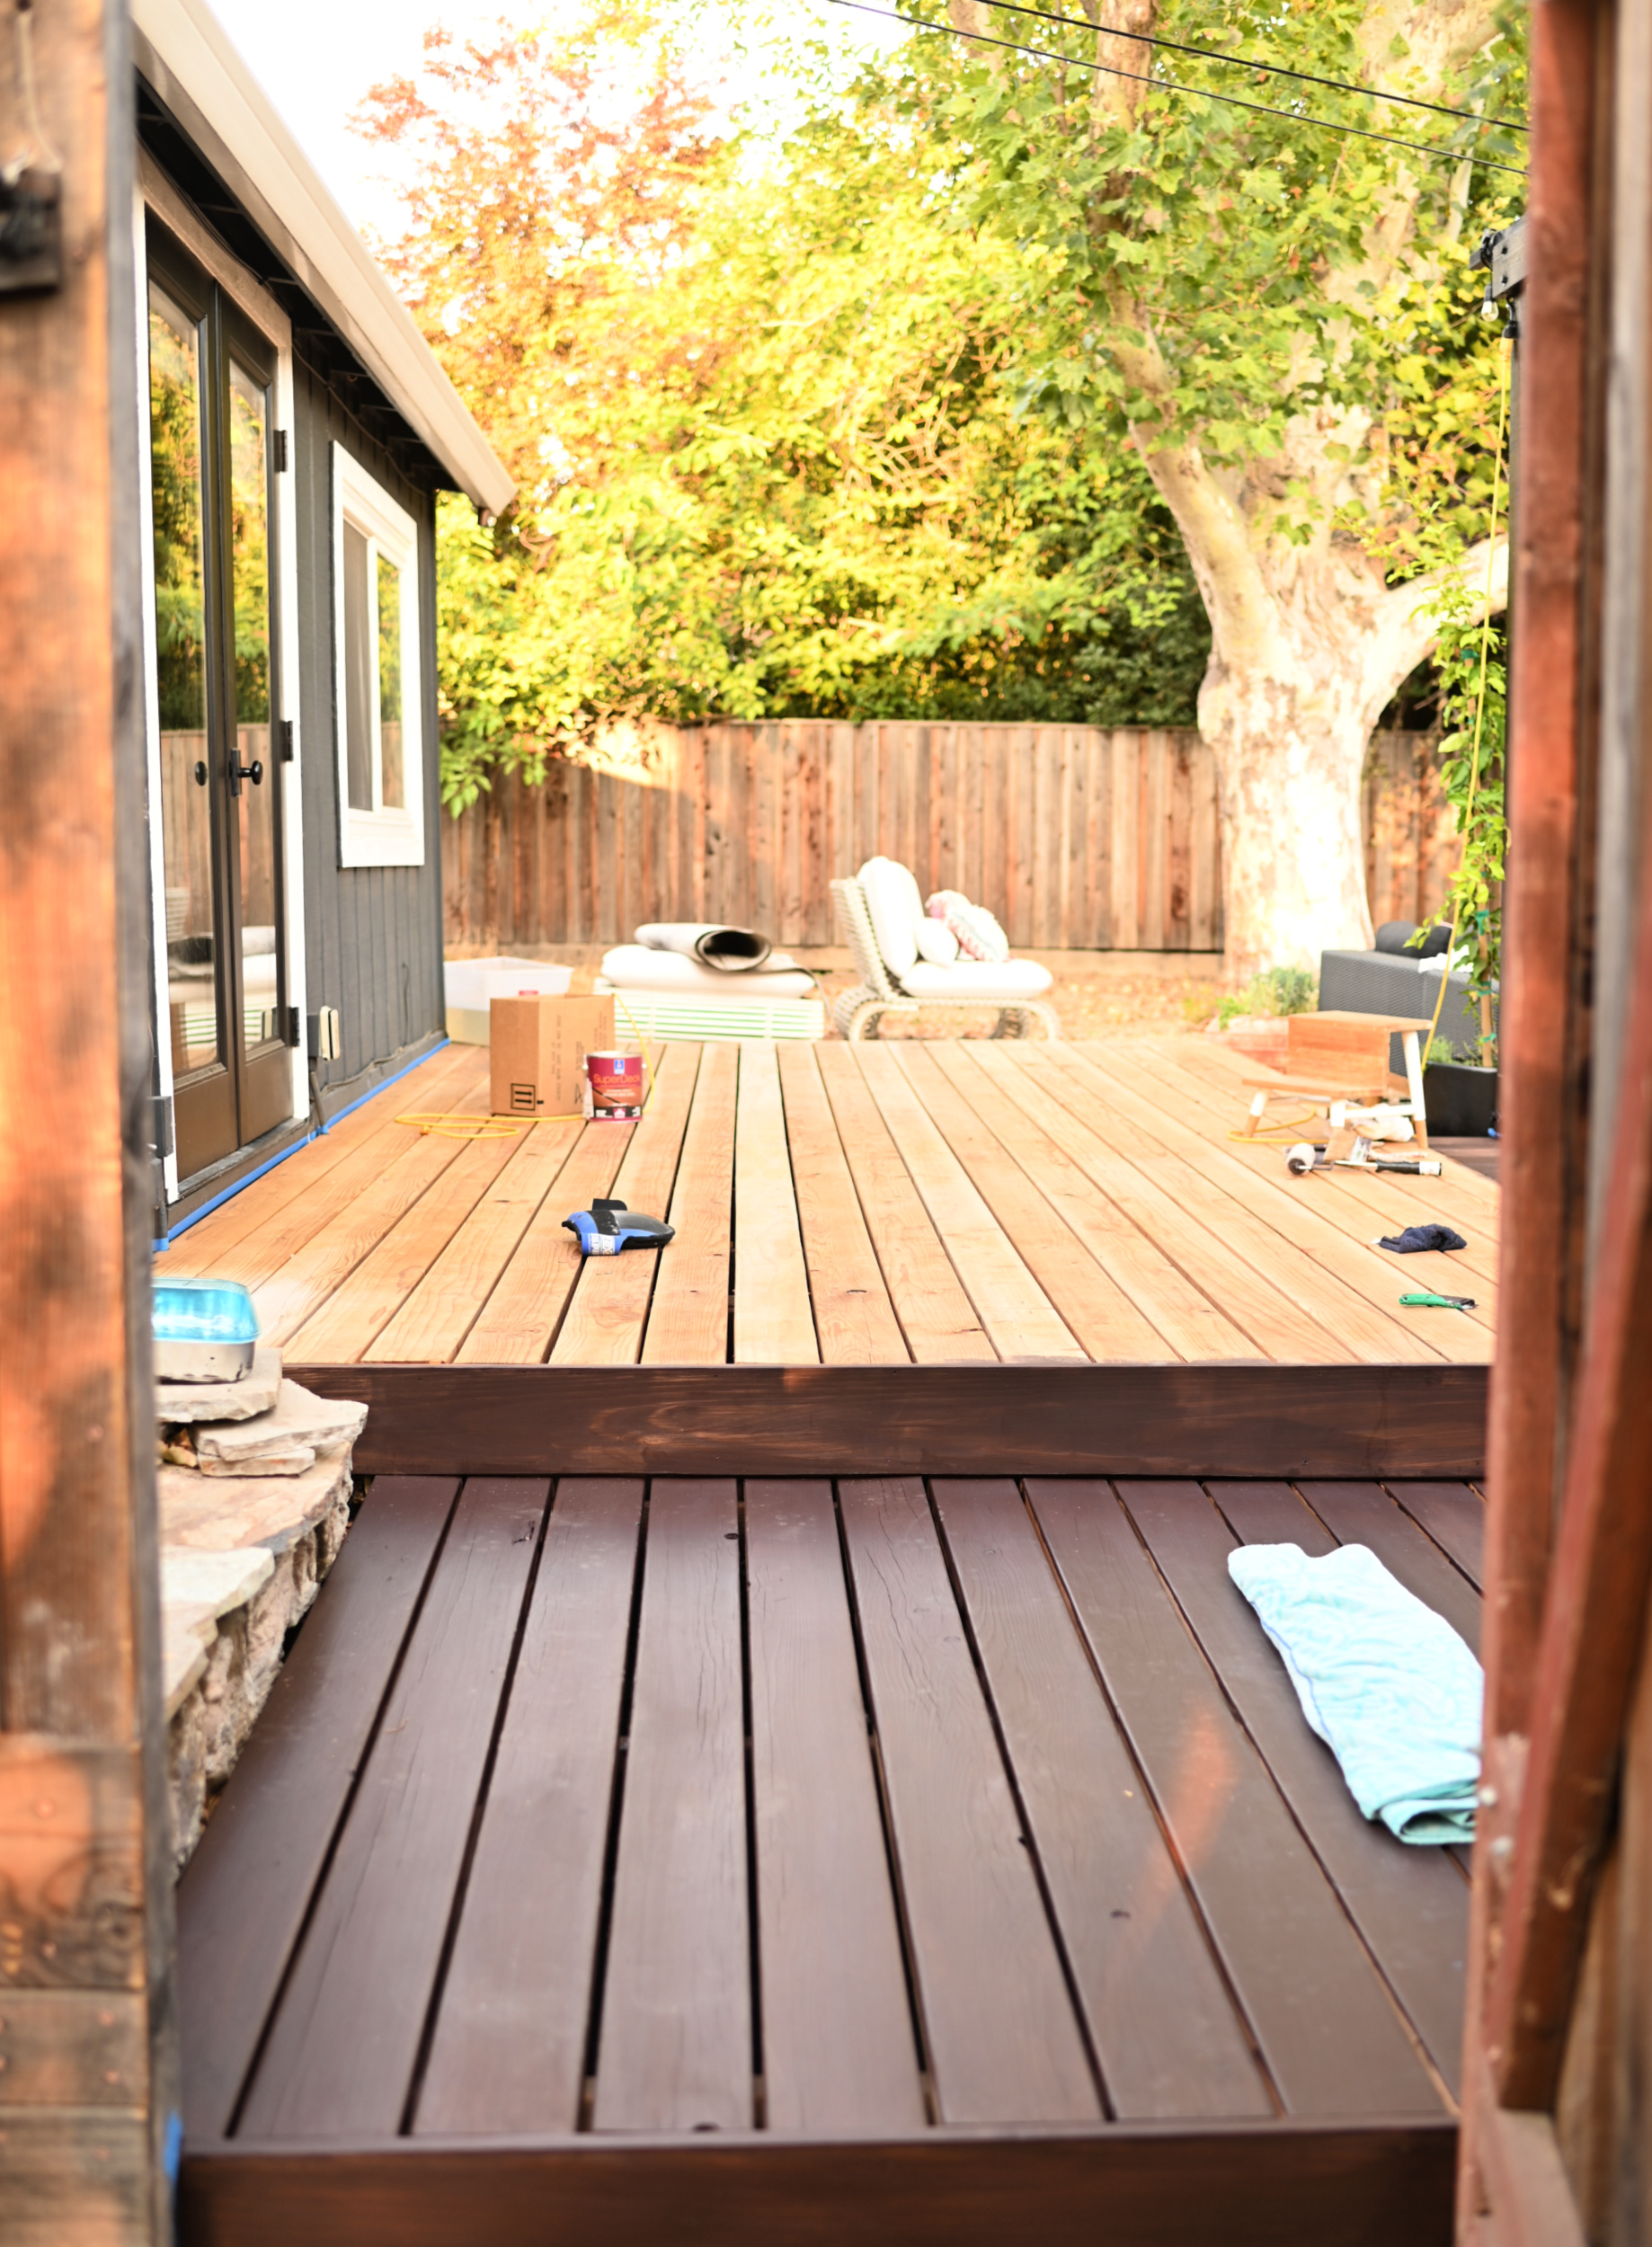
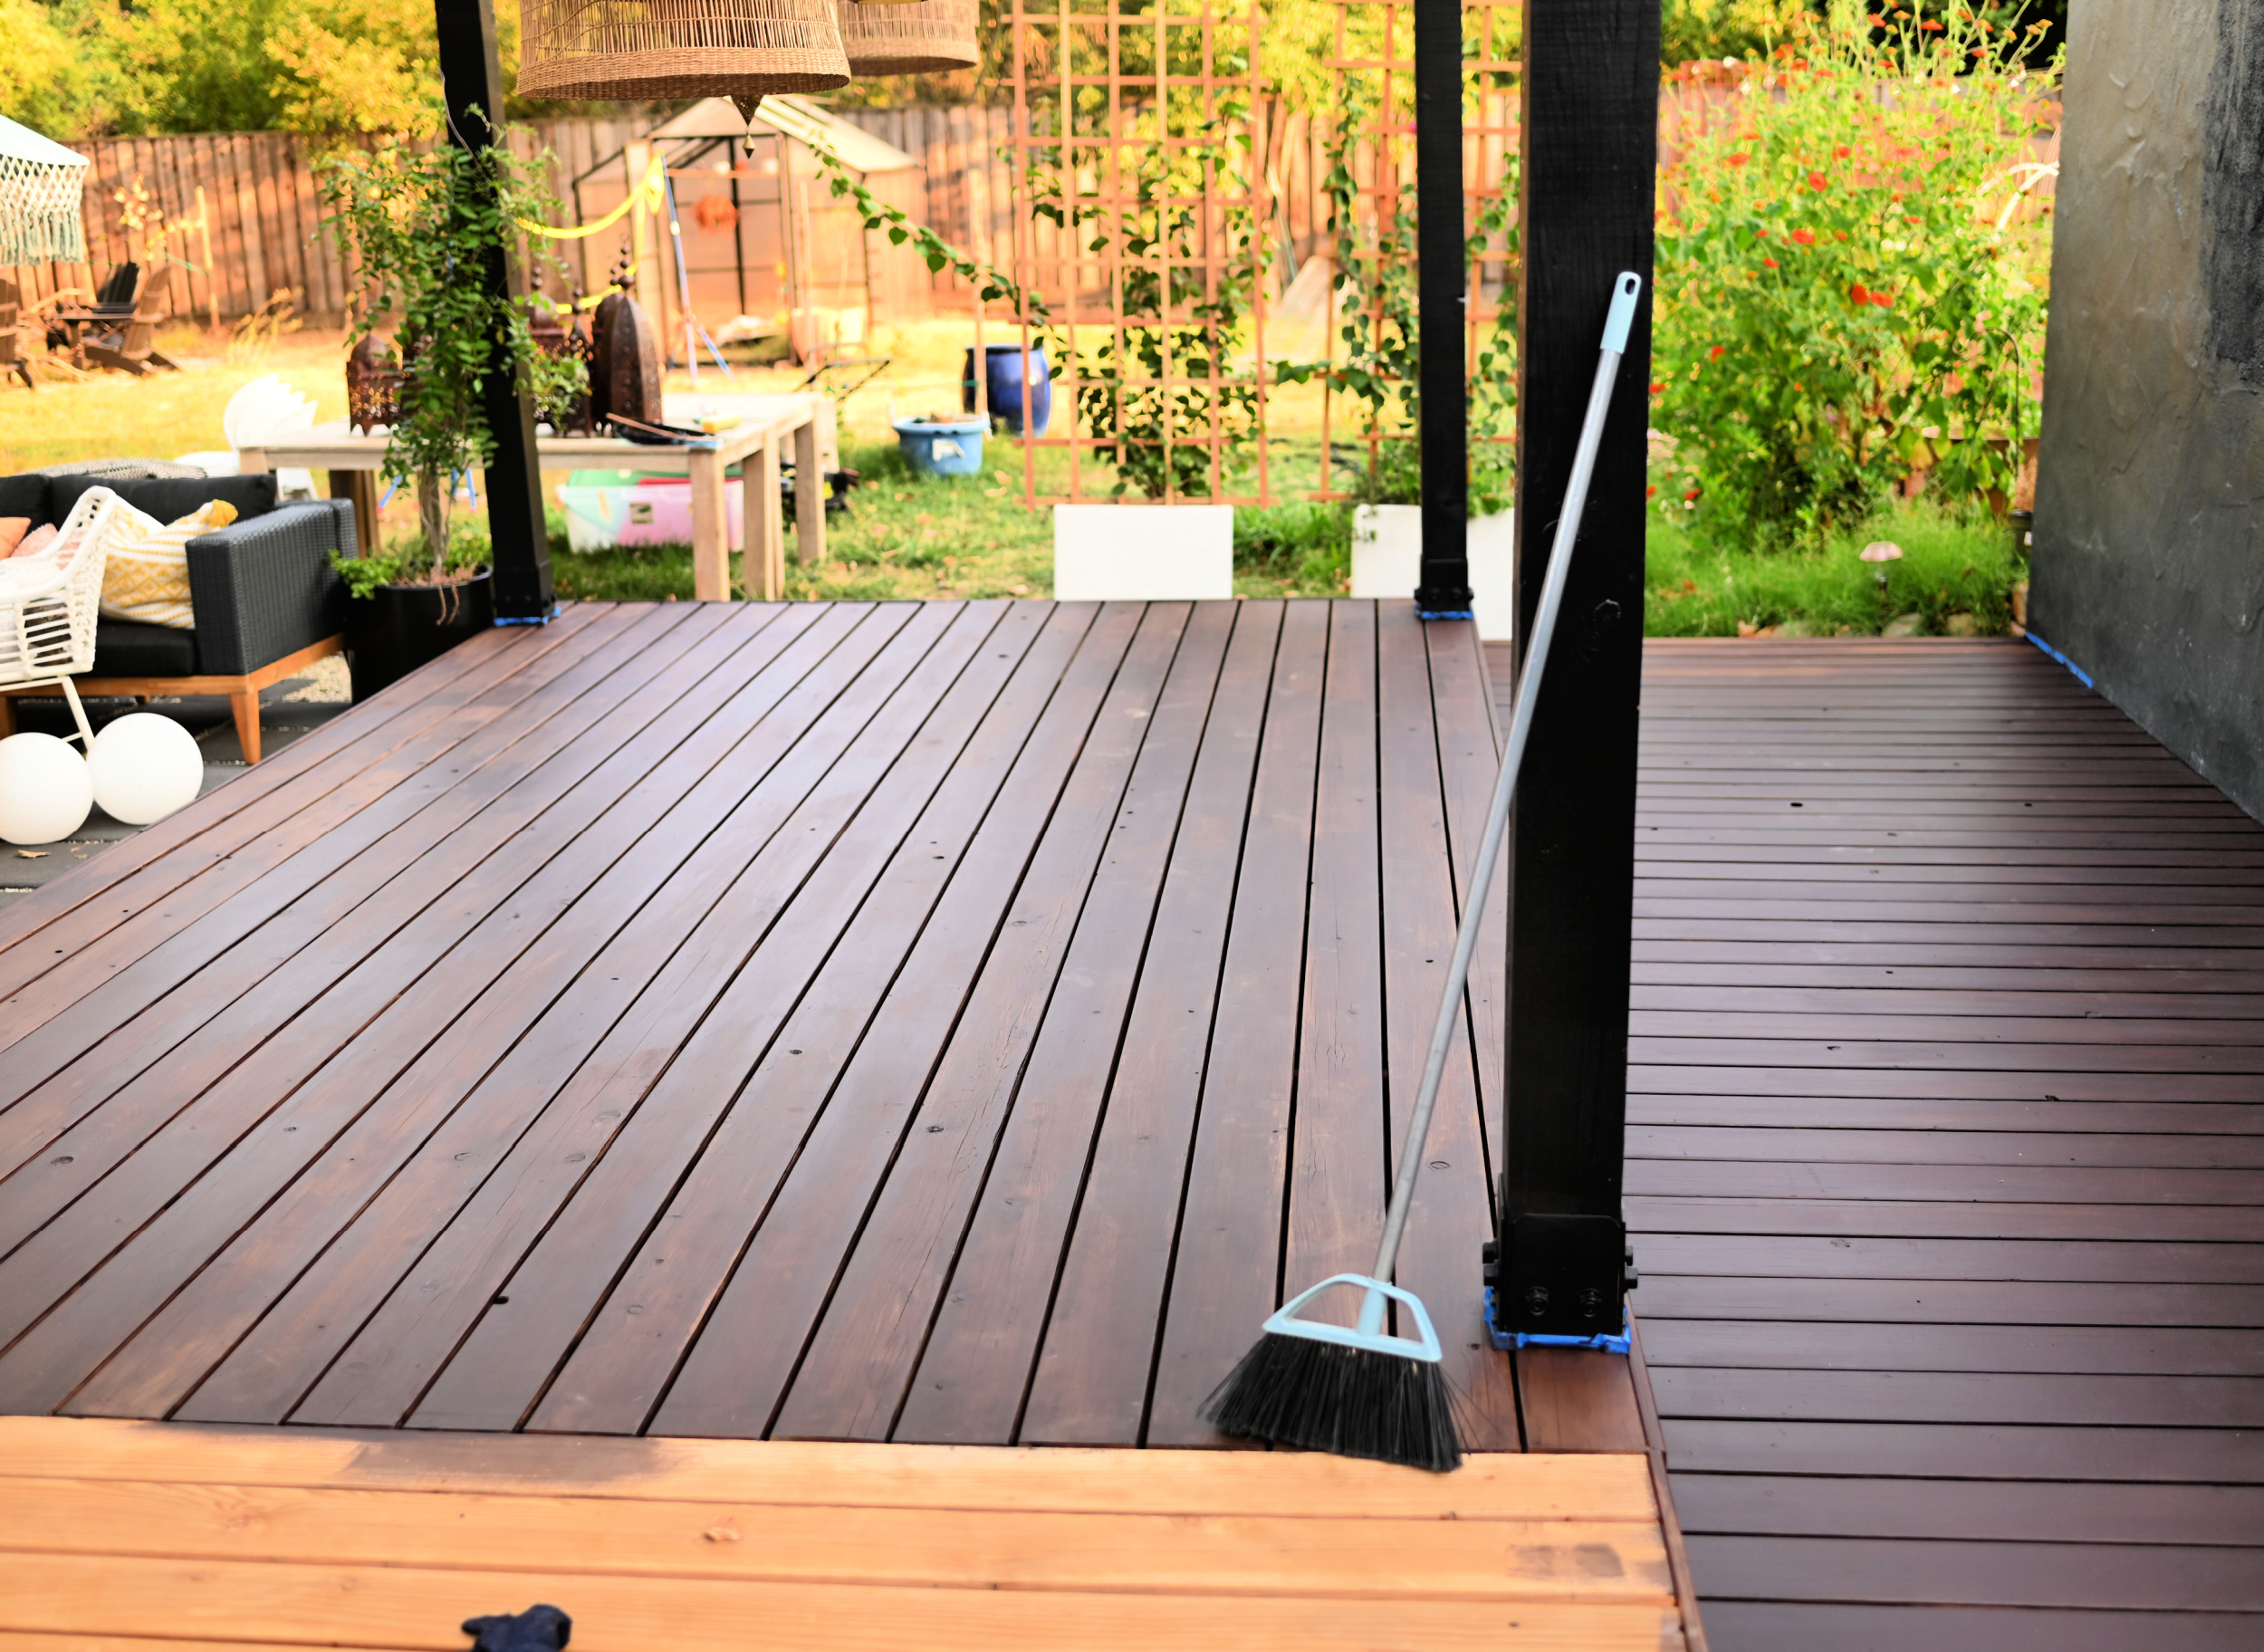
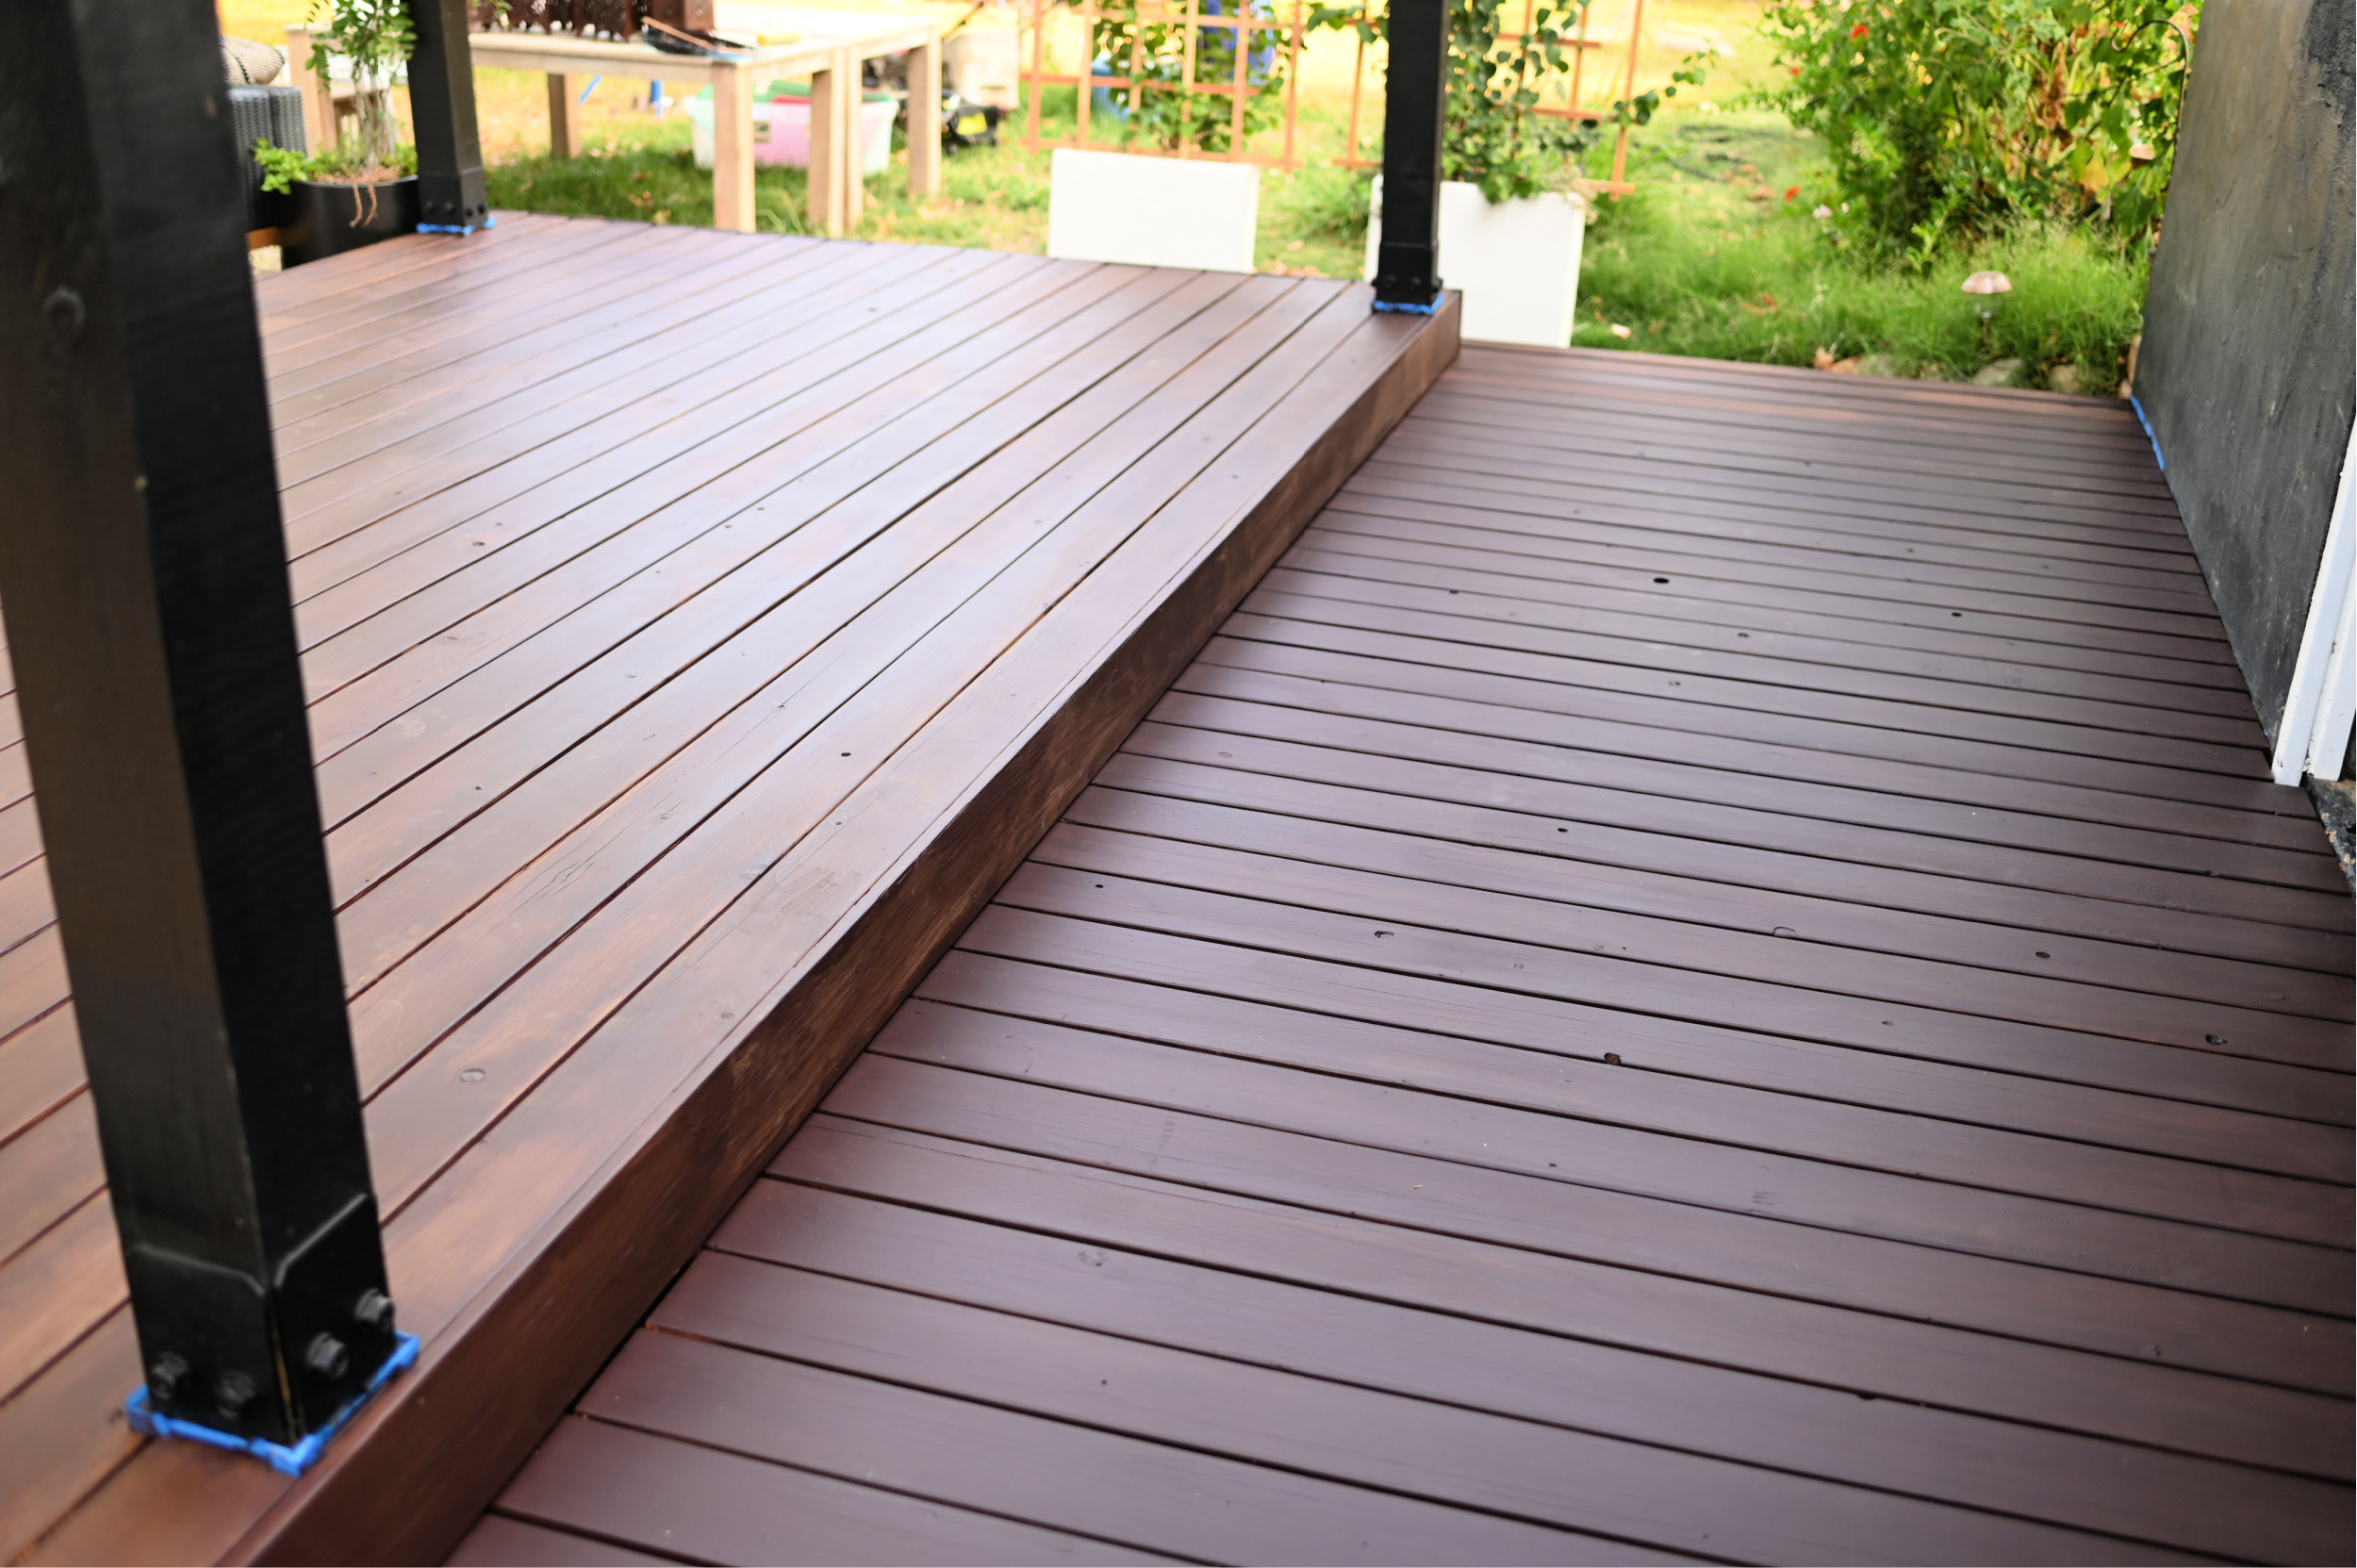
The good thing about the SuperDeck stain in the waterborne formula is it allows for quick drying and re-coat times. You can put on additional coats after just 4 hours, and with the semi-solid finish you want to apply two thin coats for the best results. Depending on the size of your project this product will allow you to finish it in just one day! After getting the second coat complete I allowed it to dry overnight before moving everything back on to the deck.
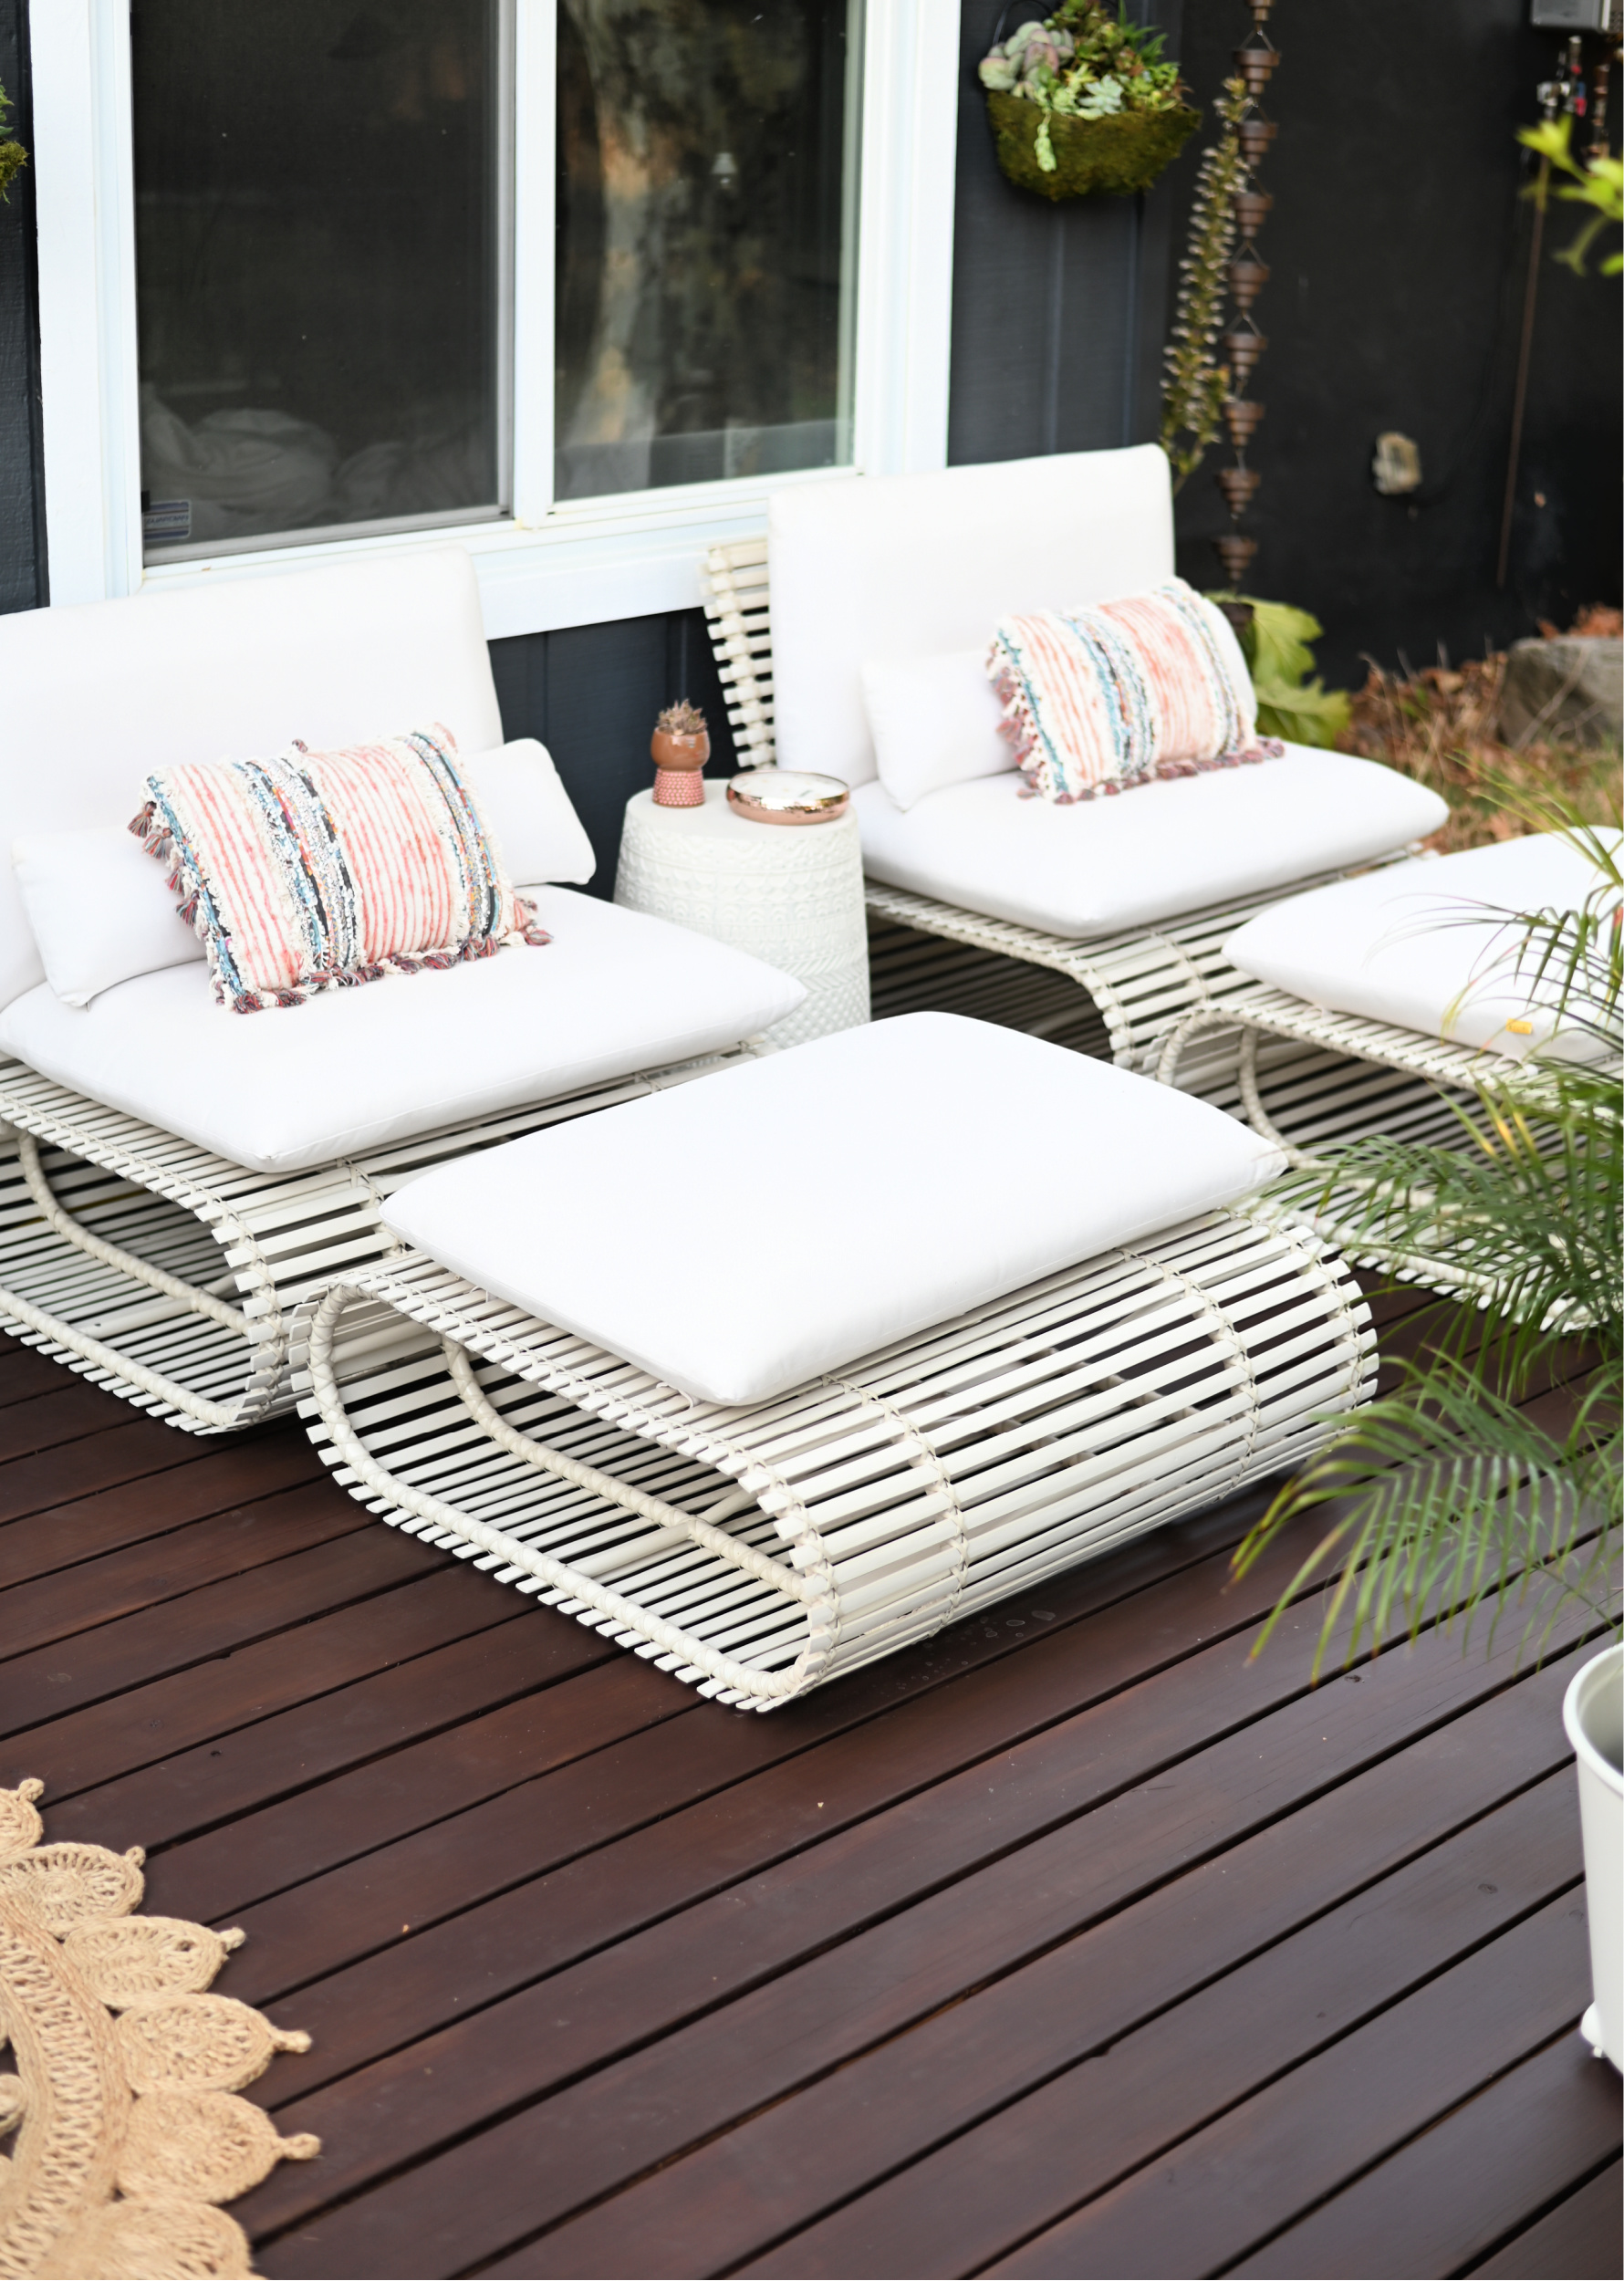
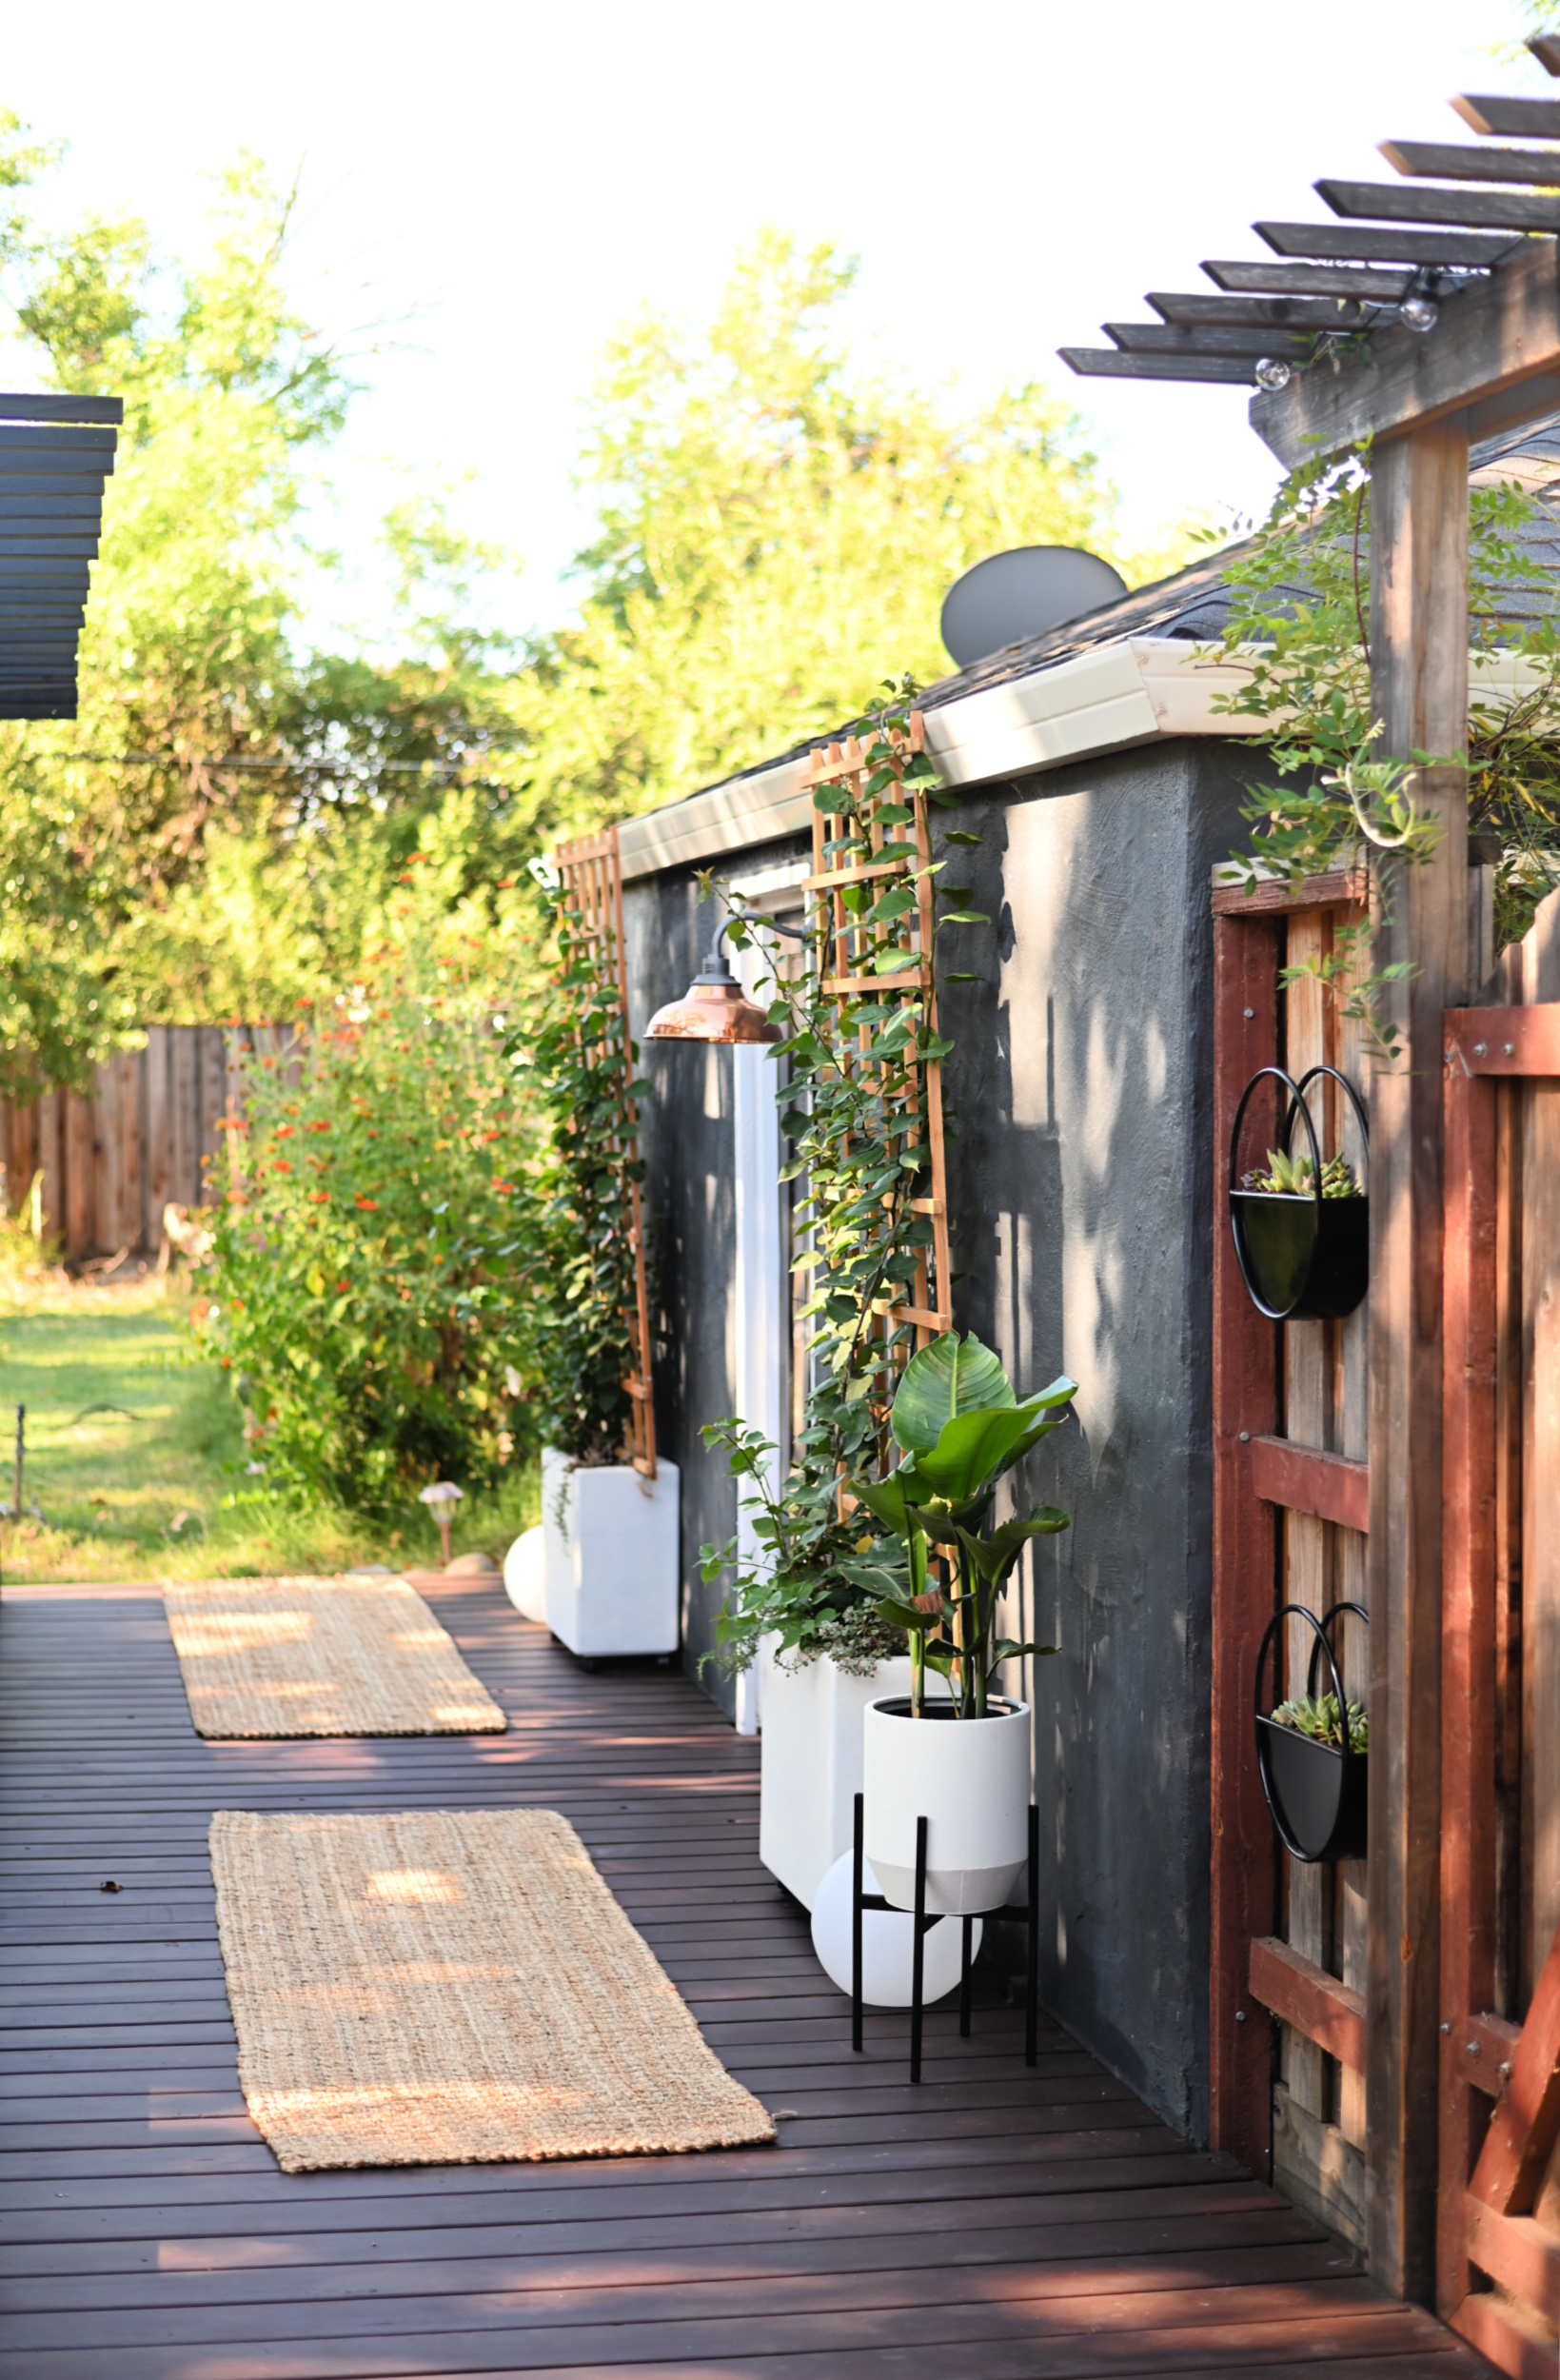
After about 48 hours I did a water test to see how well the stain would resist moisture and it was awesome to see the water immediately bead up and roll right off.
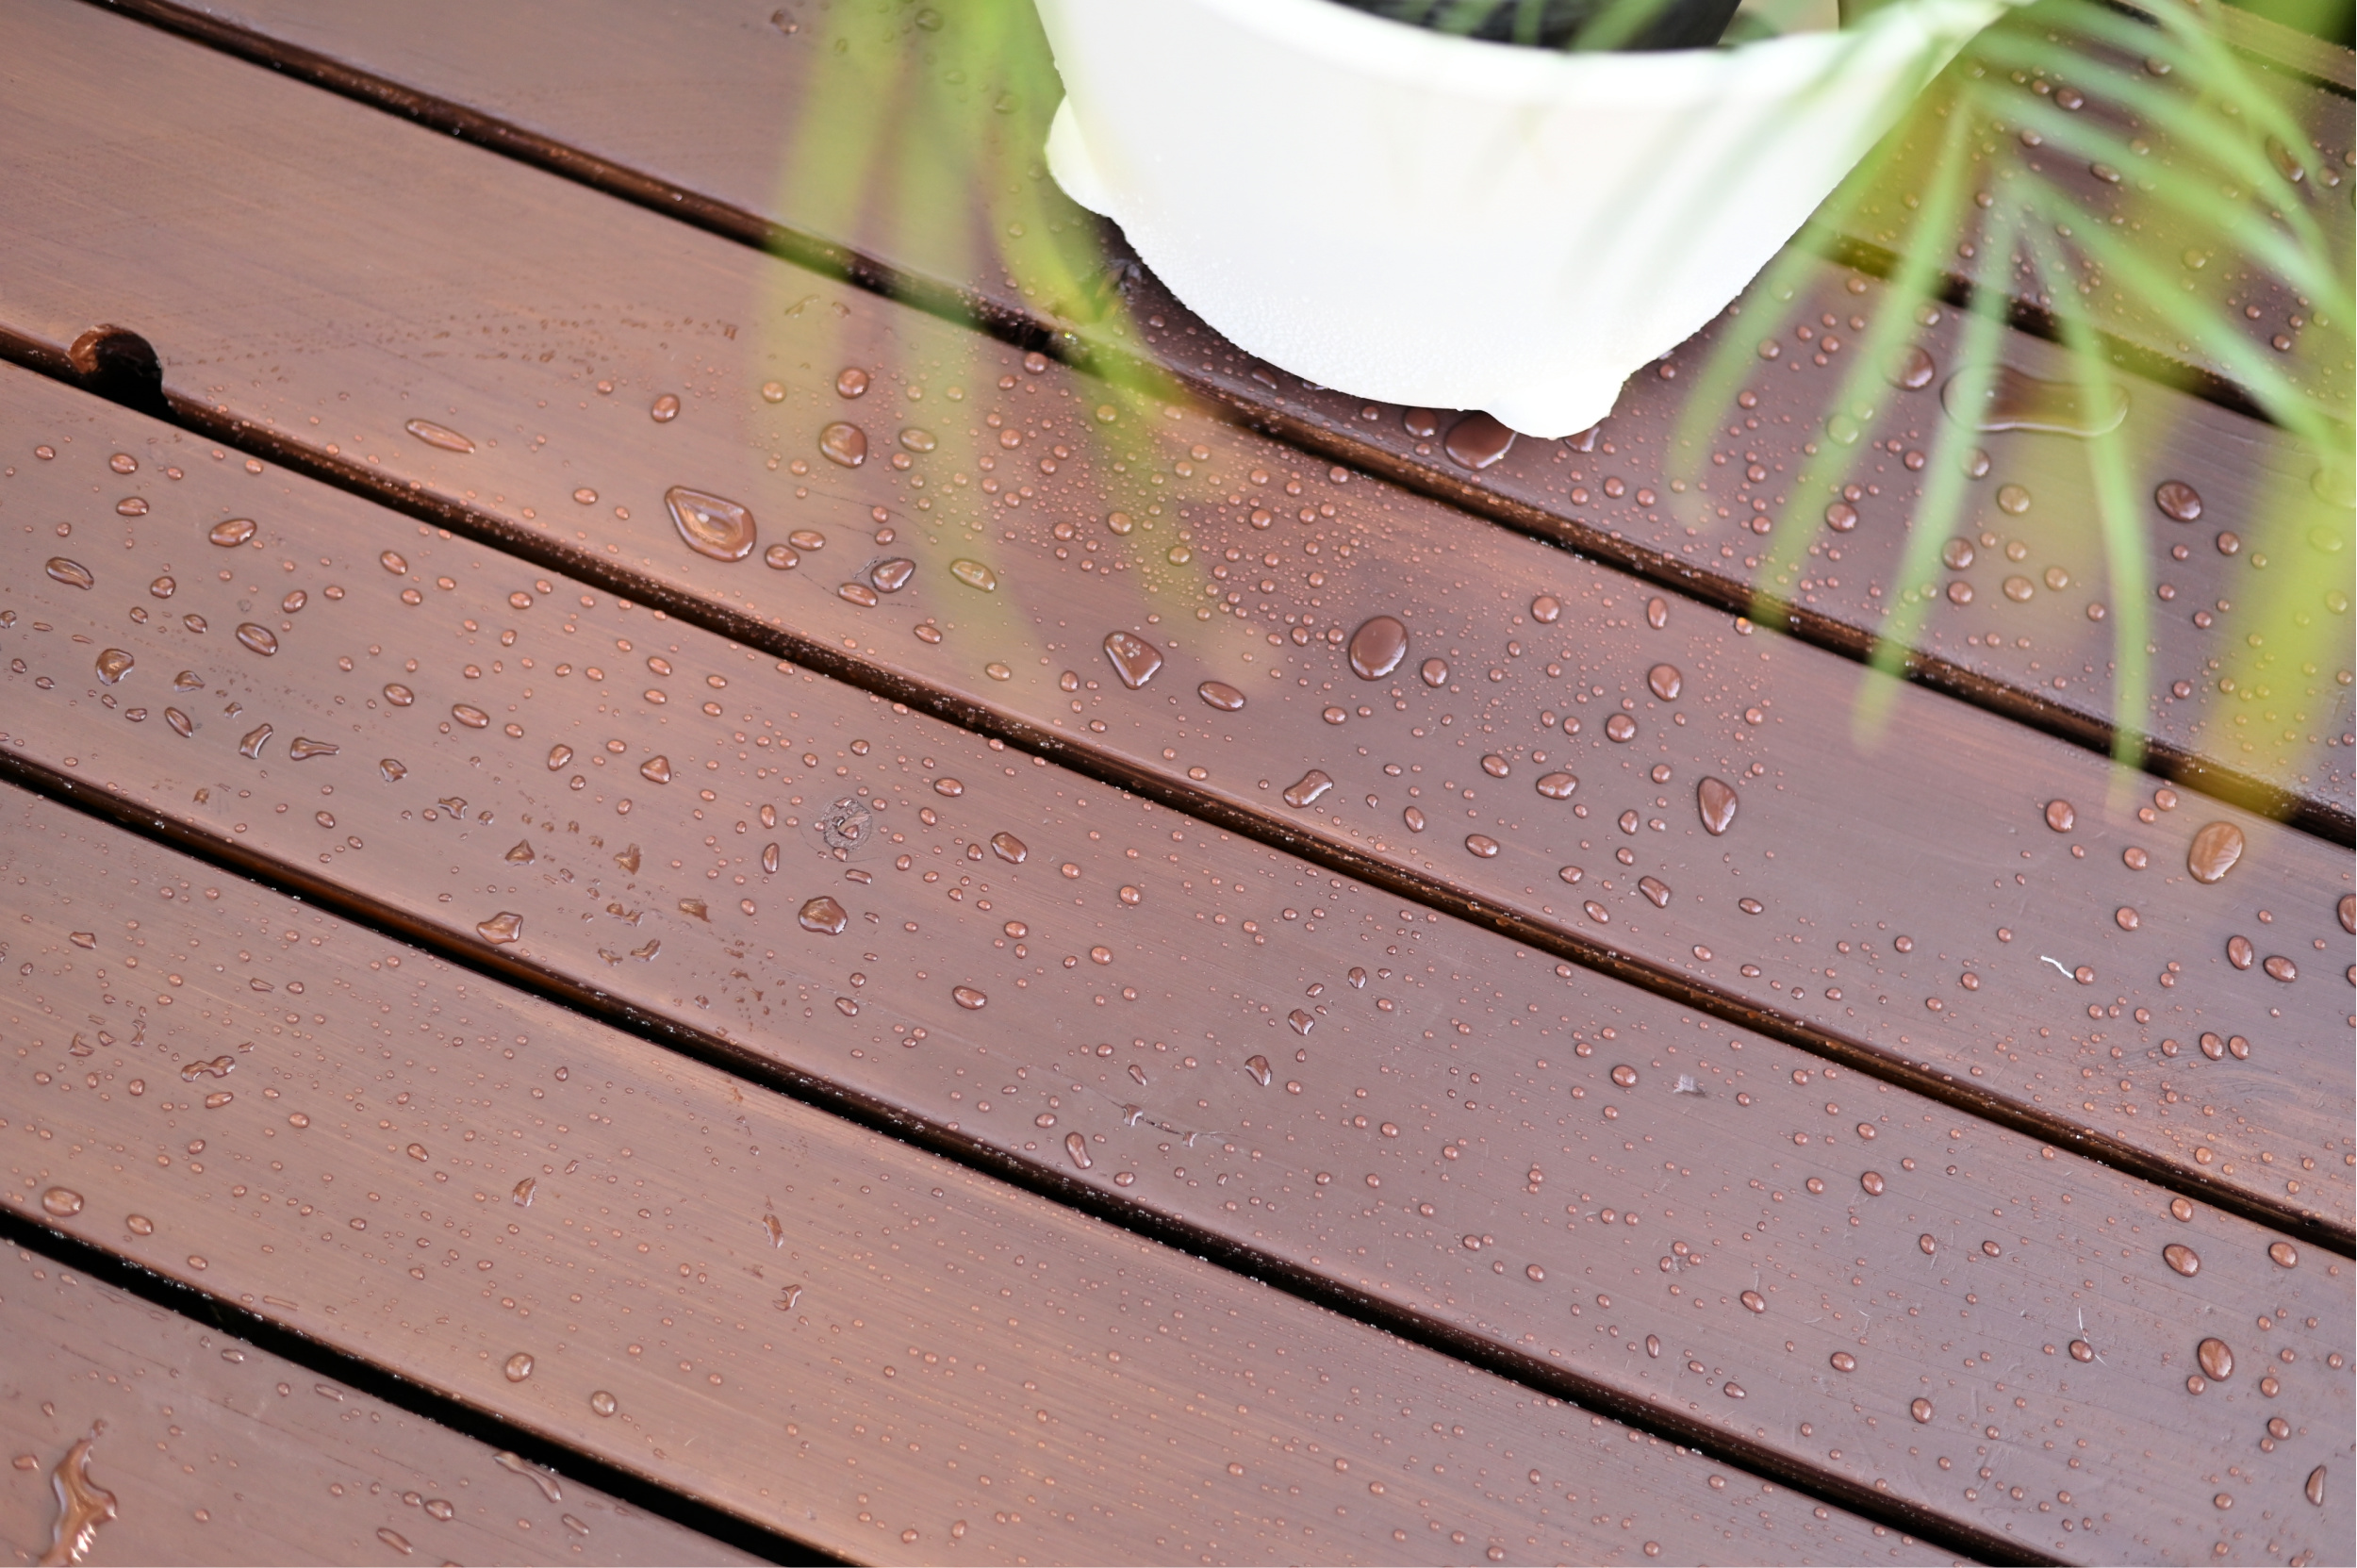
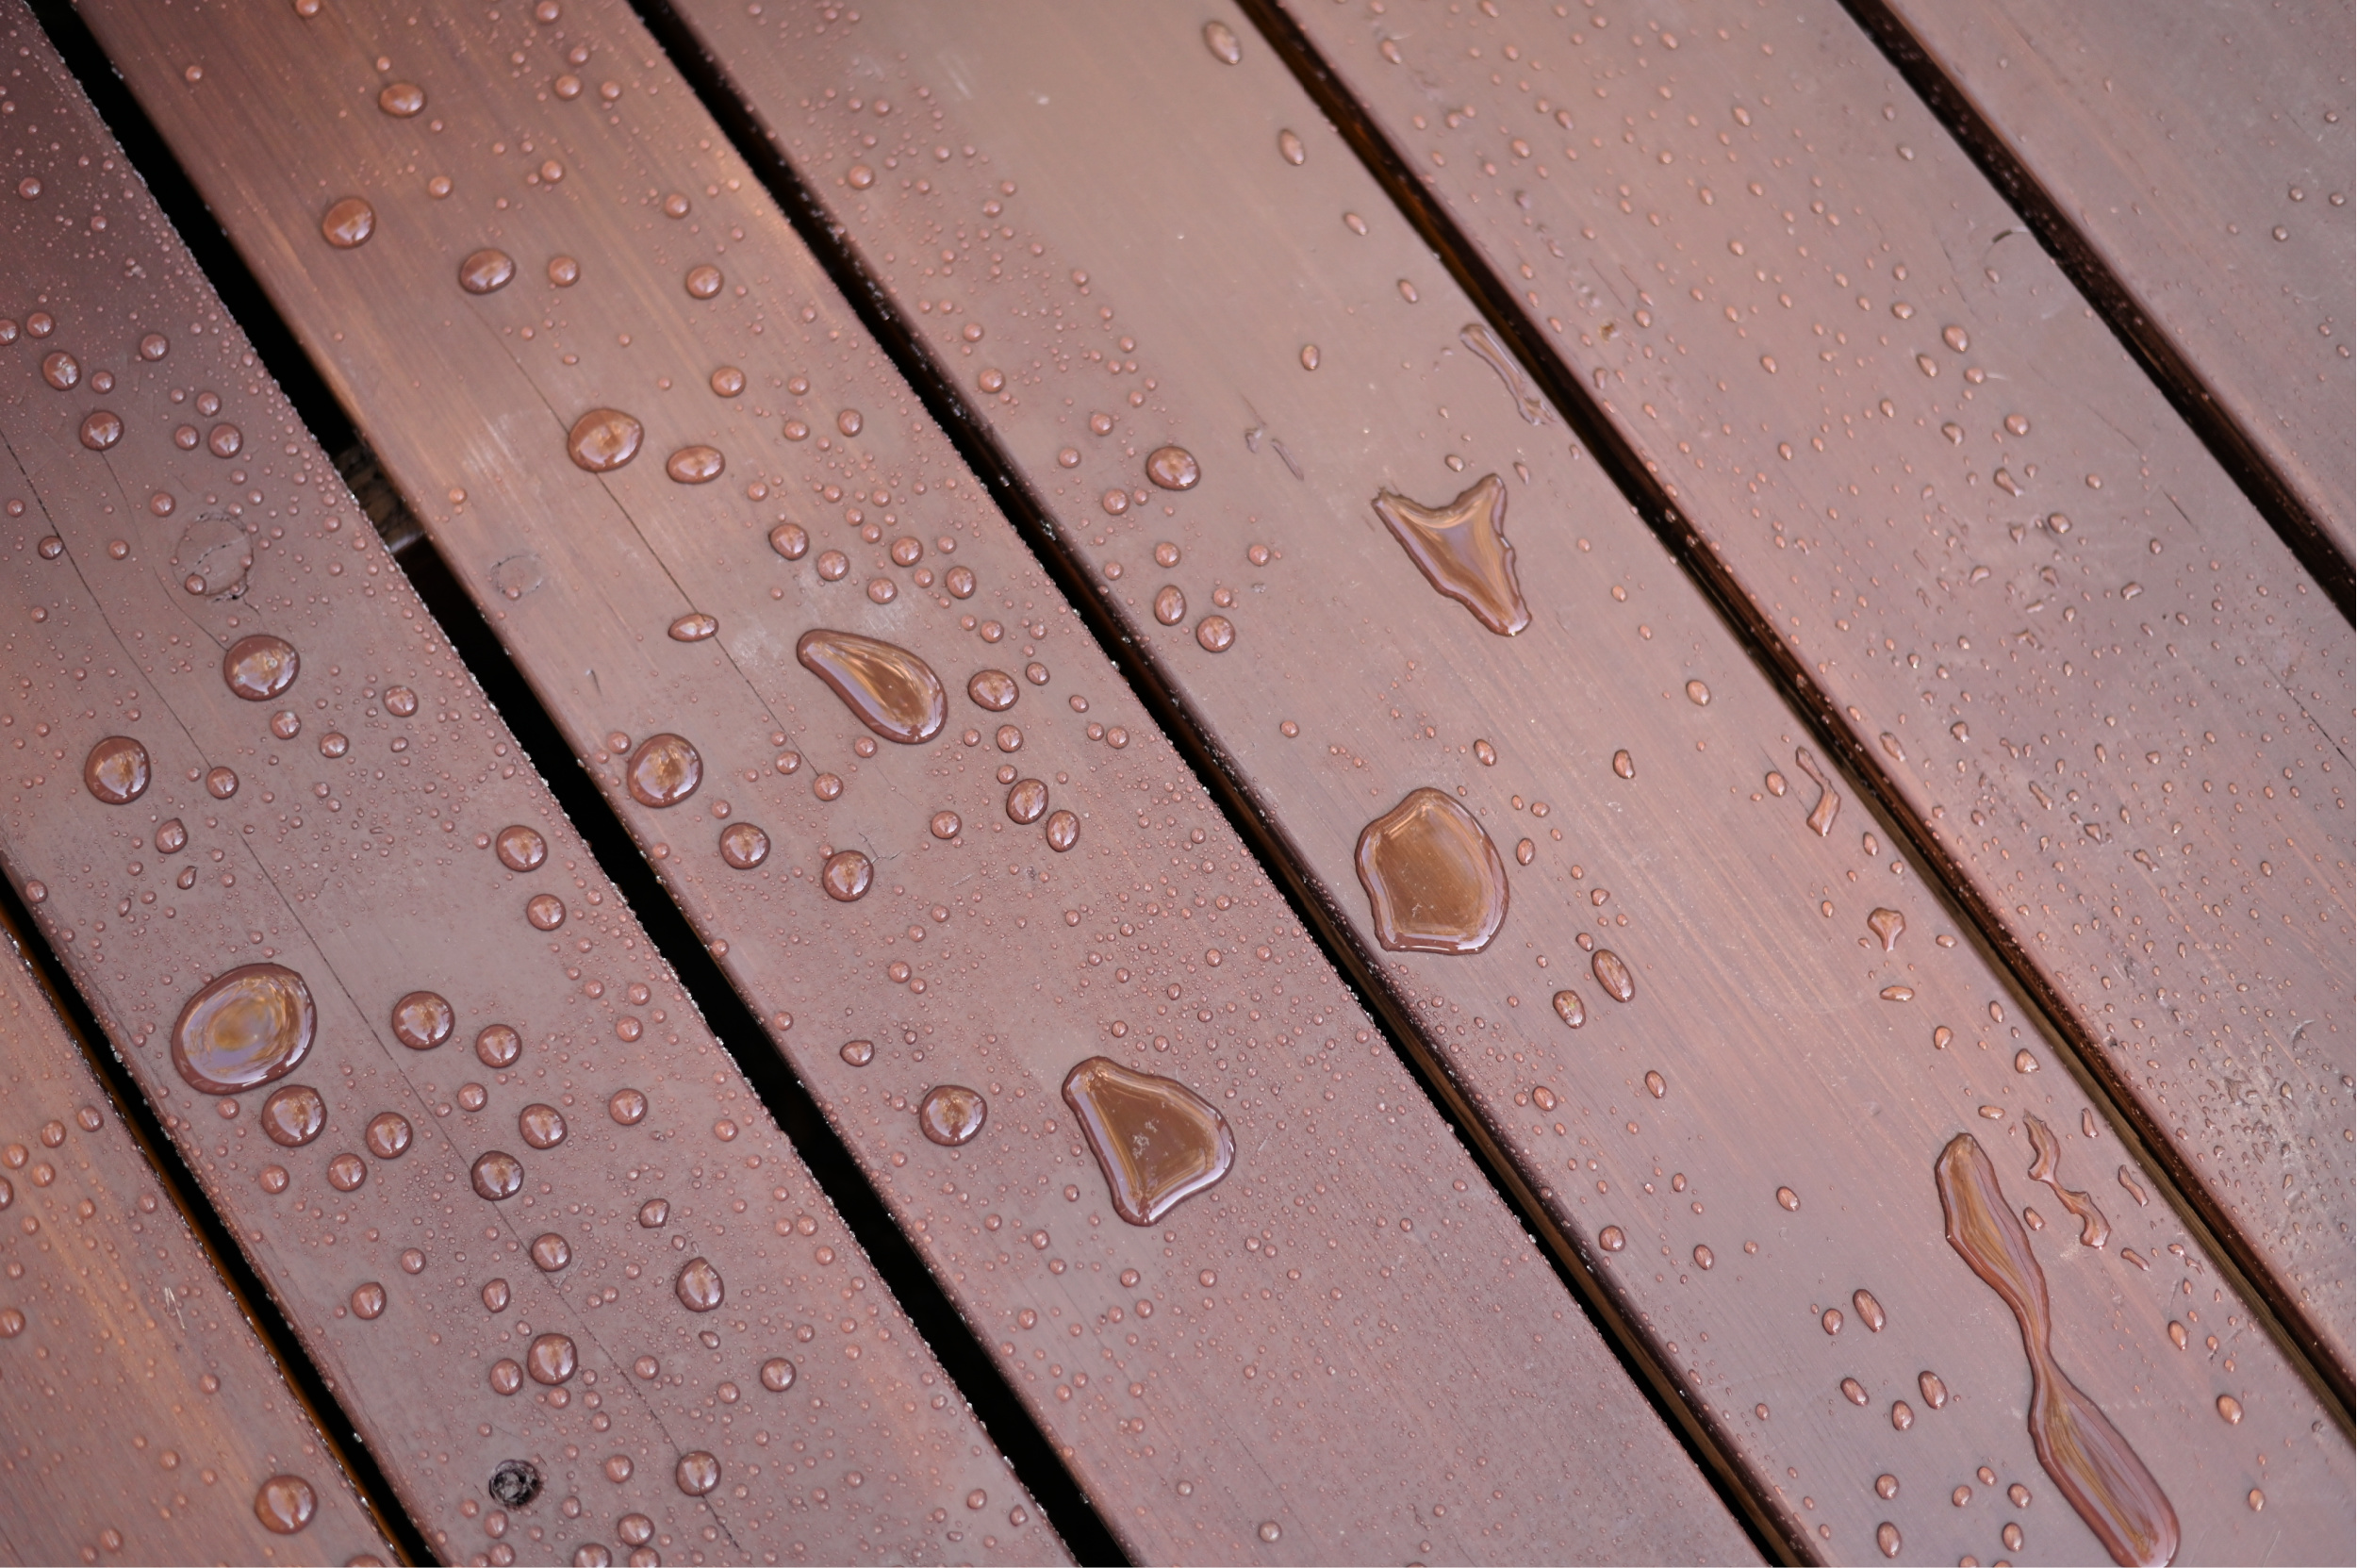
I think a lot of people were surprised when I mentioned I’d be staining the deck because we used redwood for the build and most often folks tend to leave redwood decks in their natural state. It’s a fantastic quality wood which has all kinds of rot and nature/element resistant qualities. It weathers overtime into a warm grey if left untreated or unstained. Admittedly, it was very beautiful, but I knew I’d be staining it when we first had it built. I’m so happy with the end result. It looks beautiful and it really makes the space feel like a resort vacation destination.
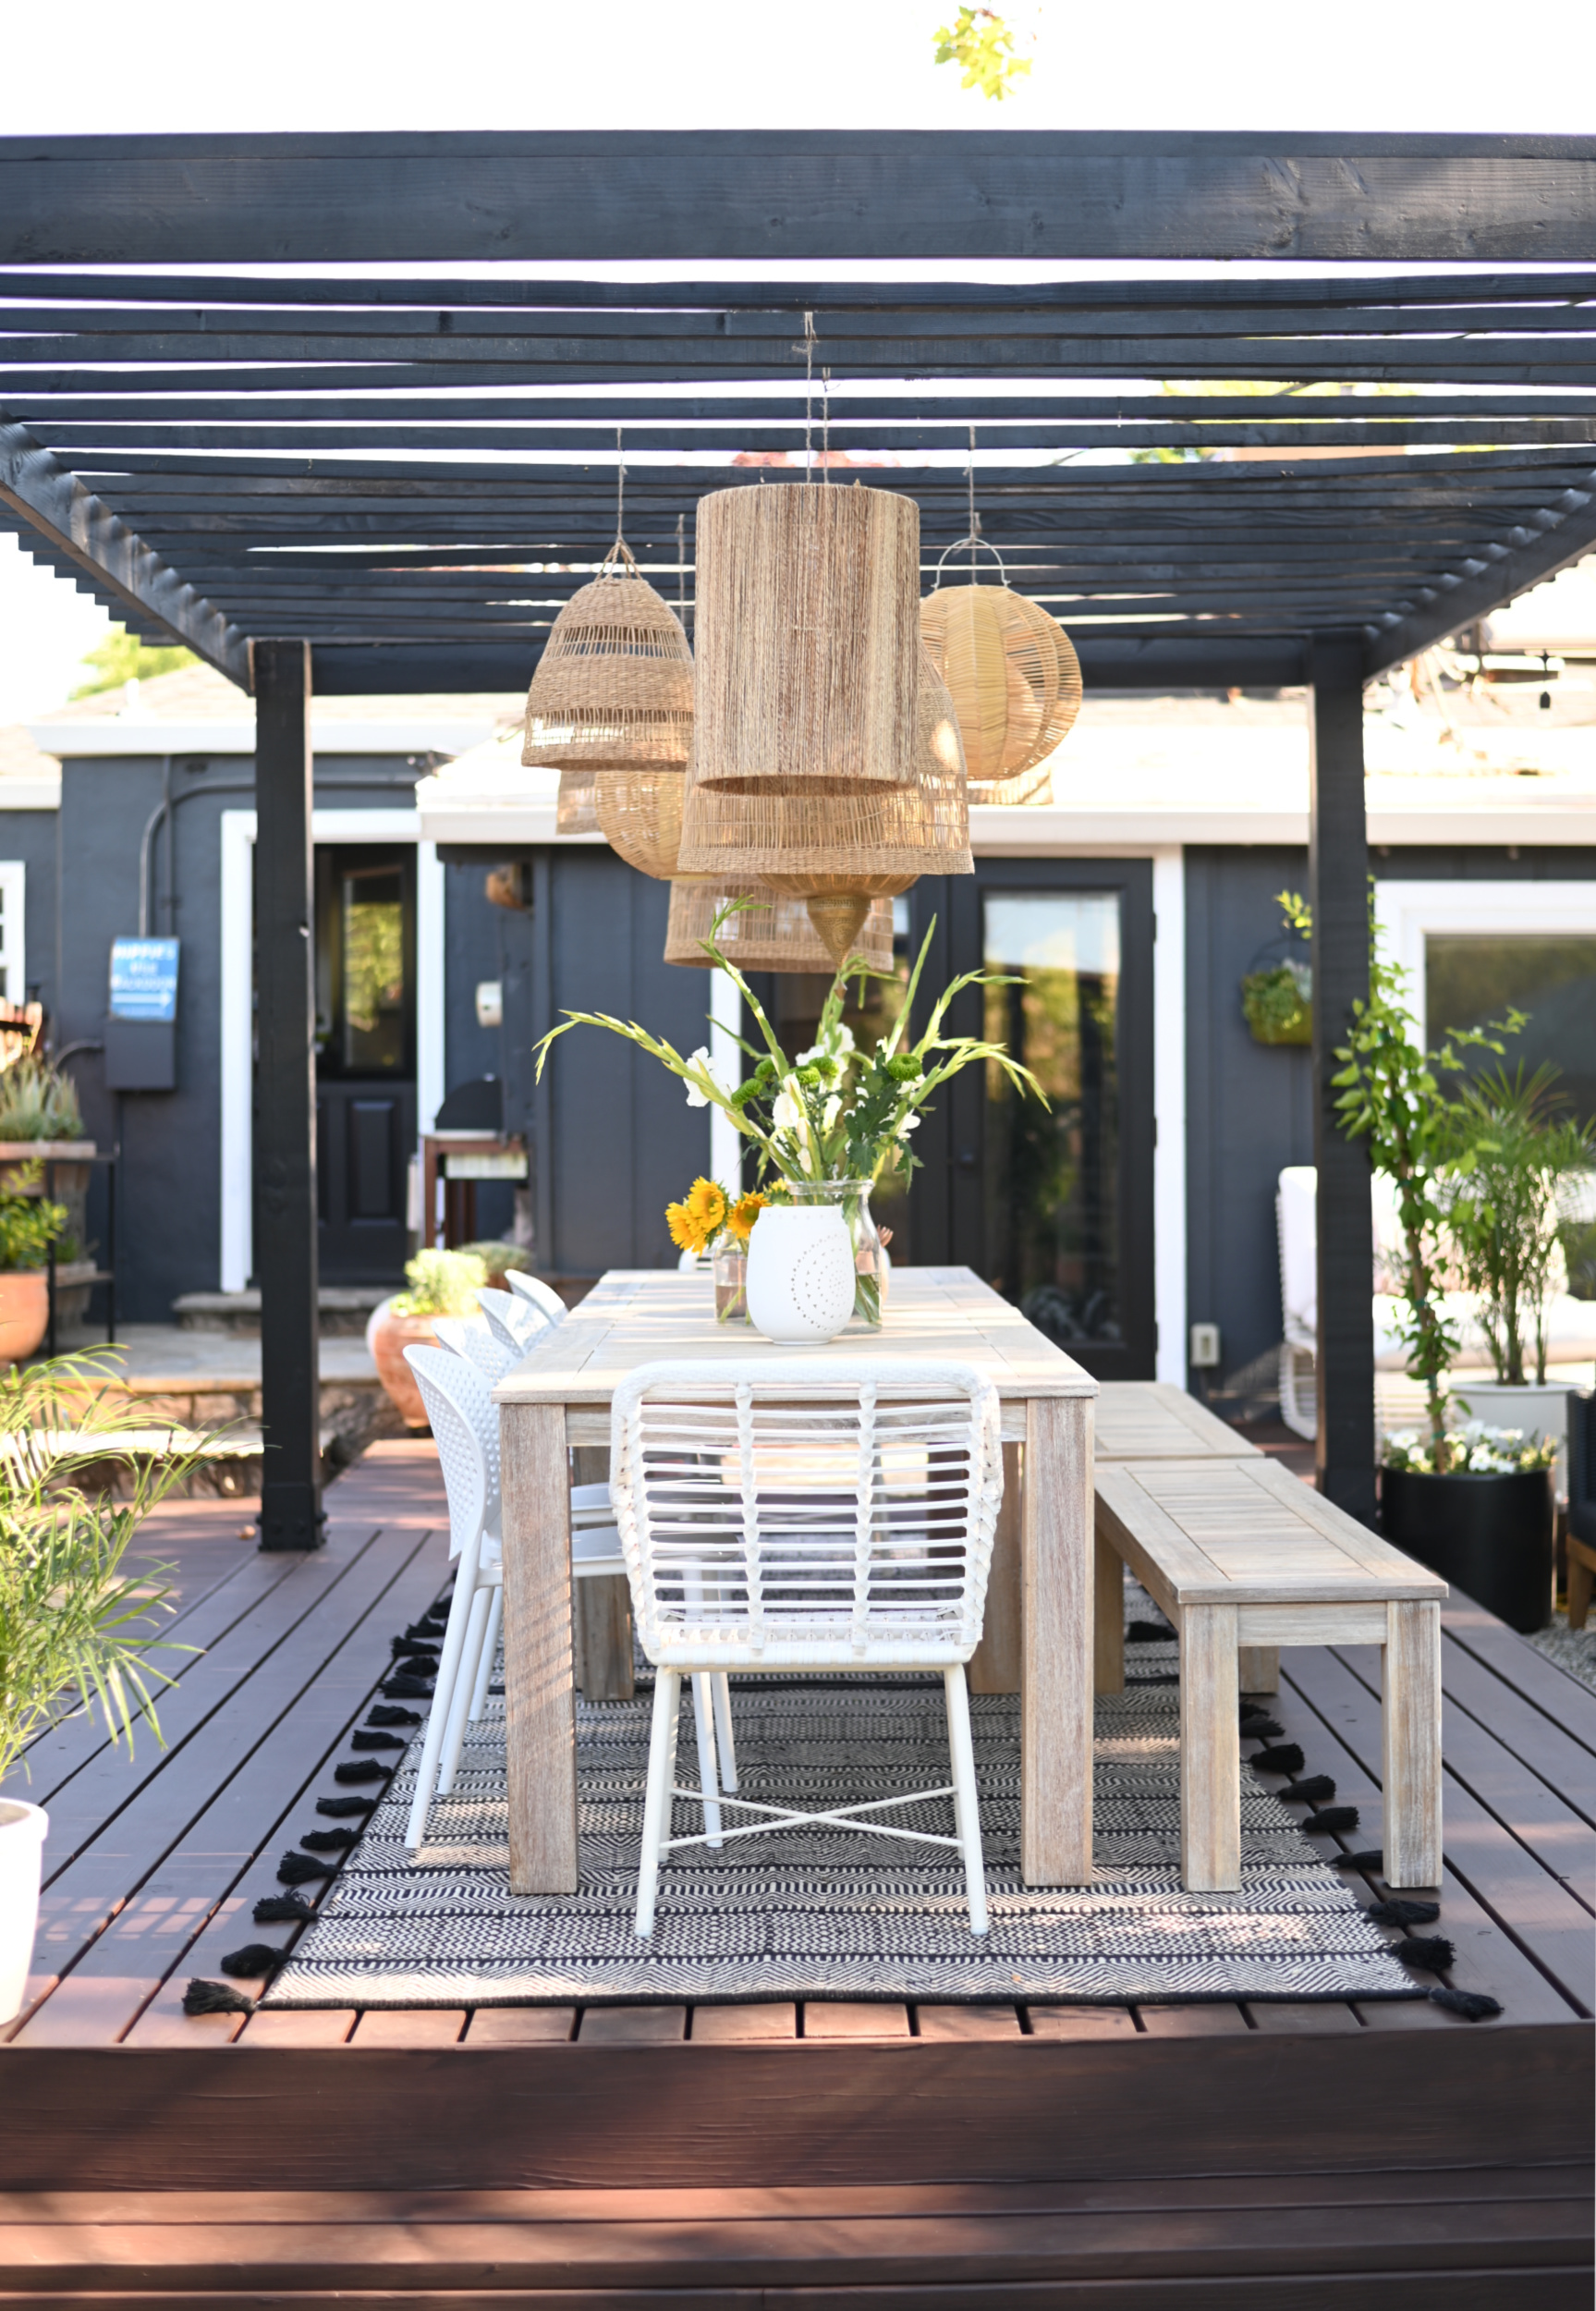
If you are considering taking on a deck staining project I definitely recommend Sherwin-Williams SuperDeck products. They also come in an oil-based formula as well, which Ill probably try the next time I have to stain a deck. I’m one of those weird people who really likes working with oil-based products because I like that it gives you a bit more control during application. It dries slower than water-based stains, (which can be a negative for a lot of folks) but it also gives you a little more wiggle room if you want to take your time and really get the application right.
You can also find lots of information on how to stain a deck and tackling other paint and stain projects, including helpful how-to videos for beginners and more experienced DIYers alike on Sherwin-Williams website.
Until next time friends…
*And don’t forget you can still use my exclusive coupon code on all your paint and stain purchases through the end of the year. It can even be used on top of some sales!



Casey Wahlstrom says
Hi, I love your deck in the SW Chestnut Semi-transparent. We need to re-paint a fence using the WoodScapes solid color stain. Was curious if you know which color would match best to the Chestnut in Semi-transparent?? Thinking Lodge Brown. Would appreciate your opinion.
Thank you!
Candice Powell says
I absolutely ADORE your rattan hanging lights and the white deck chairs with ottomans. If you feel inclined to share where you got them, my information is located below. Great article and beautiful results! Congrats!
Grady Galvez says
Awesome! You did a great job. But I think there are many semi-transparent strains which can also go long.
Lily says
Awesome!
Marne Grove says
I love what you did and appreciate your labor of love!! All of the colors look so amazing together. I’m curious what your house colors are? Looks similar to what I just painted my house this summer. We have dark bronze windows, with trim color SW Eaglet Beige and body color SW Westchester Gray.
Nancy Martin says
What a beautiful project! I love your attention to detail and the color of the deck is so elegant!
Porsche says
I love the color choice. Your outside space is beautiful!! What color/product did you use on your Pergola?
Shavonda Gardner says
Hi there! Thank you so much. The color is Sherwin-Williams Tricorn Black (my fave black paint color) and the product used is SW Emerald Exterior in Satin finish. 🙂
Zeke says
Great attention to detail, and excellent taste with your selection of colors and complementary decoration to your deck.
donna kellar says
Yeah, painting between ALL the boards…cheers to that.
#obsessoverdetails
Rebecca says
Are the deck posts painted black or are those stained a darker color? It looks gorge and I would love to adapt the idea for our patio situation!
DD says
I was curious about that as well!
Vanessa says
Wow what an amazing space! Staining the deck makes a huge impact, I love it. ?
Tiffany says
The stain is beautiful! It looks so nice against your house color ?
Caryl says
Hi Shavonda! I can’t get over how gorgeous the deck turned out. It’s been amazing to watch the transformation of the bungalow and backyard, your vision is stunning. I love love love this!
Katrina says
It looks fabulous!
Mary Beth says
It looks gorgeous! I feel you on how long it takes, particularly in Sacramento. Last spring I had a small landing and set of stairs built when I added an exterior door. A few months later I was ready to stain and it took hours! I could’ve painted a whole room in the time it took to paint a 3×3 landing, 2 steps and the railings.
Sam Reilly says
It was worth all the blood, sweat and tears. It looks beautiful and really finishes off the space.