*This post is in partnership with The Home Depot. All thoughts and opinions are my own.
Hi Everyone,
Welcome to my newest blog series: Weekend DIY! I can’t be the only one who’s been tackling alllllll the #pandemicprojects this year. As we’ve been stuck at home with all the time and nowhere to go its been the perfect opportunity to show our homes some love and take on those projects we’ve been putting off for ages. I’ve been busy with lots of home projects recently and today I thought Id kick the series off with one of my faves..my sister’s mini bathroom refresh!
For those of you who don’t know my little sister moved to CA this summer and bought a house just a couple blocks from me! This is such a big deal because we haven’t lived on the same side of the country as one another in 20 years so having her here has been so wonderful. We are both so excited she was able to find a home less than 5 minutes from me and we’ve been busy designing all the spaces in her new home. It’s a 1950s ranch that was a flip property so its pretty much a clean blank slate for her to come in and add her personality and style to it. Every single space needs attention, but she wanted to start by giving her kids’ bathroom a little makeover. The space itself is a good size and it functions just fine, but she really didn’t like the white tile floors. I can’t blame her because they are the same exact floors that were in our bathroom before we remodeled it and they were a DI-SAS-TER to keep clean. She didn’t want to deal with the upkeep of white tile plus white grout with 3 boys under the age of 8!
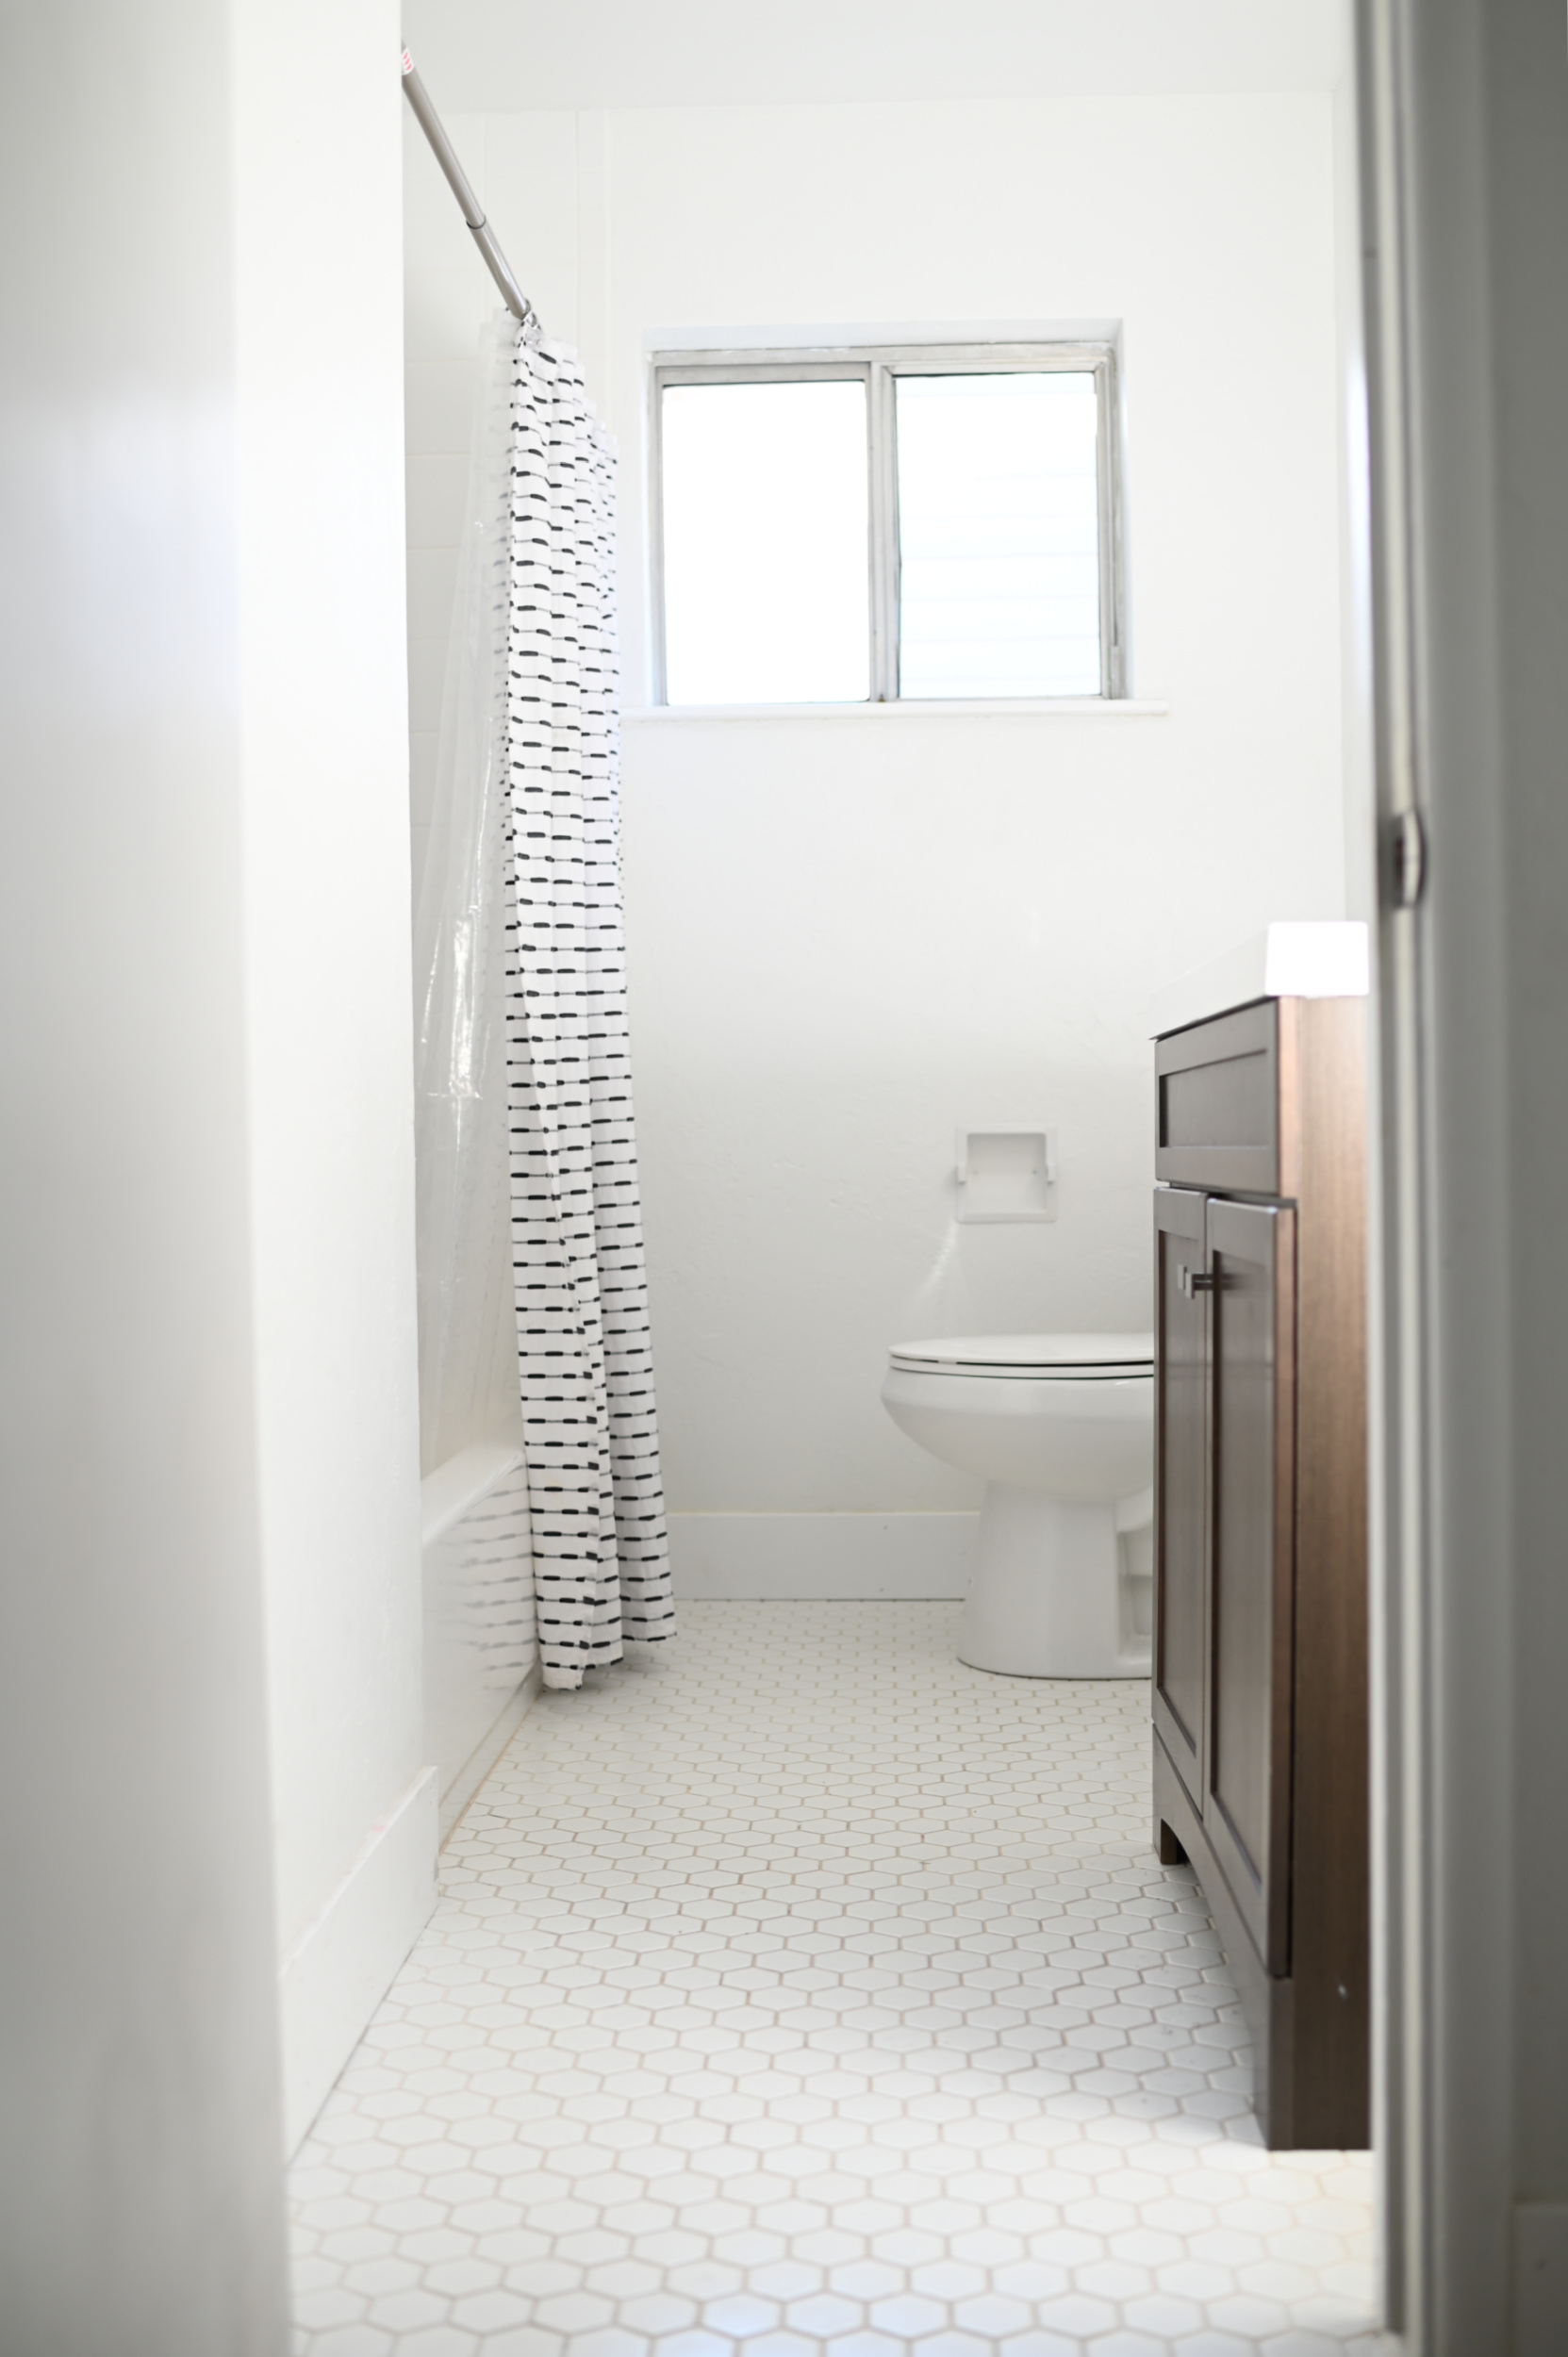
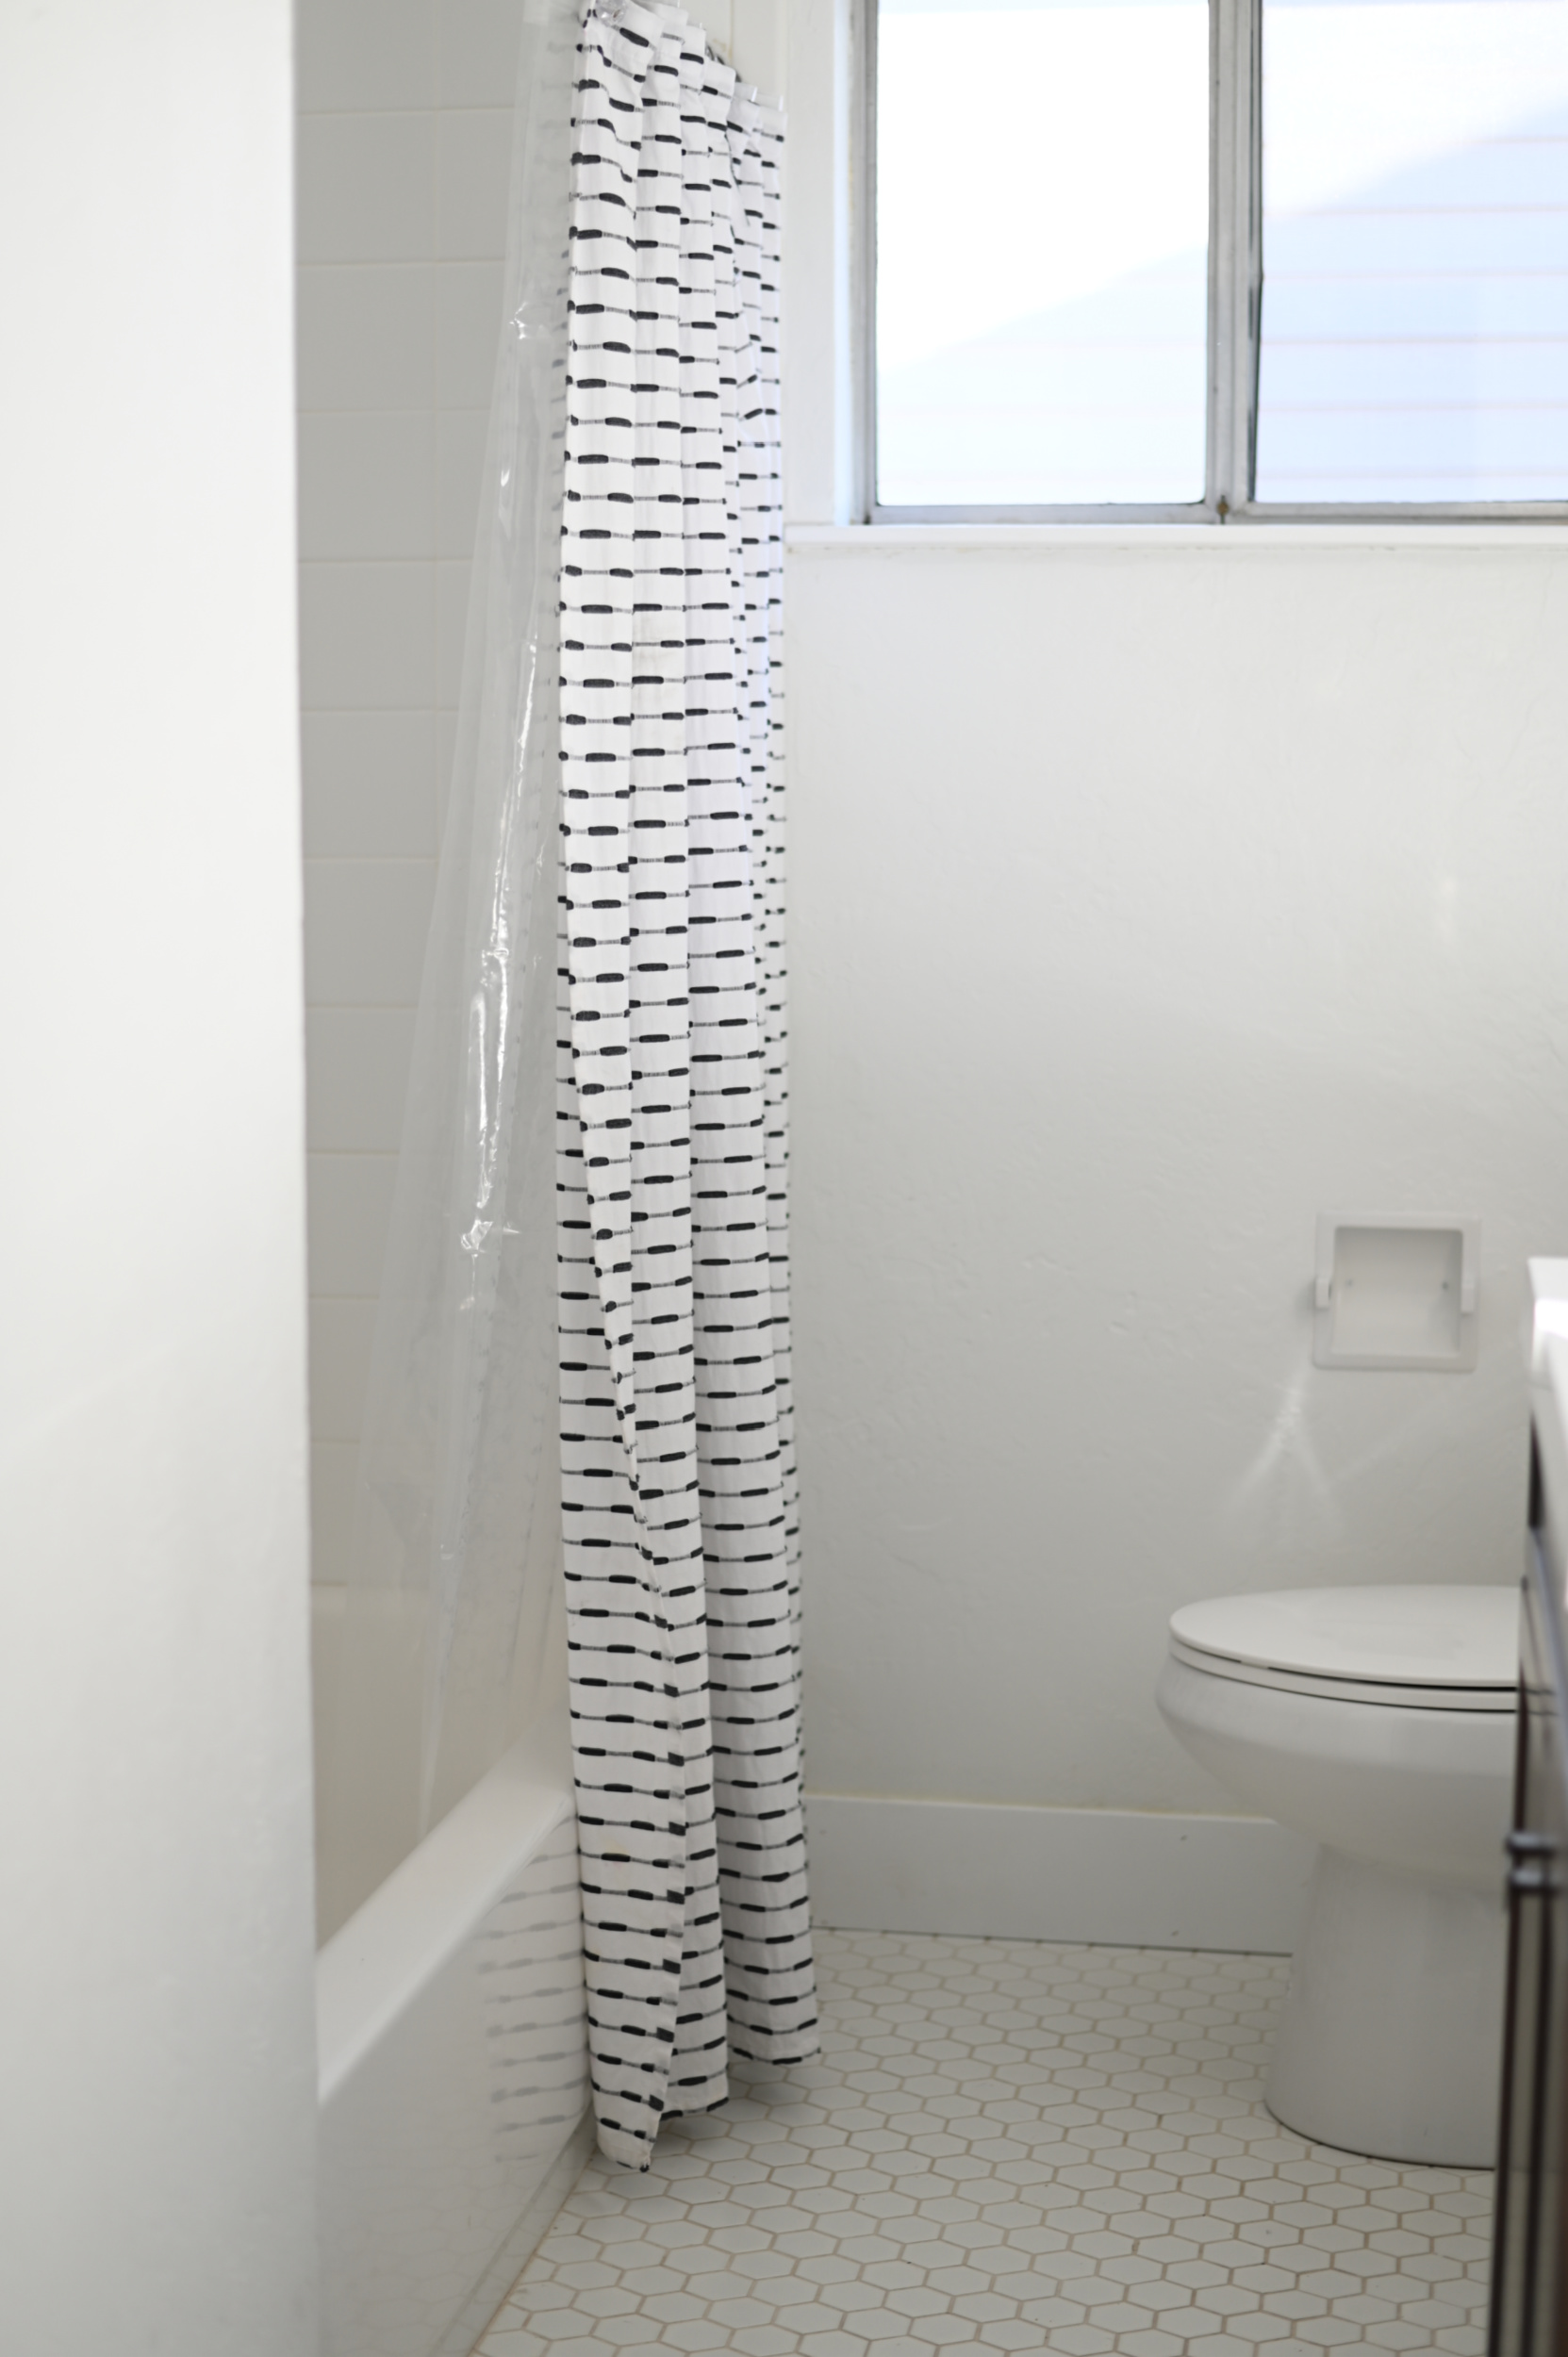
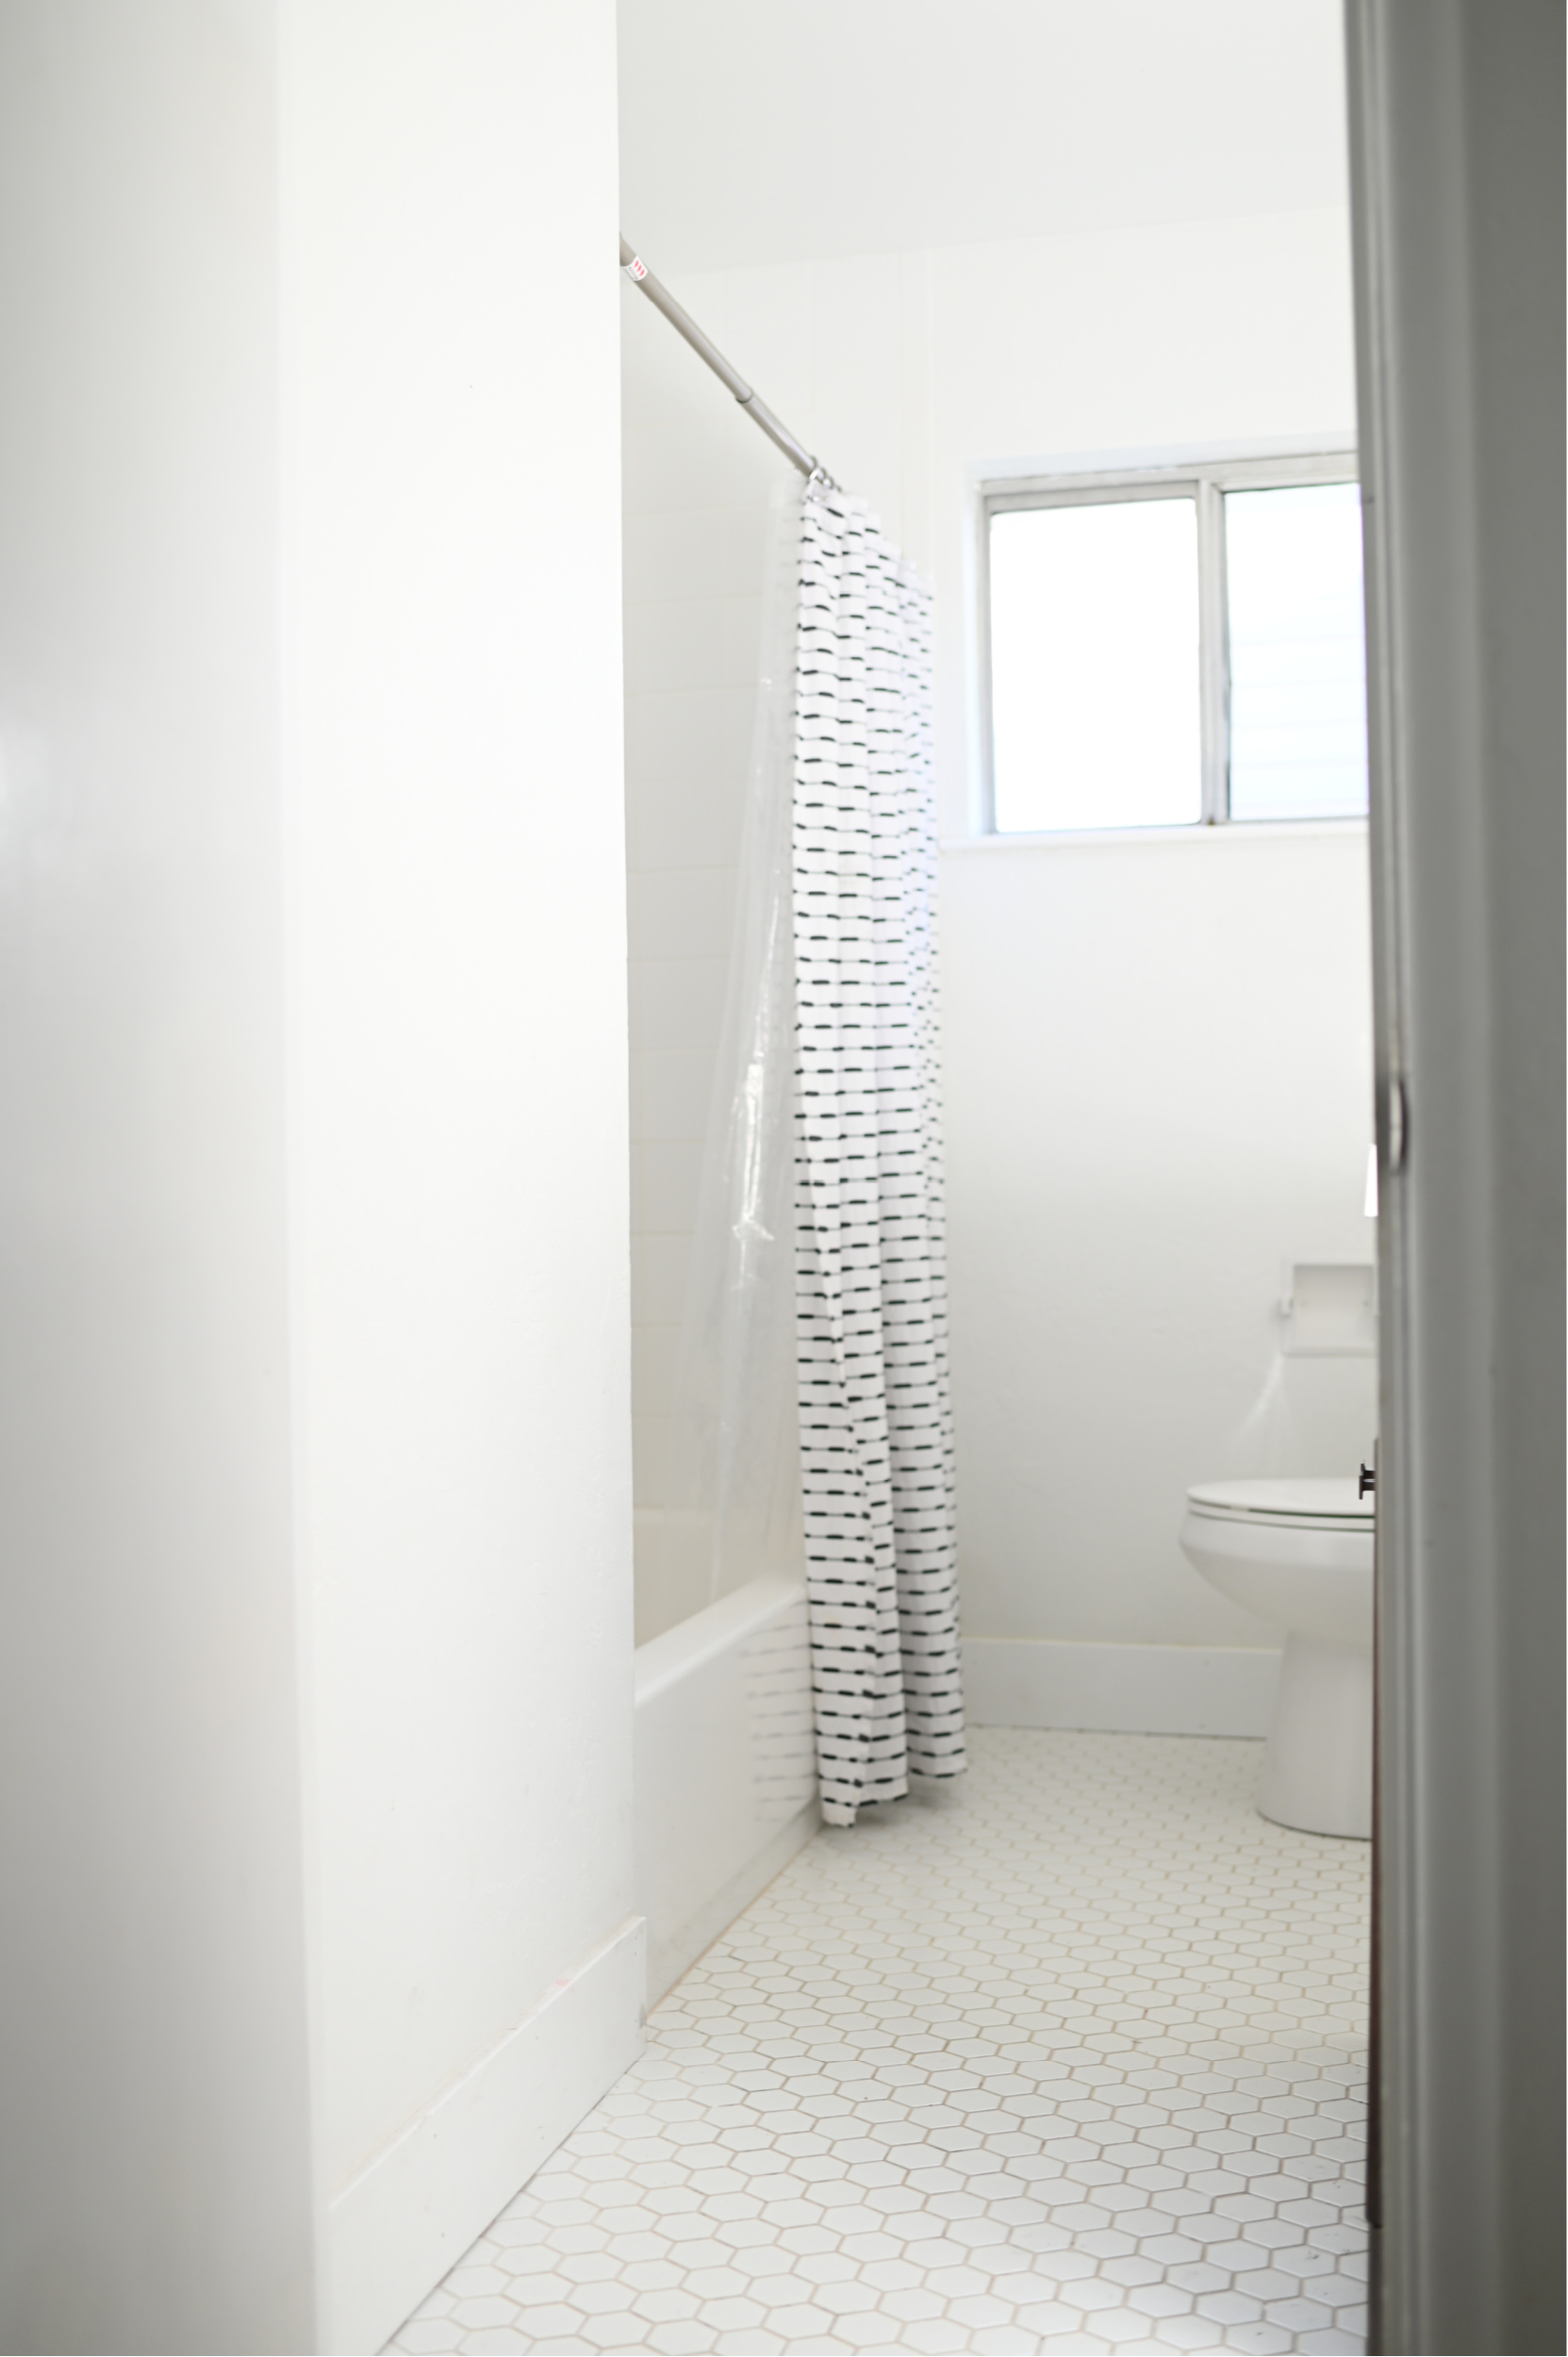
Now the one thing my sister doesn’t have a lot of is time. She’s in the military and she’s a nurse so projects have to be as fast, unobtrusive to daily life, and as easy as possible. Did I mention she has 3 year old twins!? To say she’s busy is an understatement so we needed to find a way to change things up in here with the least amount of work and time as we could. It was the PERFECT opportunity to try a new- to- me product from The Home Depot called QuicTile by Daltile.
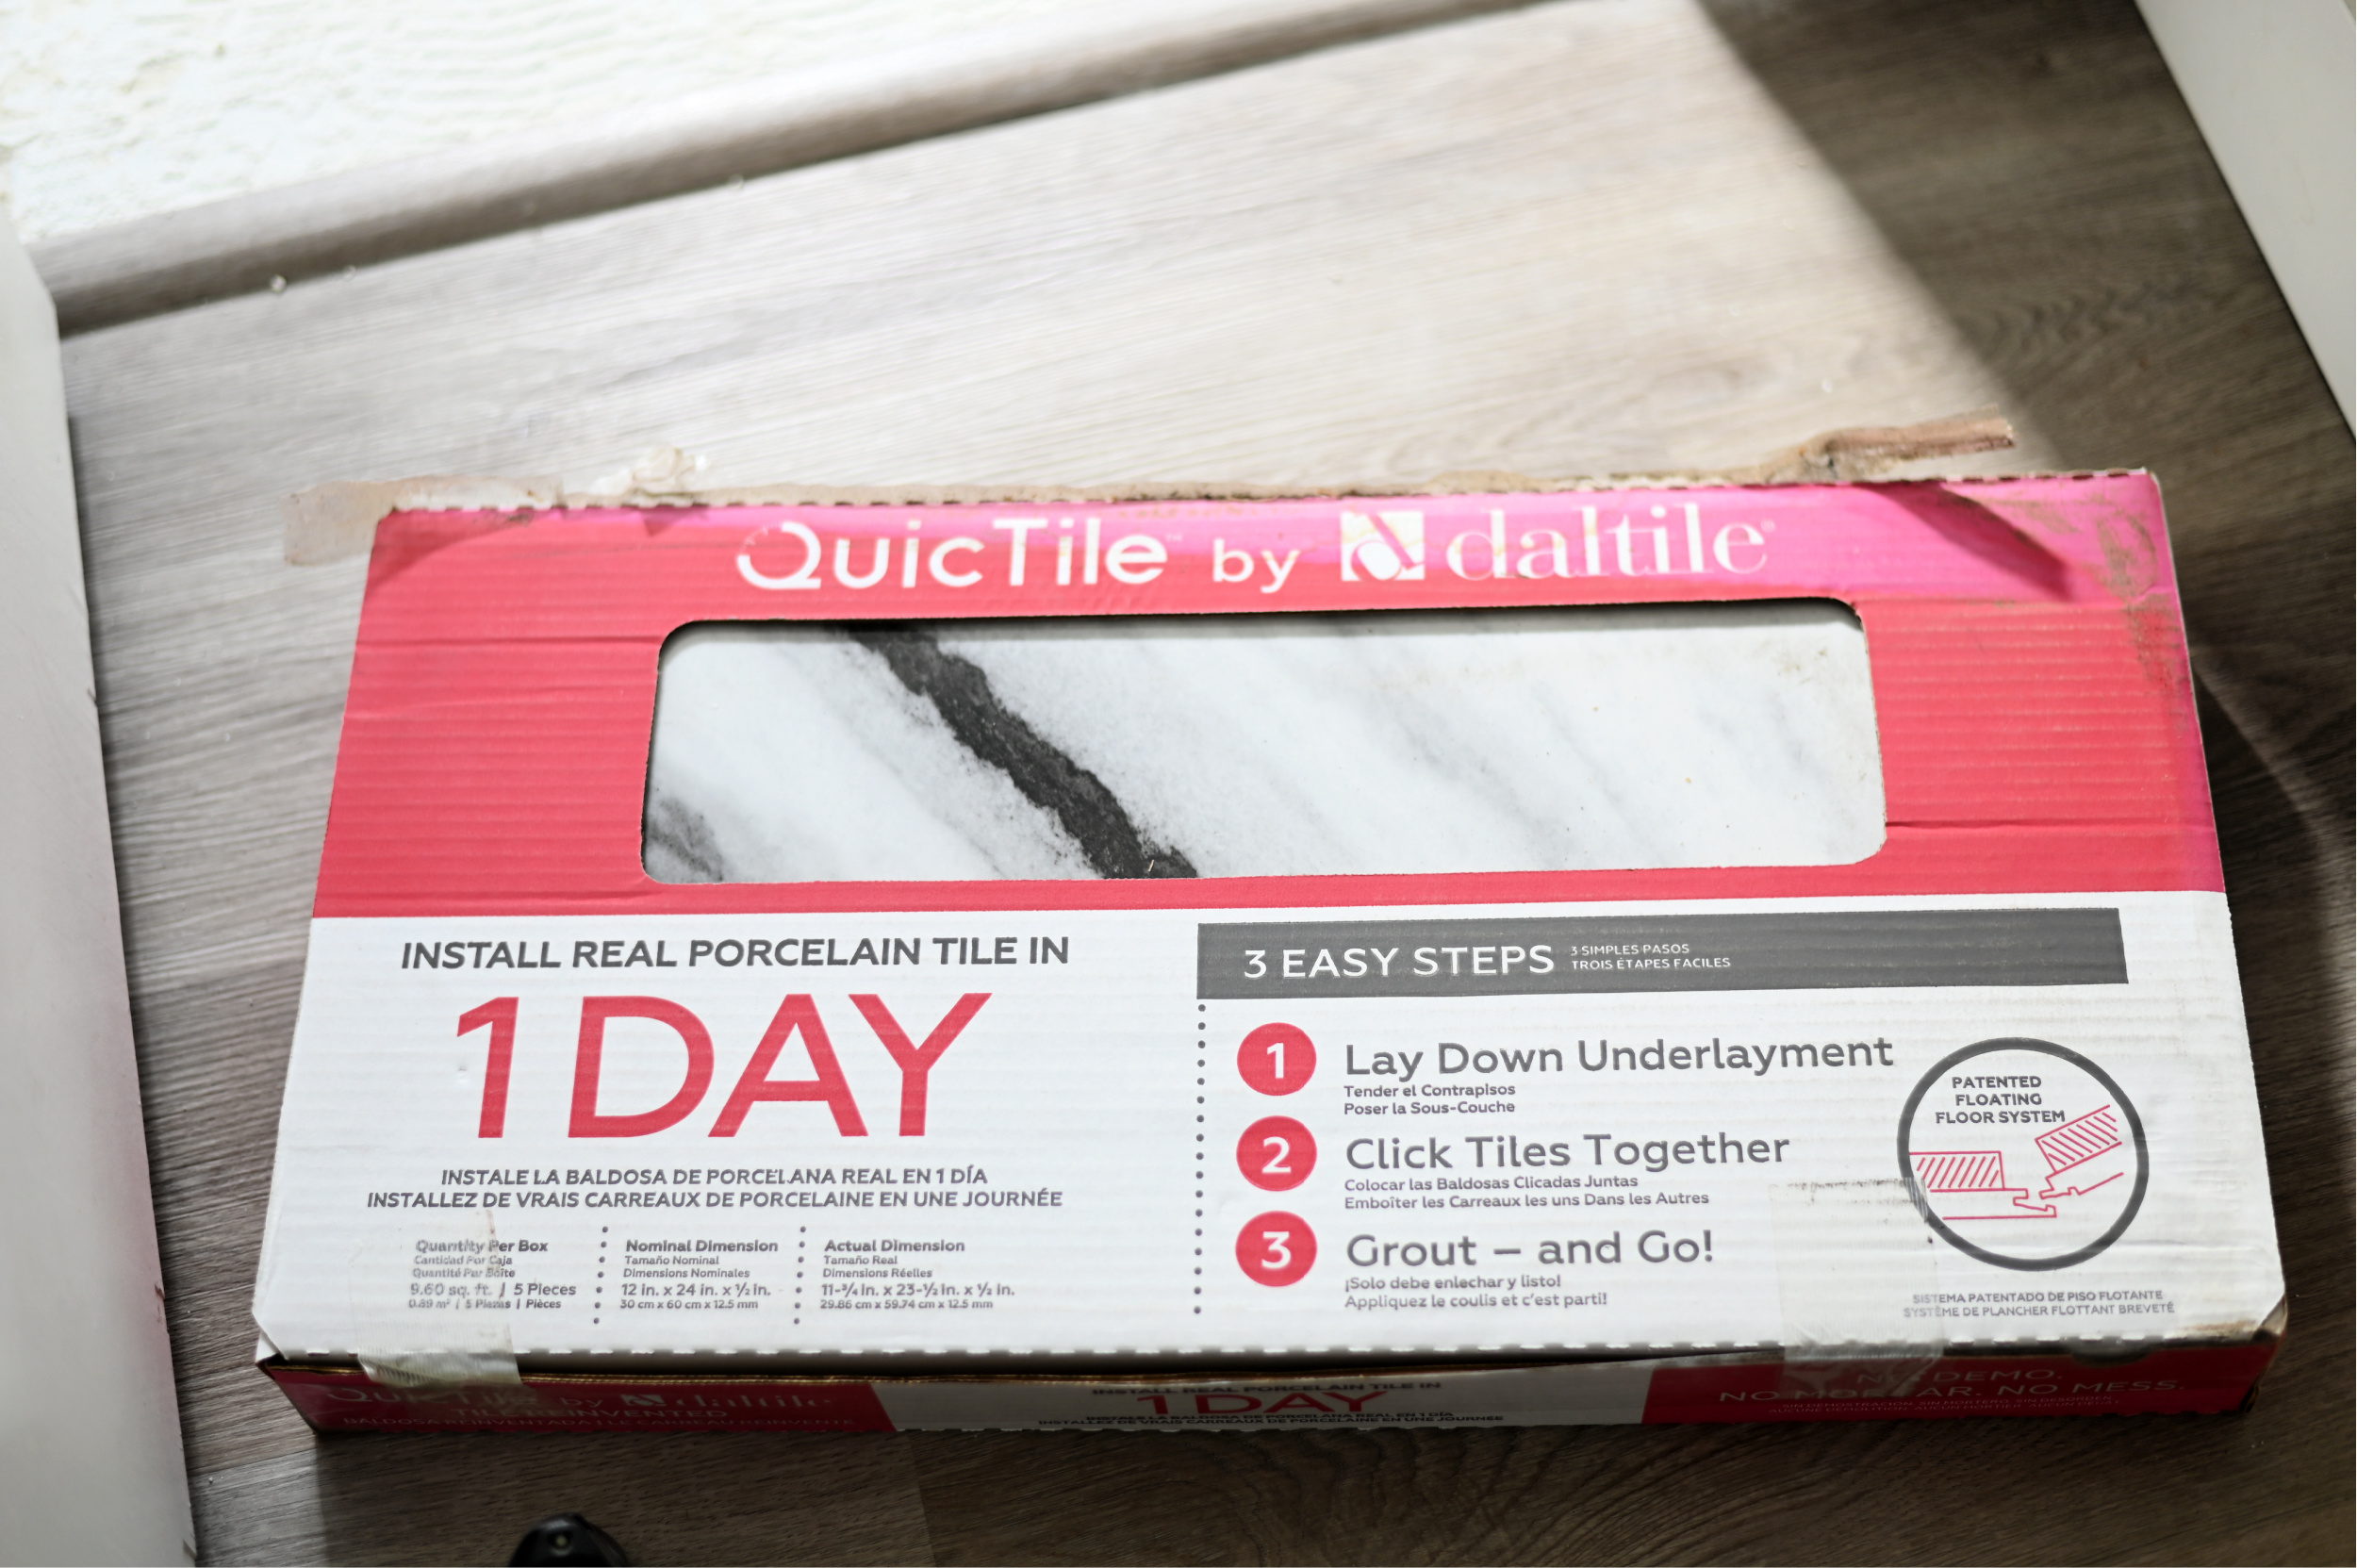
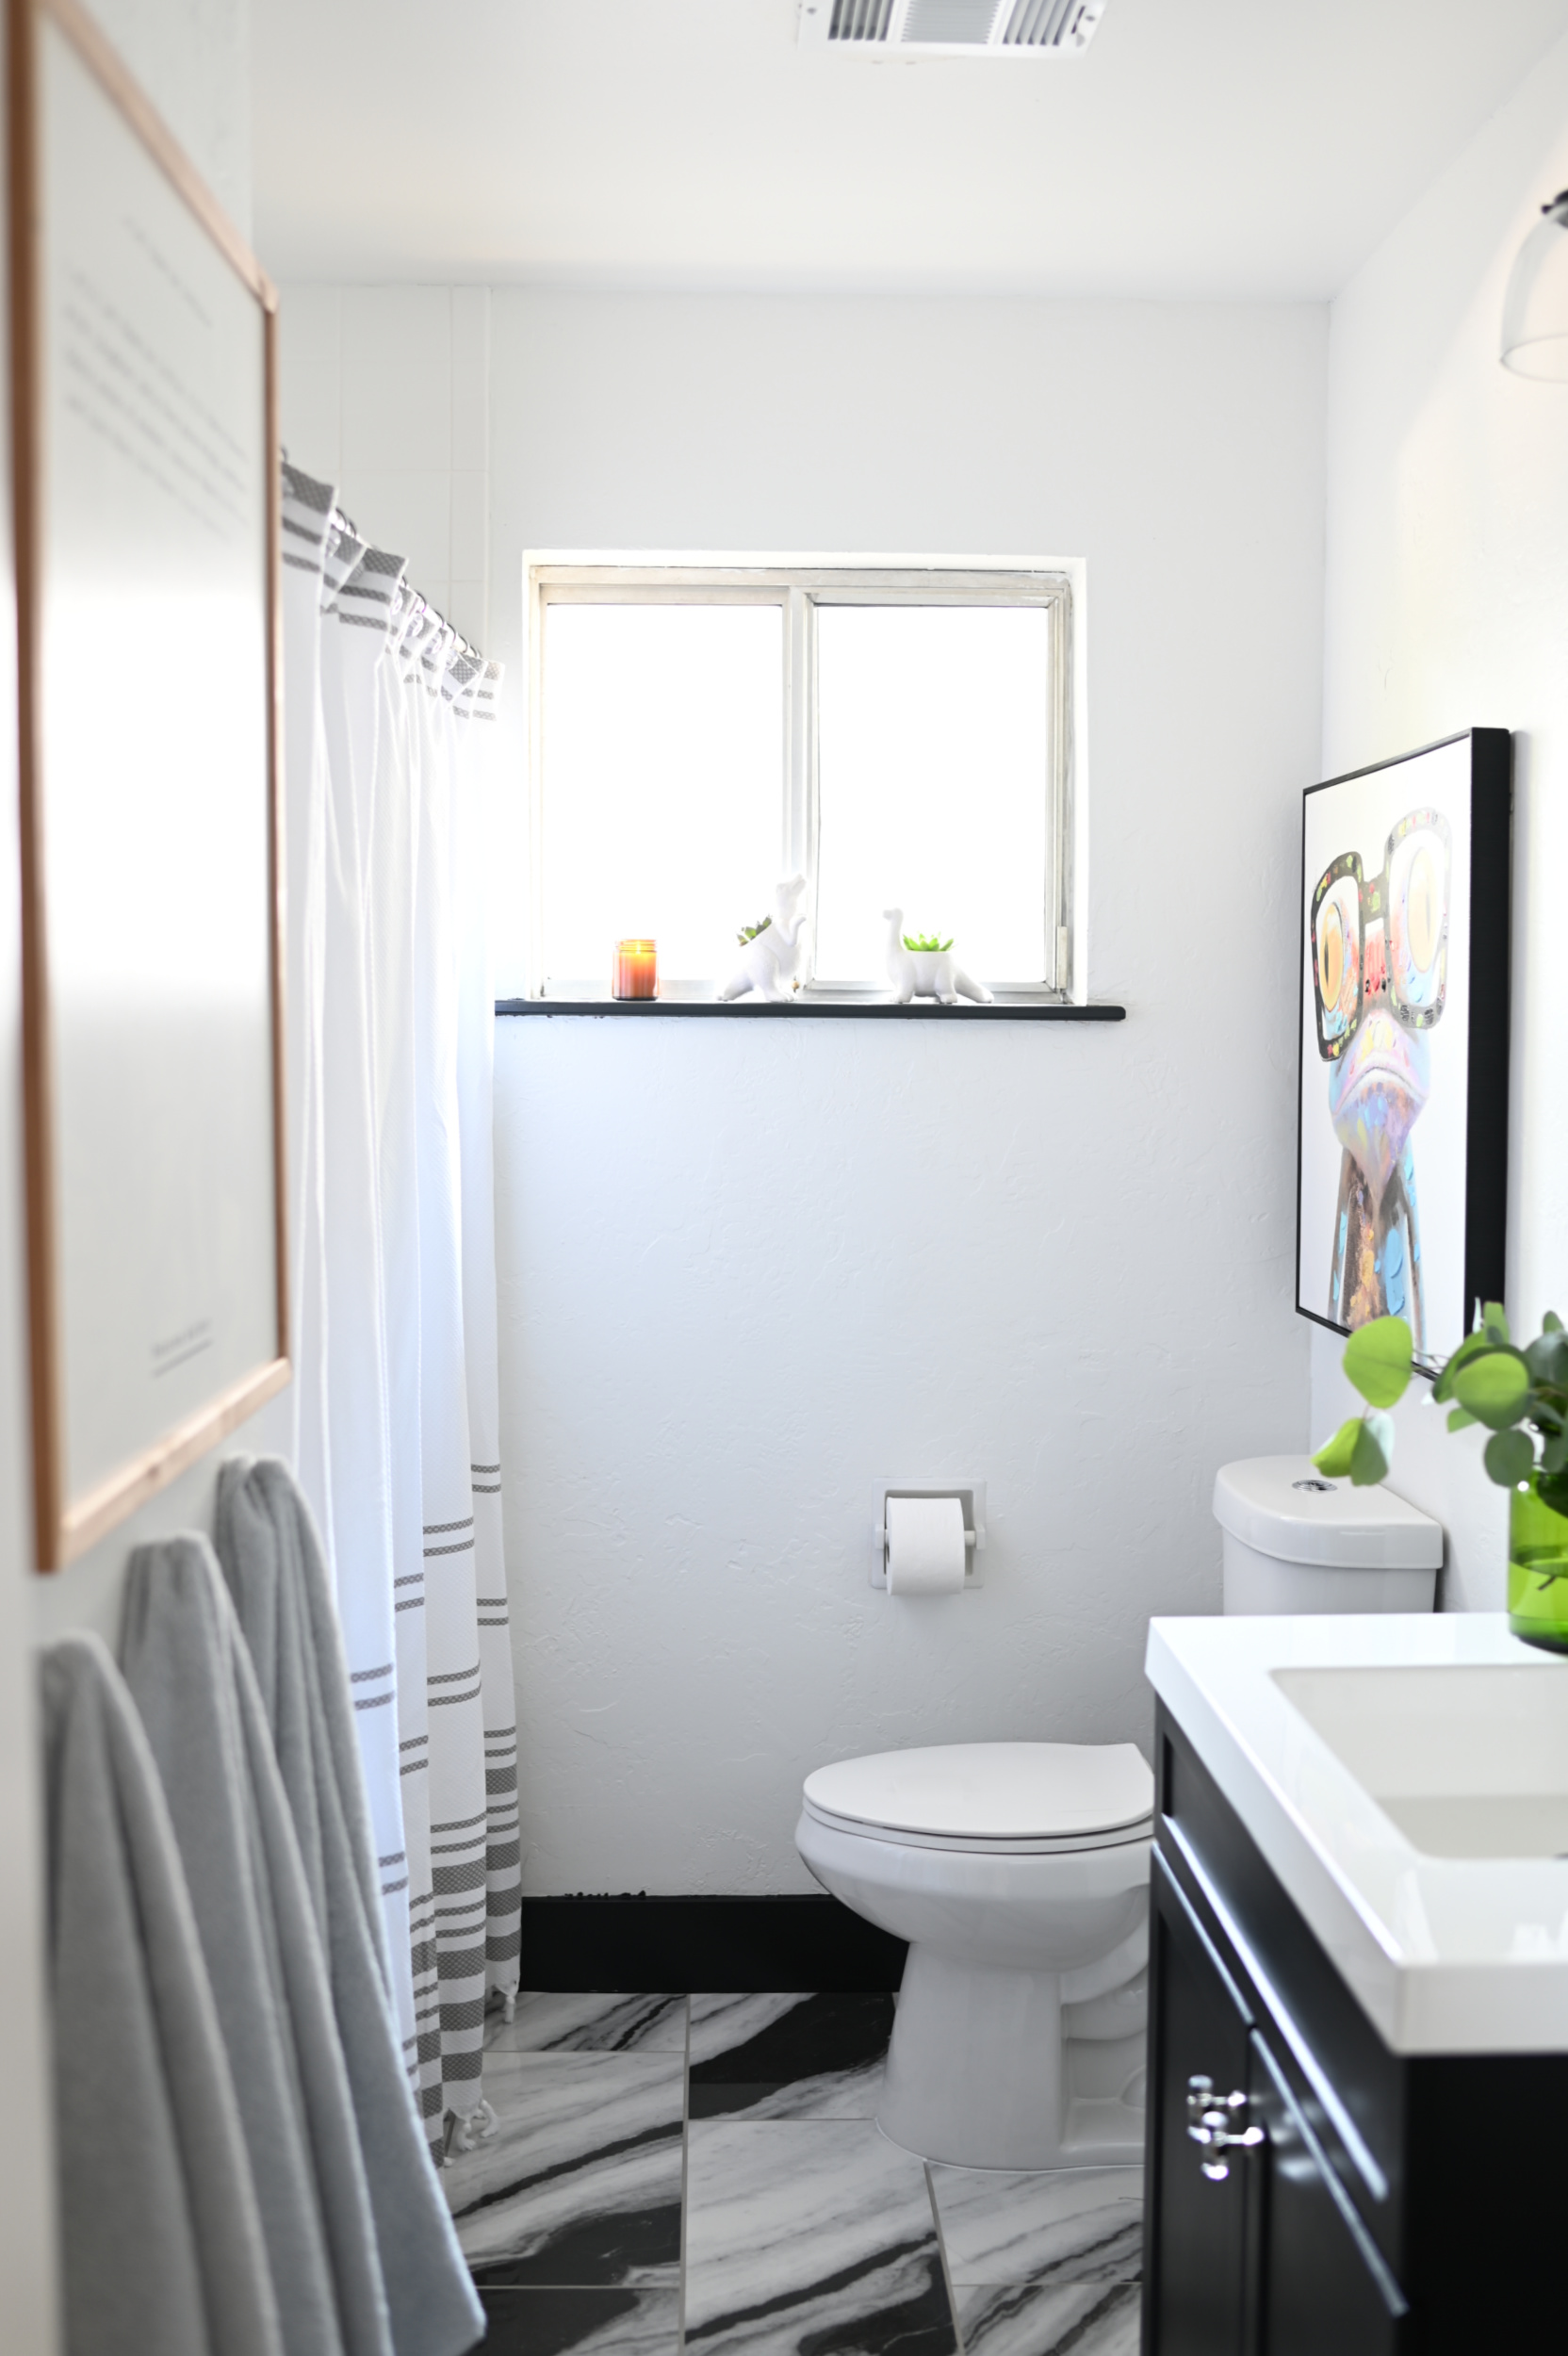
QuicTile is a revolutionary product that allows you to take on a tiling project in as little as ONE DAY! Yes, you read that right…O N E. D A Y. Its real porcelain that can be installed over existing floors so there’s no need for demo. It also doesn’t require mortar so the mess of traditional tiling is a thing of the past. It installs using a patented floating floor system in just 3 easy steps, and its easy enough to DIY making it the perfect weekend project to tackle. Its also waterproof, dentproof, stainproof, scratch resistant and easy to clean! For Andrea’s bathroom we chose QuicTile in the Panda Marble finish. I LOVED the graphic black and white marble look of this tile. The 12×24 size is generous and feels so luxe, and it makes for less grout lines which is exactly what she was hoping for. I was excited to get started to see just how easy it was to install.
One of the coolest things about QuicTile is that it doesn’t require you to demo you exiting floors first. QuicTile installs over subfloors and existing hard surface floors such as vinyl, laminate and hardwood. All you need is the QuicPrep underlayment to get started. Ya’ll this is a GAME CHANGER. This is such a big deal, especially for beginning DIYers or for people who don’t want the mess and hassle of a traditional tile job. We did demo the existing tile in here first because I needed to make sure the level of the tile would be as close to the level of the adjoining wood floor as possible. Installing the tile over the tile would have raised the floor too much.
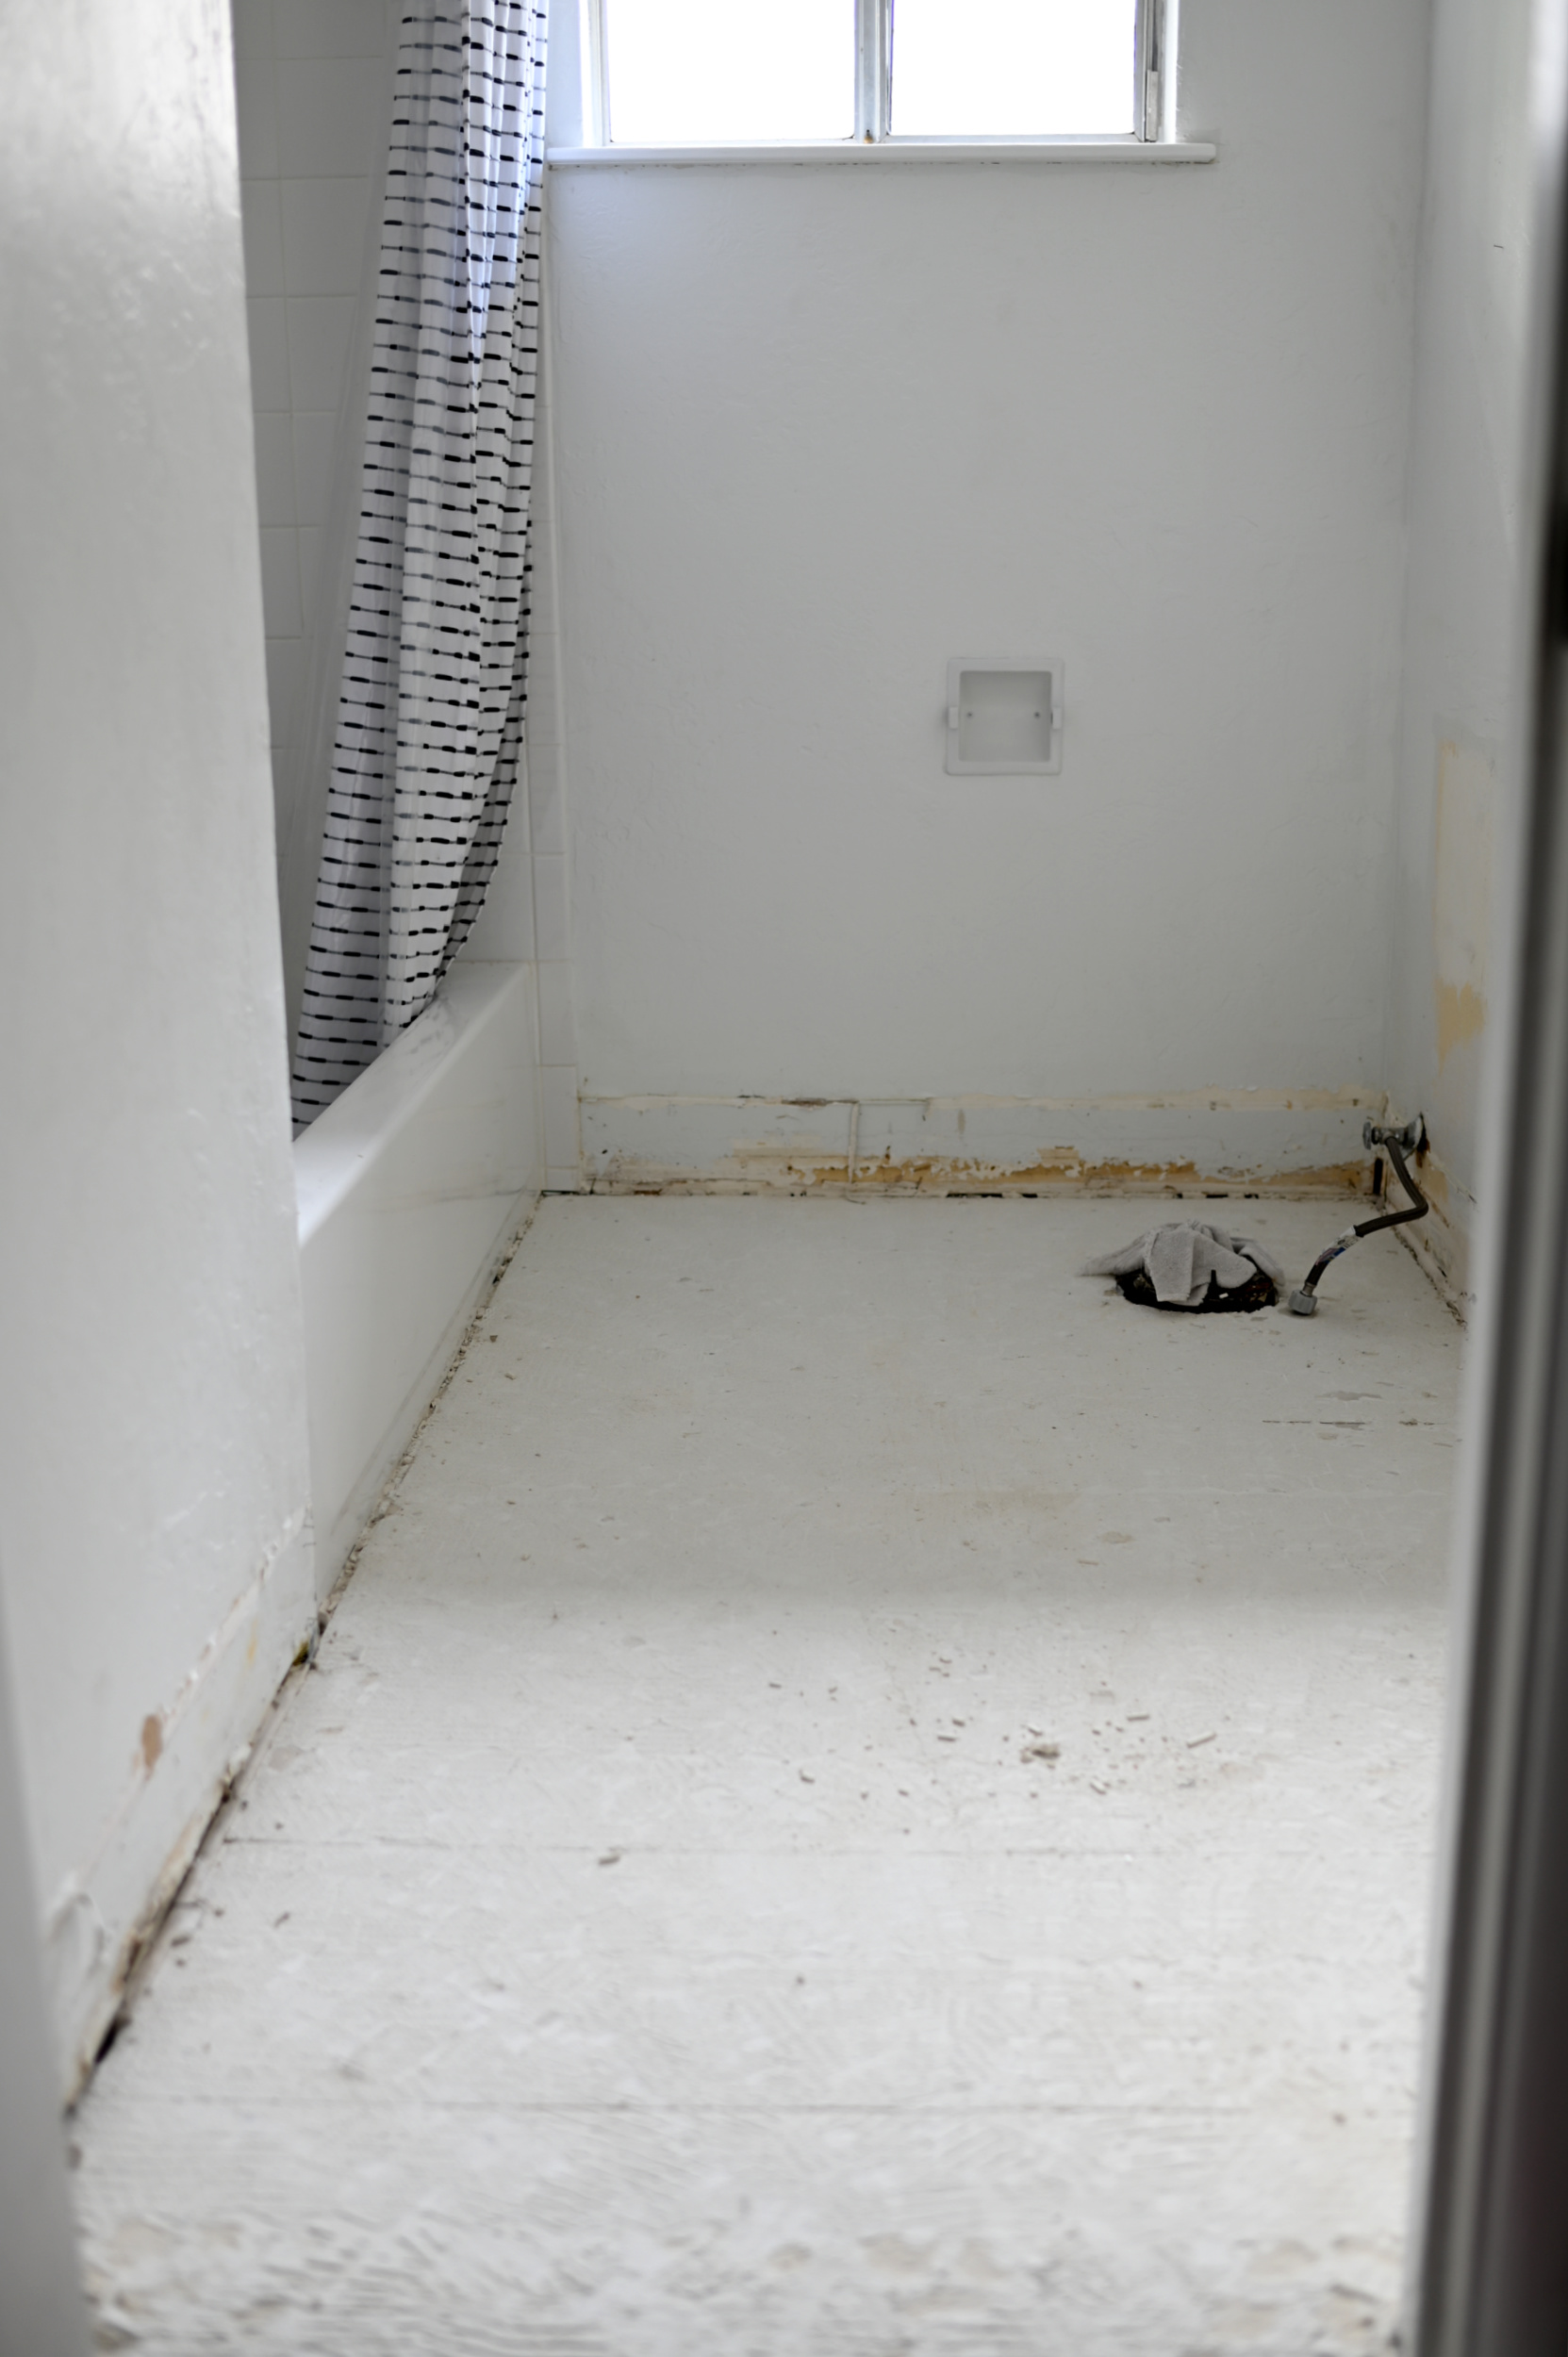
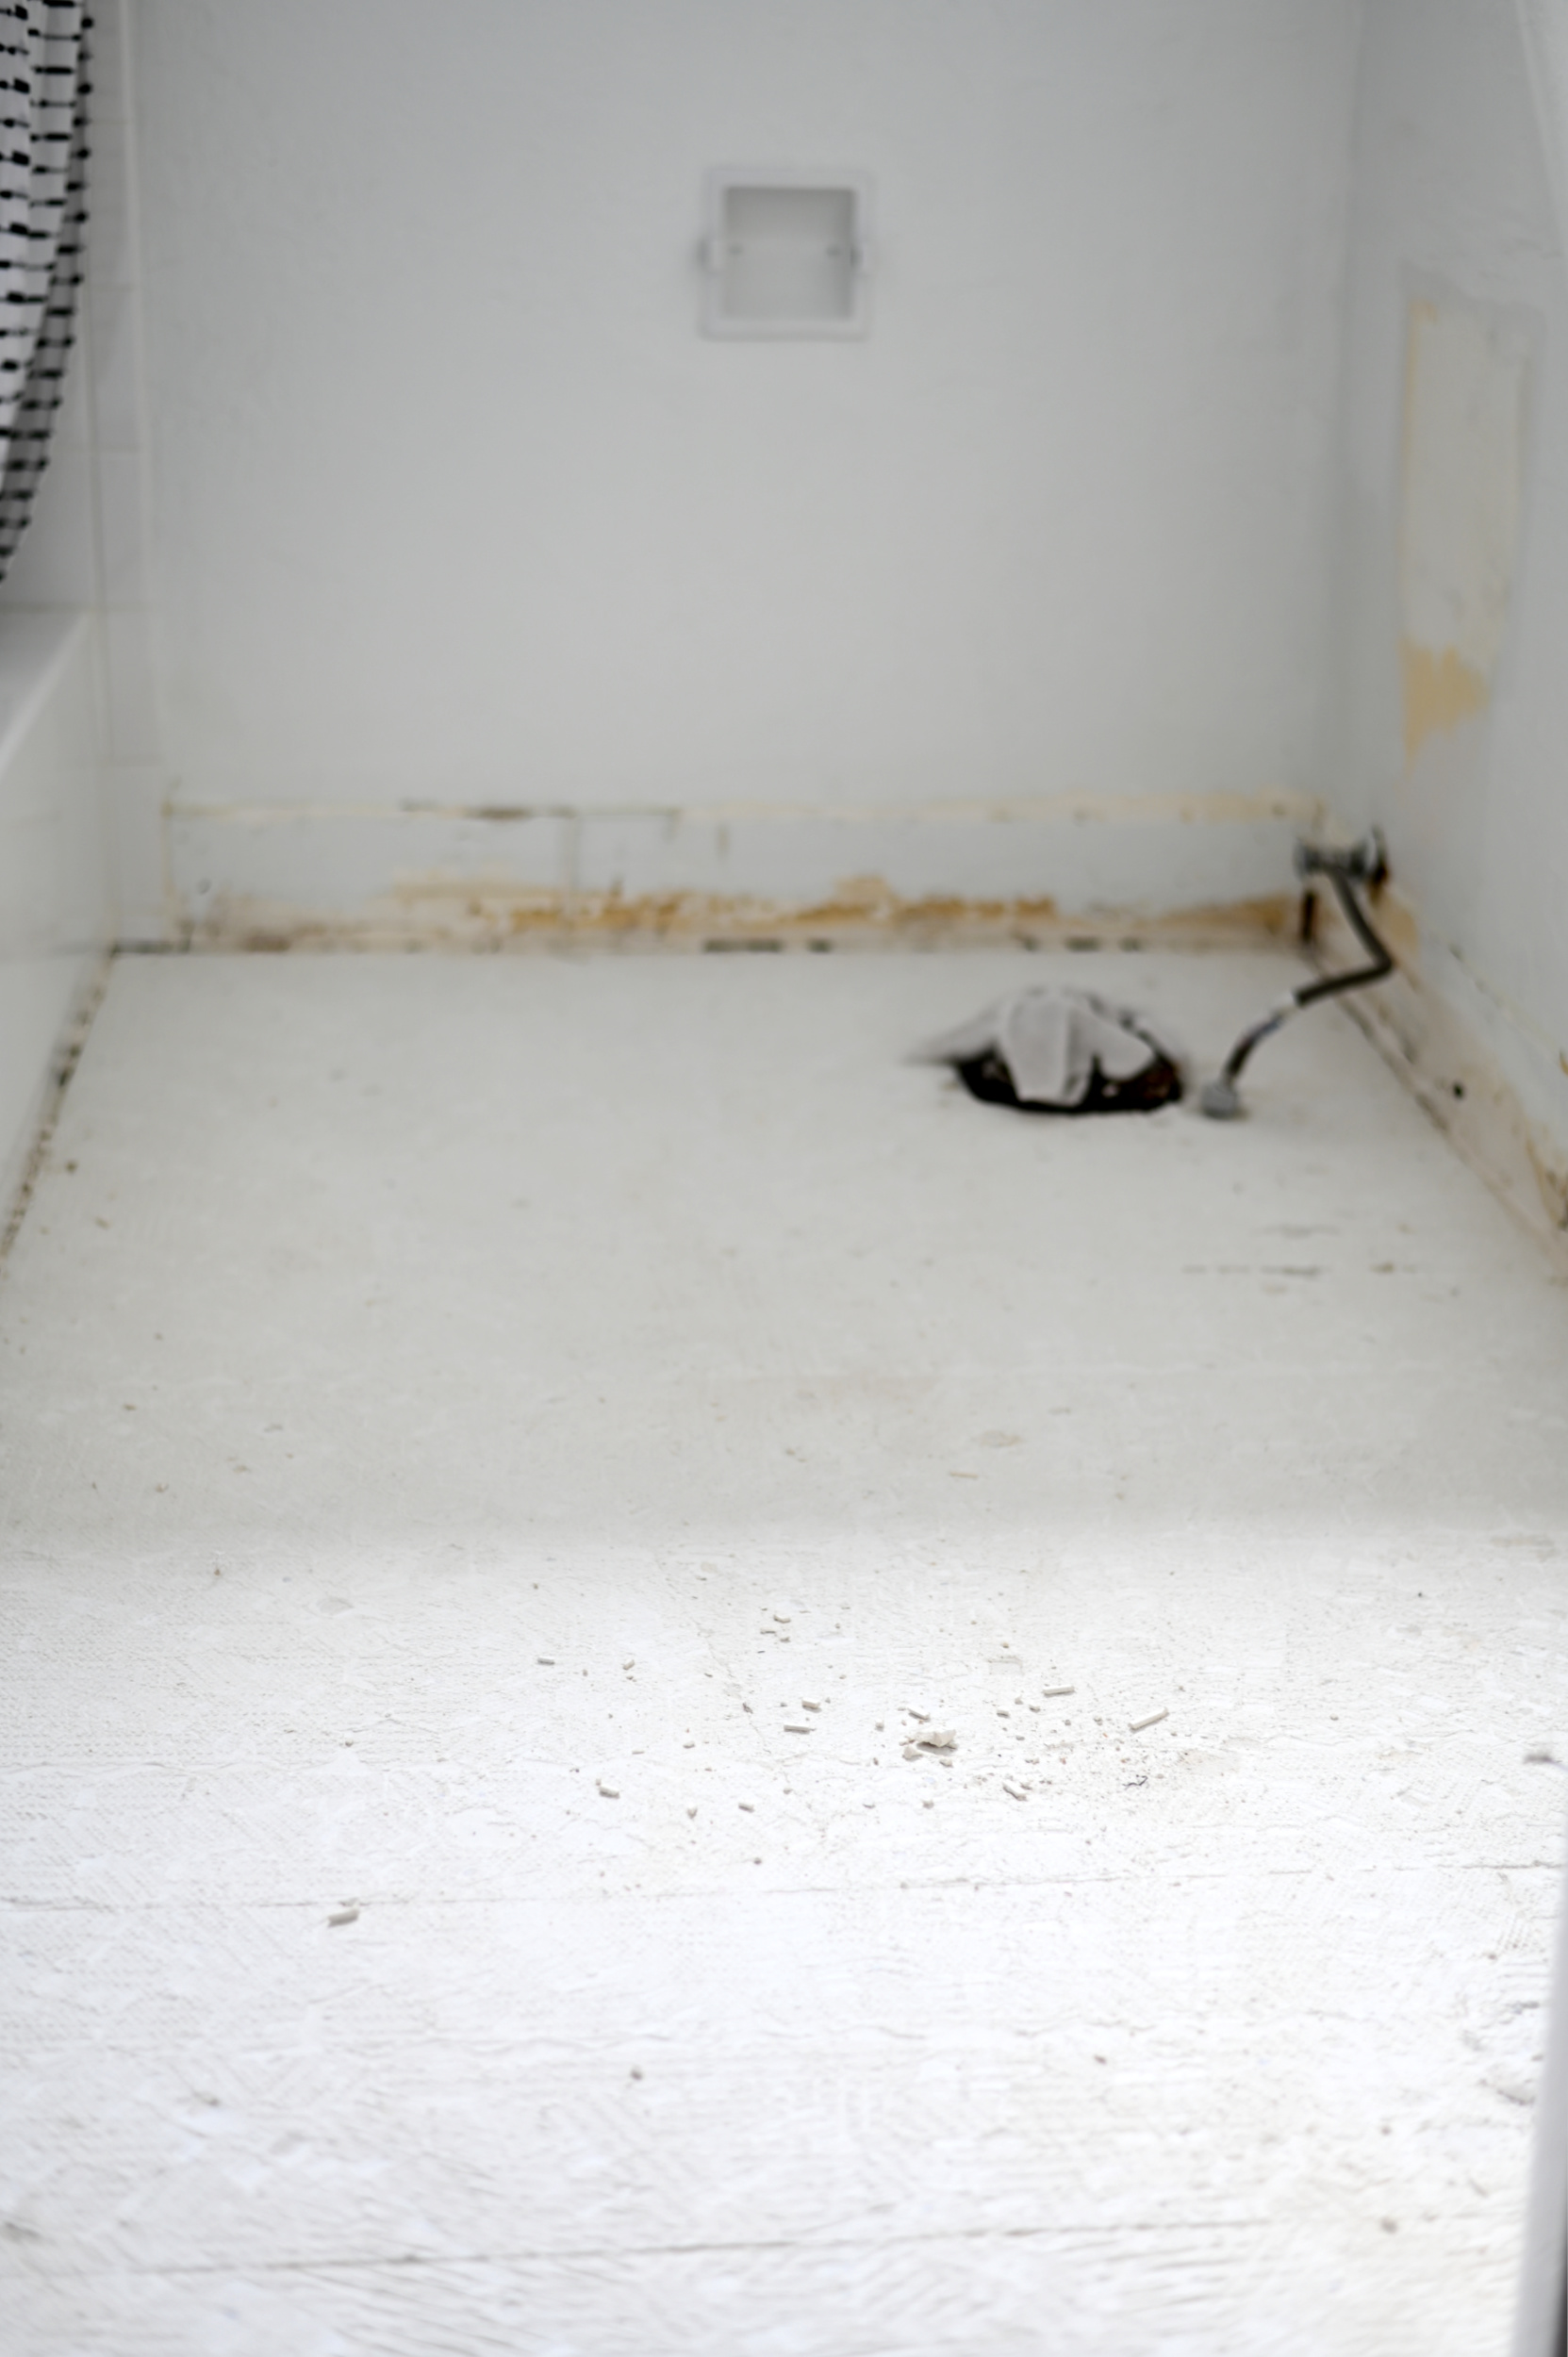
Because the space was so small and the tile was fairly thin, It was easy to take out. Once we removed the tile we got things as clean and flat as possible. We didn’t remove or replace the subfloor because part of what makes the QuicTile system so unique is it uses an underlayment system that lays down right over your existing floor. The QuicTile then gets installed on top of that. Laying down the underlayment was fast and easy and you simply tape any seams or places where two pieces connect with underlayment tape. Once I got the underlayment installed it was time to start laying down the tile. Before I got started I watched the instructional installation video multiple times to familiarize myself with the process and get a bit comfortable with the product. I loved having this guide with me during install, too, as I could pause it and re-watch it whenever I needed.
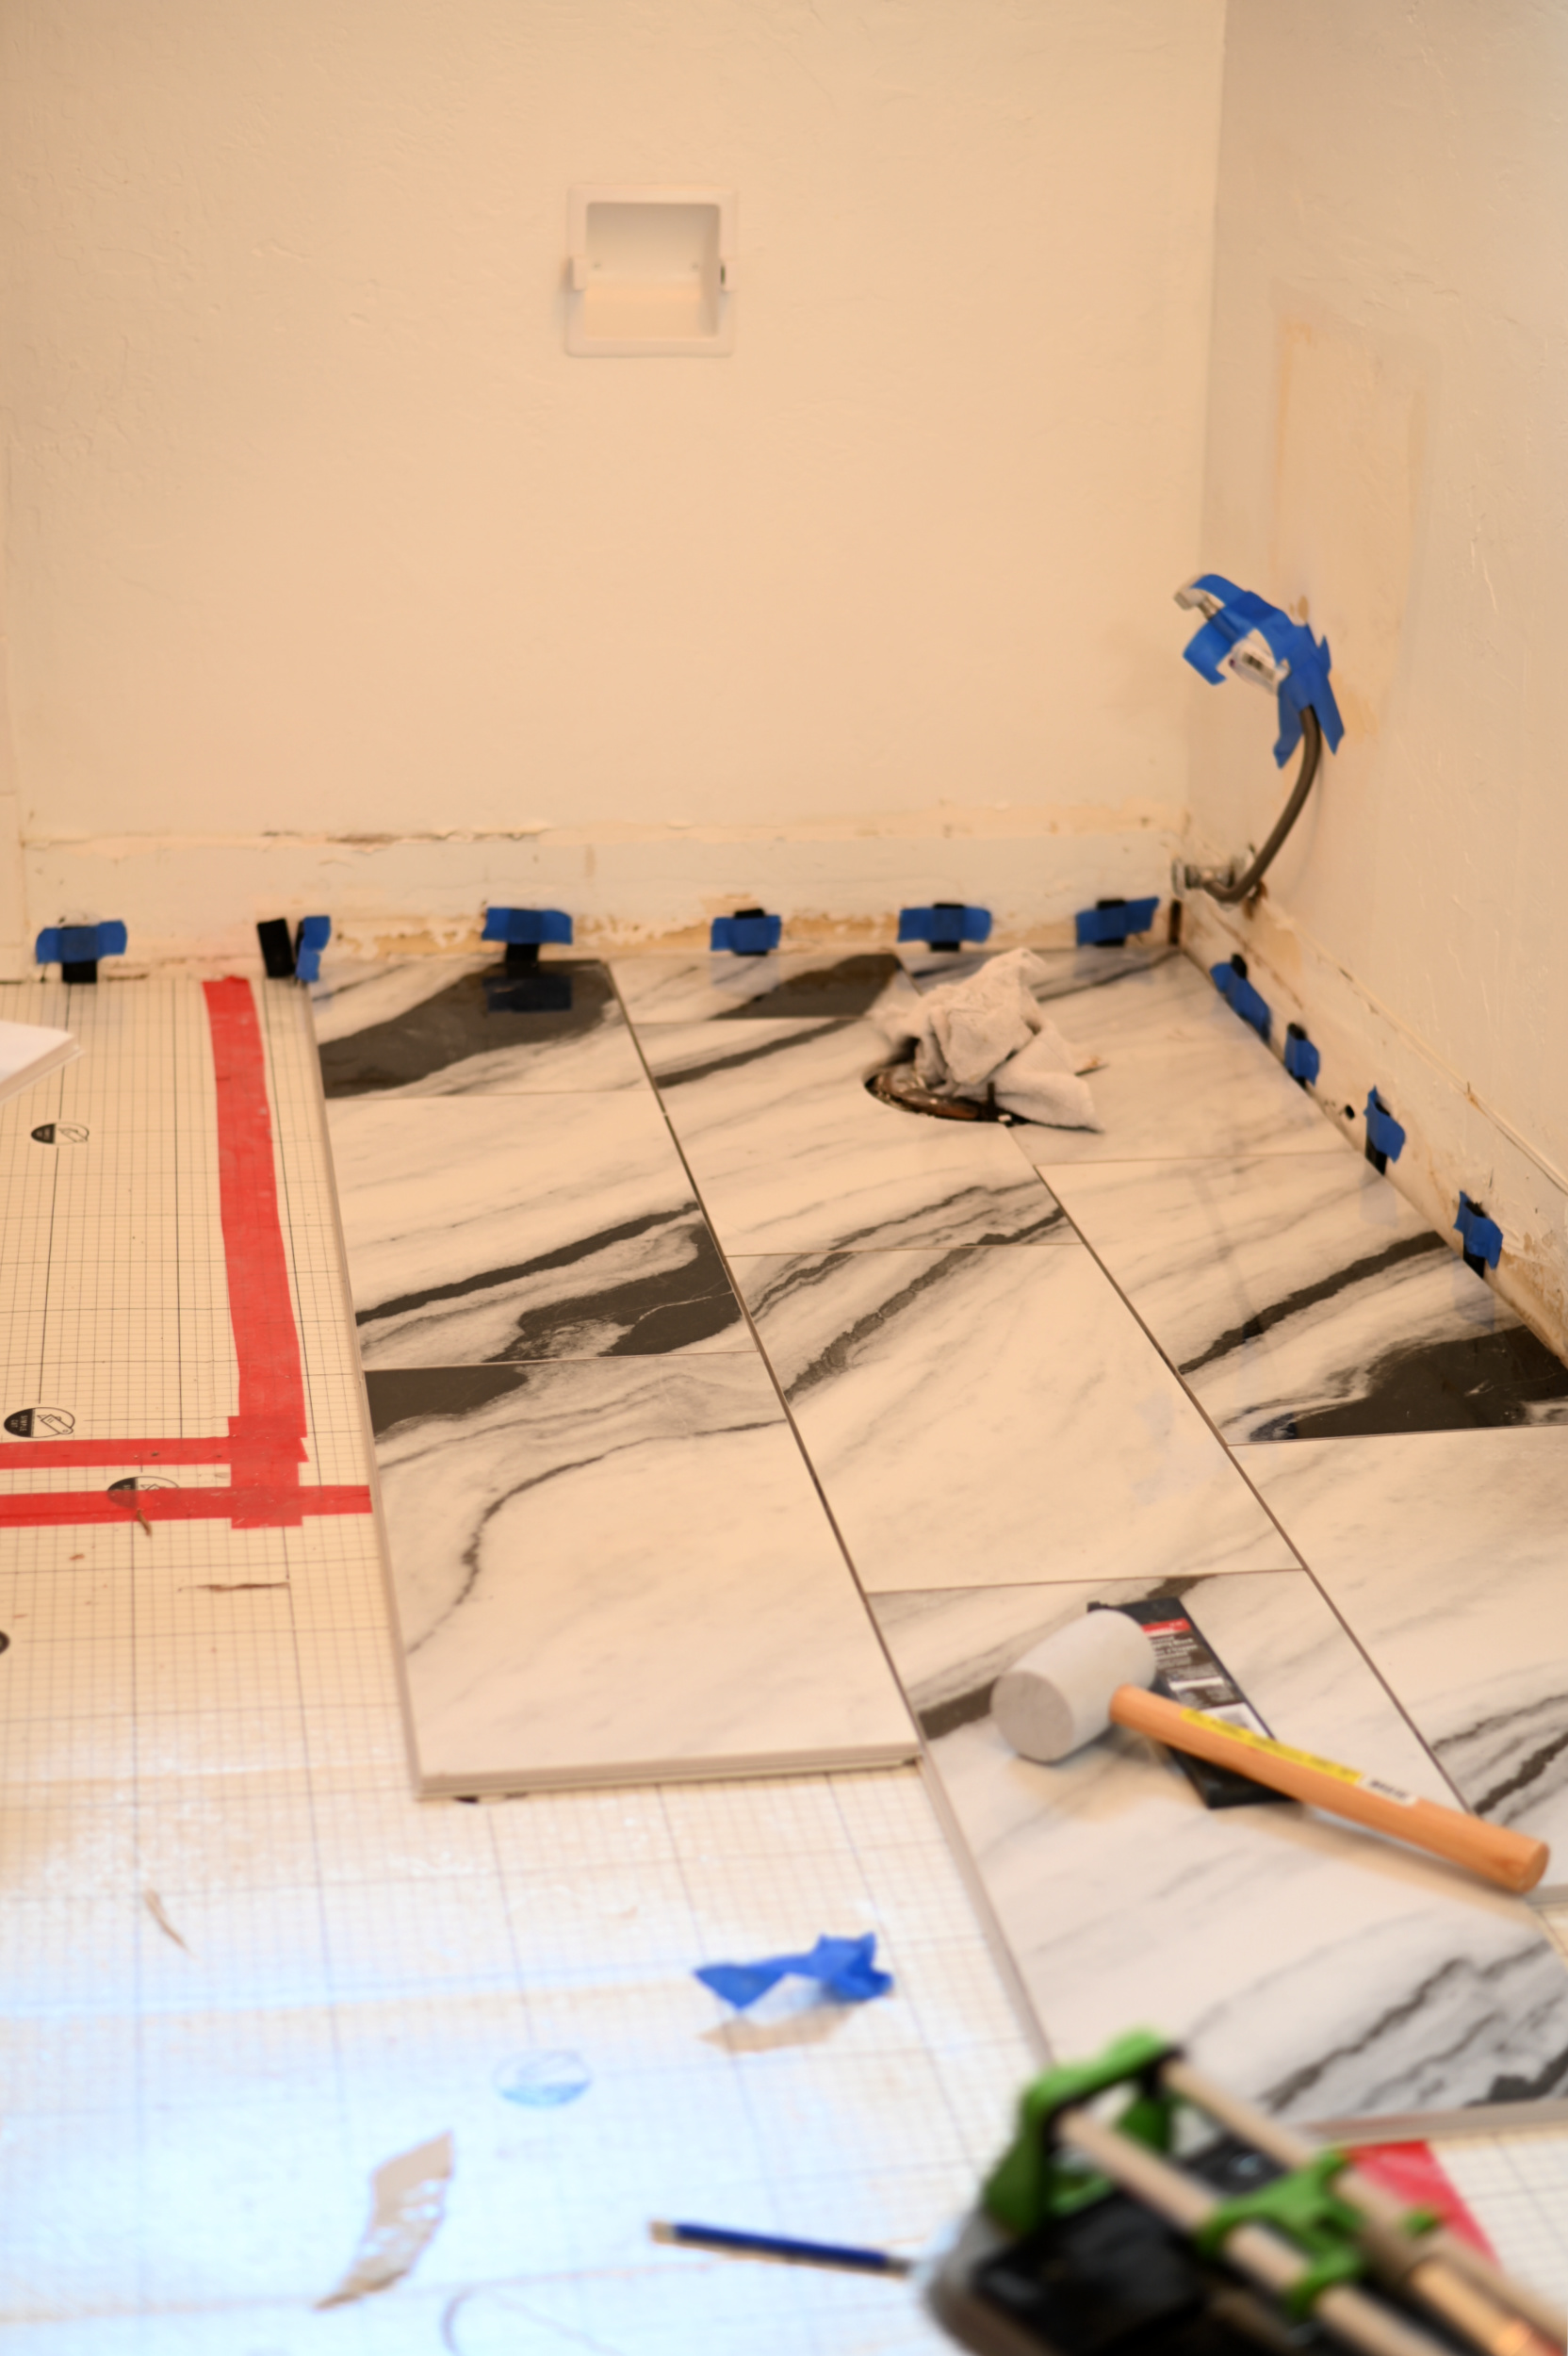
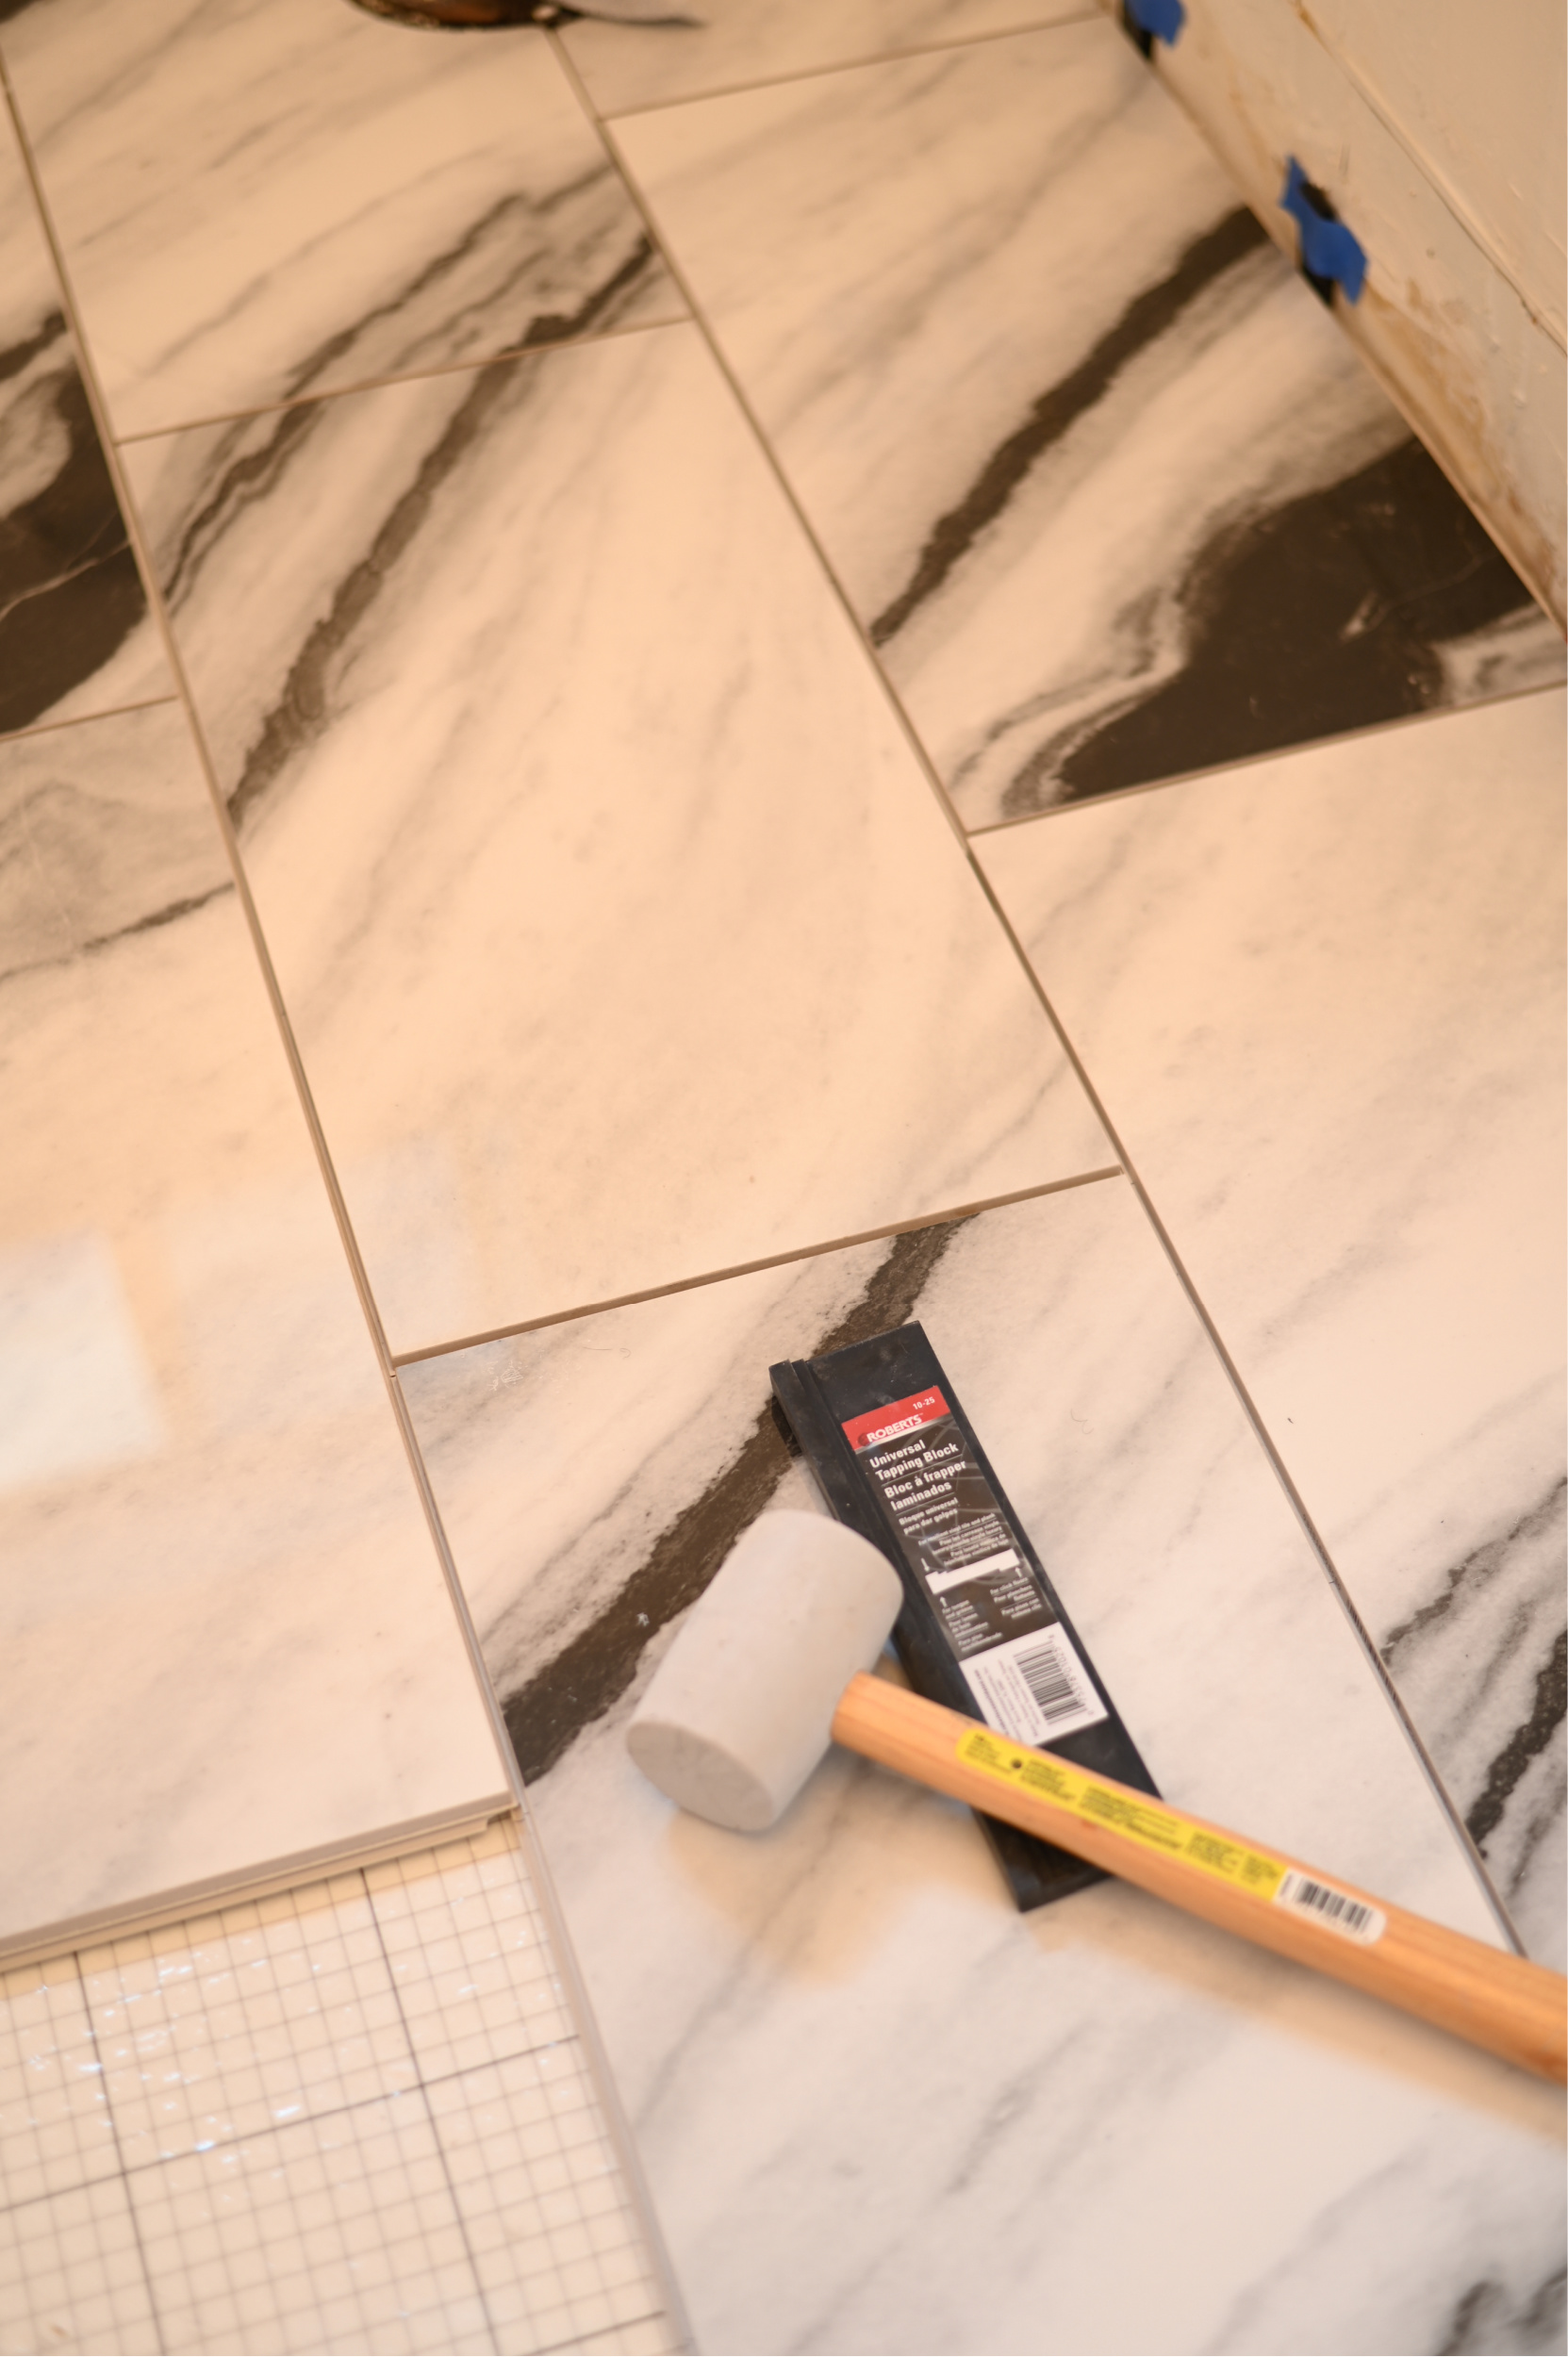
If you’ve ever installed any type of tongue and groove floating wood floor then you’re ahead of the curve and should find the install of this tile very similar to that. There is a long and short side which click into one another. It takes a bit getting used to, but once you get the hang of it it moves very quickly. As you are installing you want to be careful not to chip away chunks of the tongue and groove base of the tile. I used a wet saw and and angle grinder with a diamond blade to cut out the opening for the toilet, and used a white rubber mallet and tapping block to get each tile nice and secure into one another. You can make any necessary cuts with a manual tile saw, but I found it much easier just to use a wet tile saw.
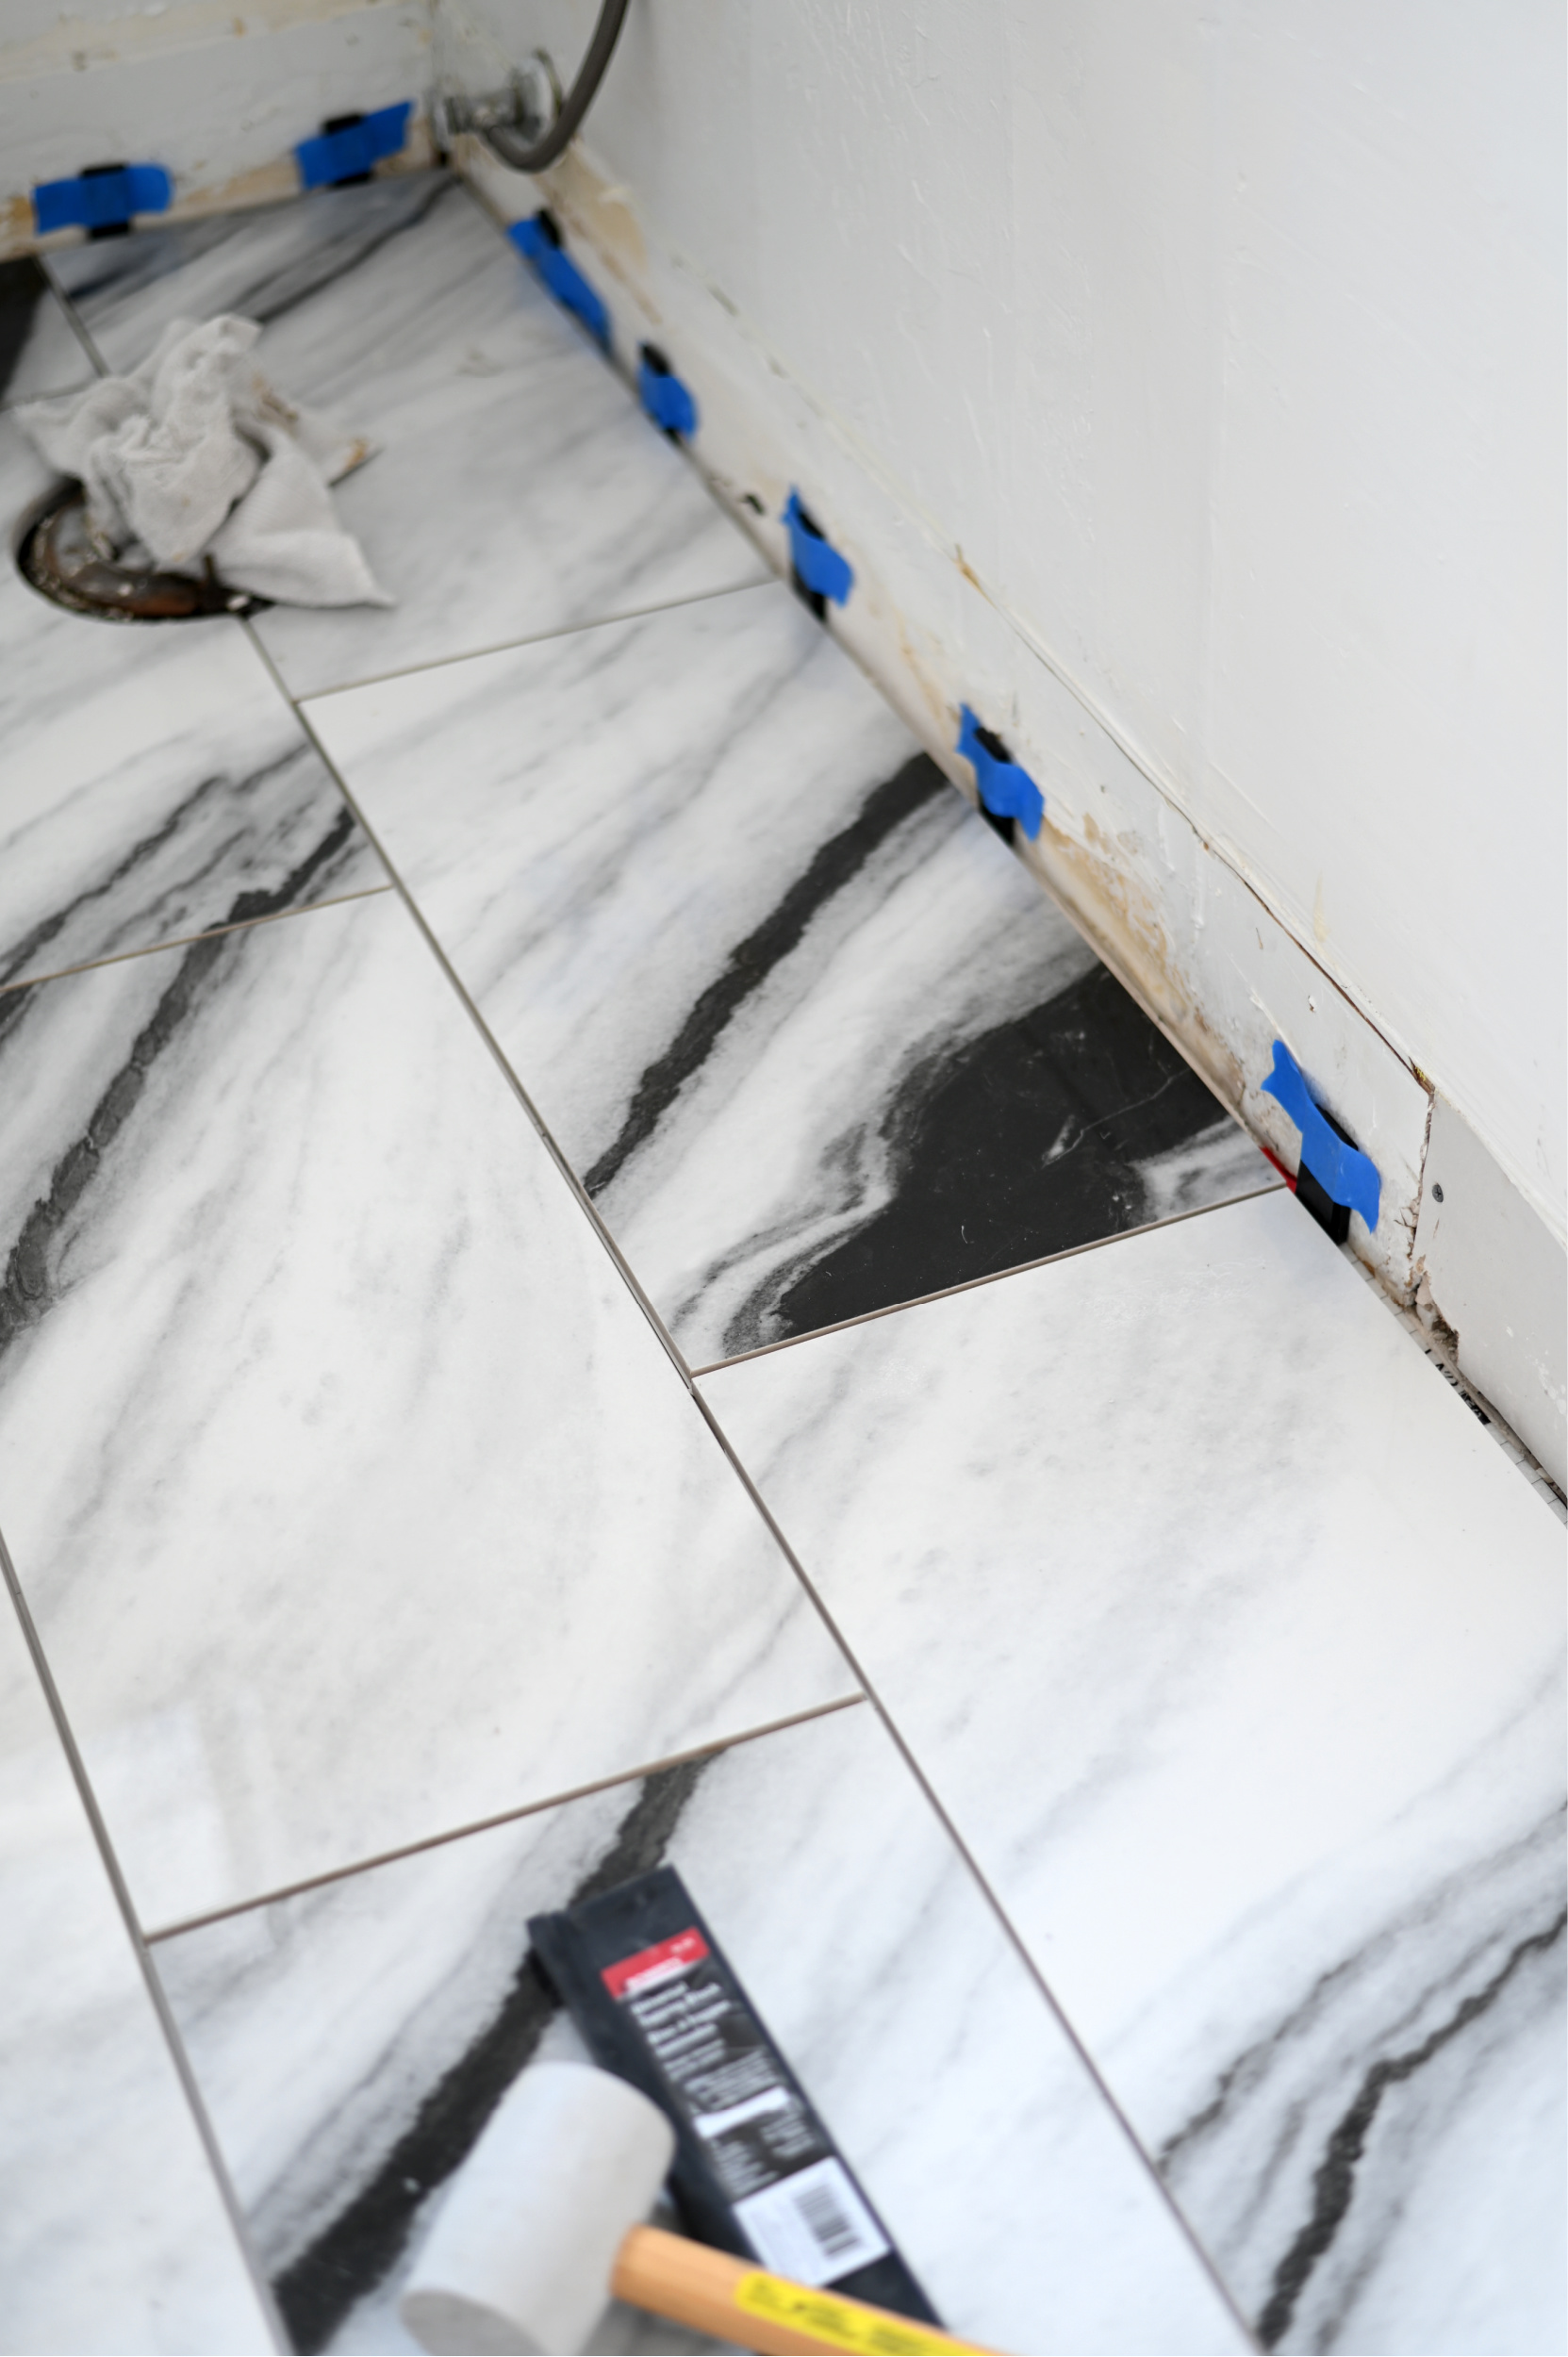
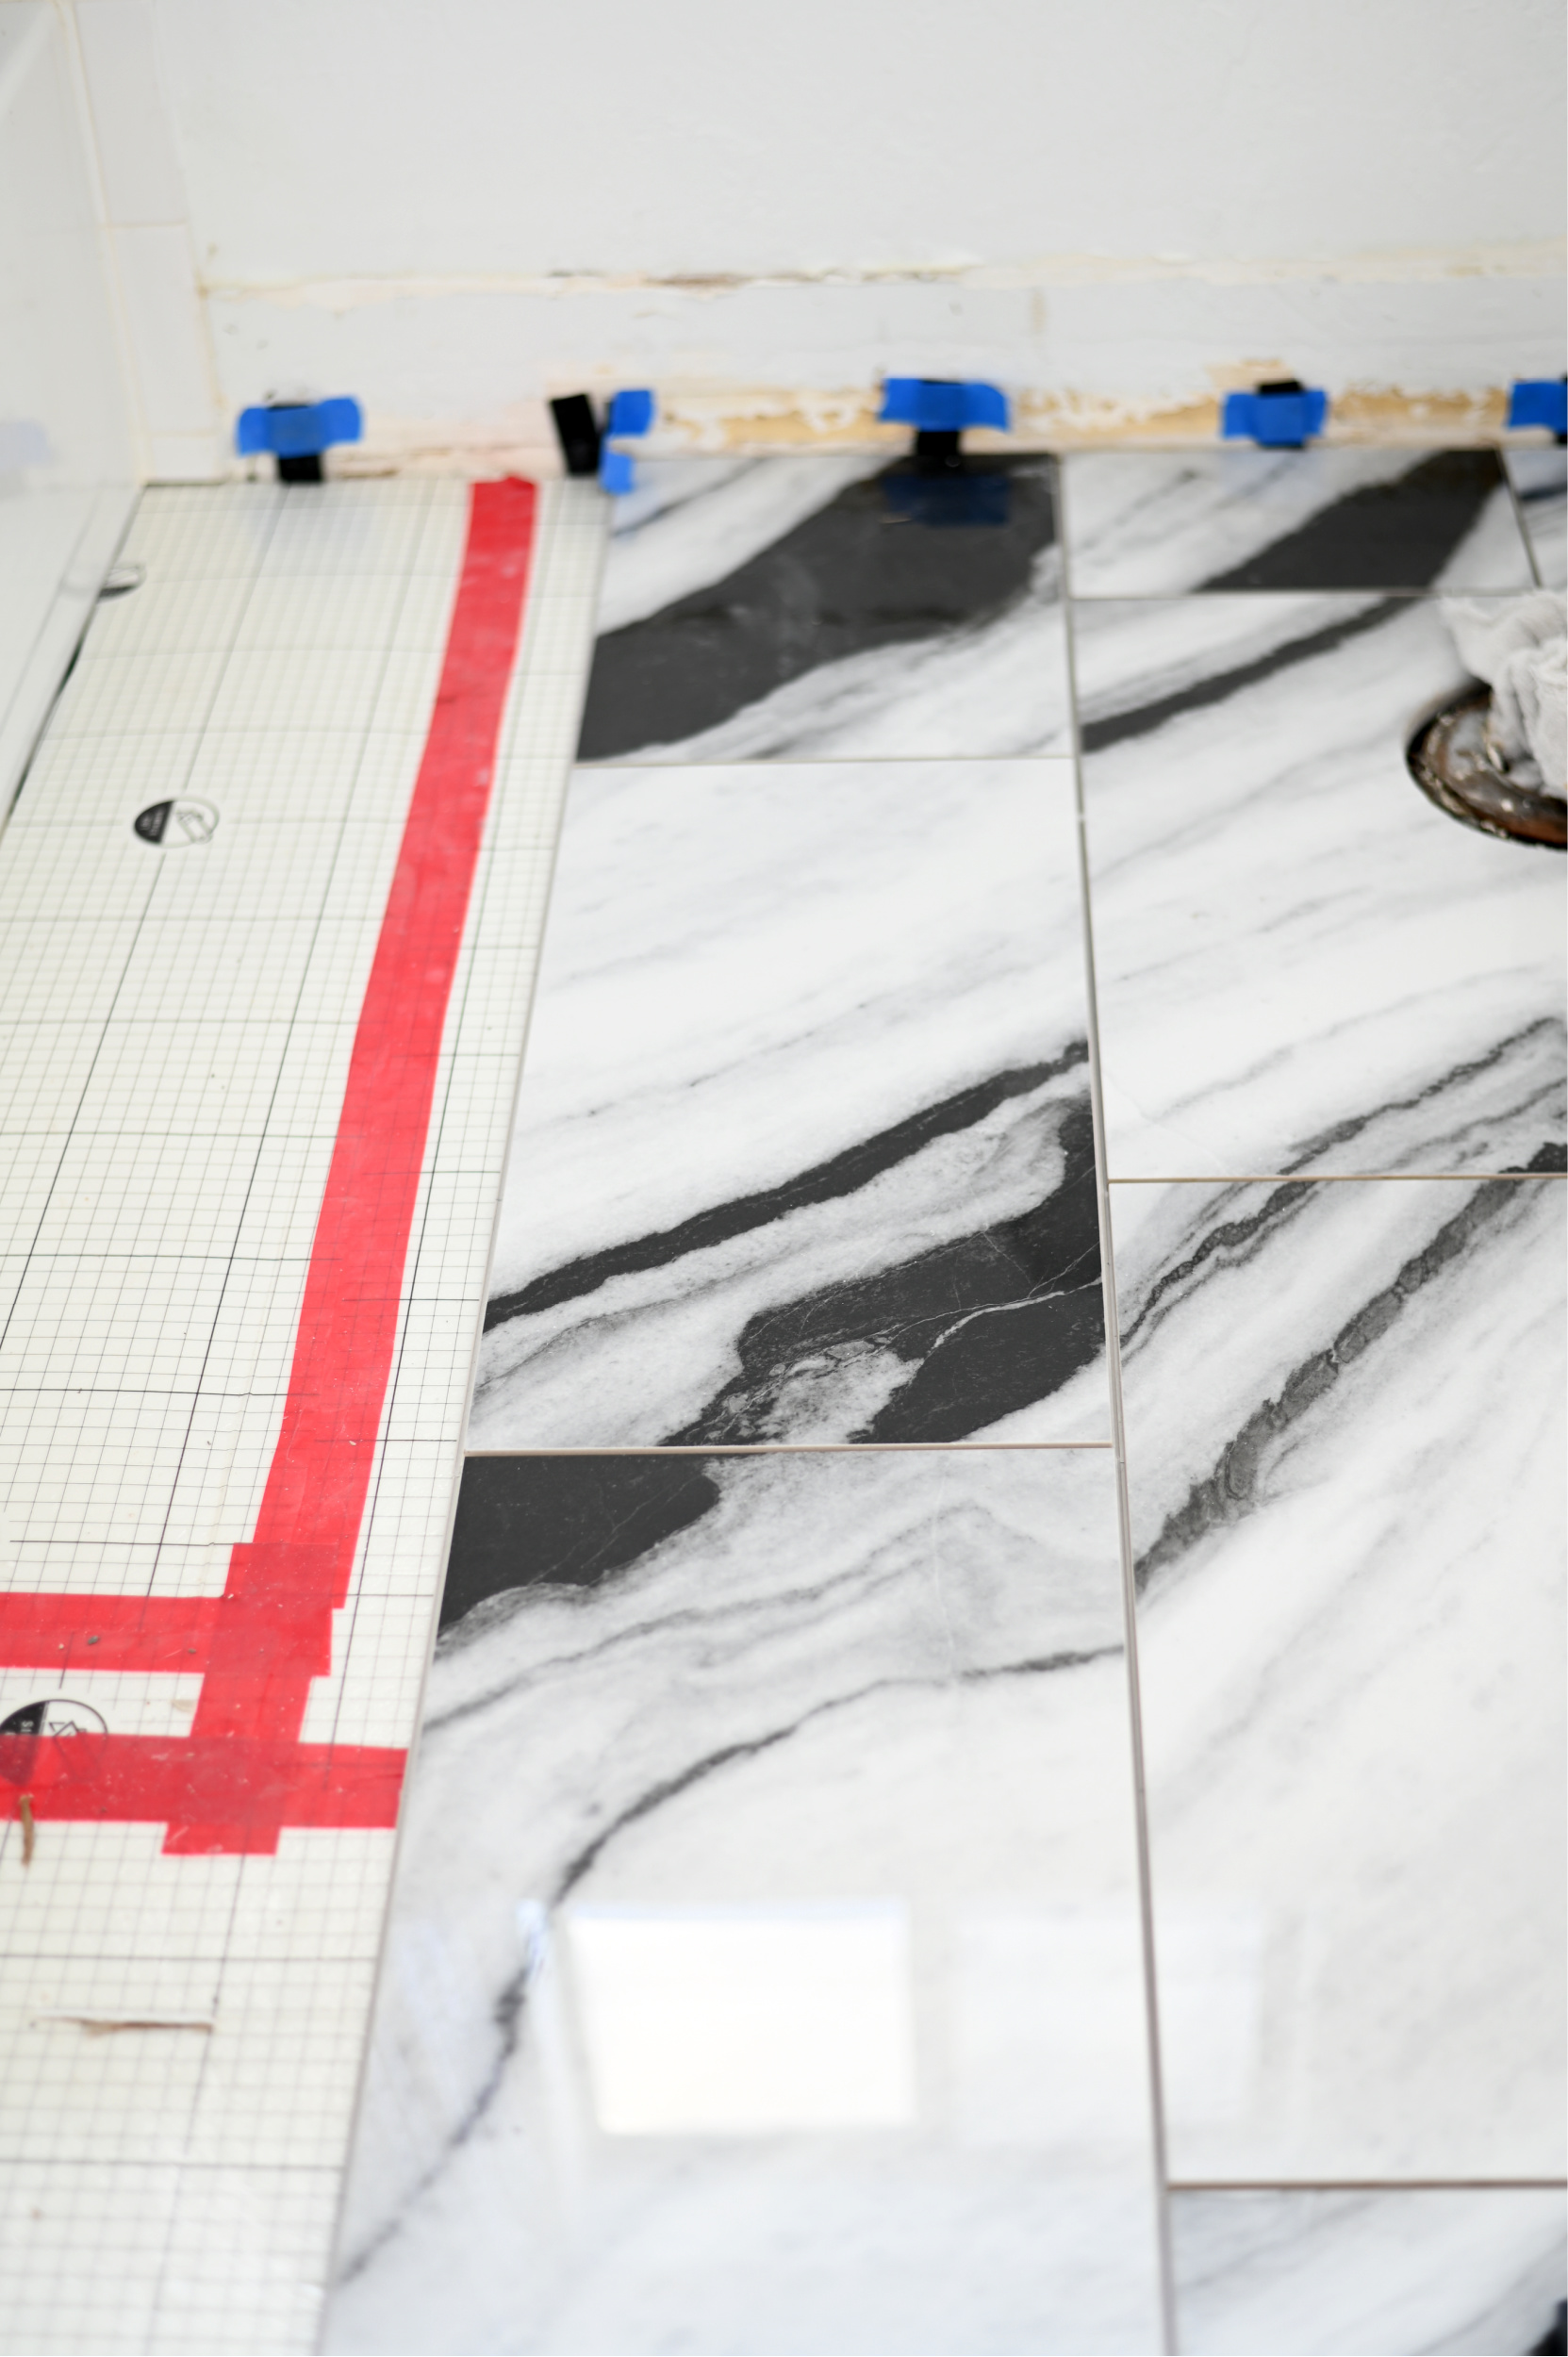
I was so excited about how bold and beautiful this tile is! Its so pretty and feels really substantial as well. Because of the size of her space I was able to get all the tile installed in no time! After the tile was down it was time for grout! Yall…Im kind of a weirdo because I quite enjoy grouting! Its my favorite part of any tile project and this one was even better because the QuicTile system uses a specially formulated premixed, ready to use grout.

The premixed grout is such a time saver and another reason this system is great for a beginner or someone who is pressed for time. It was so easy to use and the cleanup was a bit different than traditional tile in that there’s A LOT less mess.
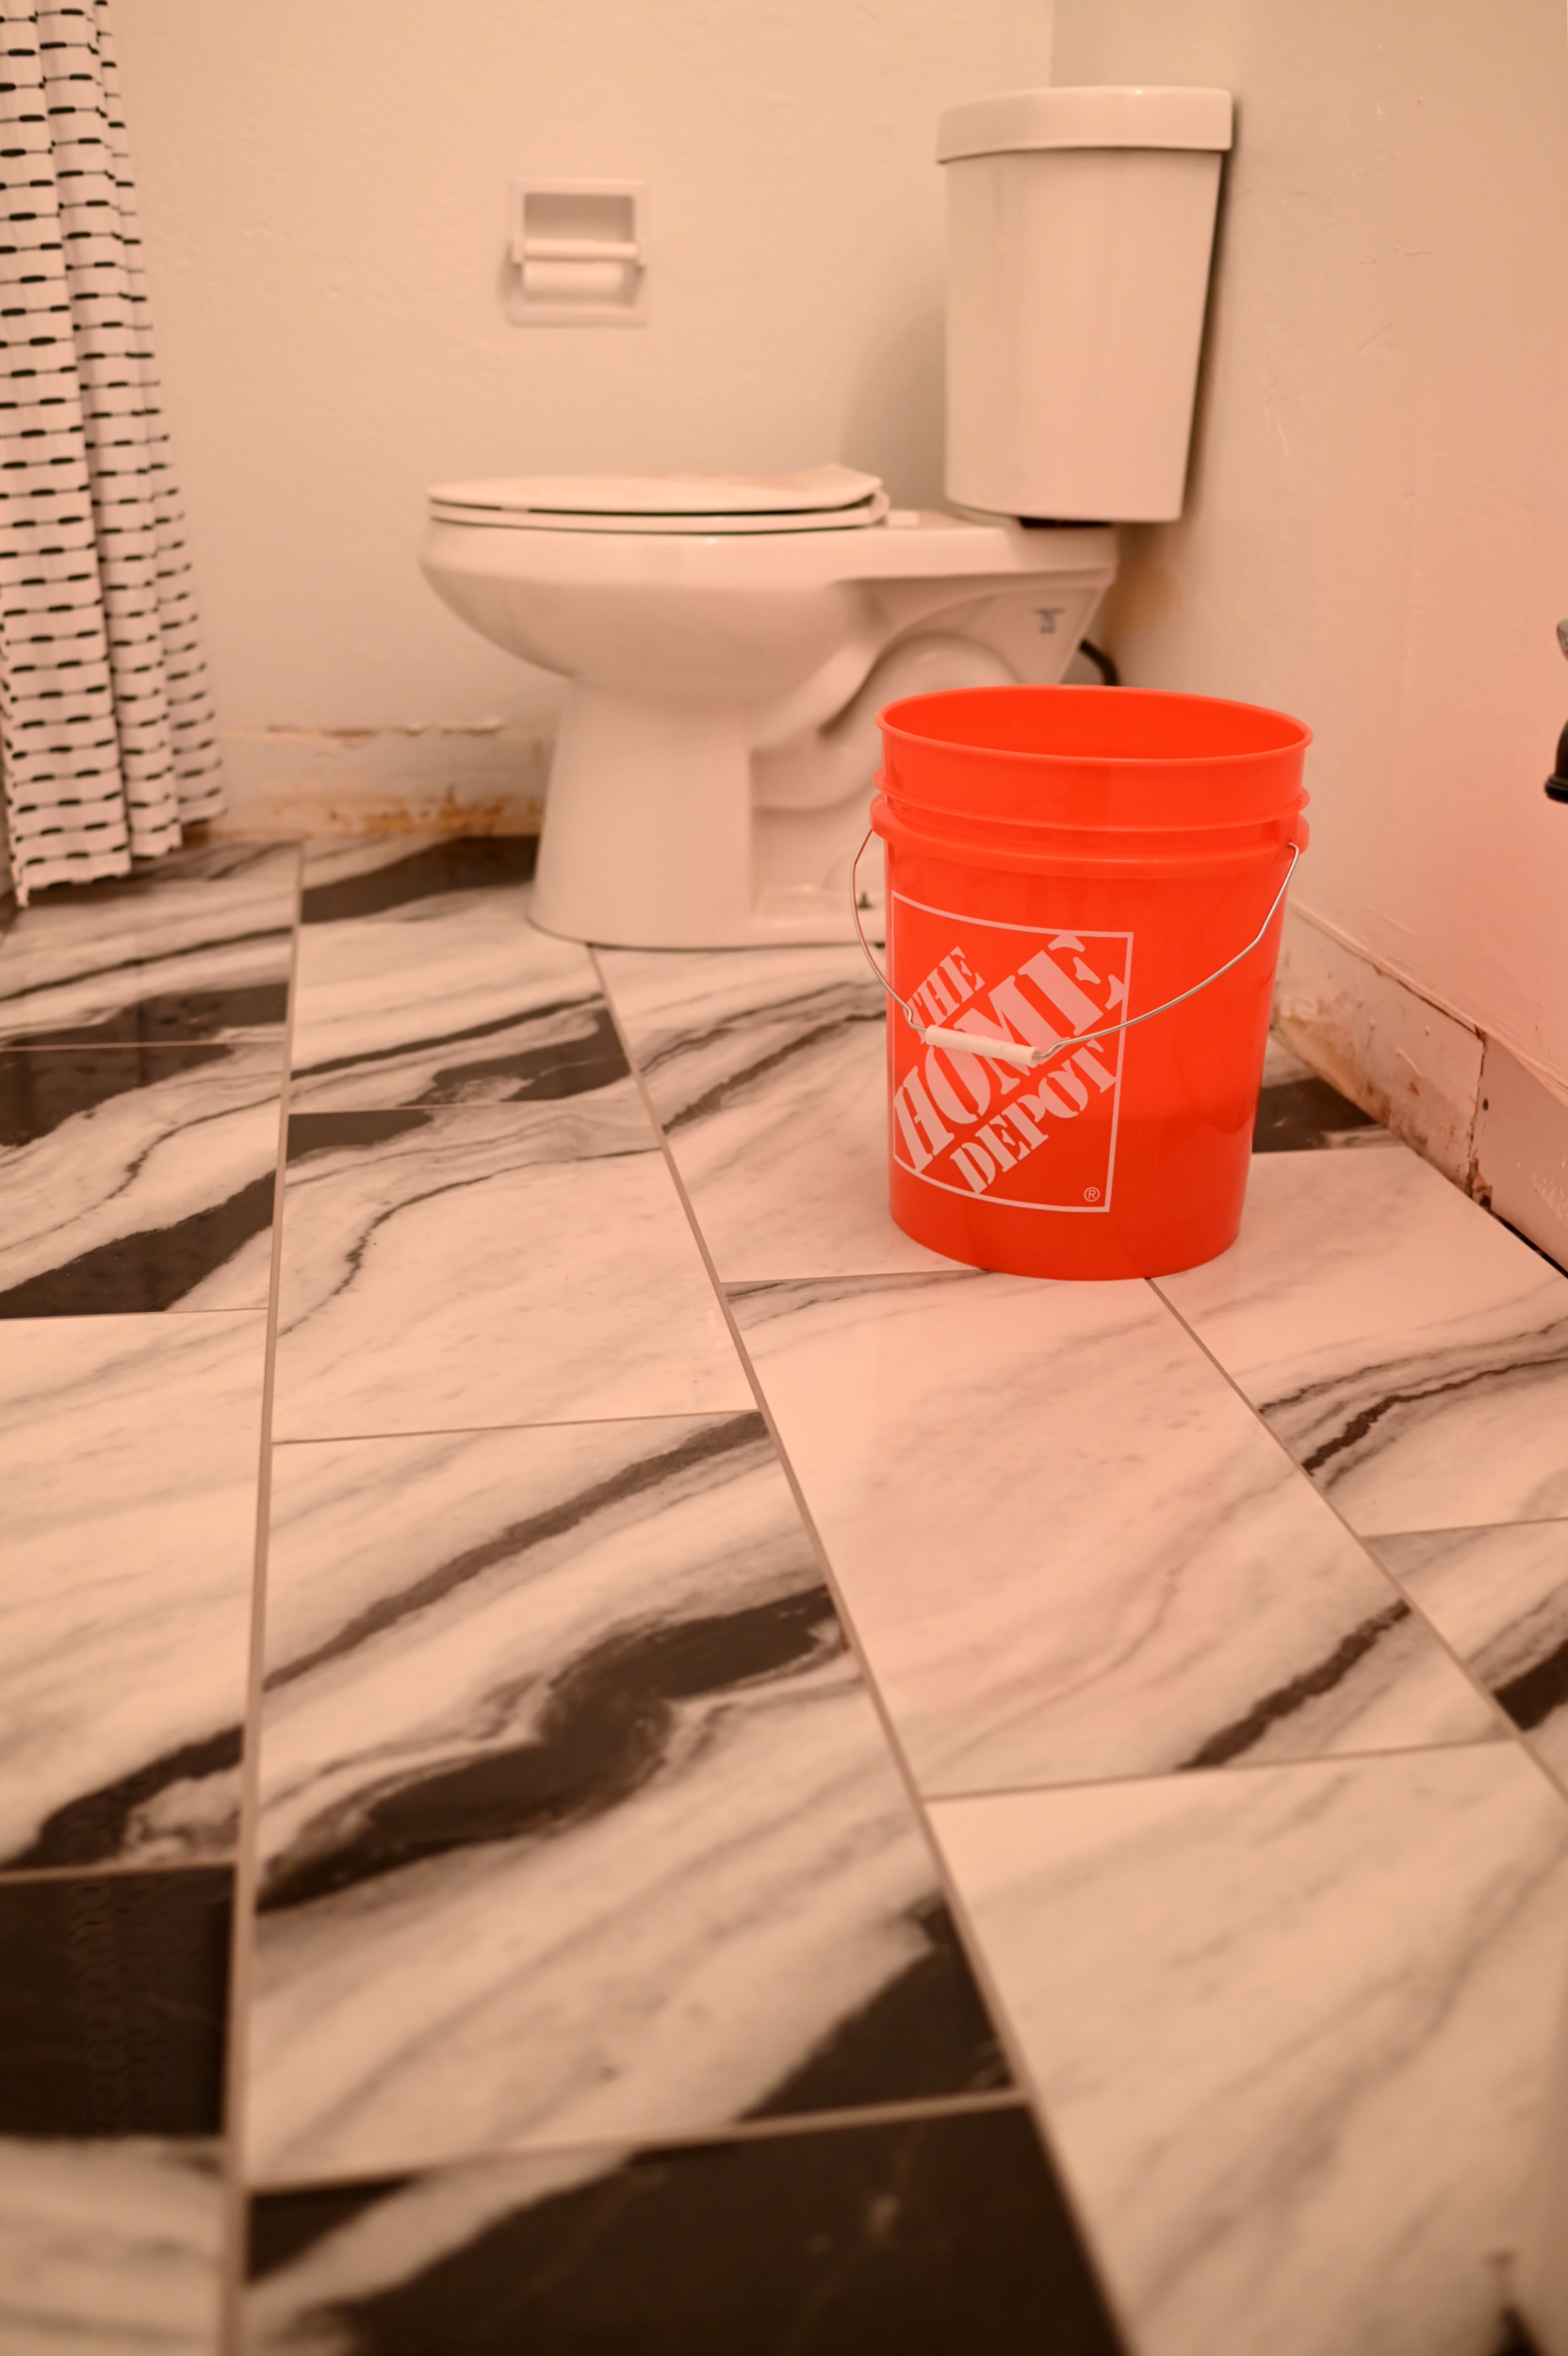
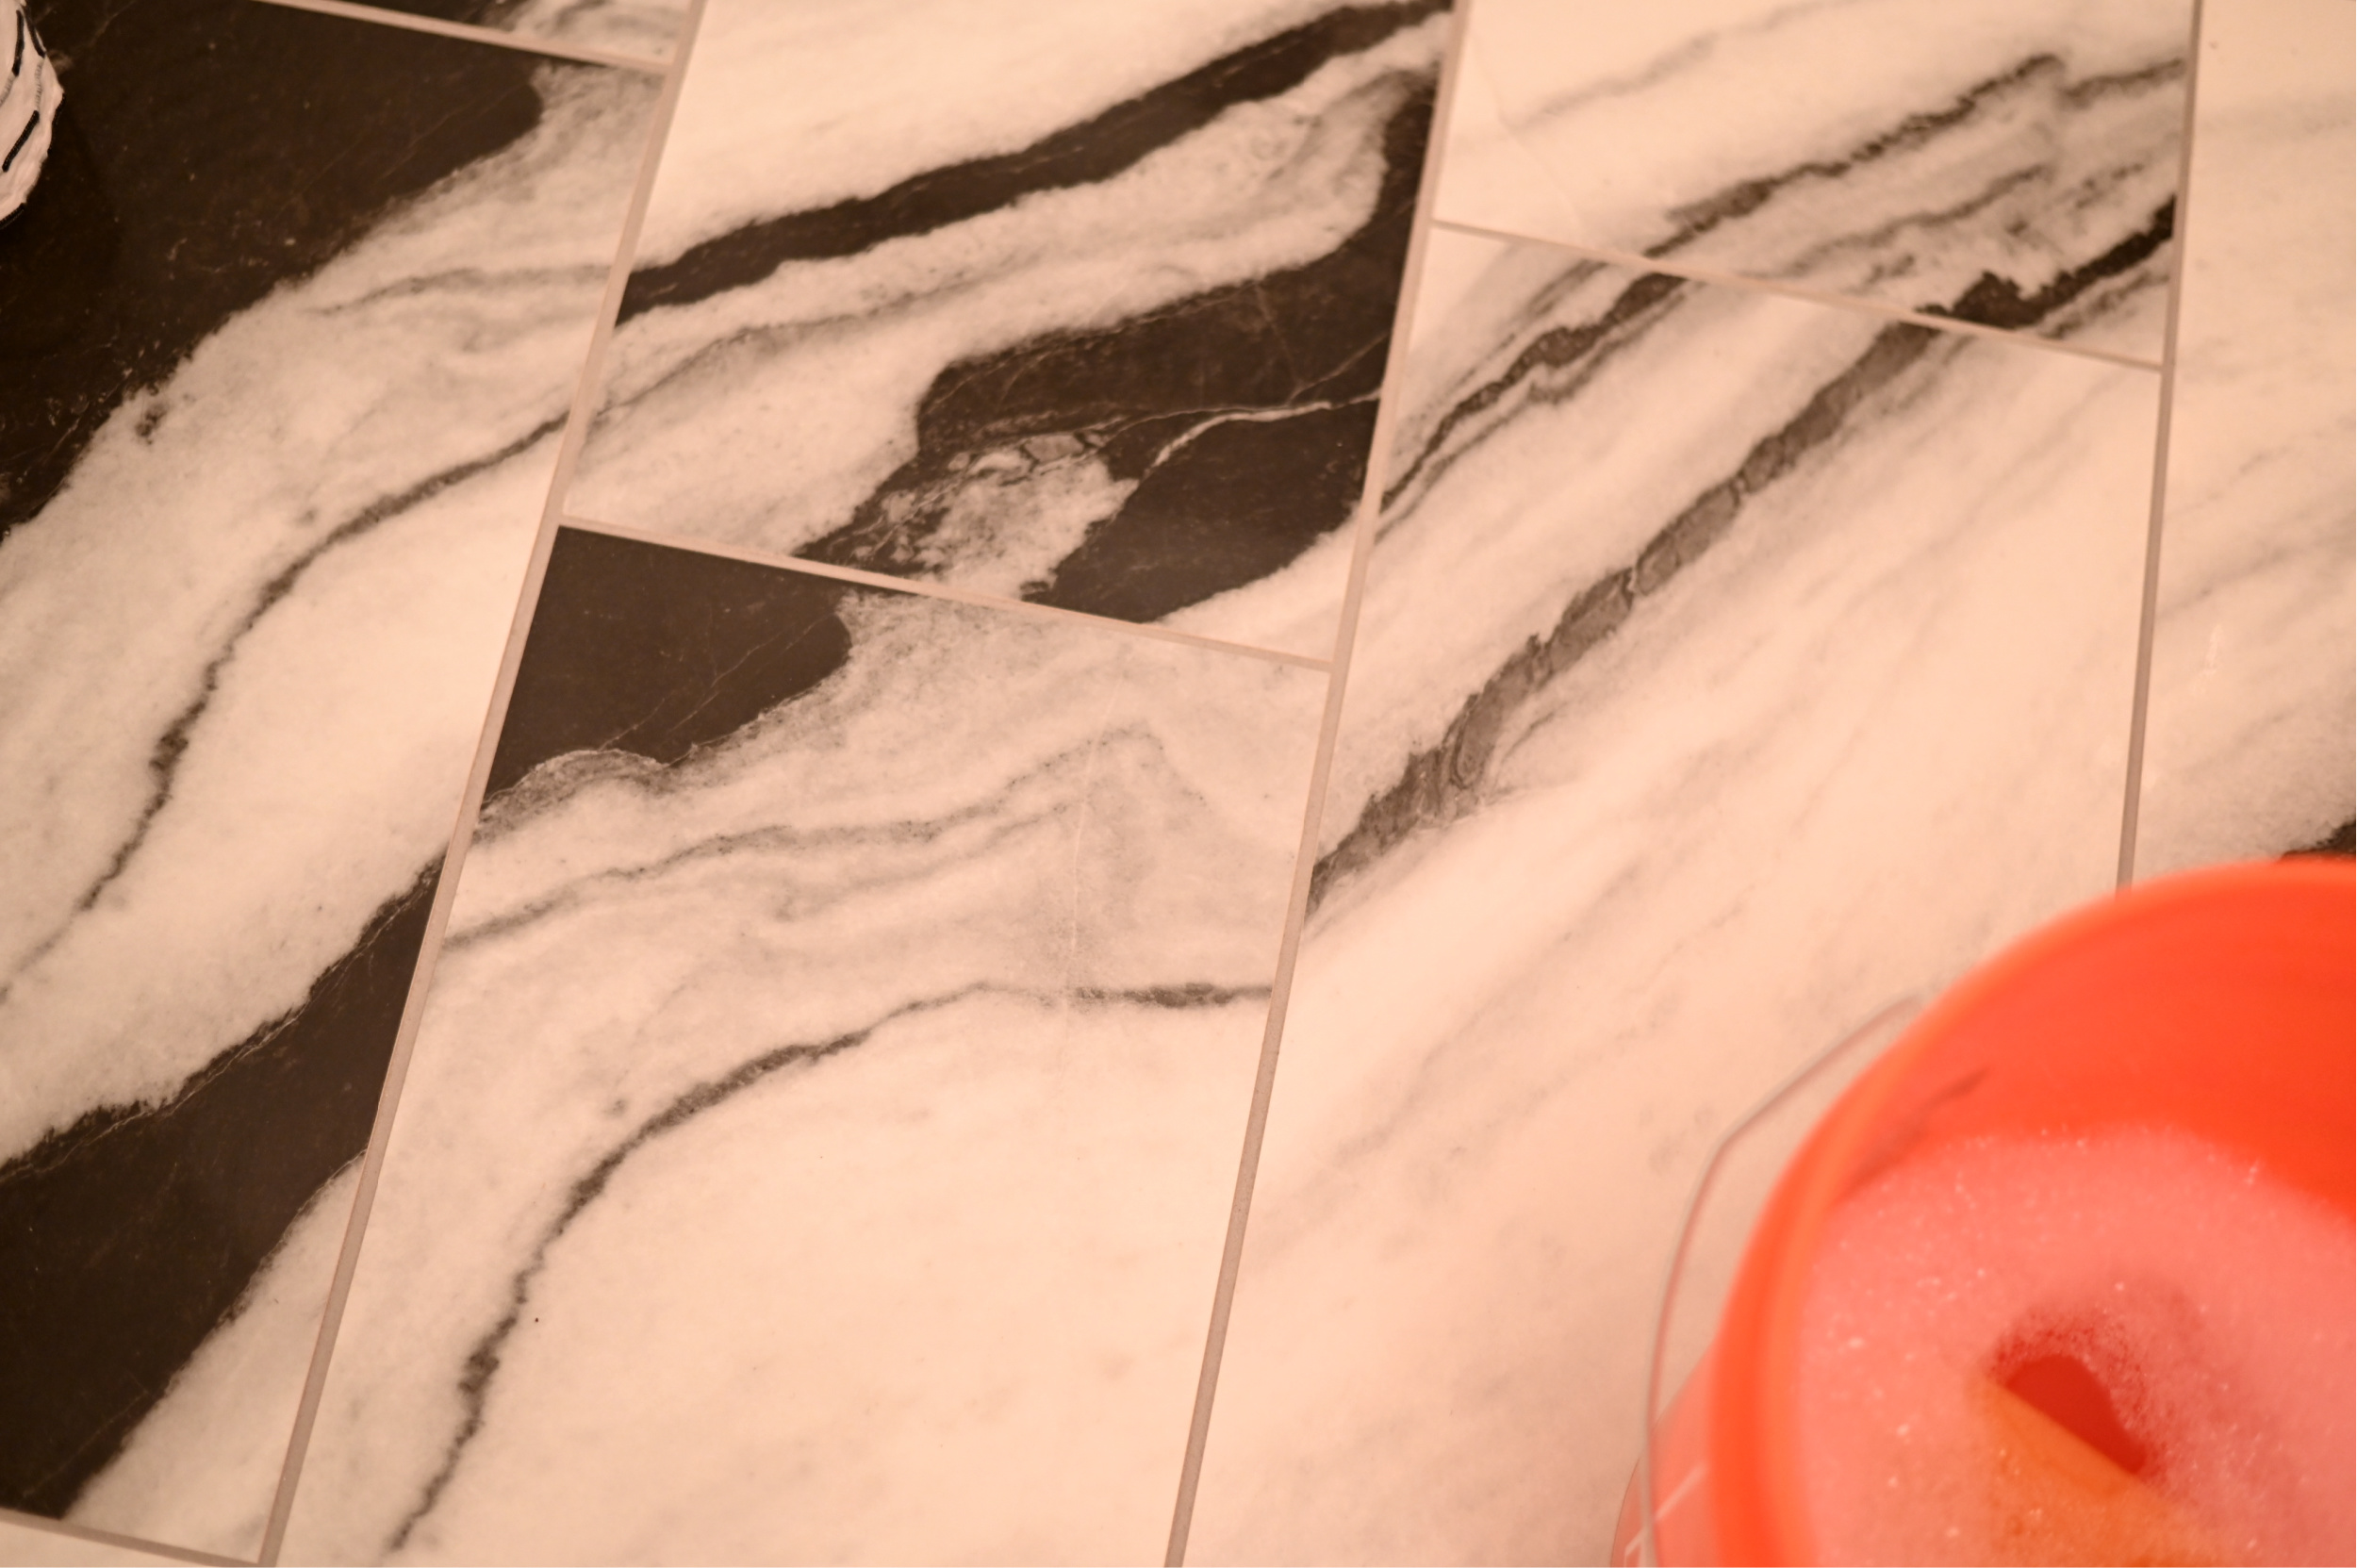
I installed the grout and allowed it to cure for about 24 hours before pulling the room back together. (don’t mind the paint on the wall above the baseboard. We are tracking down the existing wall color for touch up paint as we speak)
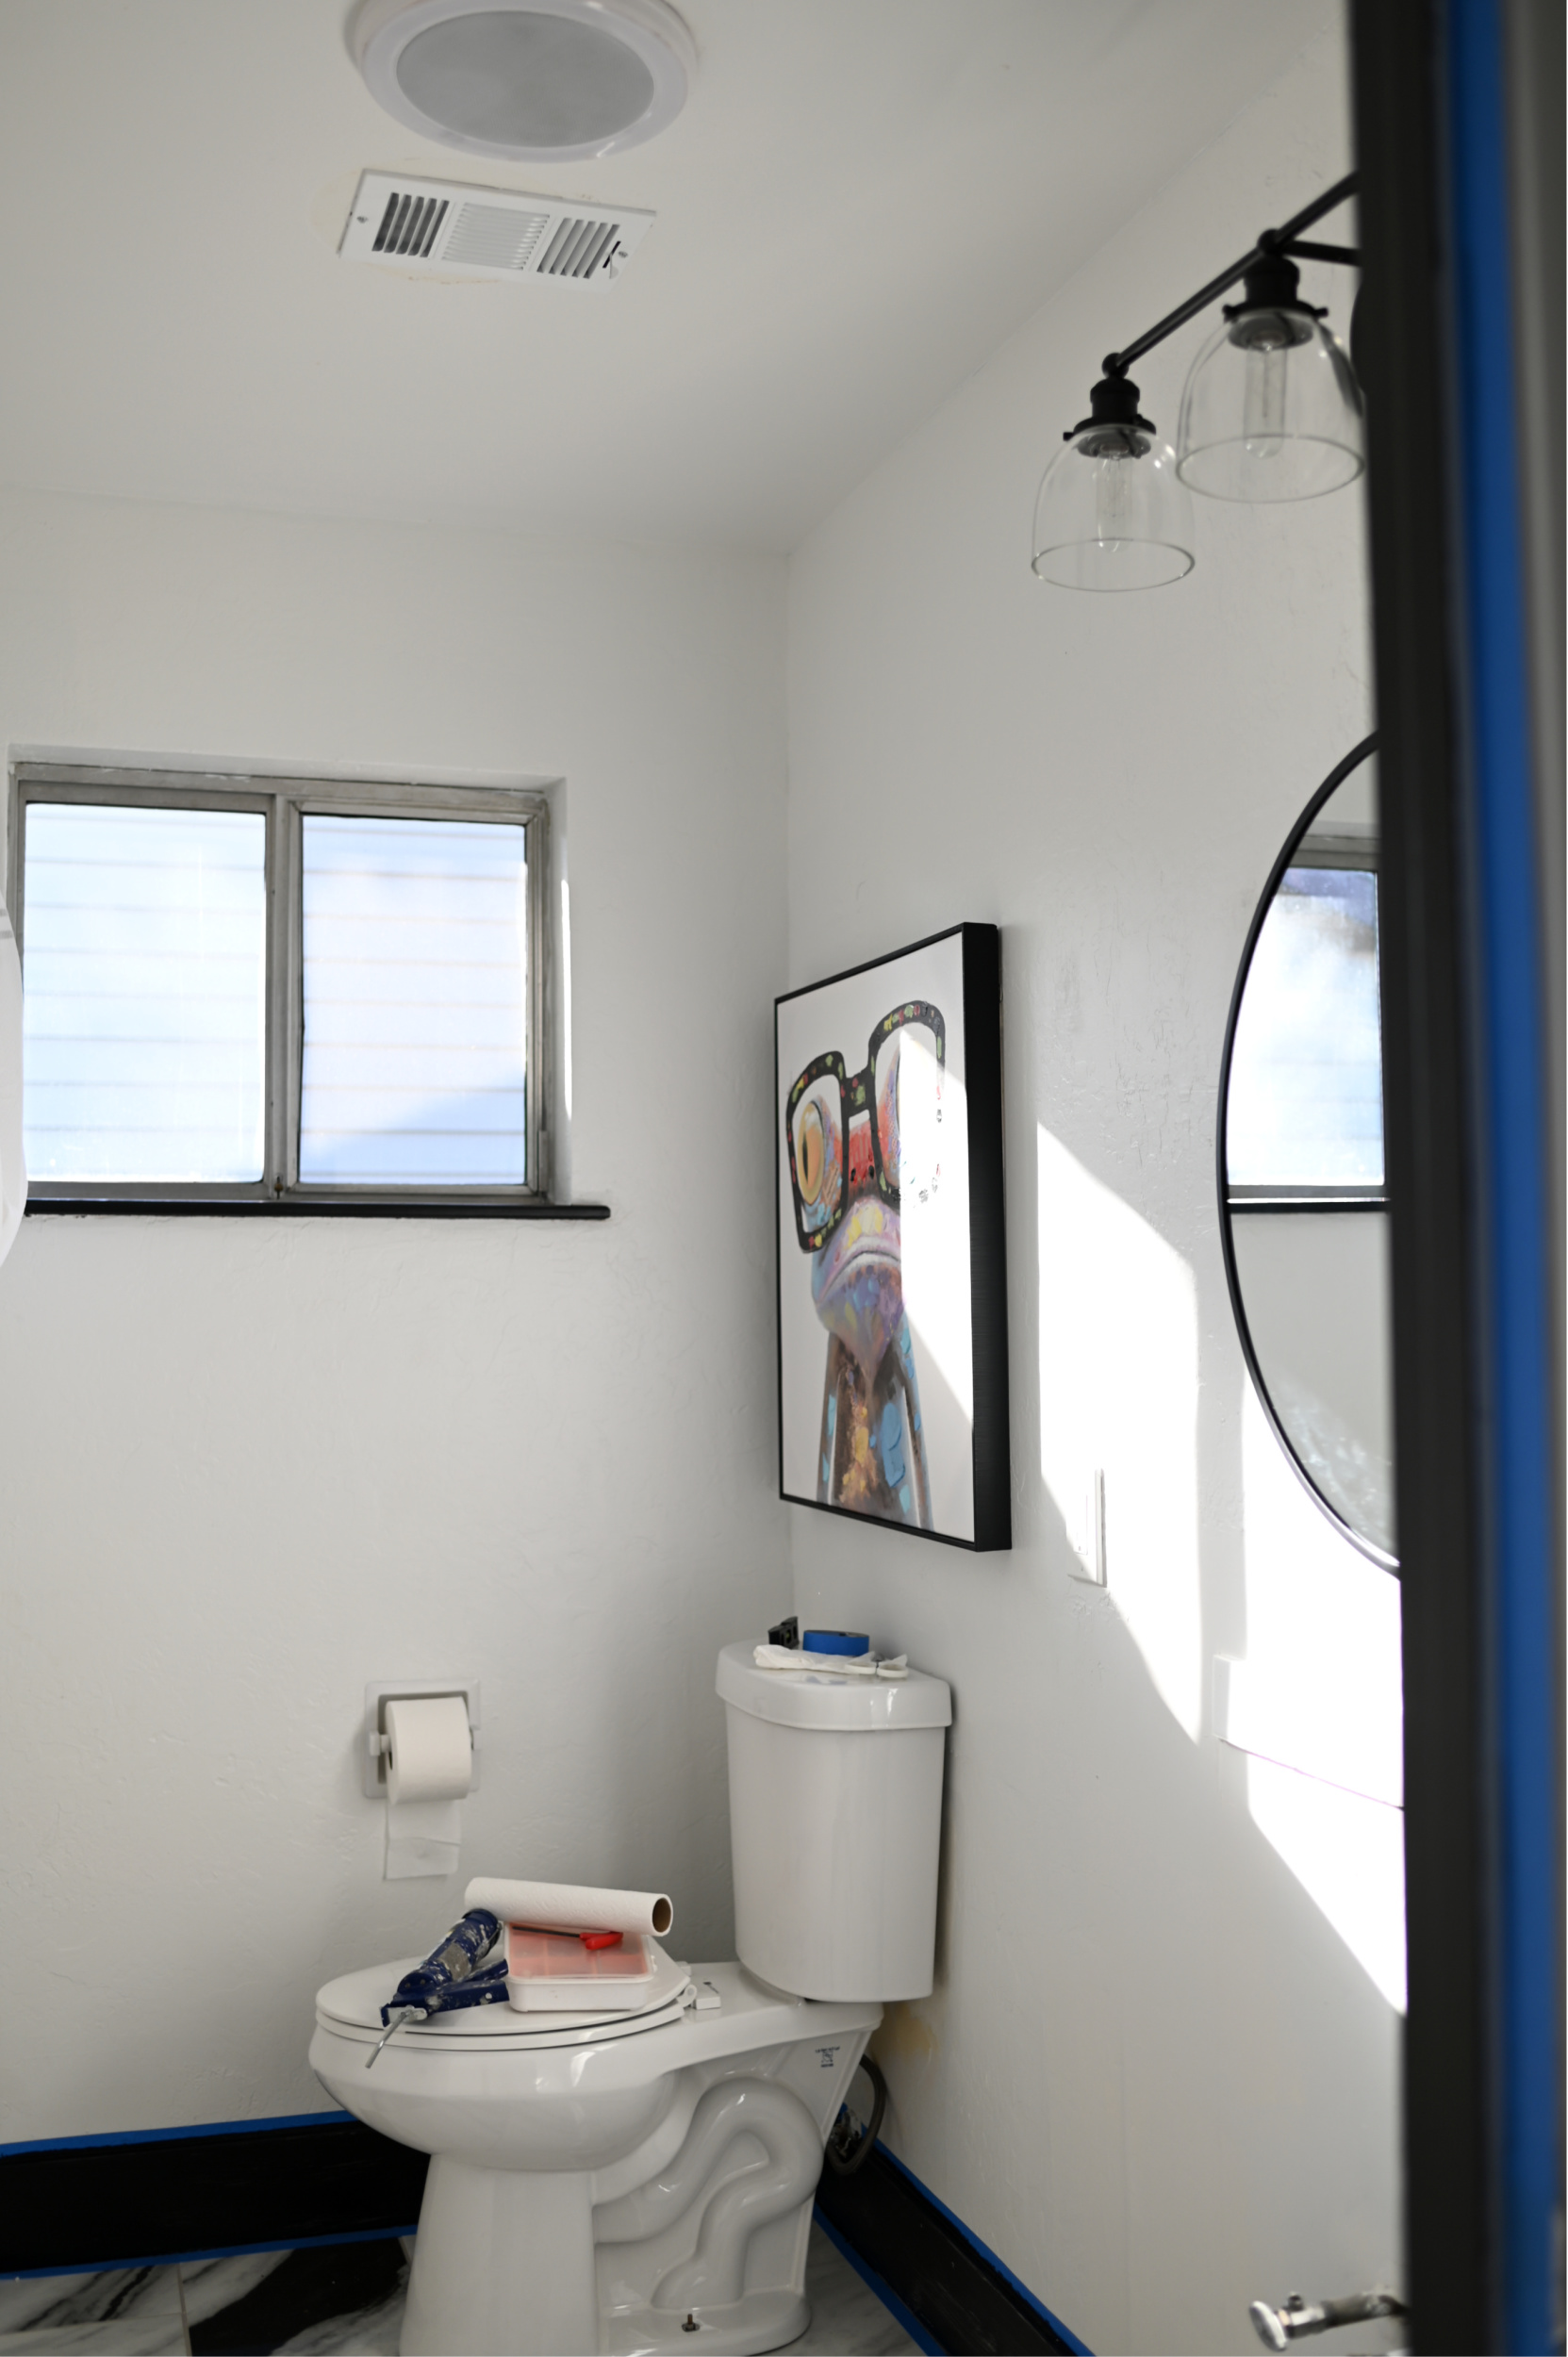
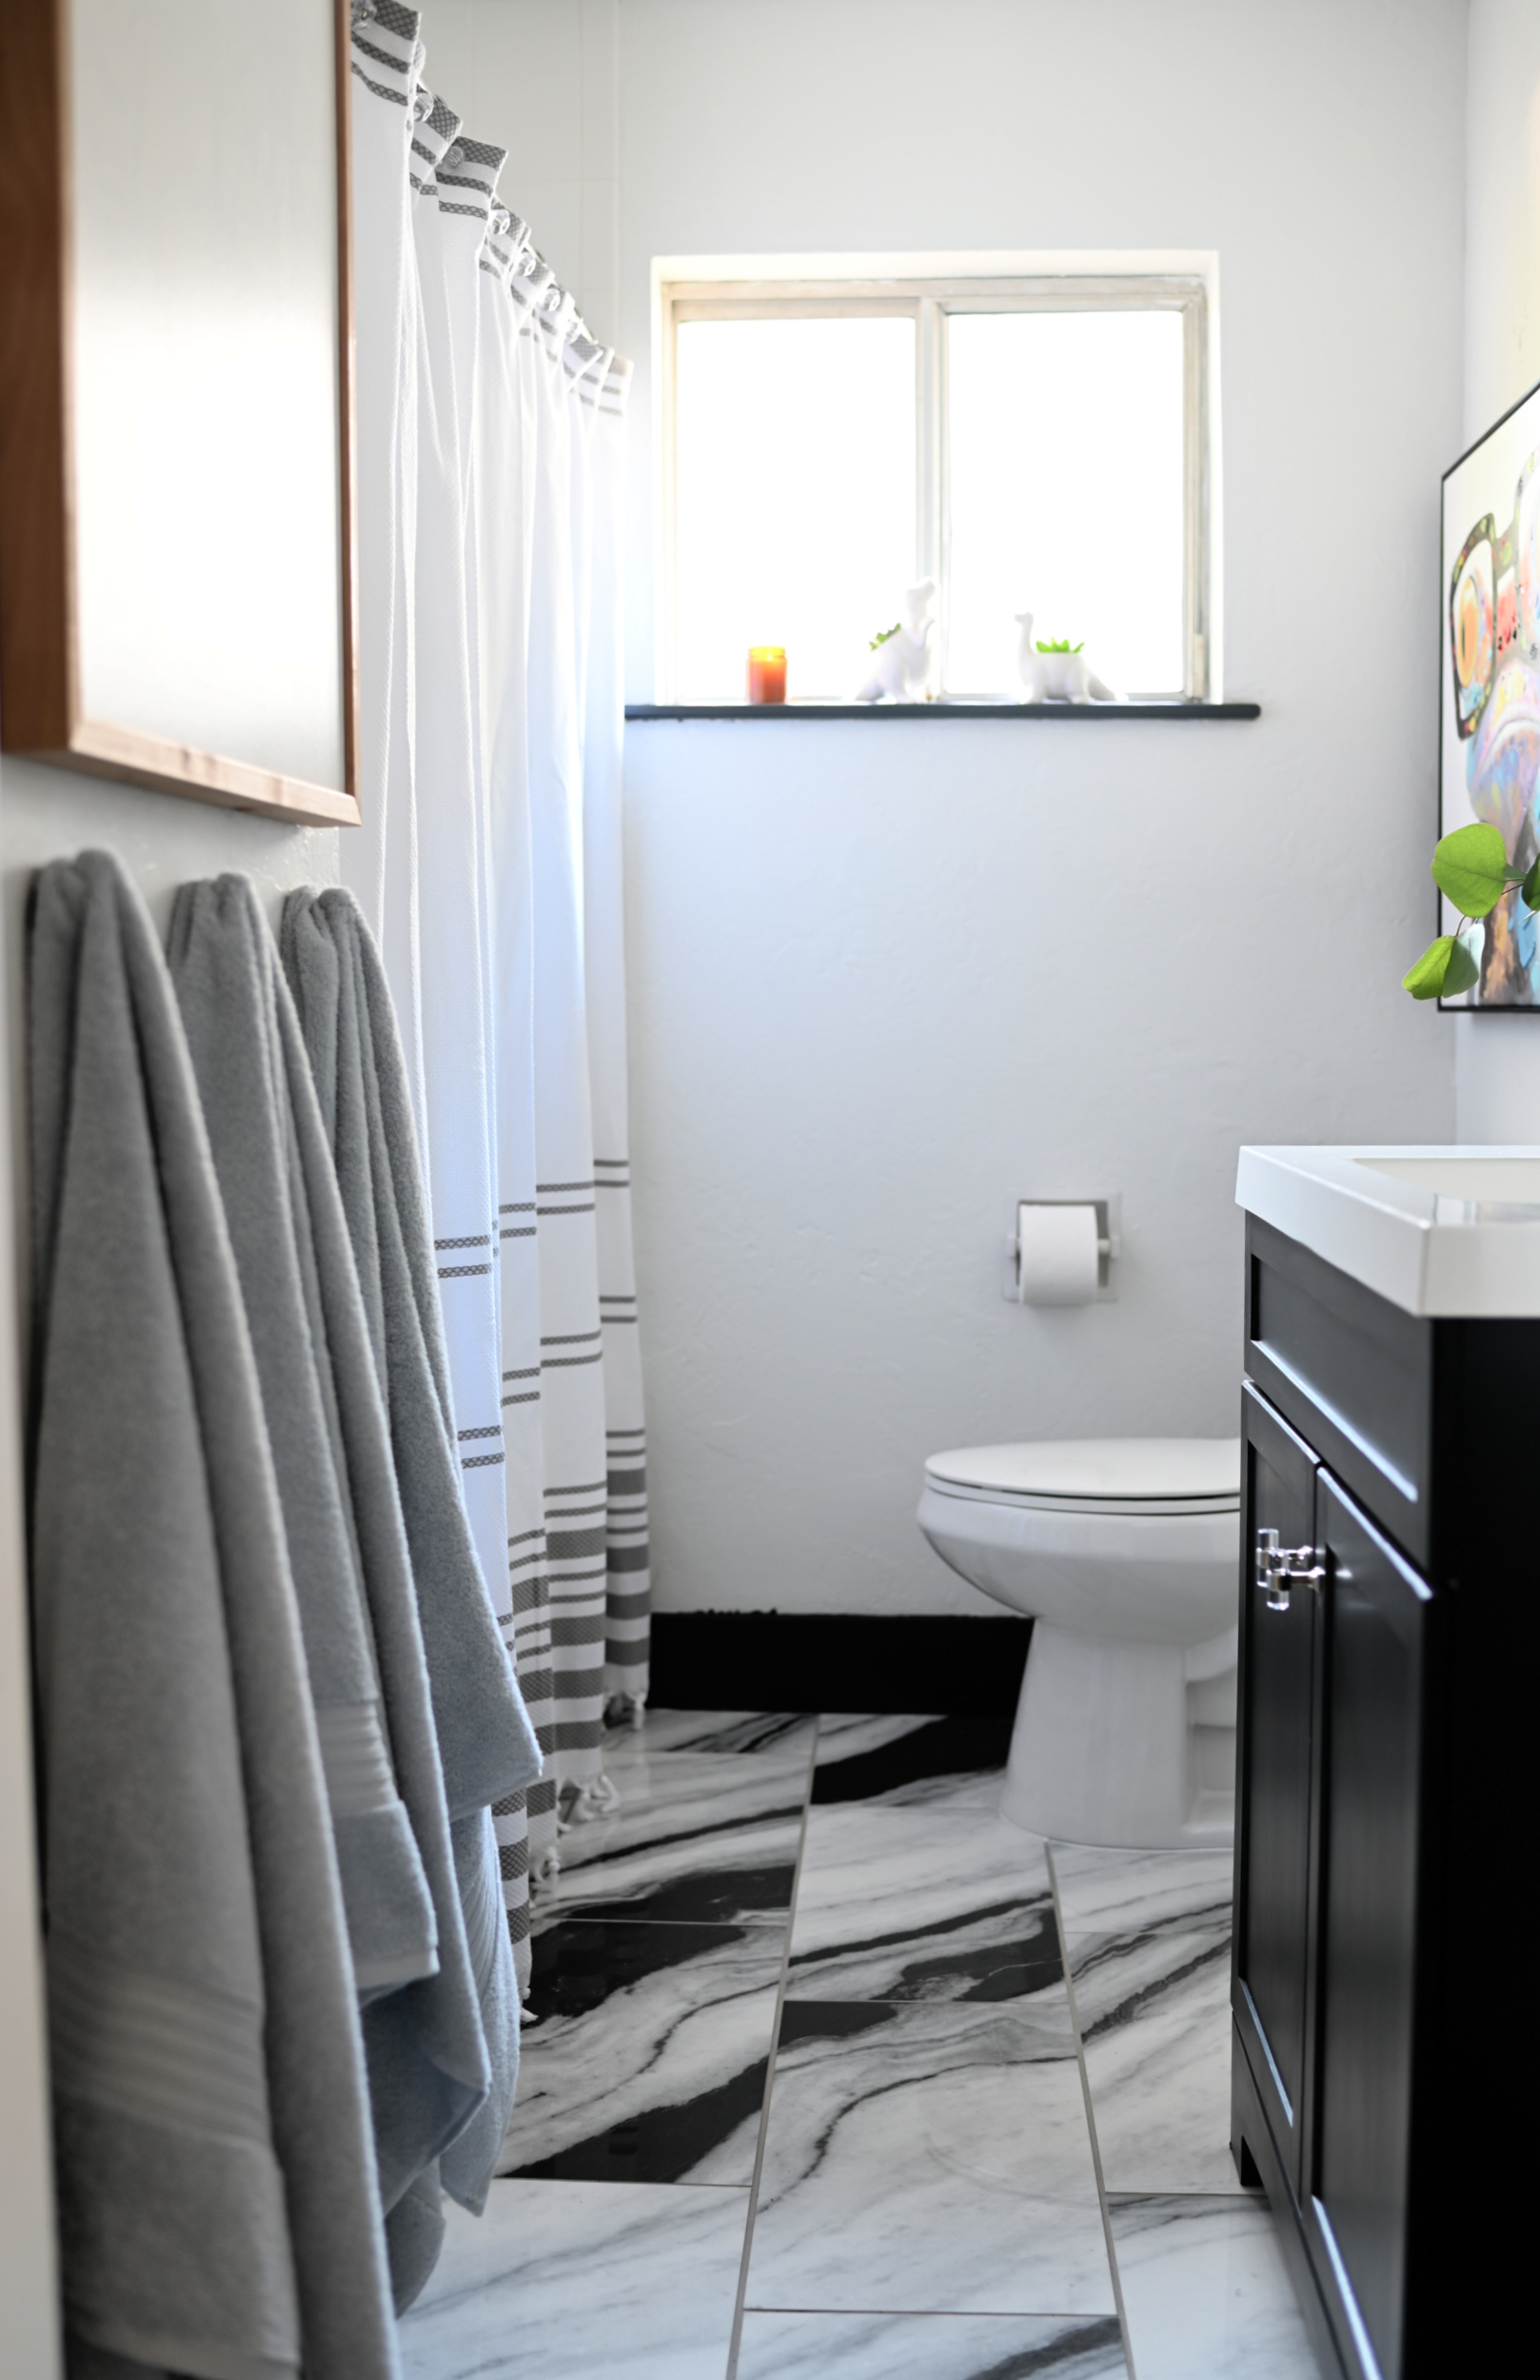
I really wanted to give the space a little extra love so I decided to spruce it up a bit by painting the vanity, baseboards, trim and window sill black. I also replaced the light fixture, vanity hardware, mirror, replaced the faucet, added hooks for towels, replaced the shower curtain, and brought it some fun new art.
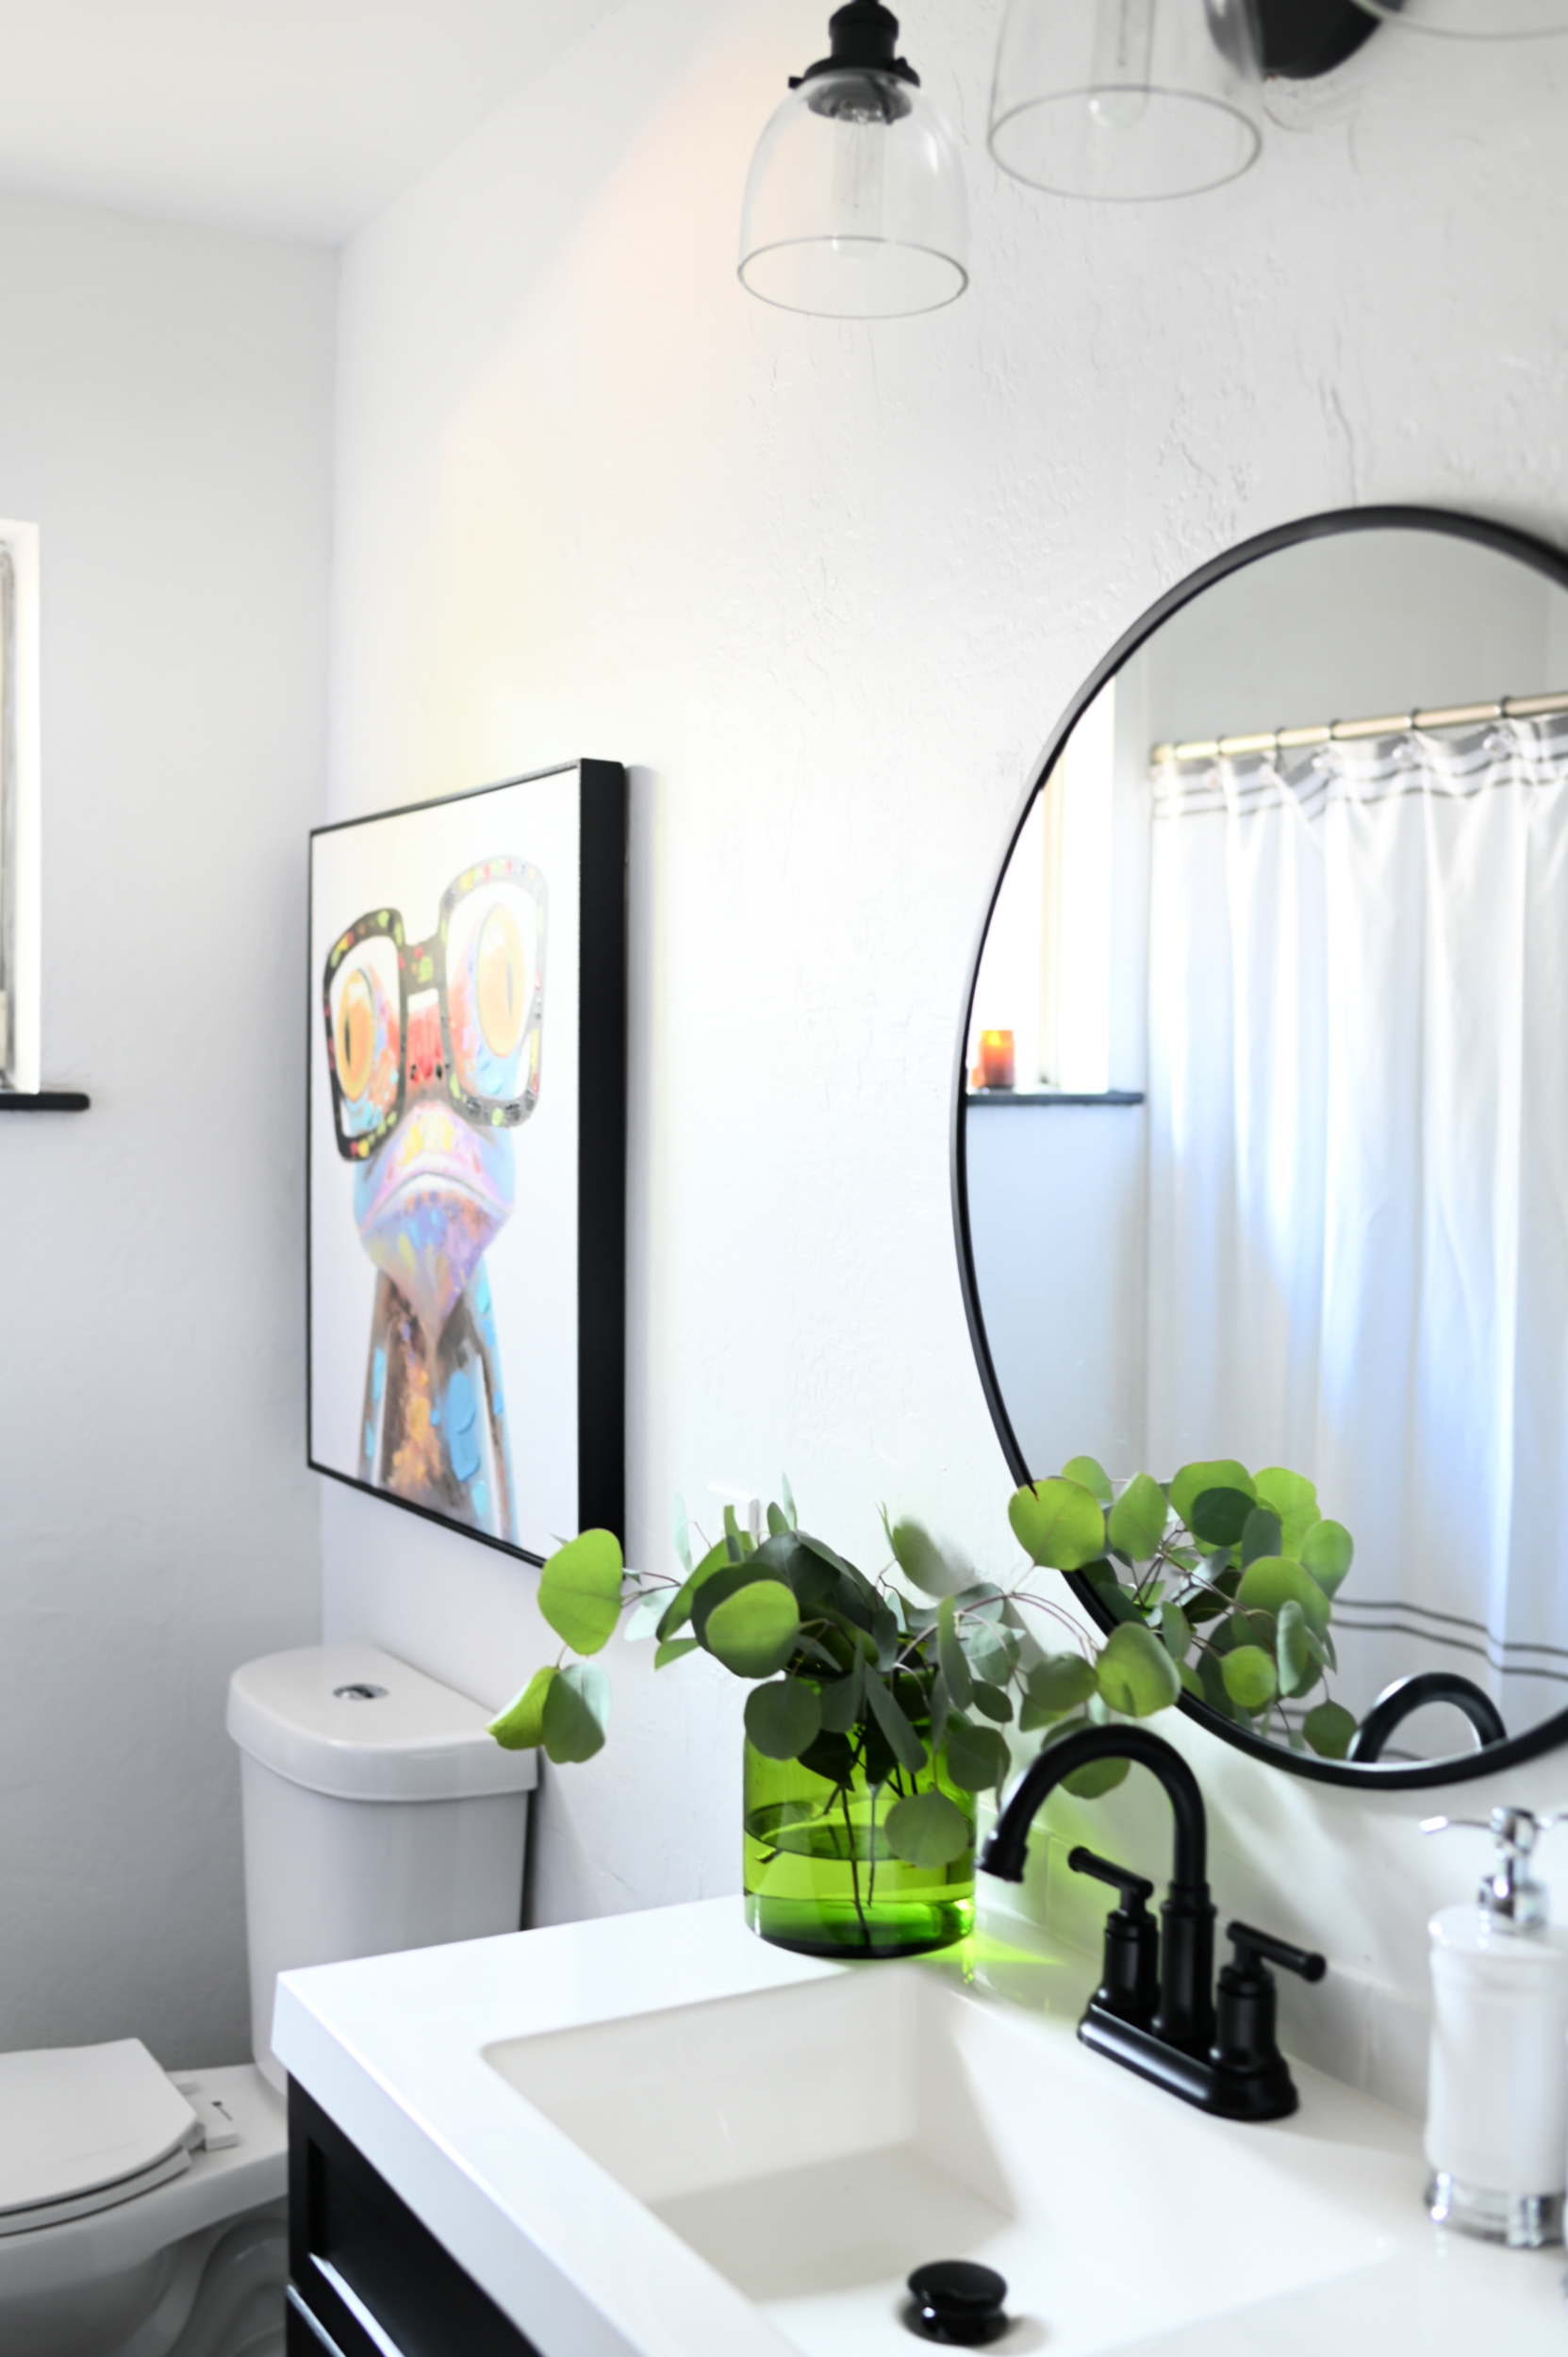
For the lighting I found this great fixture from Home Decorators Collection and spray painted it black to go with the rest of the space. The faucet is also from Home Depot and it was an easy and stylish upgrade.
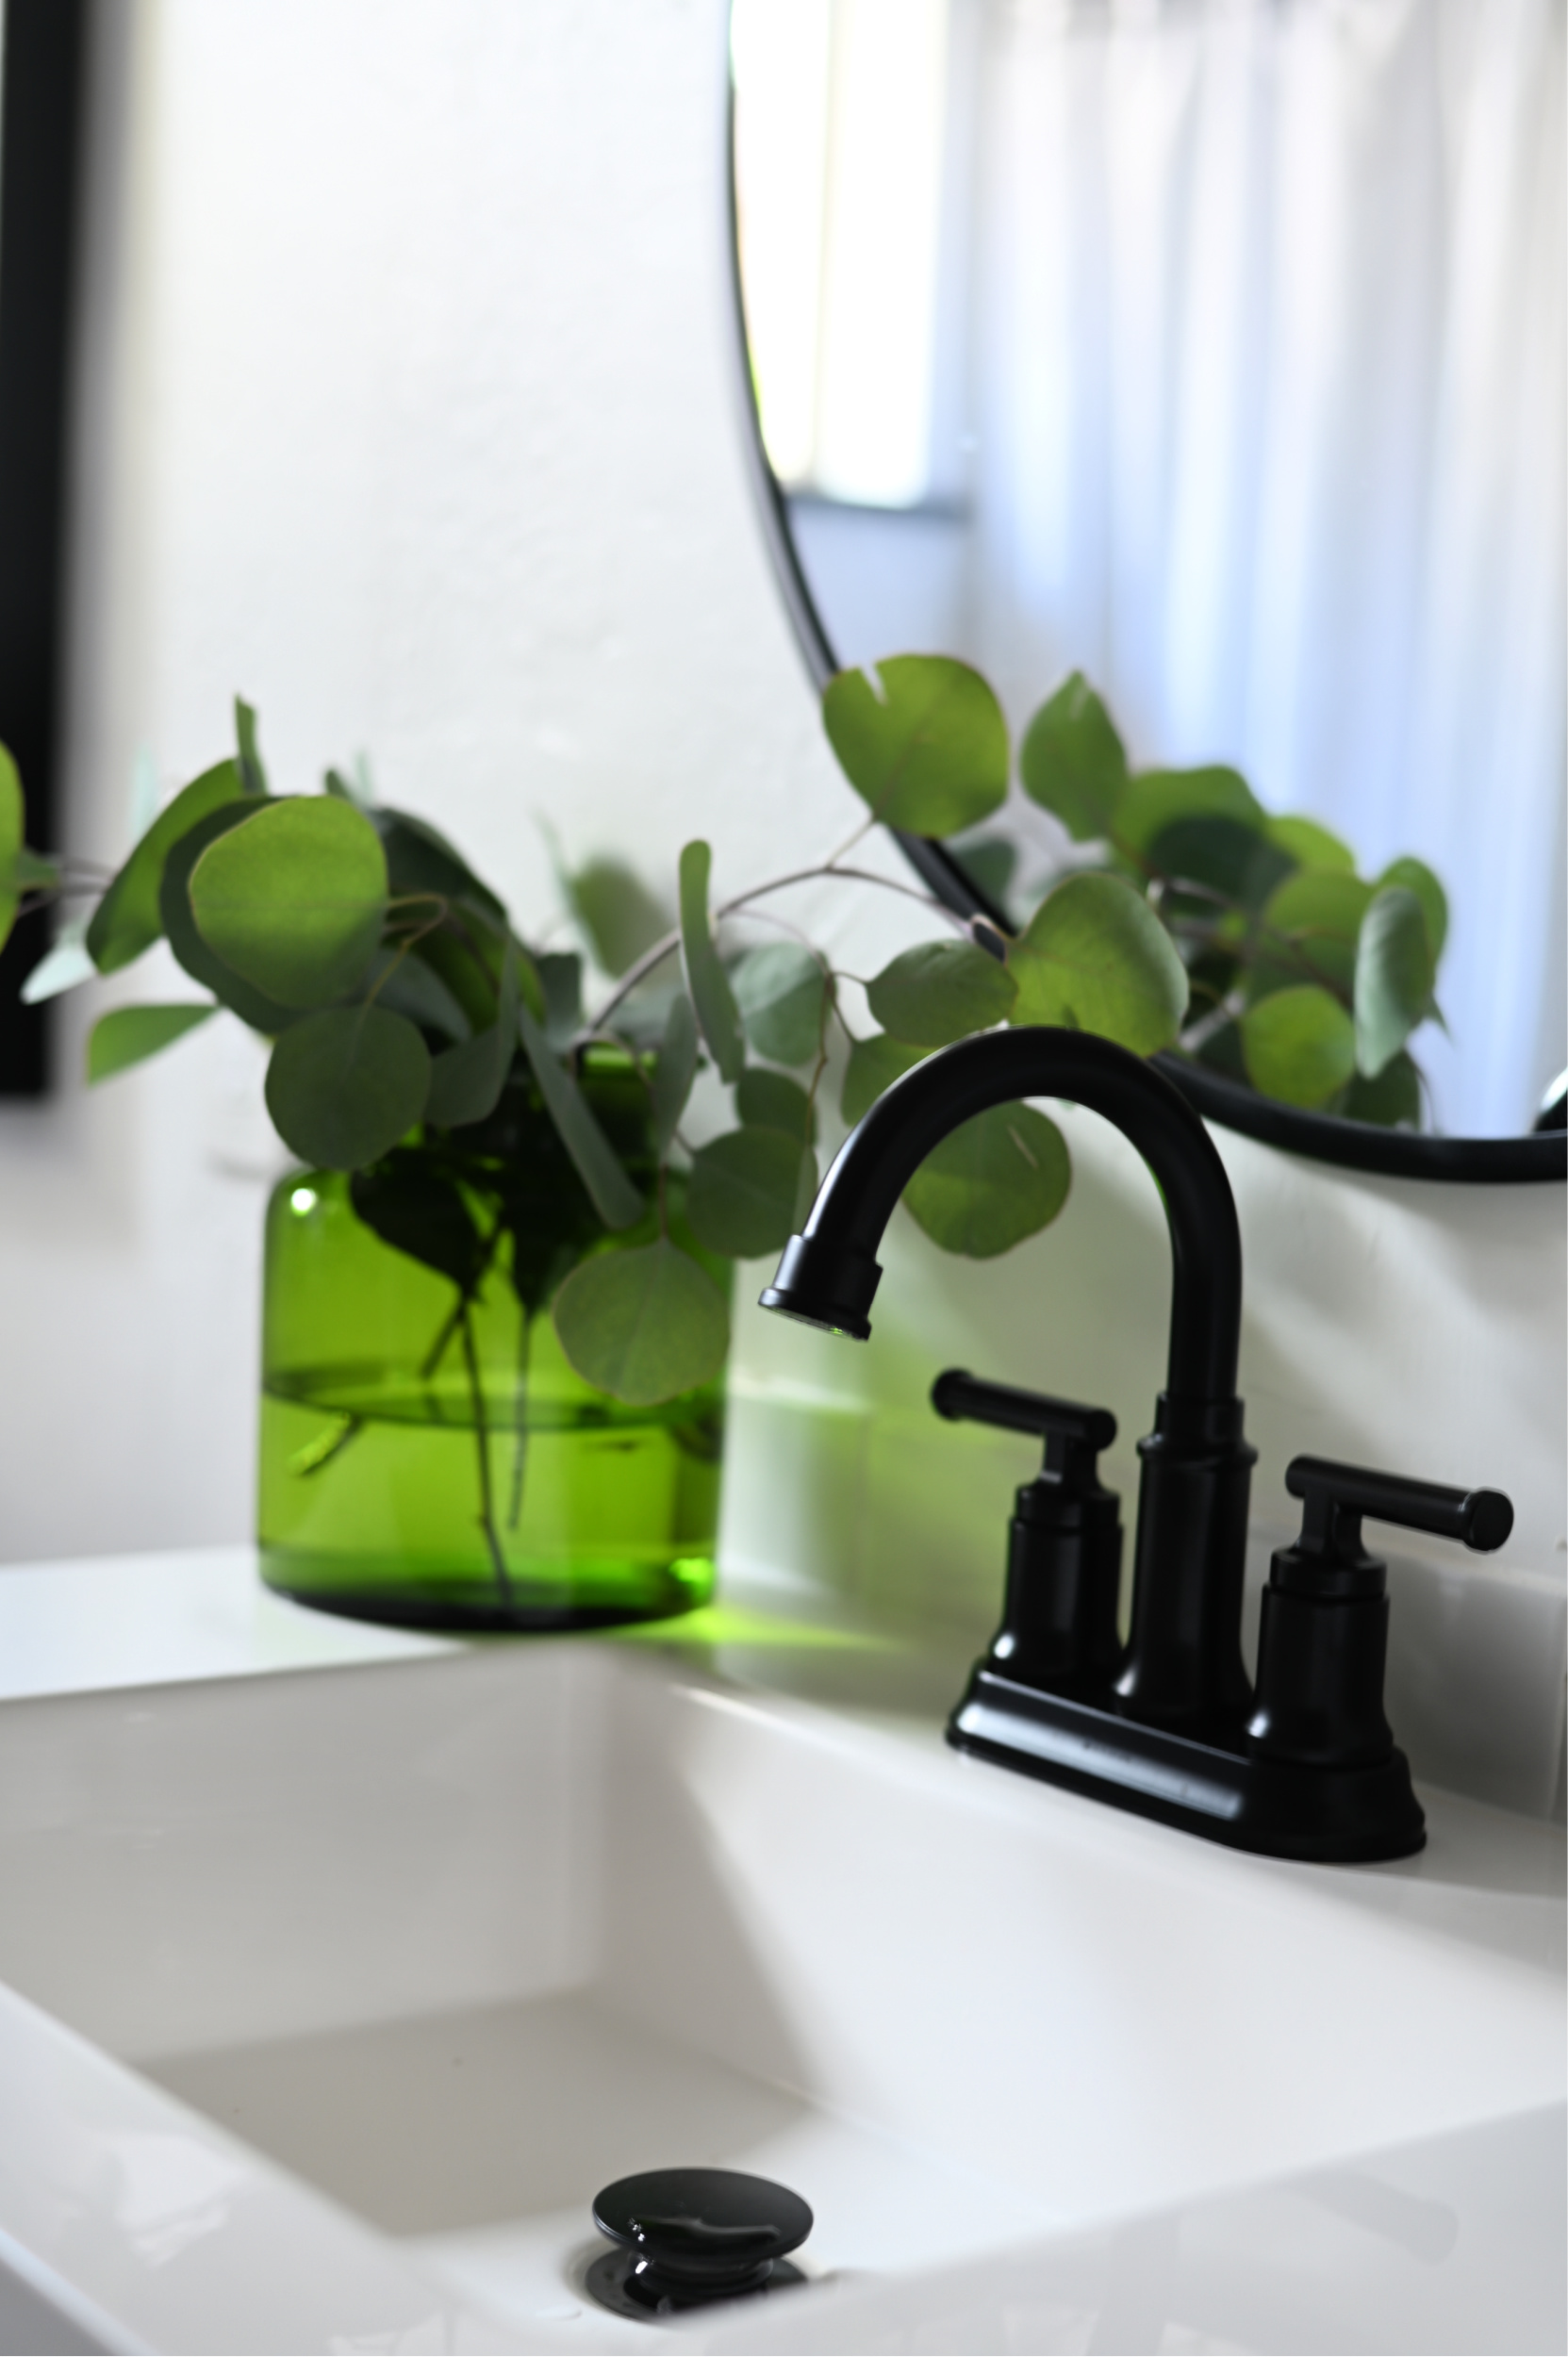
She still doesn’t know if she wants to paint the walls or maybe bring in a wallpaper or what, so we left the walls white for now. Once she decides we will go in and change them, but for now we are really happy with this refresh. The QuicTile was exactly what the space needed to give it an almost instant update. And it was easy enough to tackle in a weekend.
If you have a floor that needs a new look and you want to give it an easy tile update with no demo, no mortar, no mess, and fast install, I definitely recommend giving QuicTile by Daltile a try. I think its perfect for a laundry room, mud room, kitchen or any other space where you’re dealing with a less than desirable linoleum or vinyl tile situation.
So tell me what you think friends? Could you use a click a lock tile in your space? Have you tried QuicTile?
Until next time friends….
*Thank you so much for supporting the sponsored content and brands that keep SG Style up and running!
Cat says
WoWzA!
Beth says
Looks like an awesome product. Nice to “see it in action” – and what a great style she chose. You guys did a great job!
Kate says
It’s amazing! I can’t believe that you’ve done it so quickly. Great job!
Javonna says
Good afternoon! I WILL be trying this! Thank you for sharing this, Shavonda! I have never seen this type of quick tile flooring before! It will be perfect to update my old tired vinyl flooring in the bathrooms……The Home Depot just made another sale thanks to you!!!!
Taylor says
Pretty and so quick! I can’t believe it!
Kandice says
This looks amazing, Shavonda! What an inspiration to me to fix up the outdated bathrooms in my old house. It’s amazing what a little tile work, paint, and refreshed hardware and lighting can do to a space. Beautiful!
Melissa says
What a beautiful transformation! This gives me hope that we can do some work ourselves when we renovate our bathrooms. Our house was built in the 50s and has tile floors and midway up the walls. They will do for now while we save to cash flow the projects. Thank you for introducing us to this revolutionary product!
Devyn says
Love this! Such an innovative product and a great review! Thank you!
Anna says
Wow Shavonda thanks for introducing me to this tile product! I learned this summer that tiling (especially a floor!) is my least favorite DIY 🙂 so these tiles look like they go together way cleaner and with less time pressure than traditional mortar! Also – great faucet choice! I used the same one in my bathroom renovation this summer and I love that it’s matte black and a little traditional but not too much. Beautiful makeover!!
Denise k says
What a chic refresh! I love the floor and all the other updates, especially the black vanity and baseboard.
Naomi says
This looks amazing baby. Awesome job.
JUANICE says
Can you put QuicTile all over 2020 – we all could use a refresh LOL! Seriously this update was doable with such a huge impact! Keep teaching us Shavonda…
Lucy says
This looks so good! I’ve never heard of this tile but it sounds like it’s exactly what I need for my equally small bathroom. Can’t wait to try it!
Micheline says
Omg, what an amazing transformation on a small budget. I’m definitely considering getting the tiles, I already showed hubby your stories lol.
Mary Beth says
Shavonda, this looks so good! The bathroom before was fine but this has style as well as function. Your sister is a lucky woman!
Vanessa says
This turned out so beautiful!! You have me dreaming of redoing our little bathroom too.
MJ says
Oh I love it Shavonda. We have a half rule half carpet situation in our master and in the guest bath. It is the bane of my existence. I could definitely use this QuicTile and tackle it myself. Adds to list of DIY projects. I really love the artwork over the toilet too. So cute.
Lacie says
Game changer! This product is a definite in our upcoming bathroom refresh. Easy and quick is perfect for our bathroom. Thanks for sharing.
Laura says
it looks fabulous, amazing how changing the floor transformed the whole room – it looks so much bigger and brighter!
Jessica says
This has me thinking of what space I can use that tile in!
Erin says
Wow!!! Just gorgeous I have to give this a try!!! Maybe I can convince my non handy husband to try the laundry room before tackling a bathroom lol (his hiding spot lol)!!
KJ says
It looks so so good! I don’t have a tile project at the moment but that looks easy enough even for me!!
Alison says
Super interesting product and looks lovely!
Laurajane says
Love it! The product is so beautiful and I love how you used it!
Meredith says
This is blowing my mind. These tiles are amazing!!! This is getting my DIY wheels turning for about 5 different spaces… Also, really loving that pop of graphic black on the window sill. It looks so great! Can developers please hire you for specifications so people can switch from saying ‘ew, it’s builder-grade’ to ‘oooh, it’s Shavonda-grade!’?
Karla Fuentes-Rivera says
#OBSESSED
Carolyn says
Omg!!!!
This is beautiful! Absolutely love everything about this space!
Jodi Shaw says
What a transformation, I love the floors and artwork!
Laura says
I love seeing a cost and time doable update like this. I had no idea this product existed and will file that away in my brain for future use.
Can’t wait to see what comes next with paint or wallpaper – it’s such a good starting point to launch from!