Hi Everyone!
Happy Wednesday friends. So I it just occured to me that Ive been holding out on you guys. I mentioned in yesterday’s post that we had replaced our hot mess of an old fence and it made me realize I never shared that update with you. My bad.
Ok so two years ago…yep, TWO YEARS…I shared a very in depth and picture filled post about our plans to replace our fence. It wasn’t even an option, yall. It HAD to be done. And today I’m here to share all the progress and after photos.
{Now let me preface these photos by saying I have photos of the actual build process and then photos of 2 years later. Somehow I spaced on taking photos of the fence upon immediate completion. I have just a few of those, so all of the true after photos are reflective of 2 years of the redwood weathering. That’s why you will see some photos of fresh redwood and then all the completion photos show the wood starting to gray.}
We went into the design phase of the fence with a few things in mind:
- We wanted it 7 ft tall
- We wanted redwood (which is basically standard where we live and we went with a local trusted source Berco Redwood)
- We needed something that would last a really really really really long time (the existing one was over 40 years old)
- I wanted something a bit custom
Priority number one was security and privacy. This area used to have only a low grouping of bushes separating access to the backyard from the street. So basically someone could walk from the street right into the backyard if they wanted.
Here is the before:
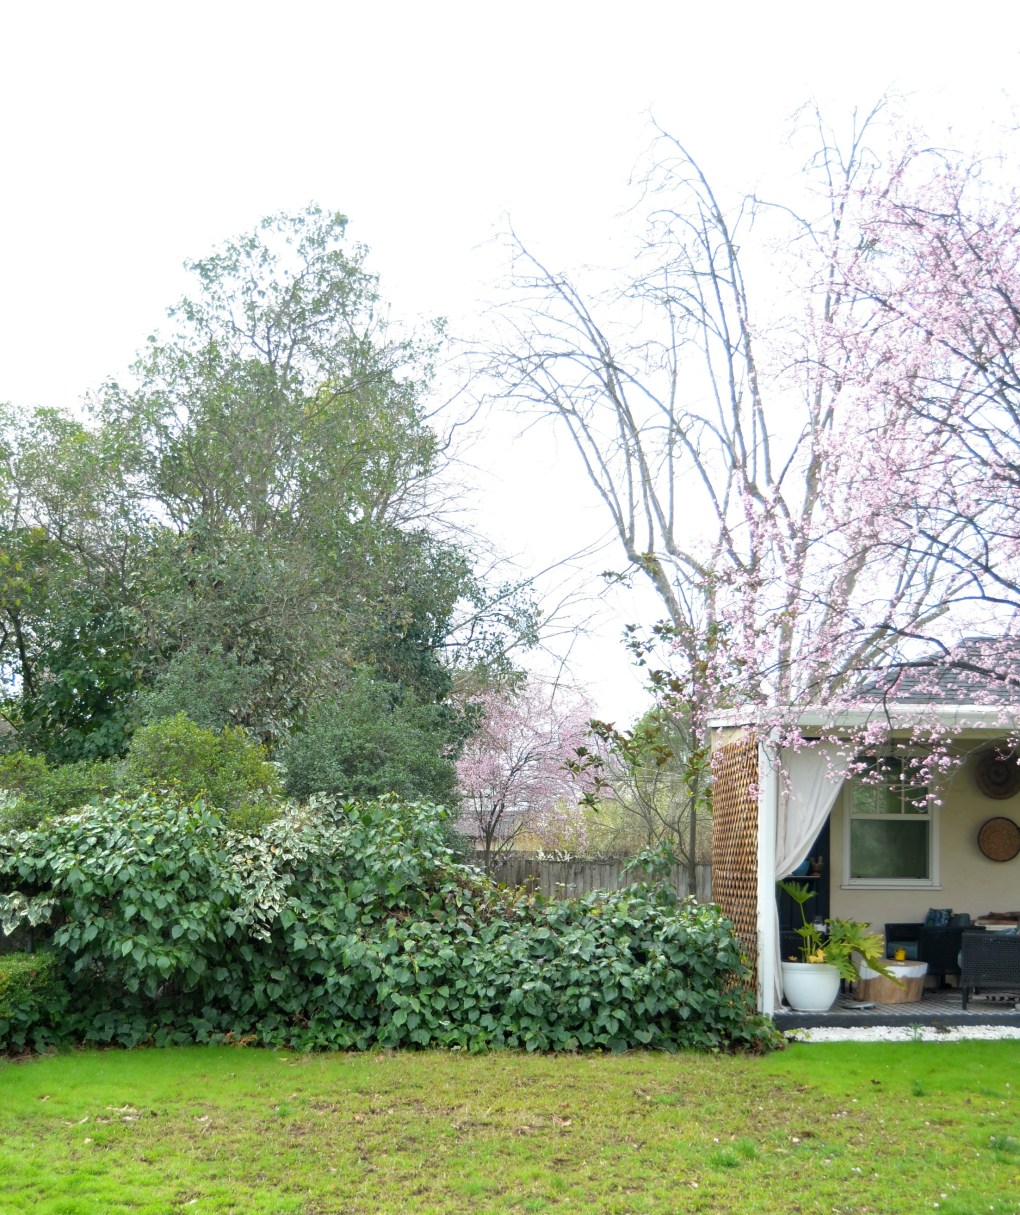
And now after:
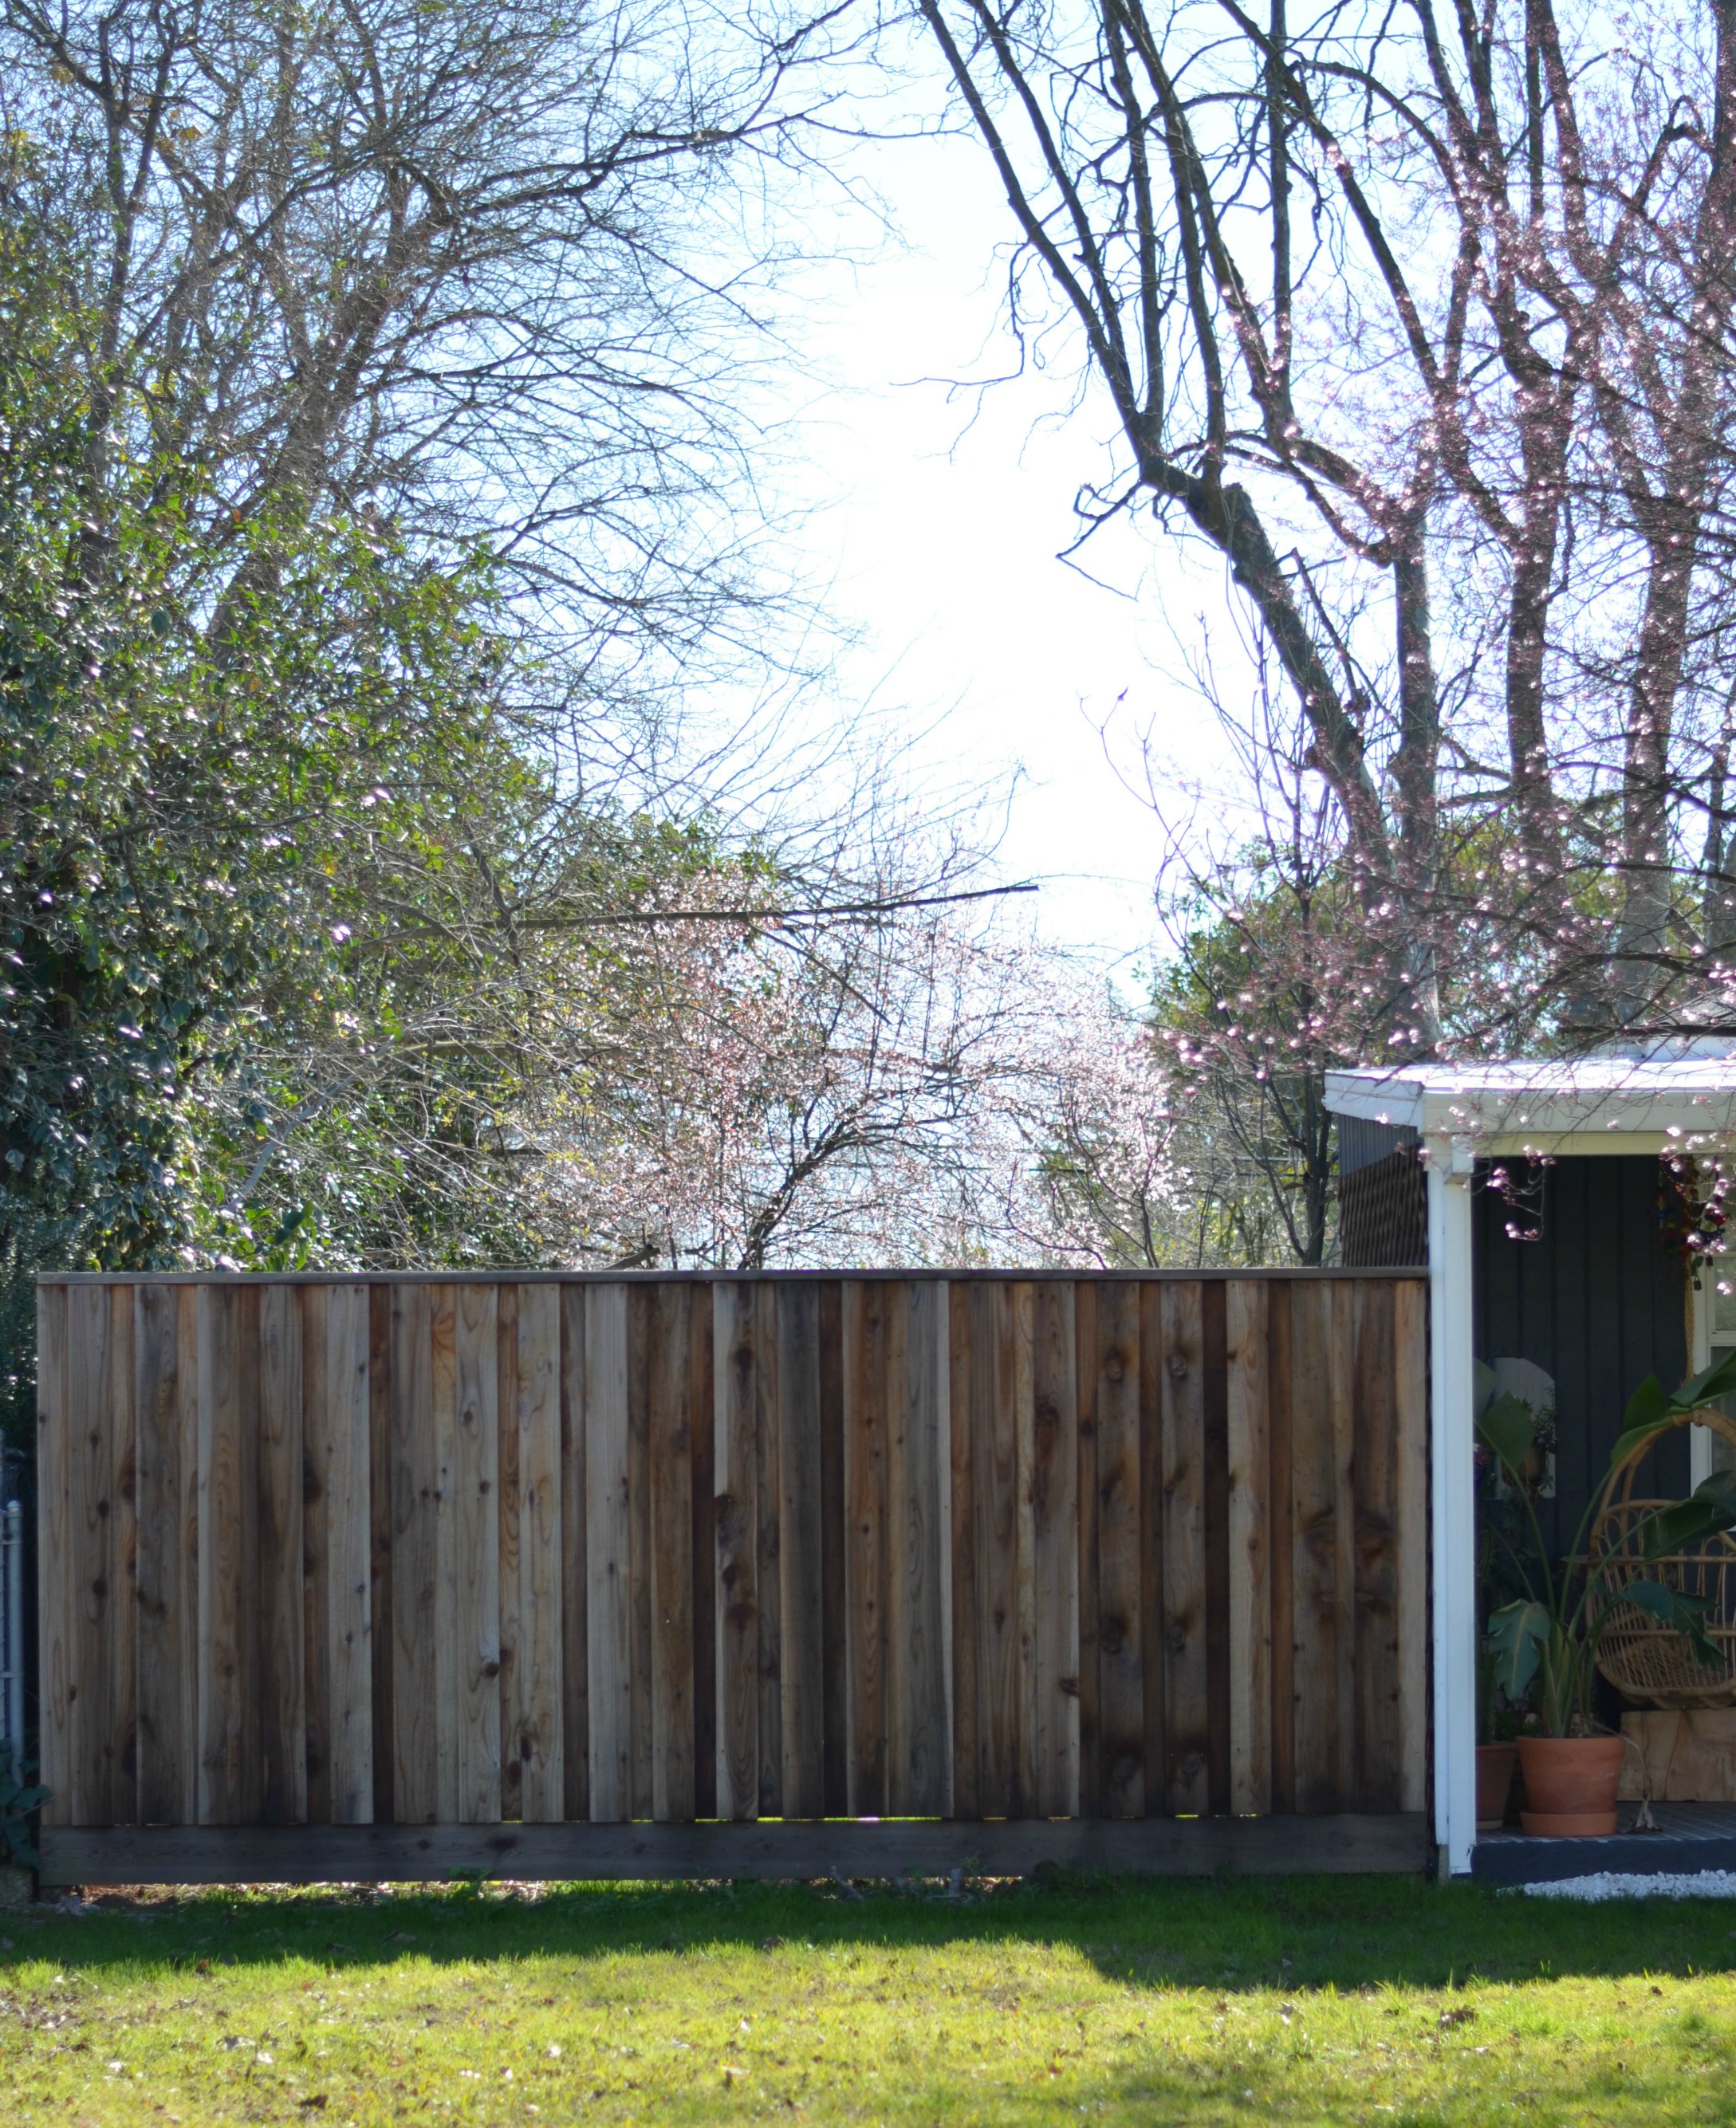
That was a no-go. We cleared out the bushes and put up some proper separaton here. From the backyard it feels so much better not to be able to have our space so easily acessible.
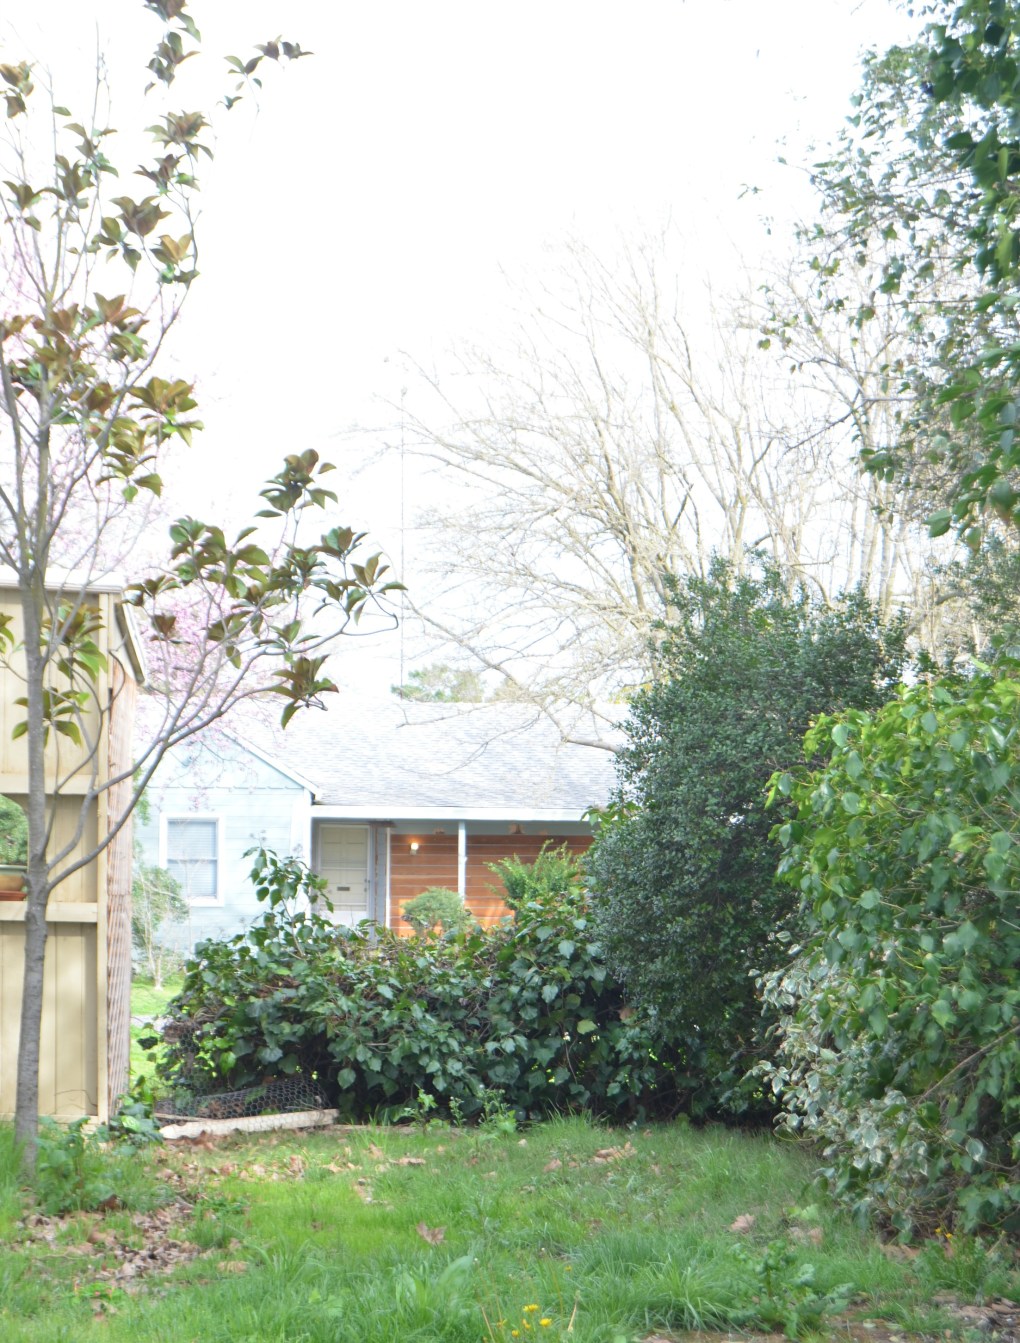
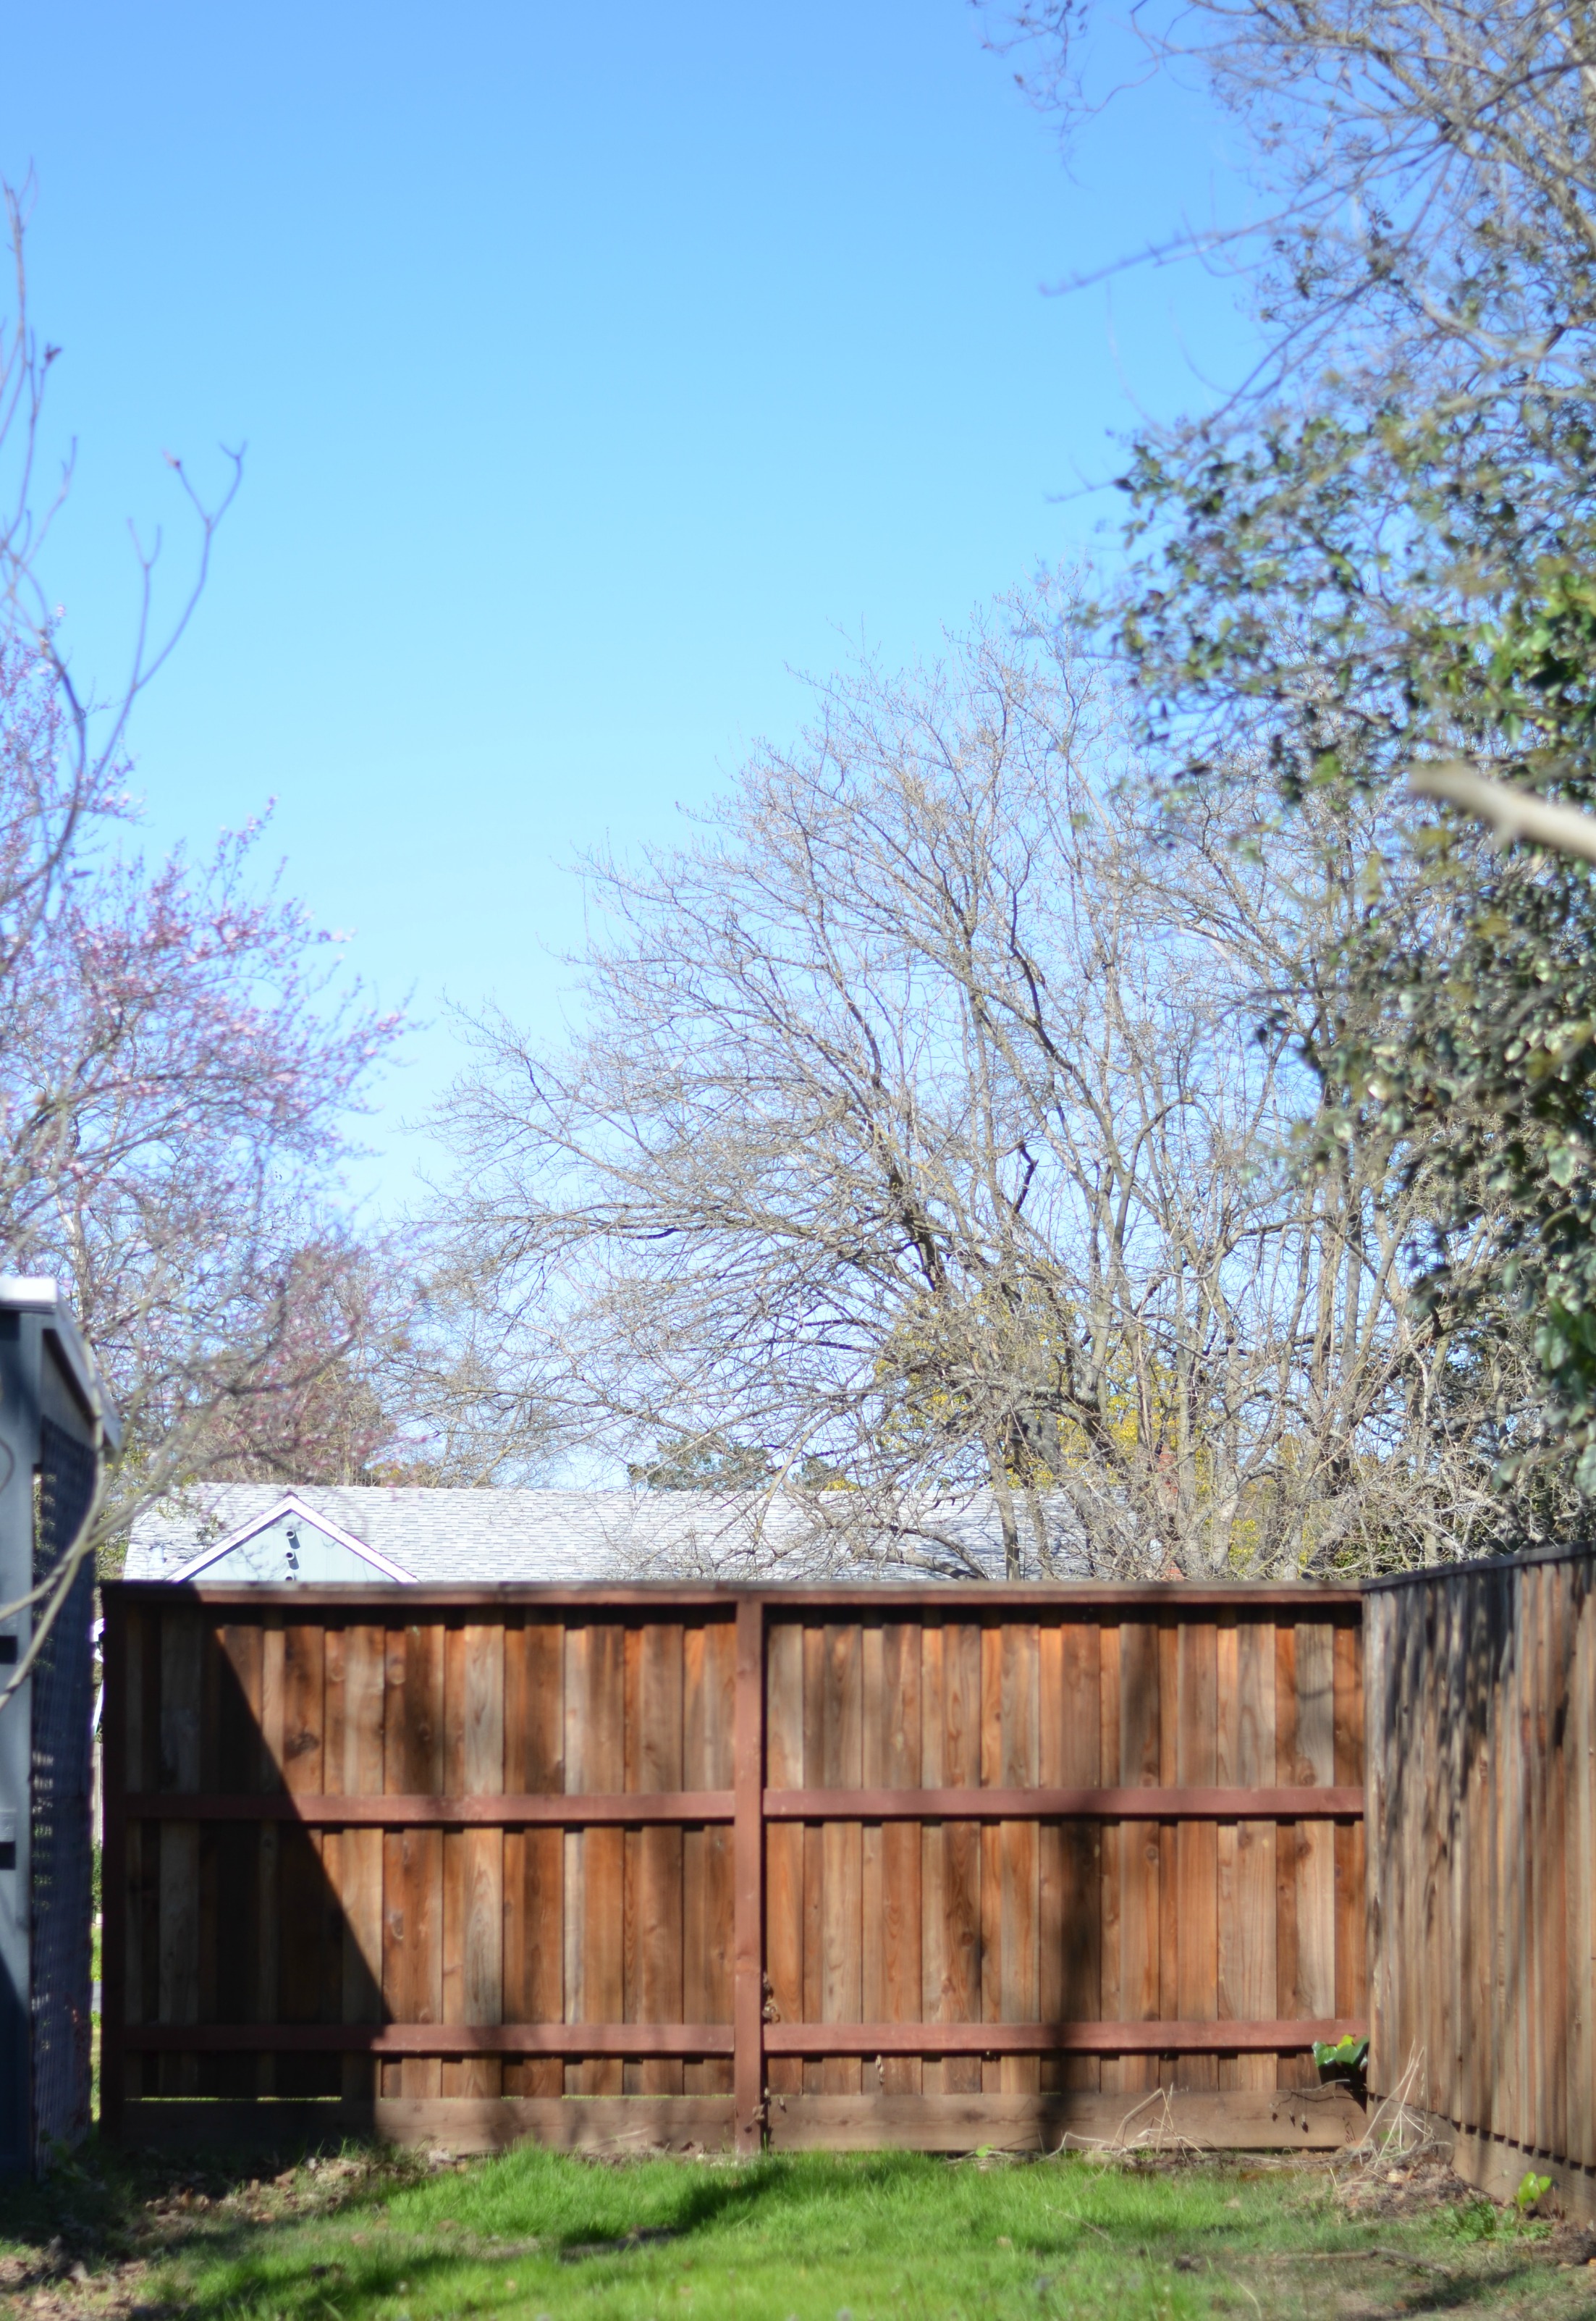
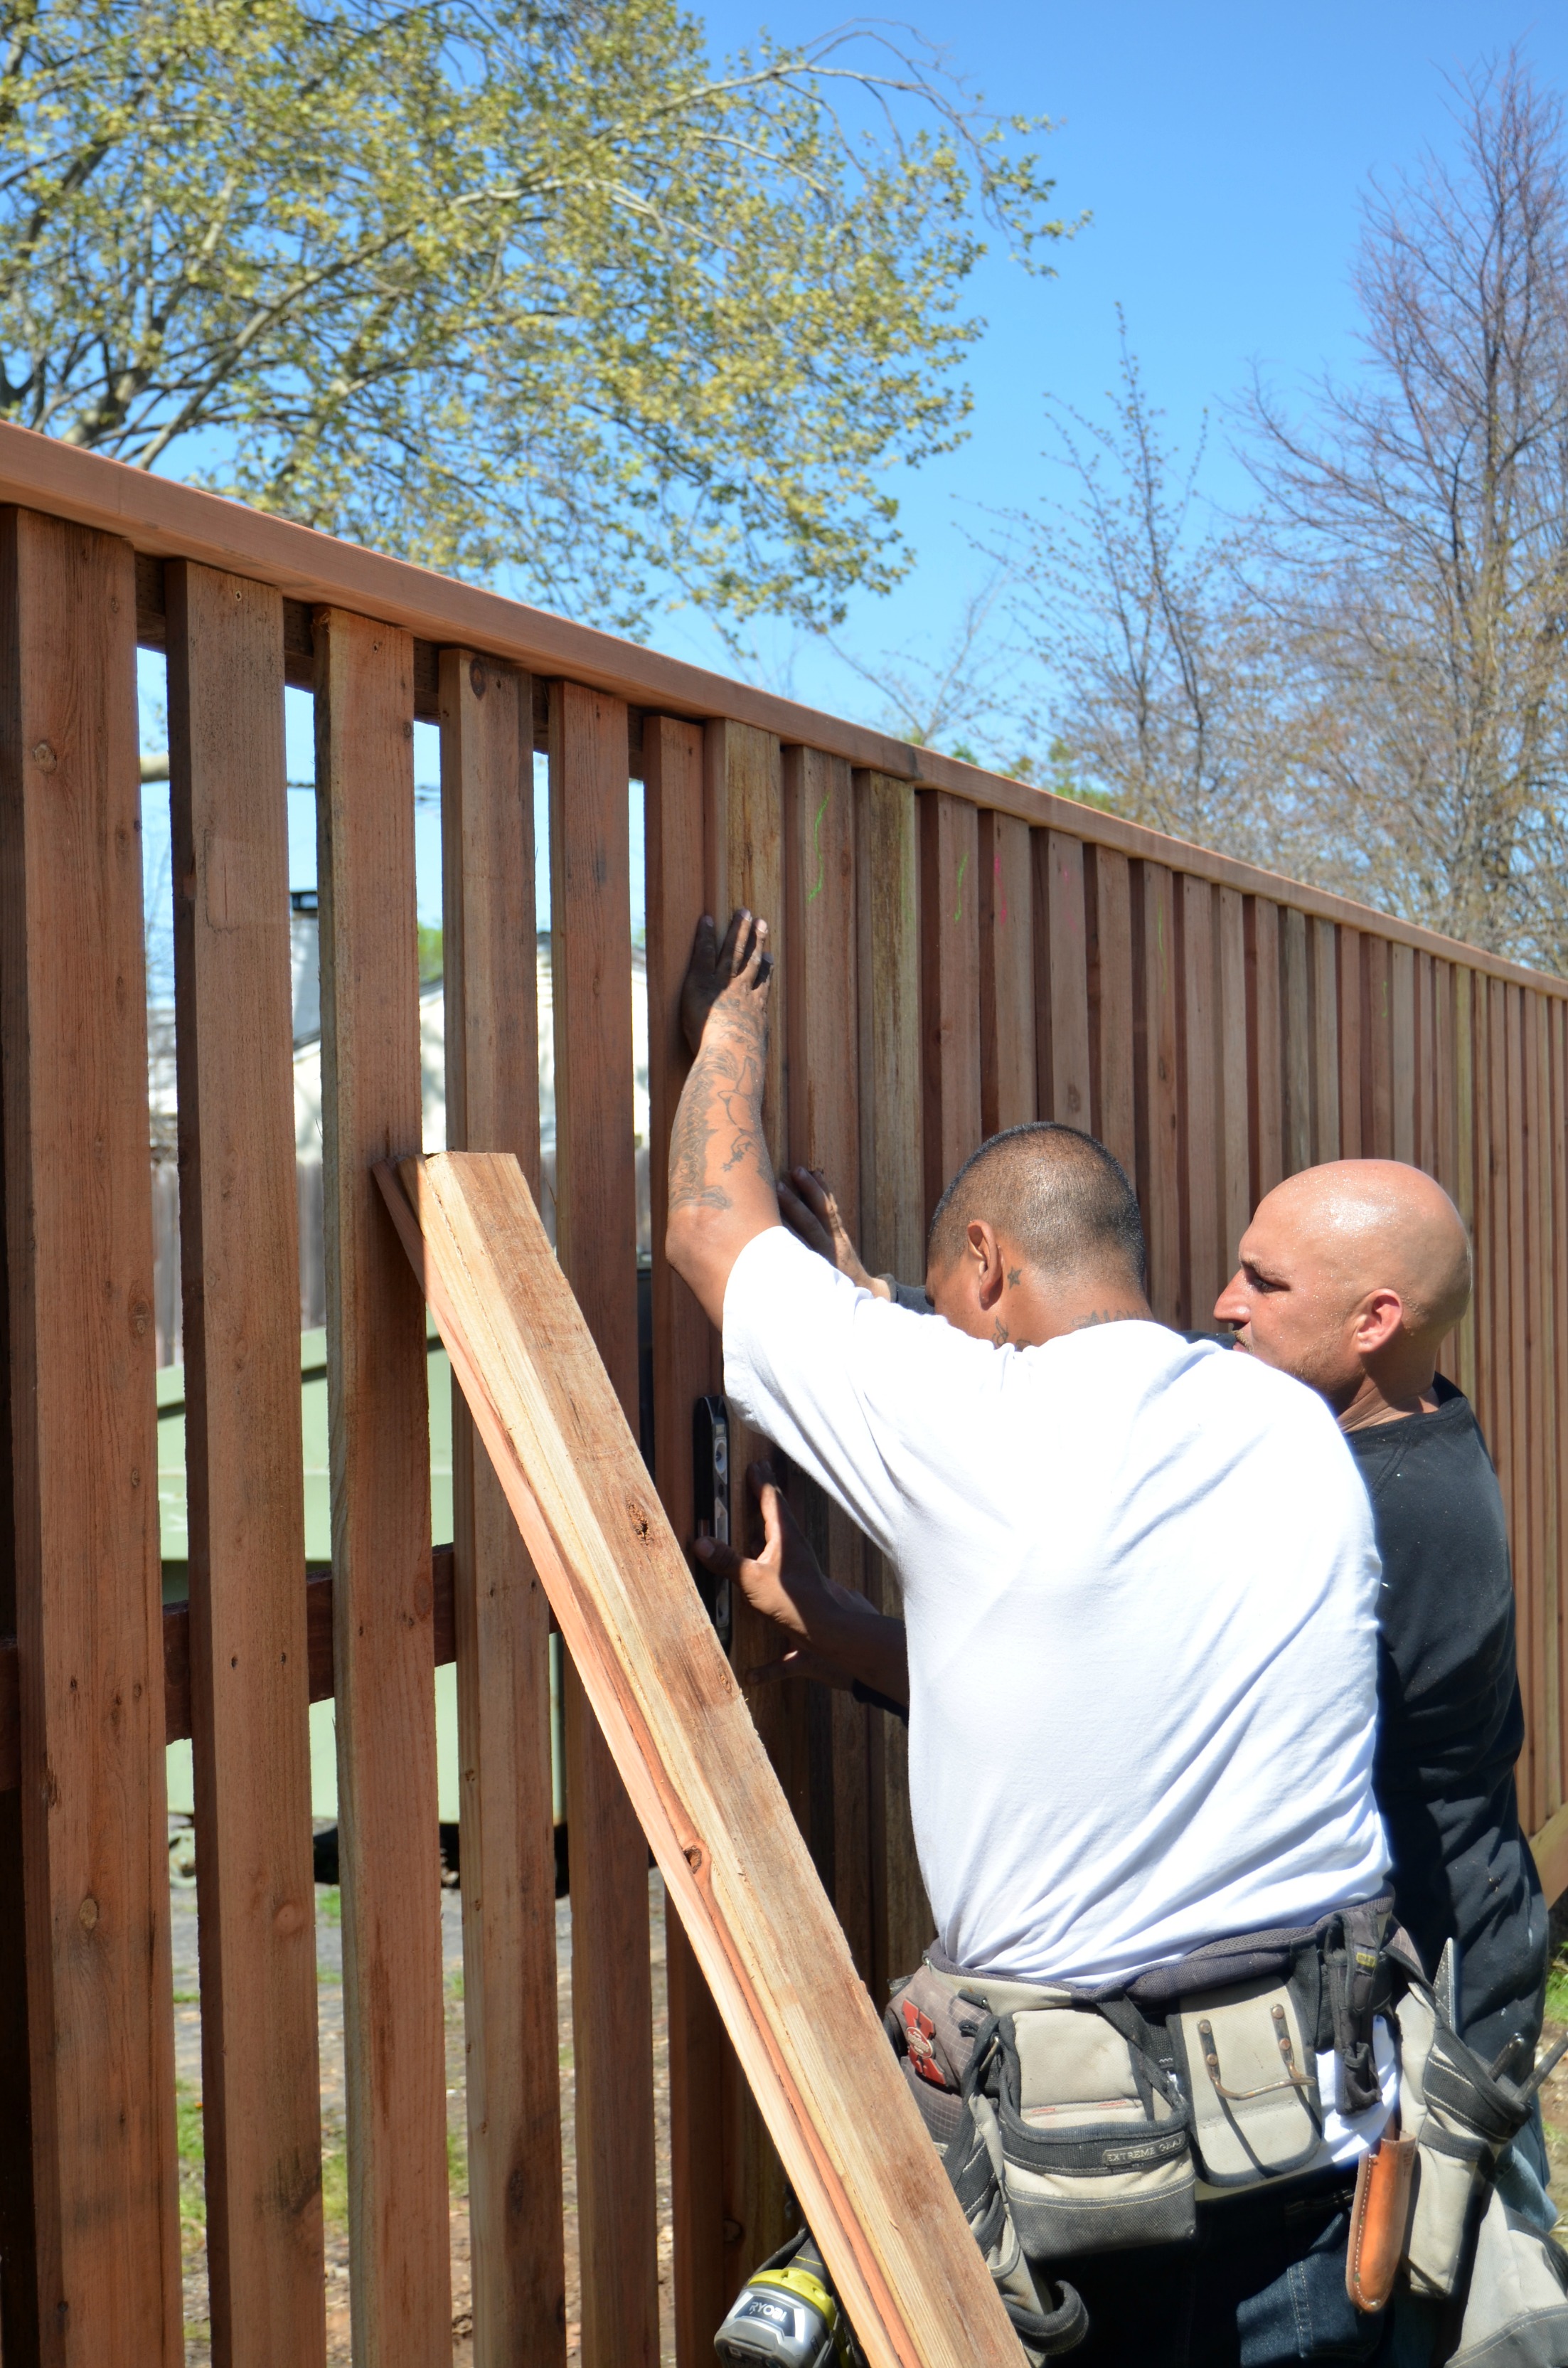
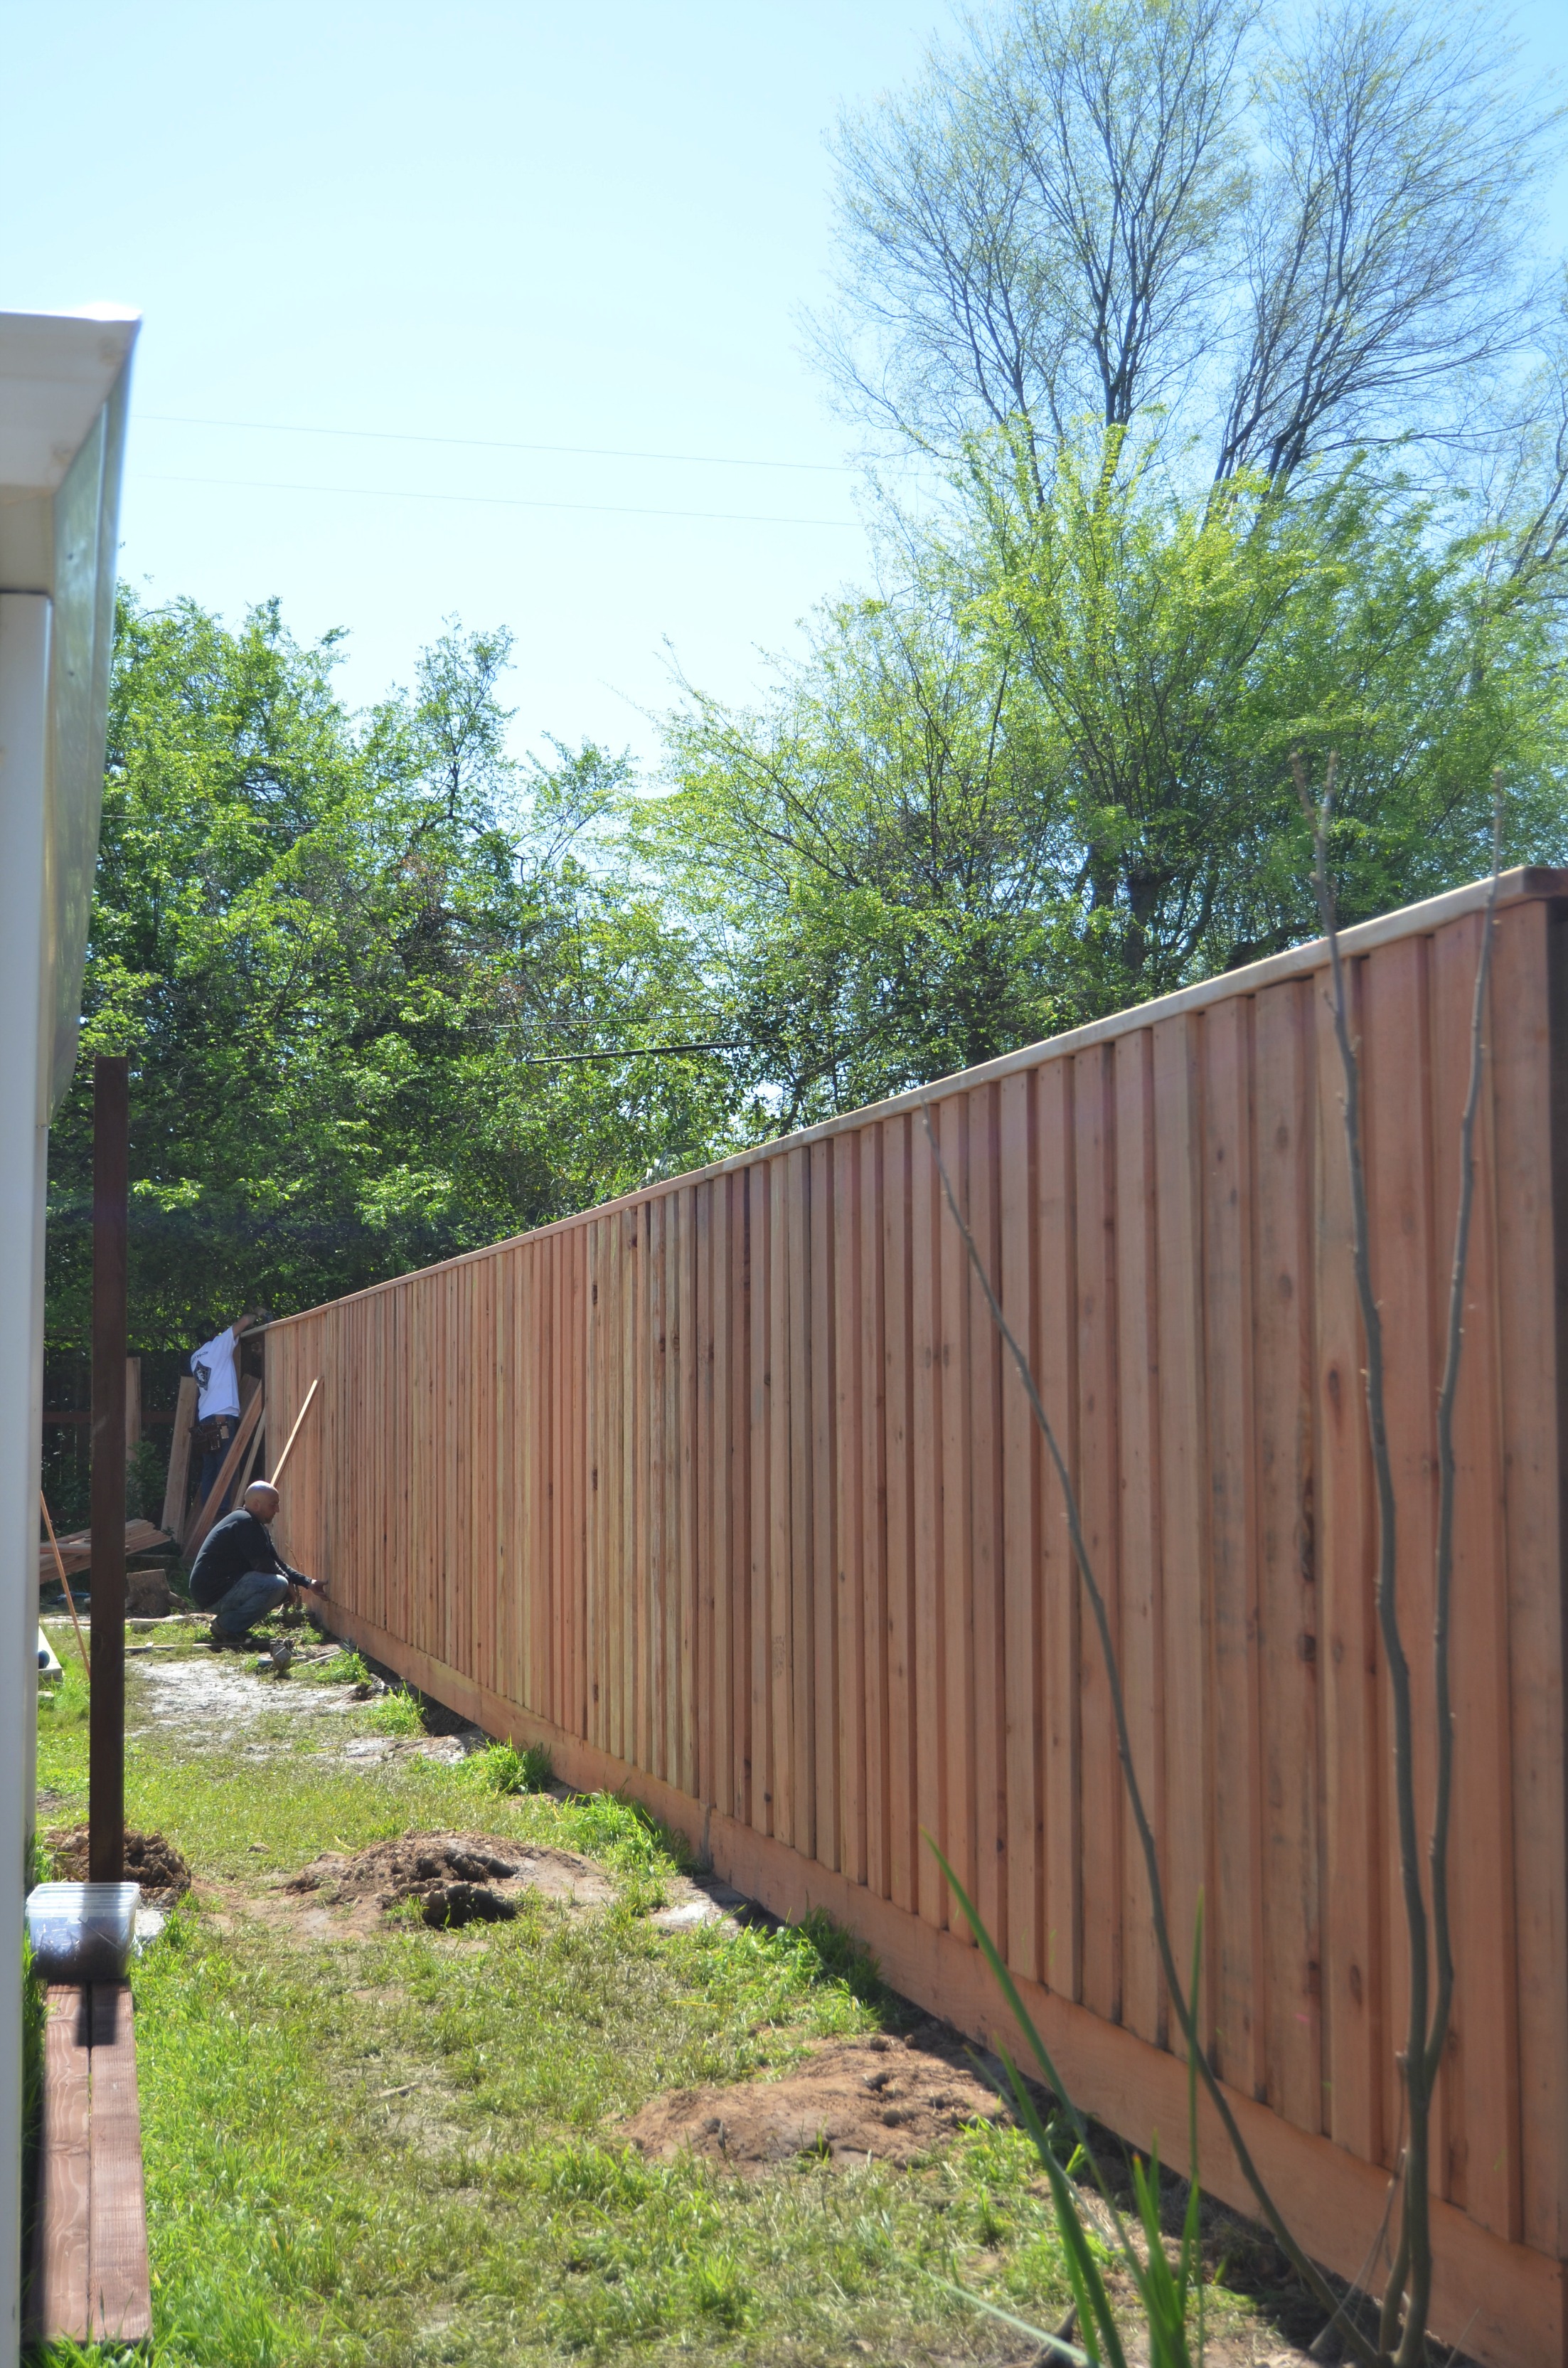
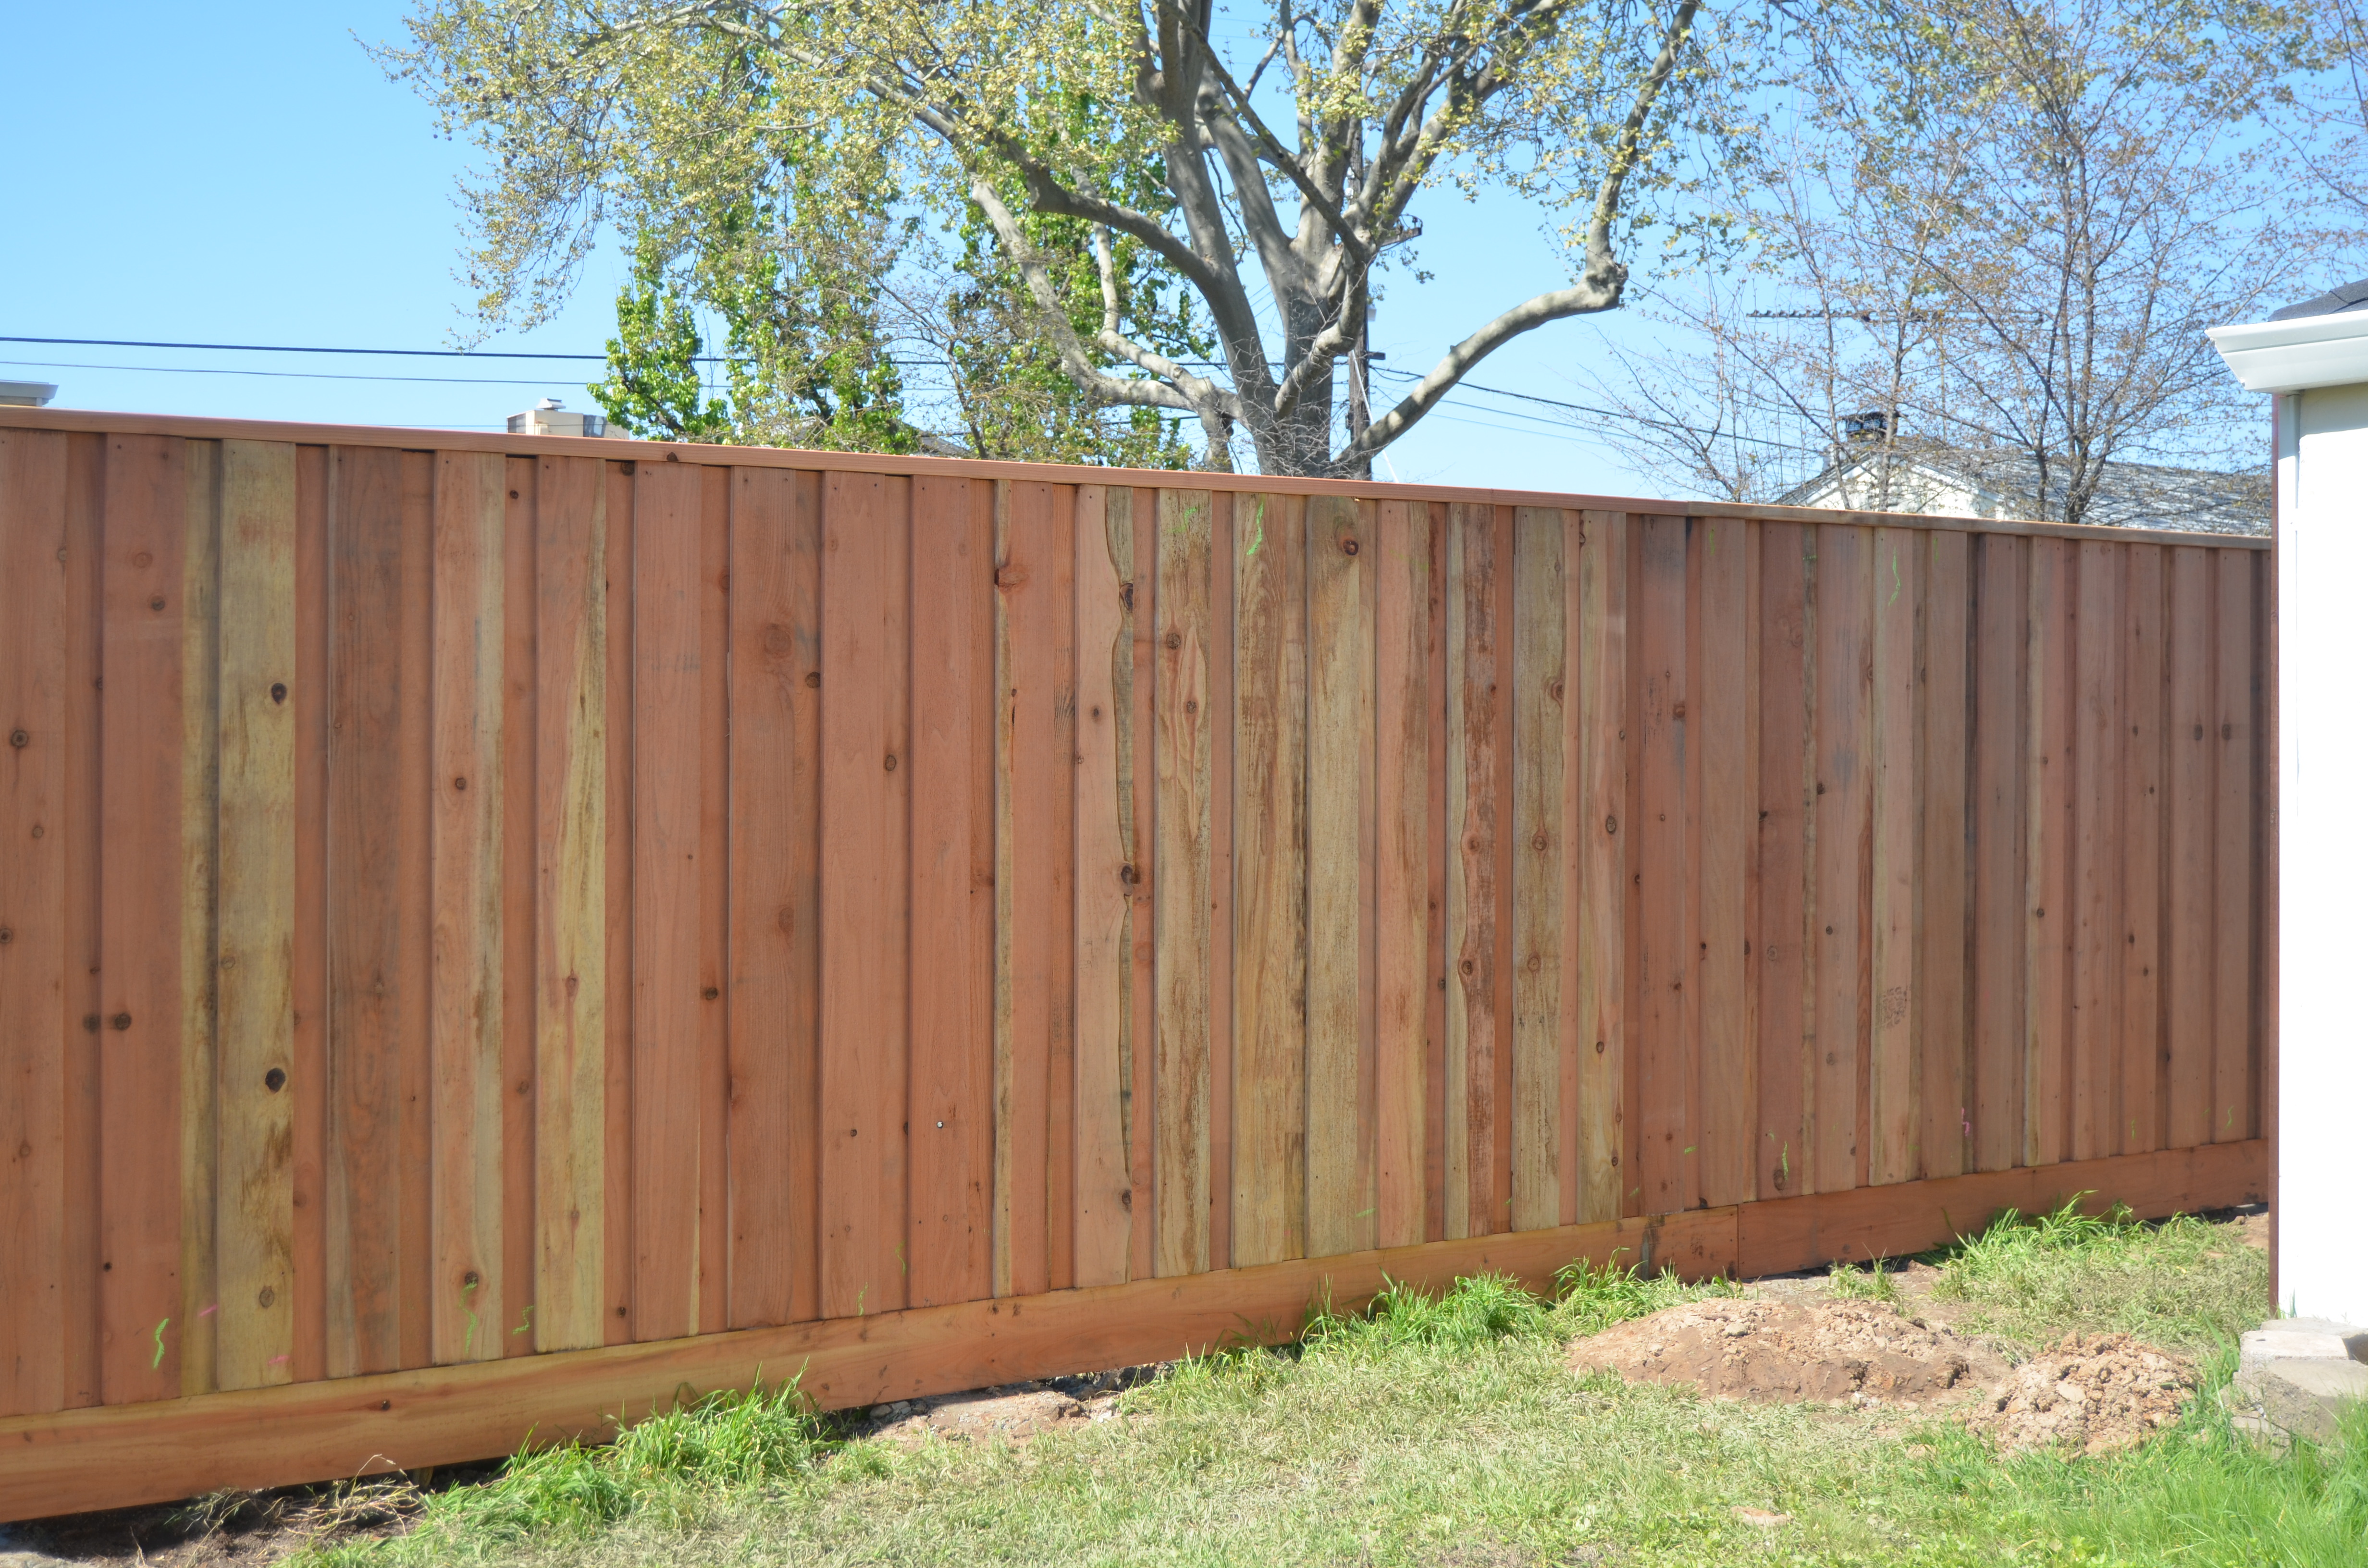
For the design of the fence I decided on a 7ft tall board on board with a top cap and footplate. I kept in mind all the changes we have planned for the house and landscaping and knew that I wanted it to have a very finished look in the end. This definitley added to the costs, but it was worth it to me. We have a really big yard and A LOT of fence to replace so it was important to me to be really thoughtful up front about what things would look like back here over the years as the space evolves.
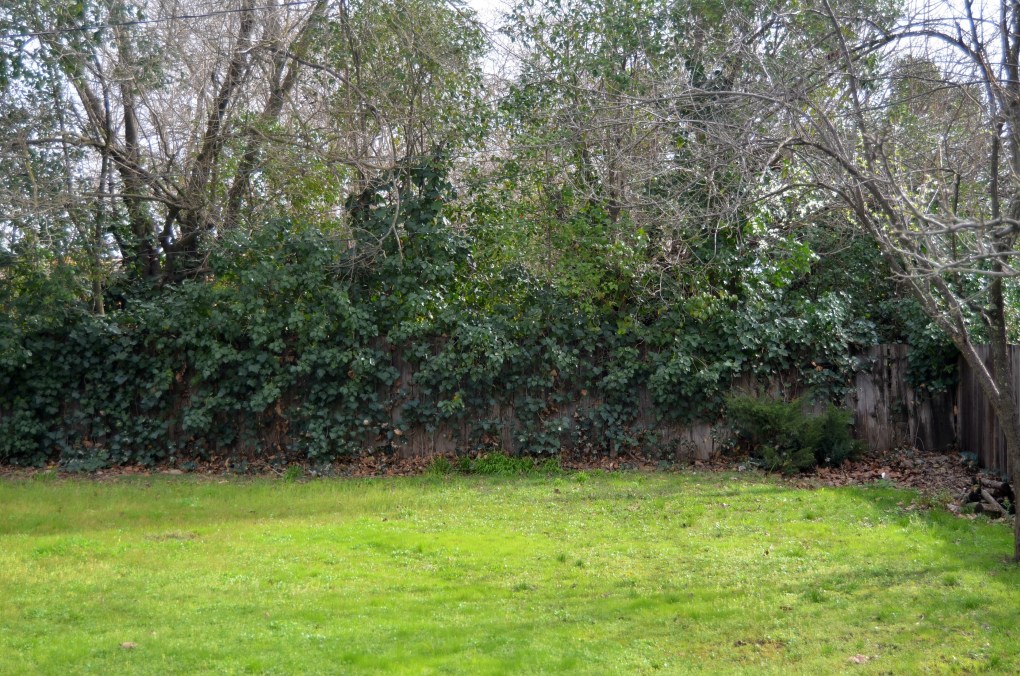
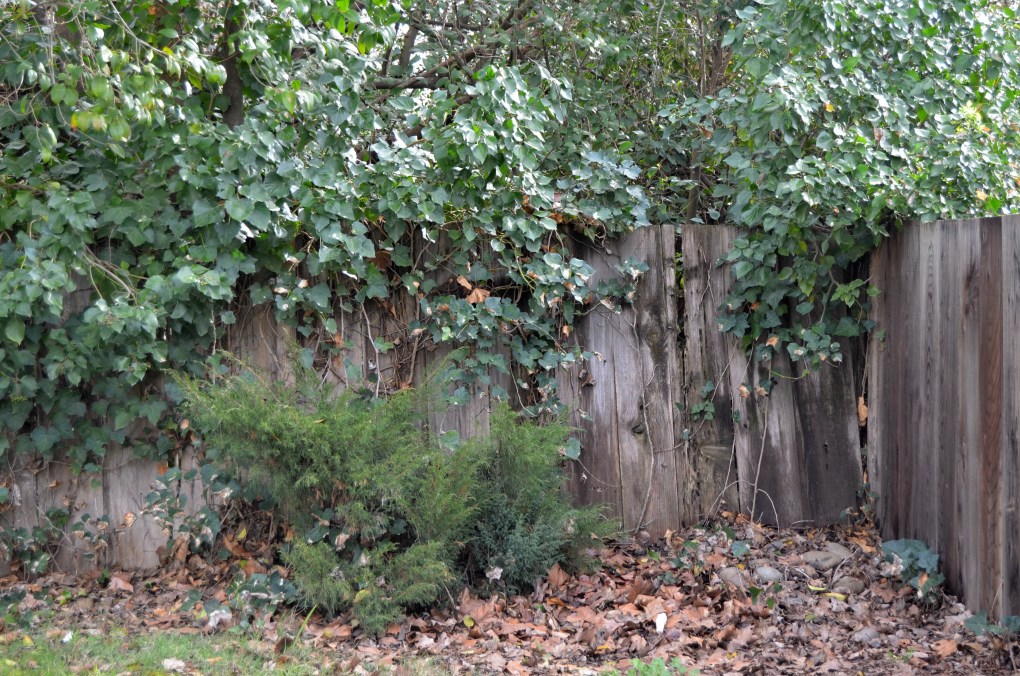
Here’s a quick before:
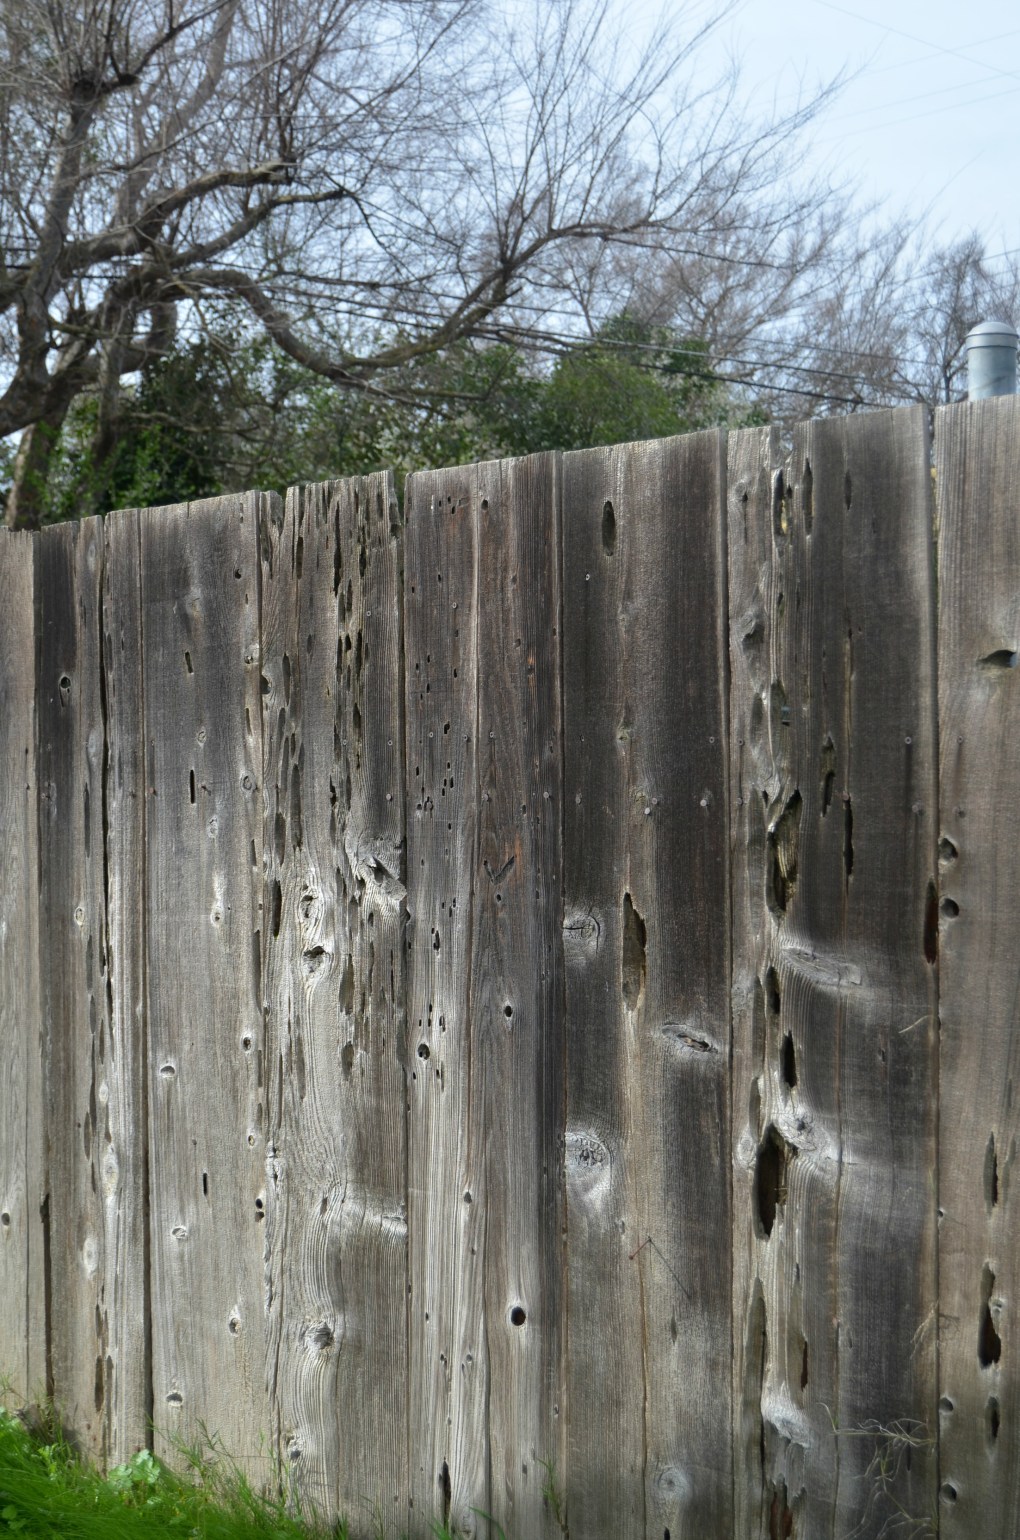
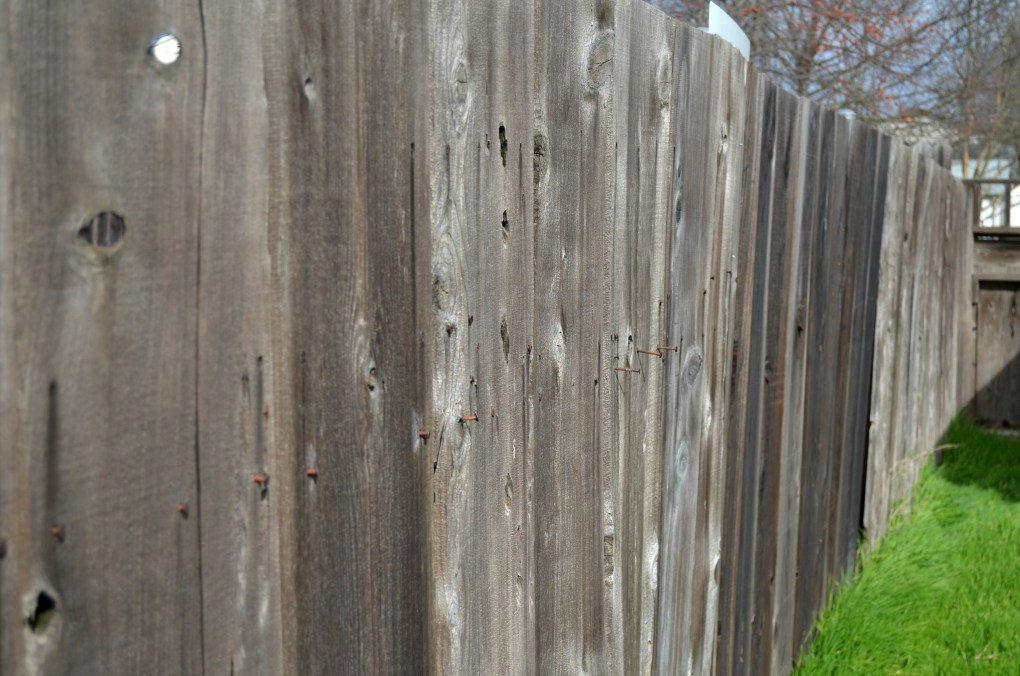
And now after:
 Before there were areas that were literally falling over from the neighbors ivy
 And now we dont have to see it anymore!
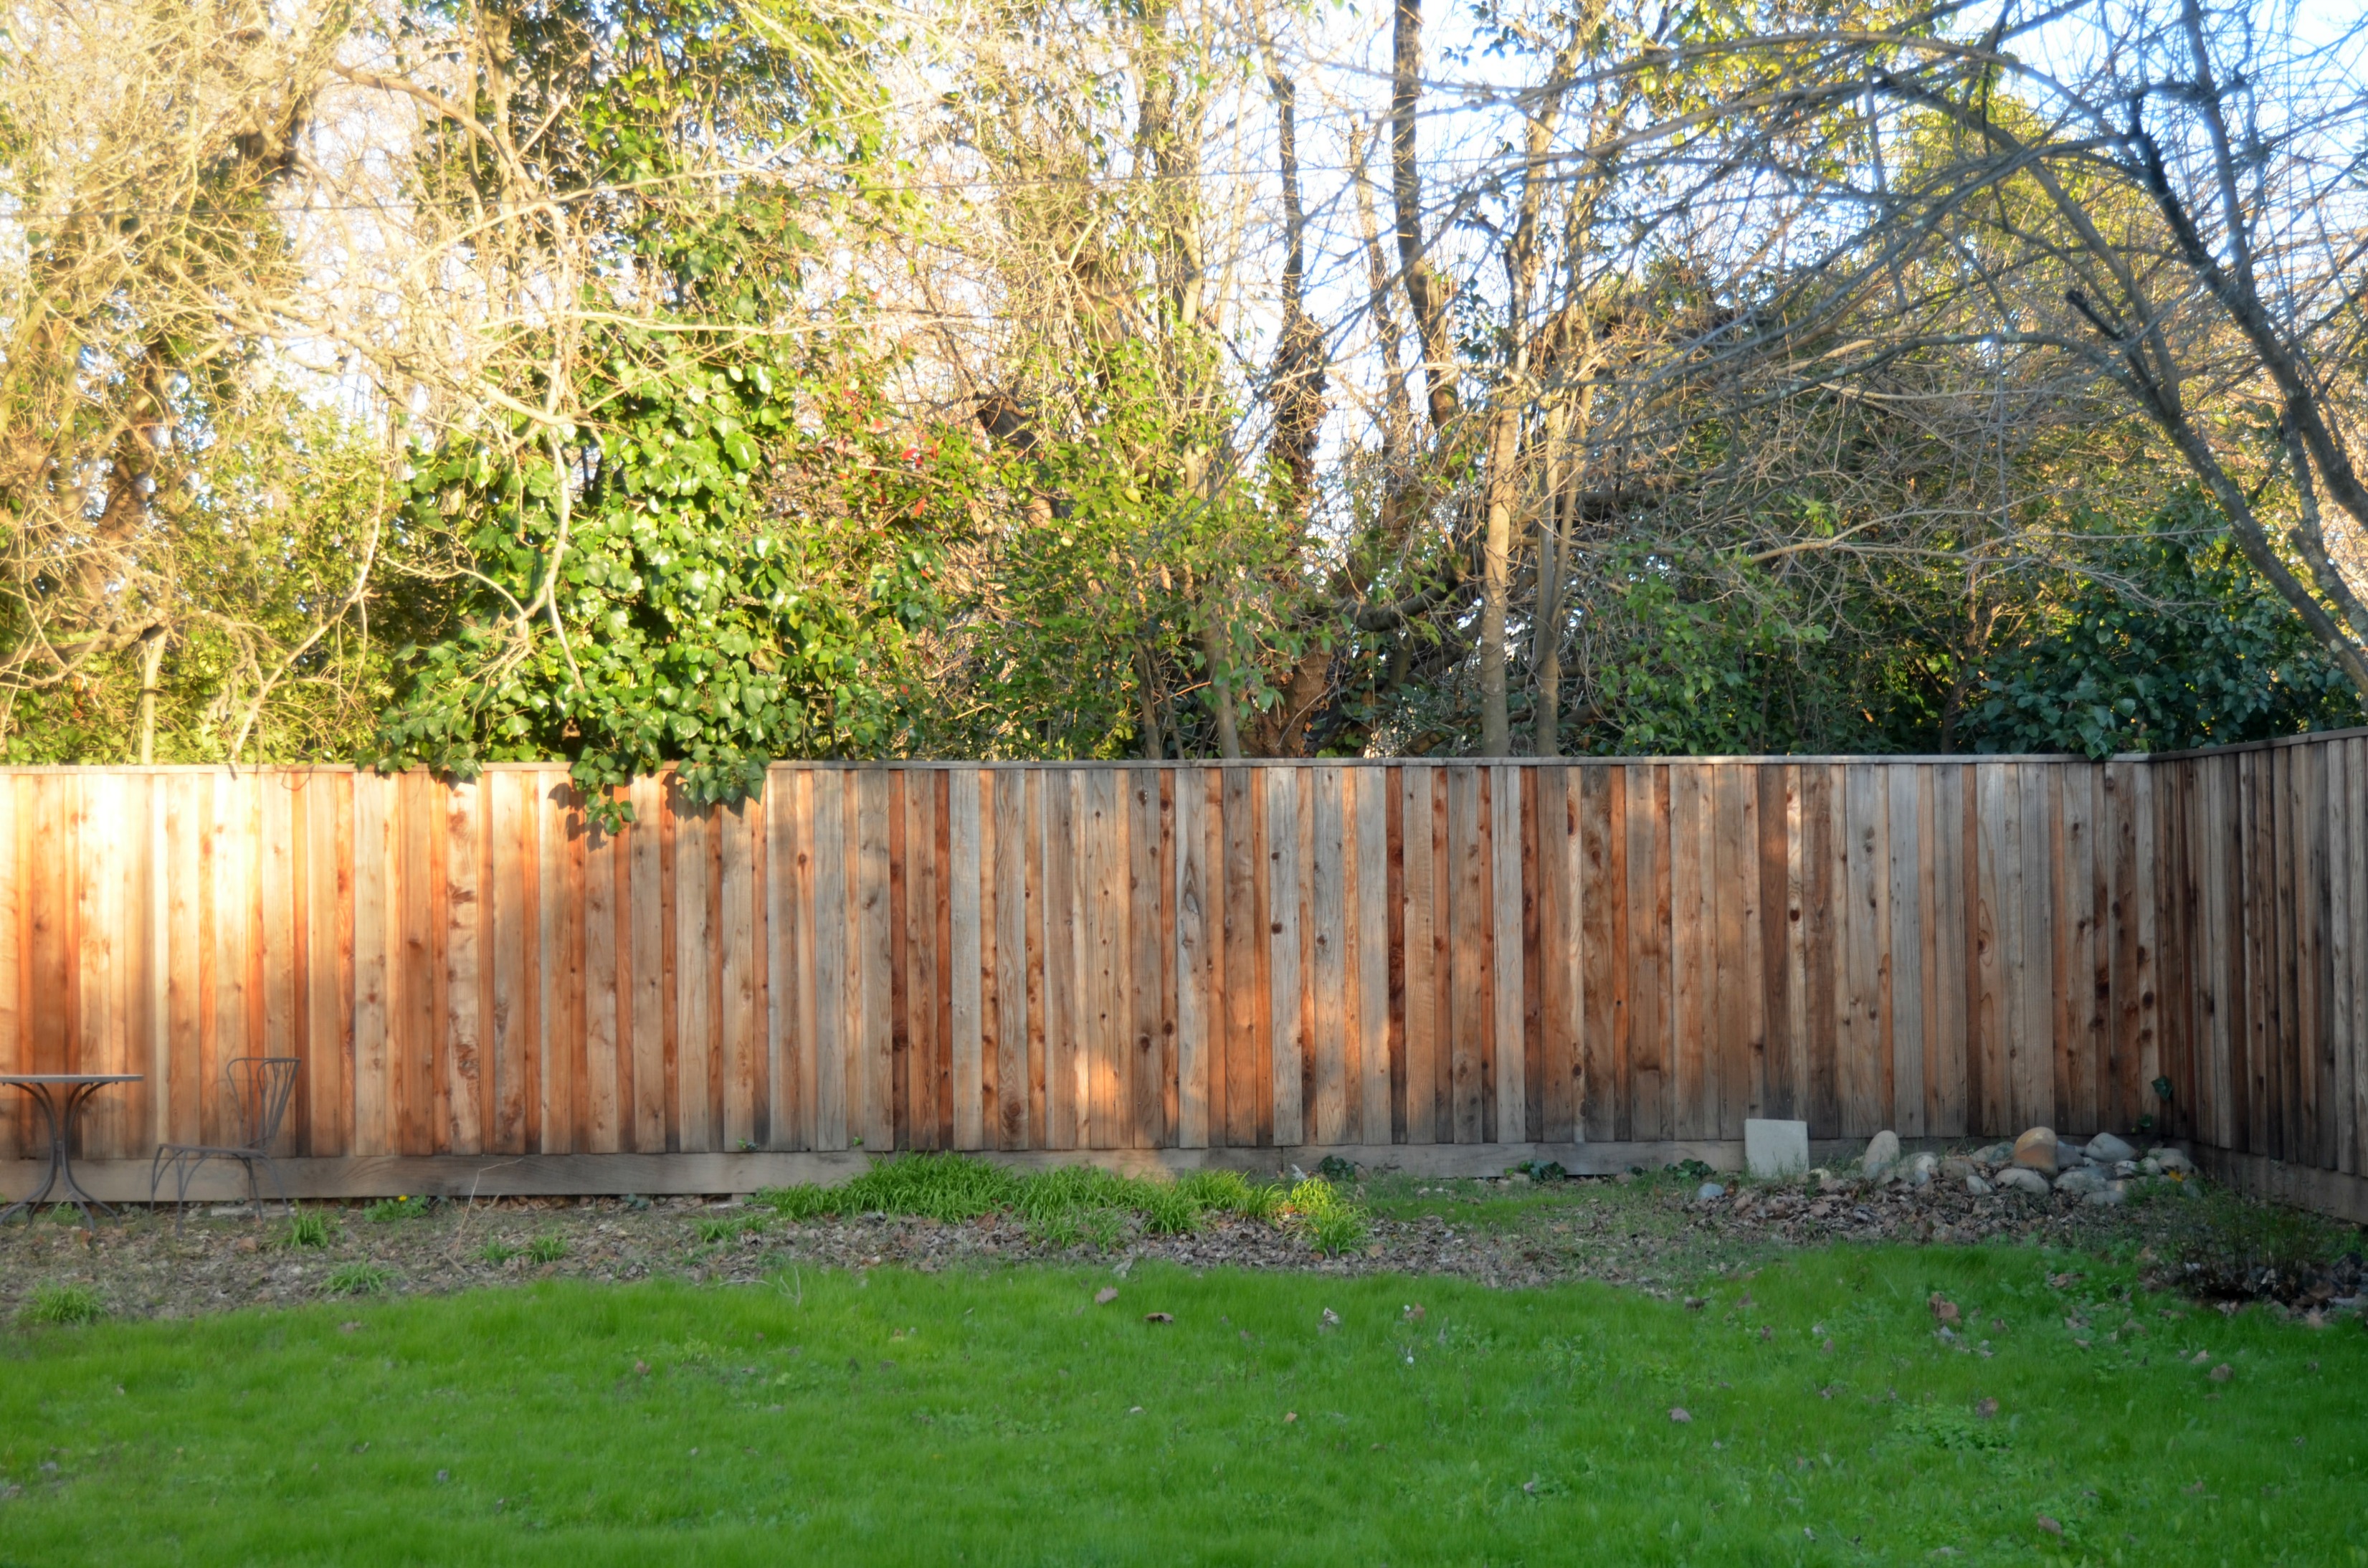
Plus the way the fence is designed it will be able to withstand the weight as Im sure its going to creep up again. Any Ivy we see gets immediately cut away.
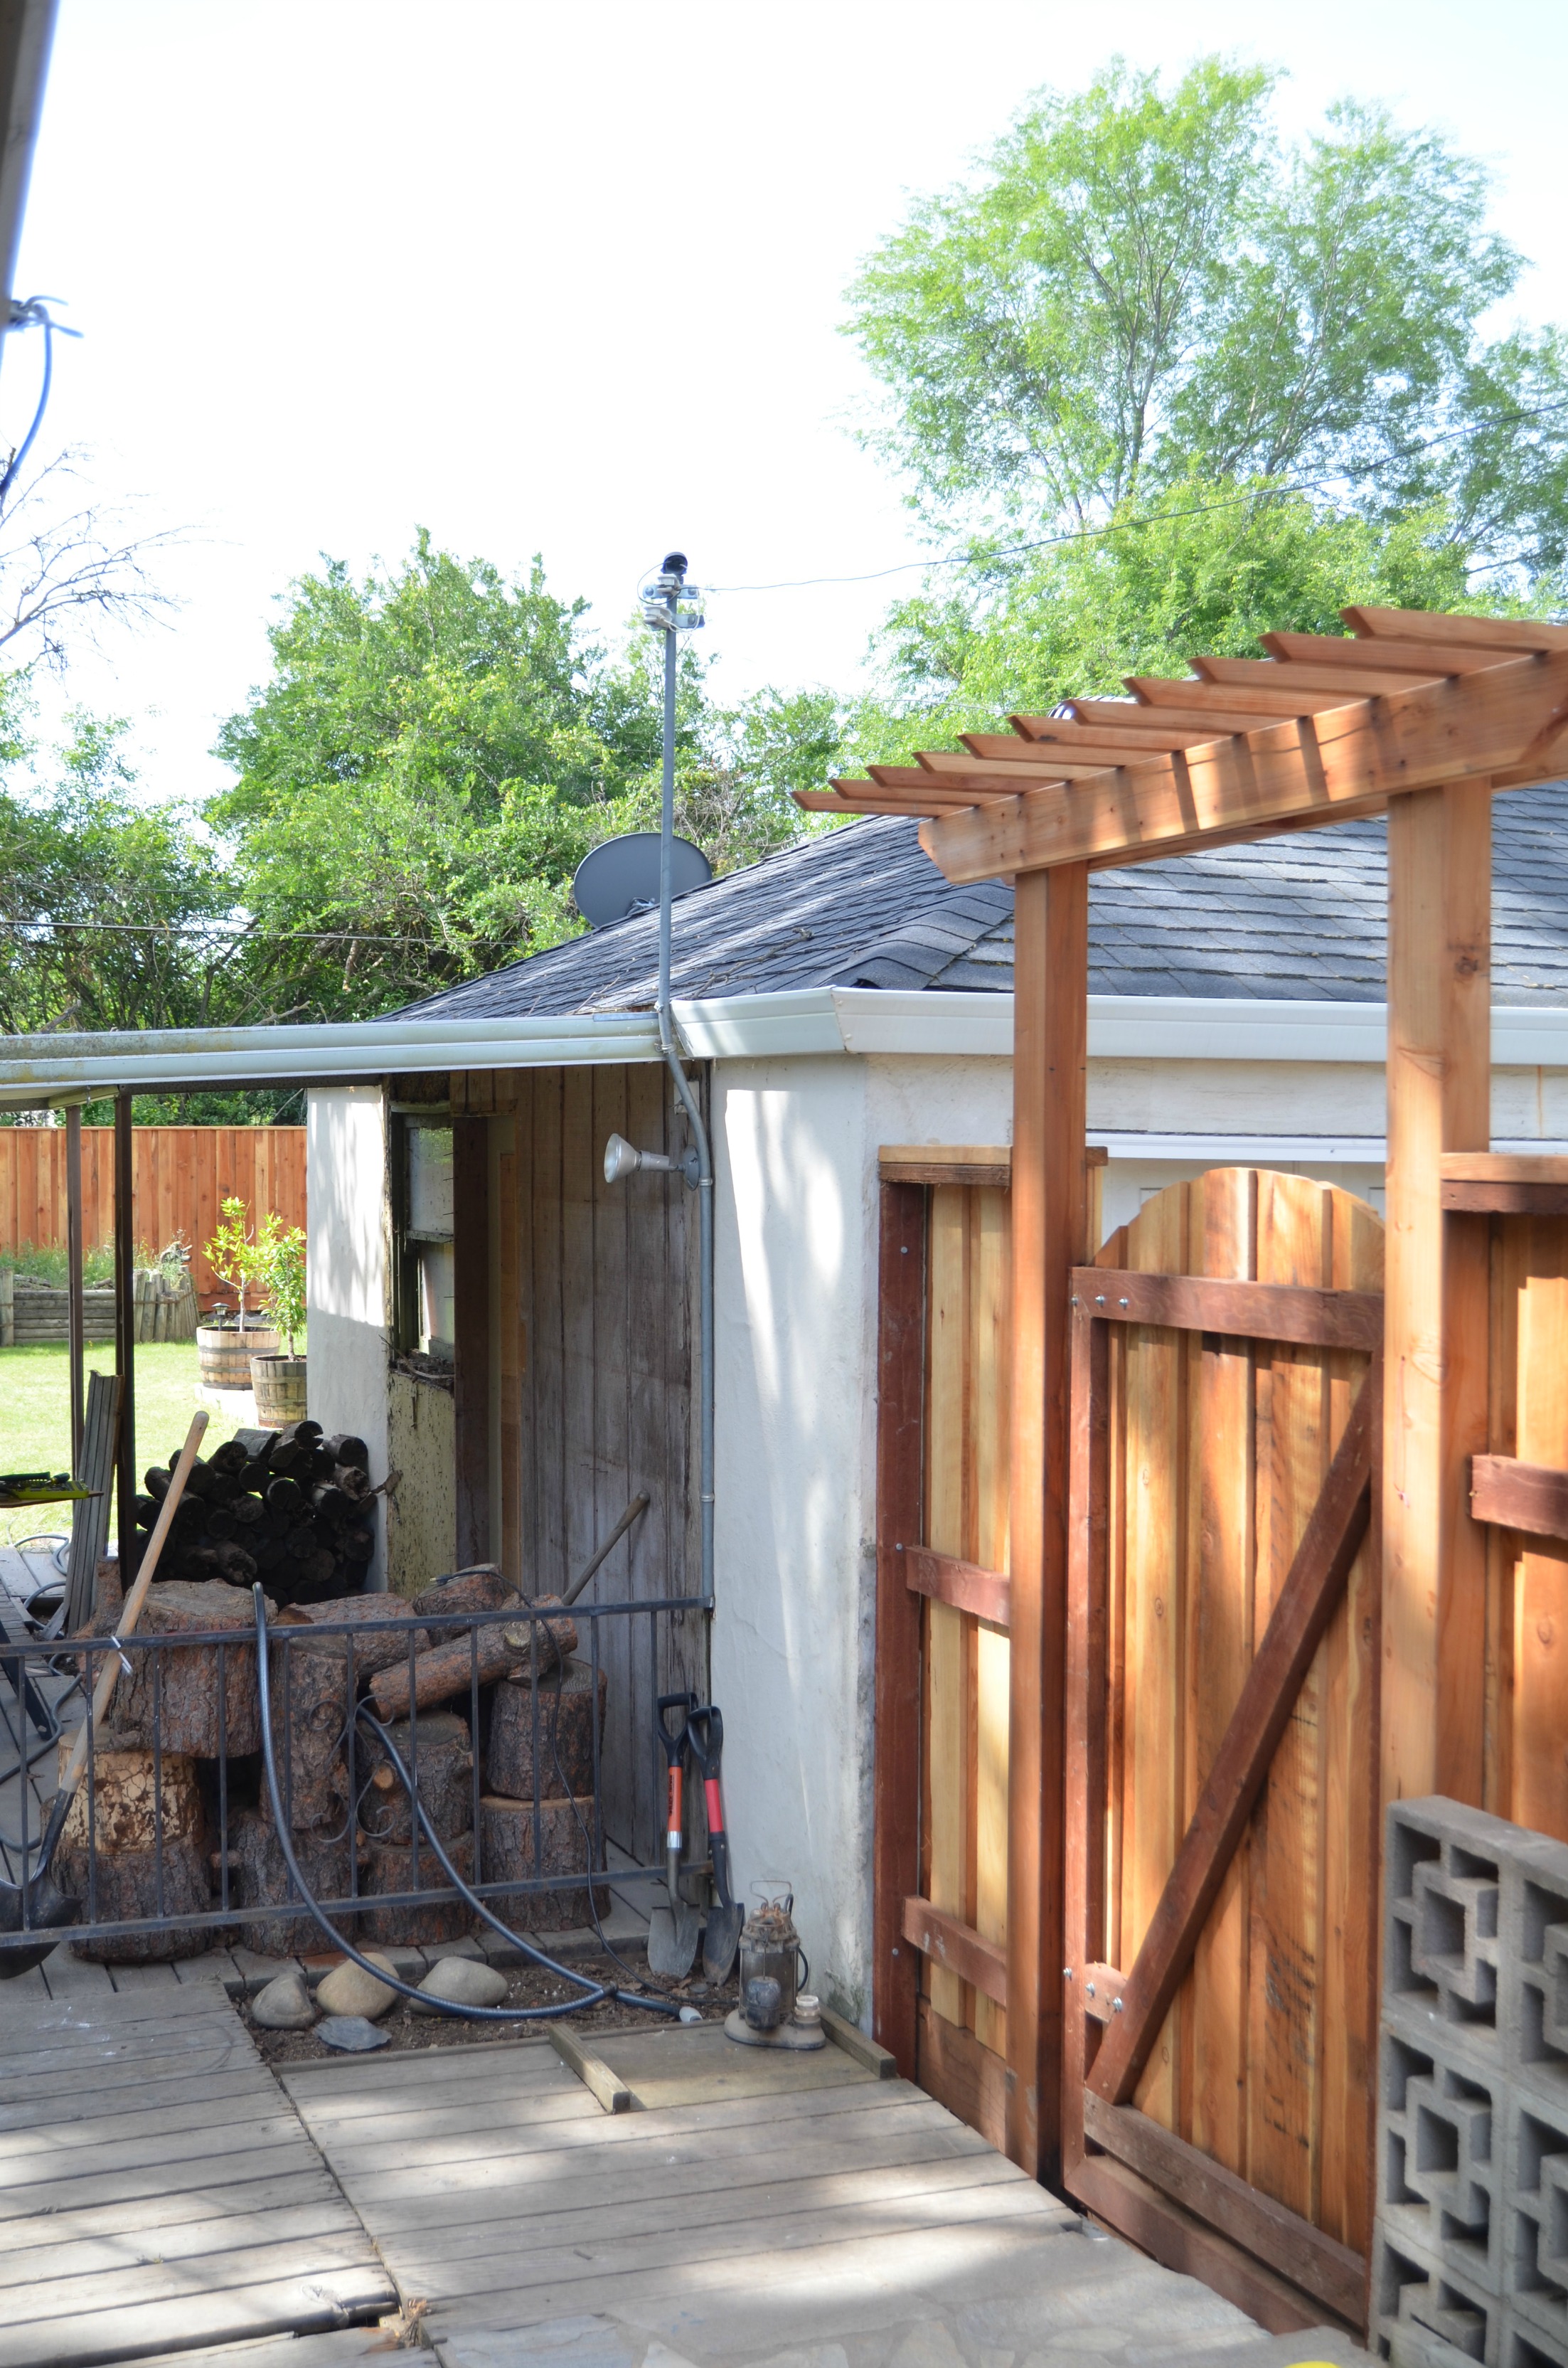
Another custom element we added to the design was 3 entry gates, one including an arbor the contractor and I designed. I really wanted the main gate into the backyard from the outside of the house to have some presence.
Here’s the before:
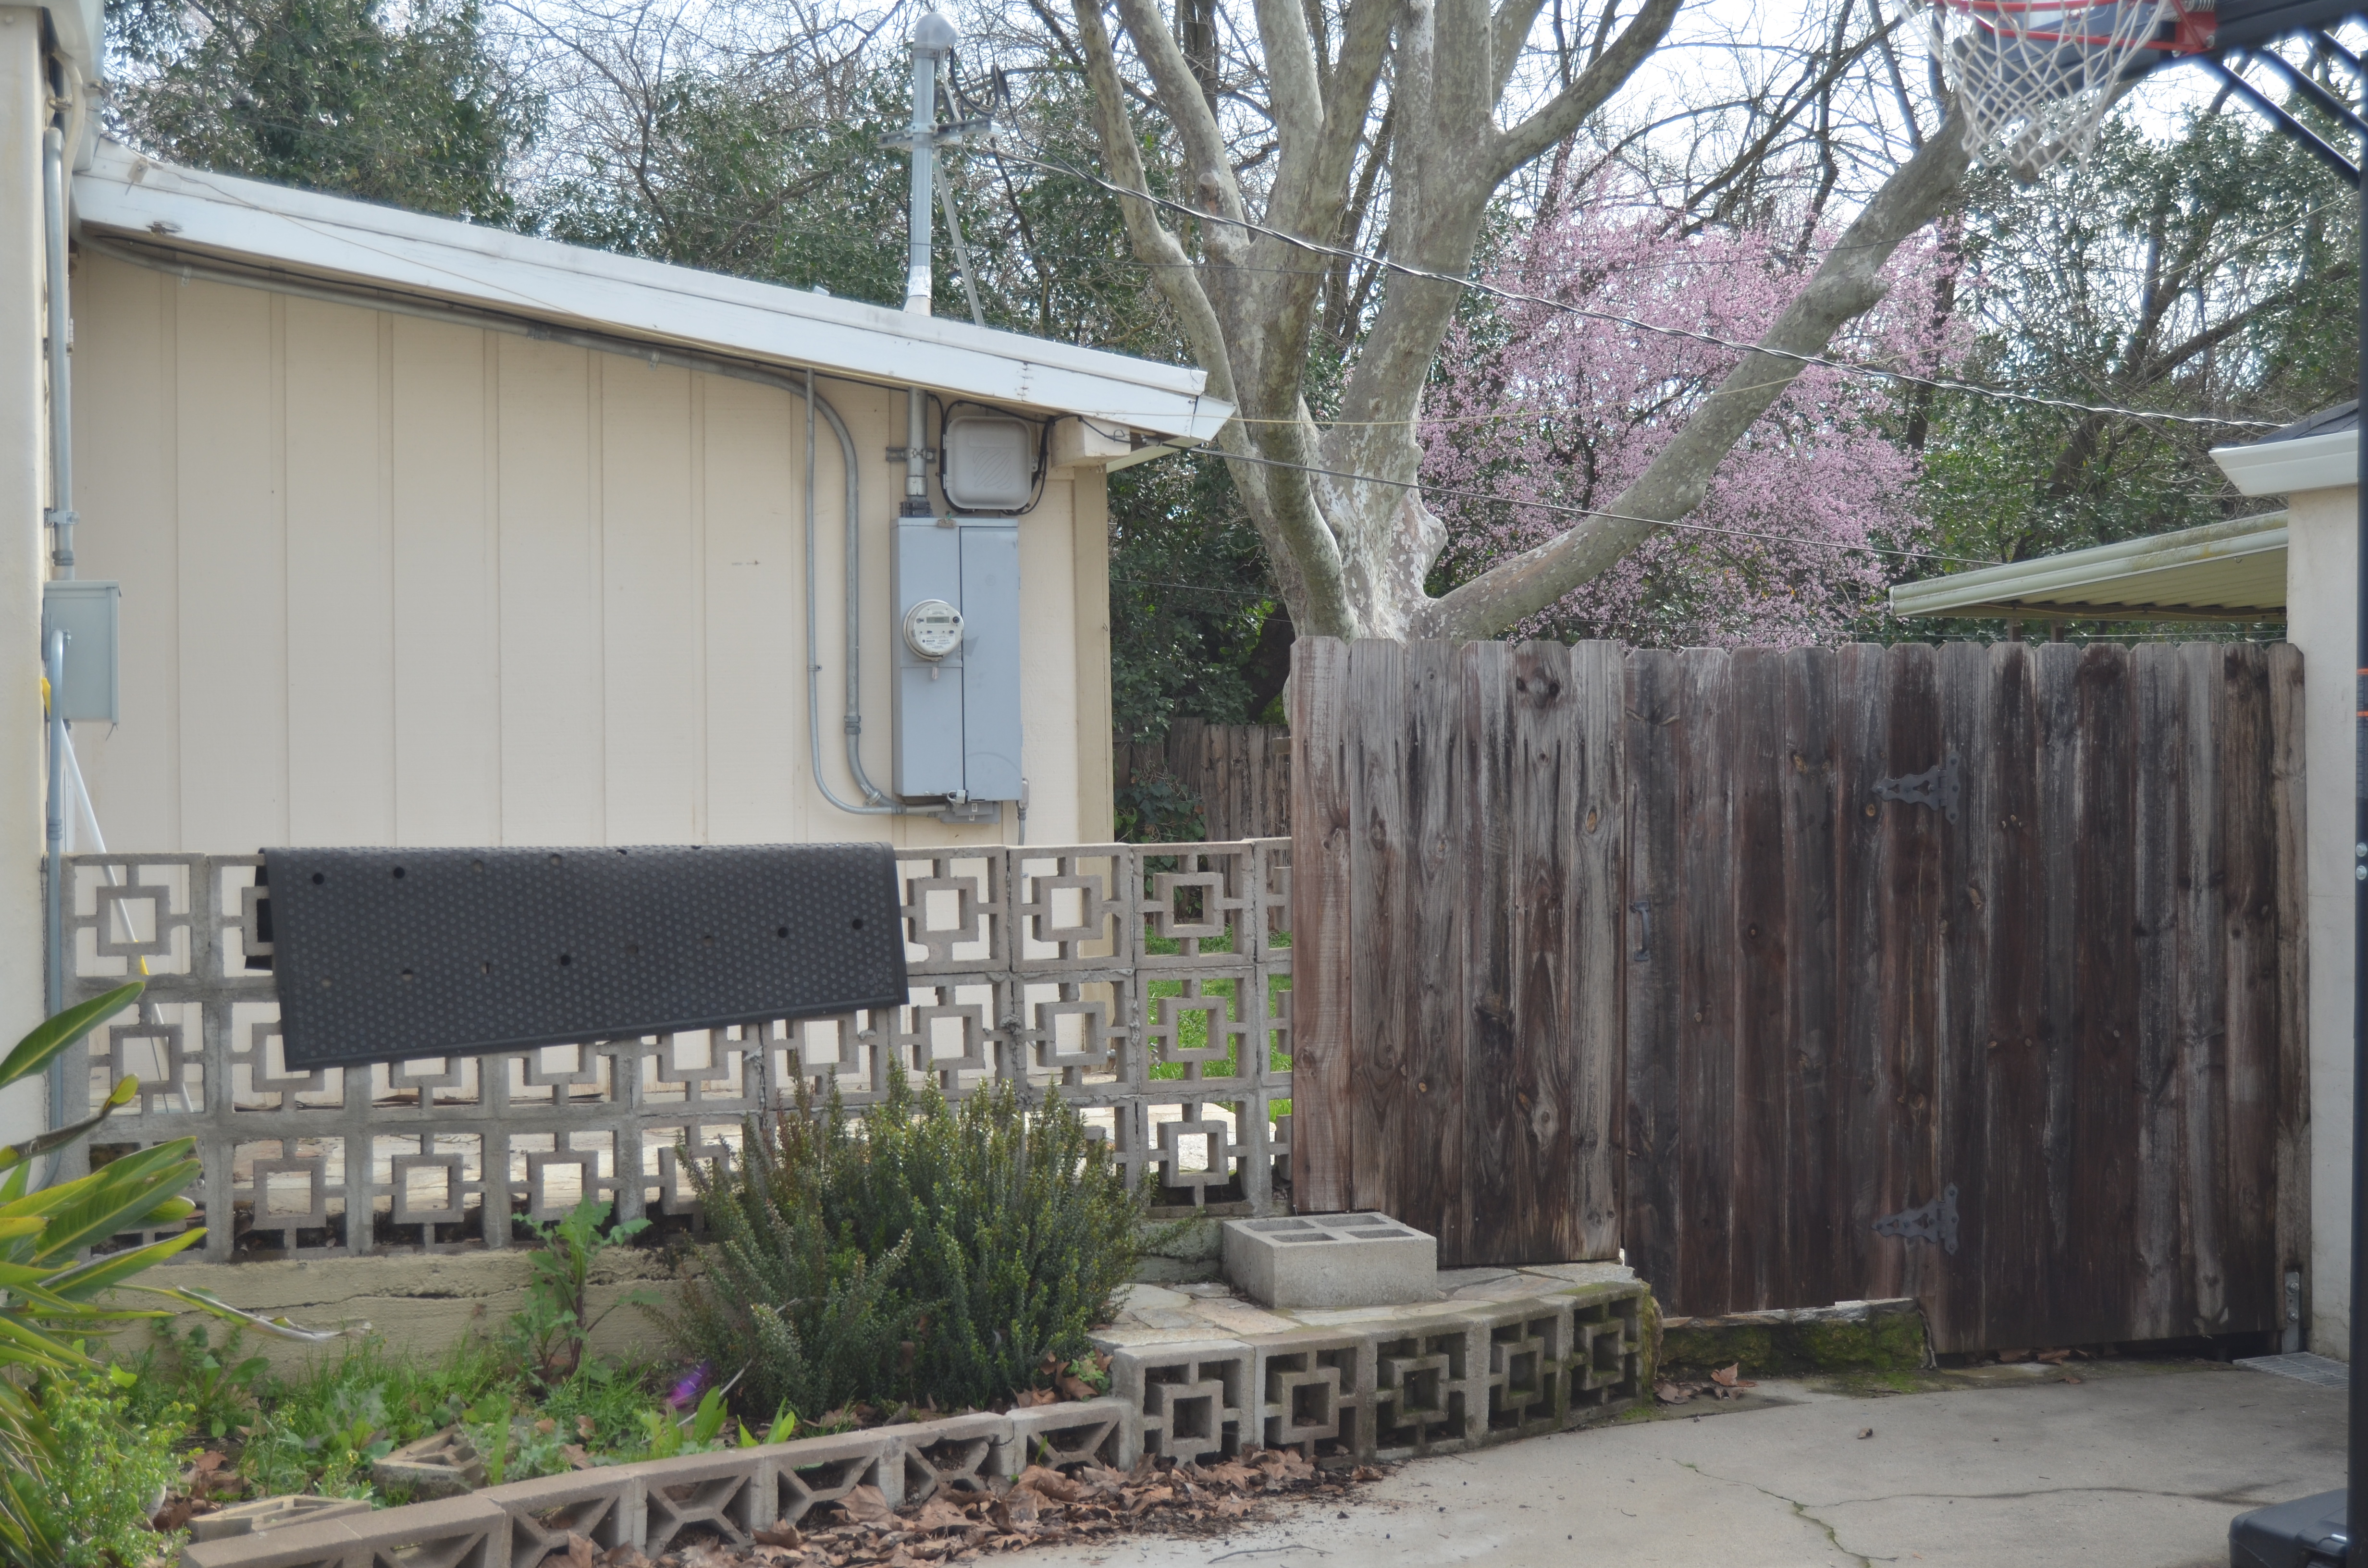
Again with the security and privacy issues. The breeze blocks just werent cuttin it! And I also wanted to beef up the entry a bit.
Here’s the after:
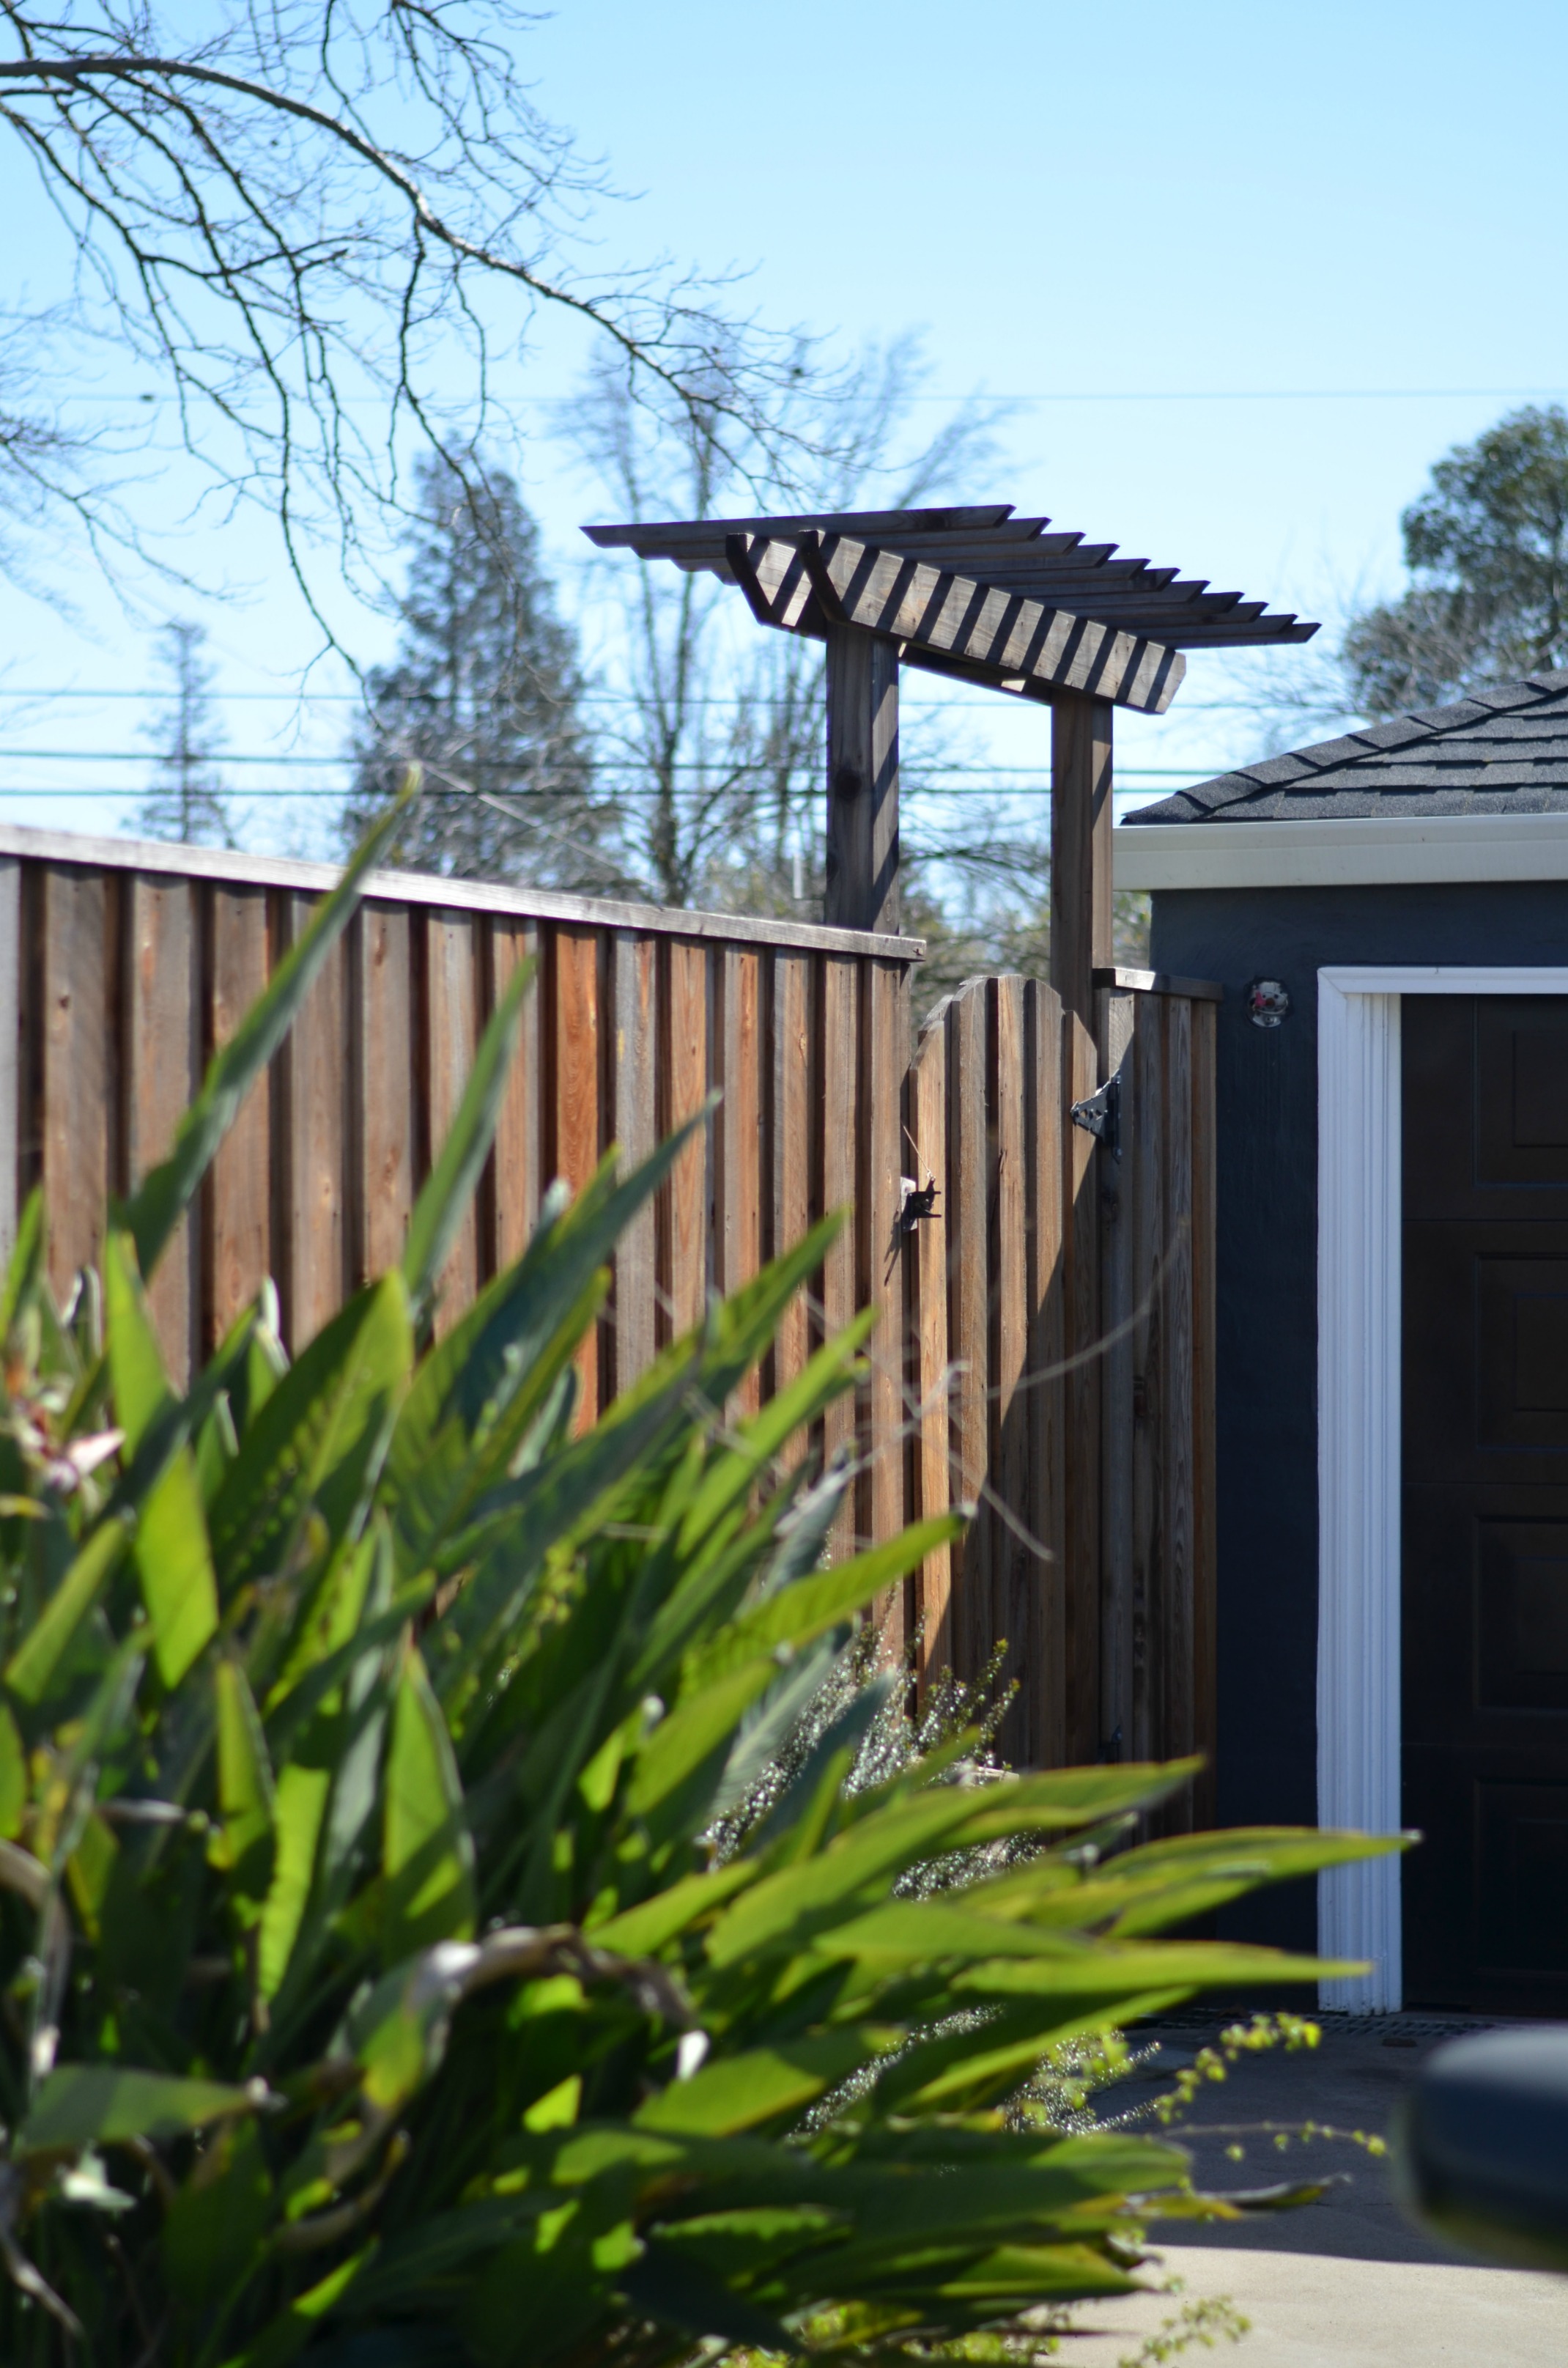
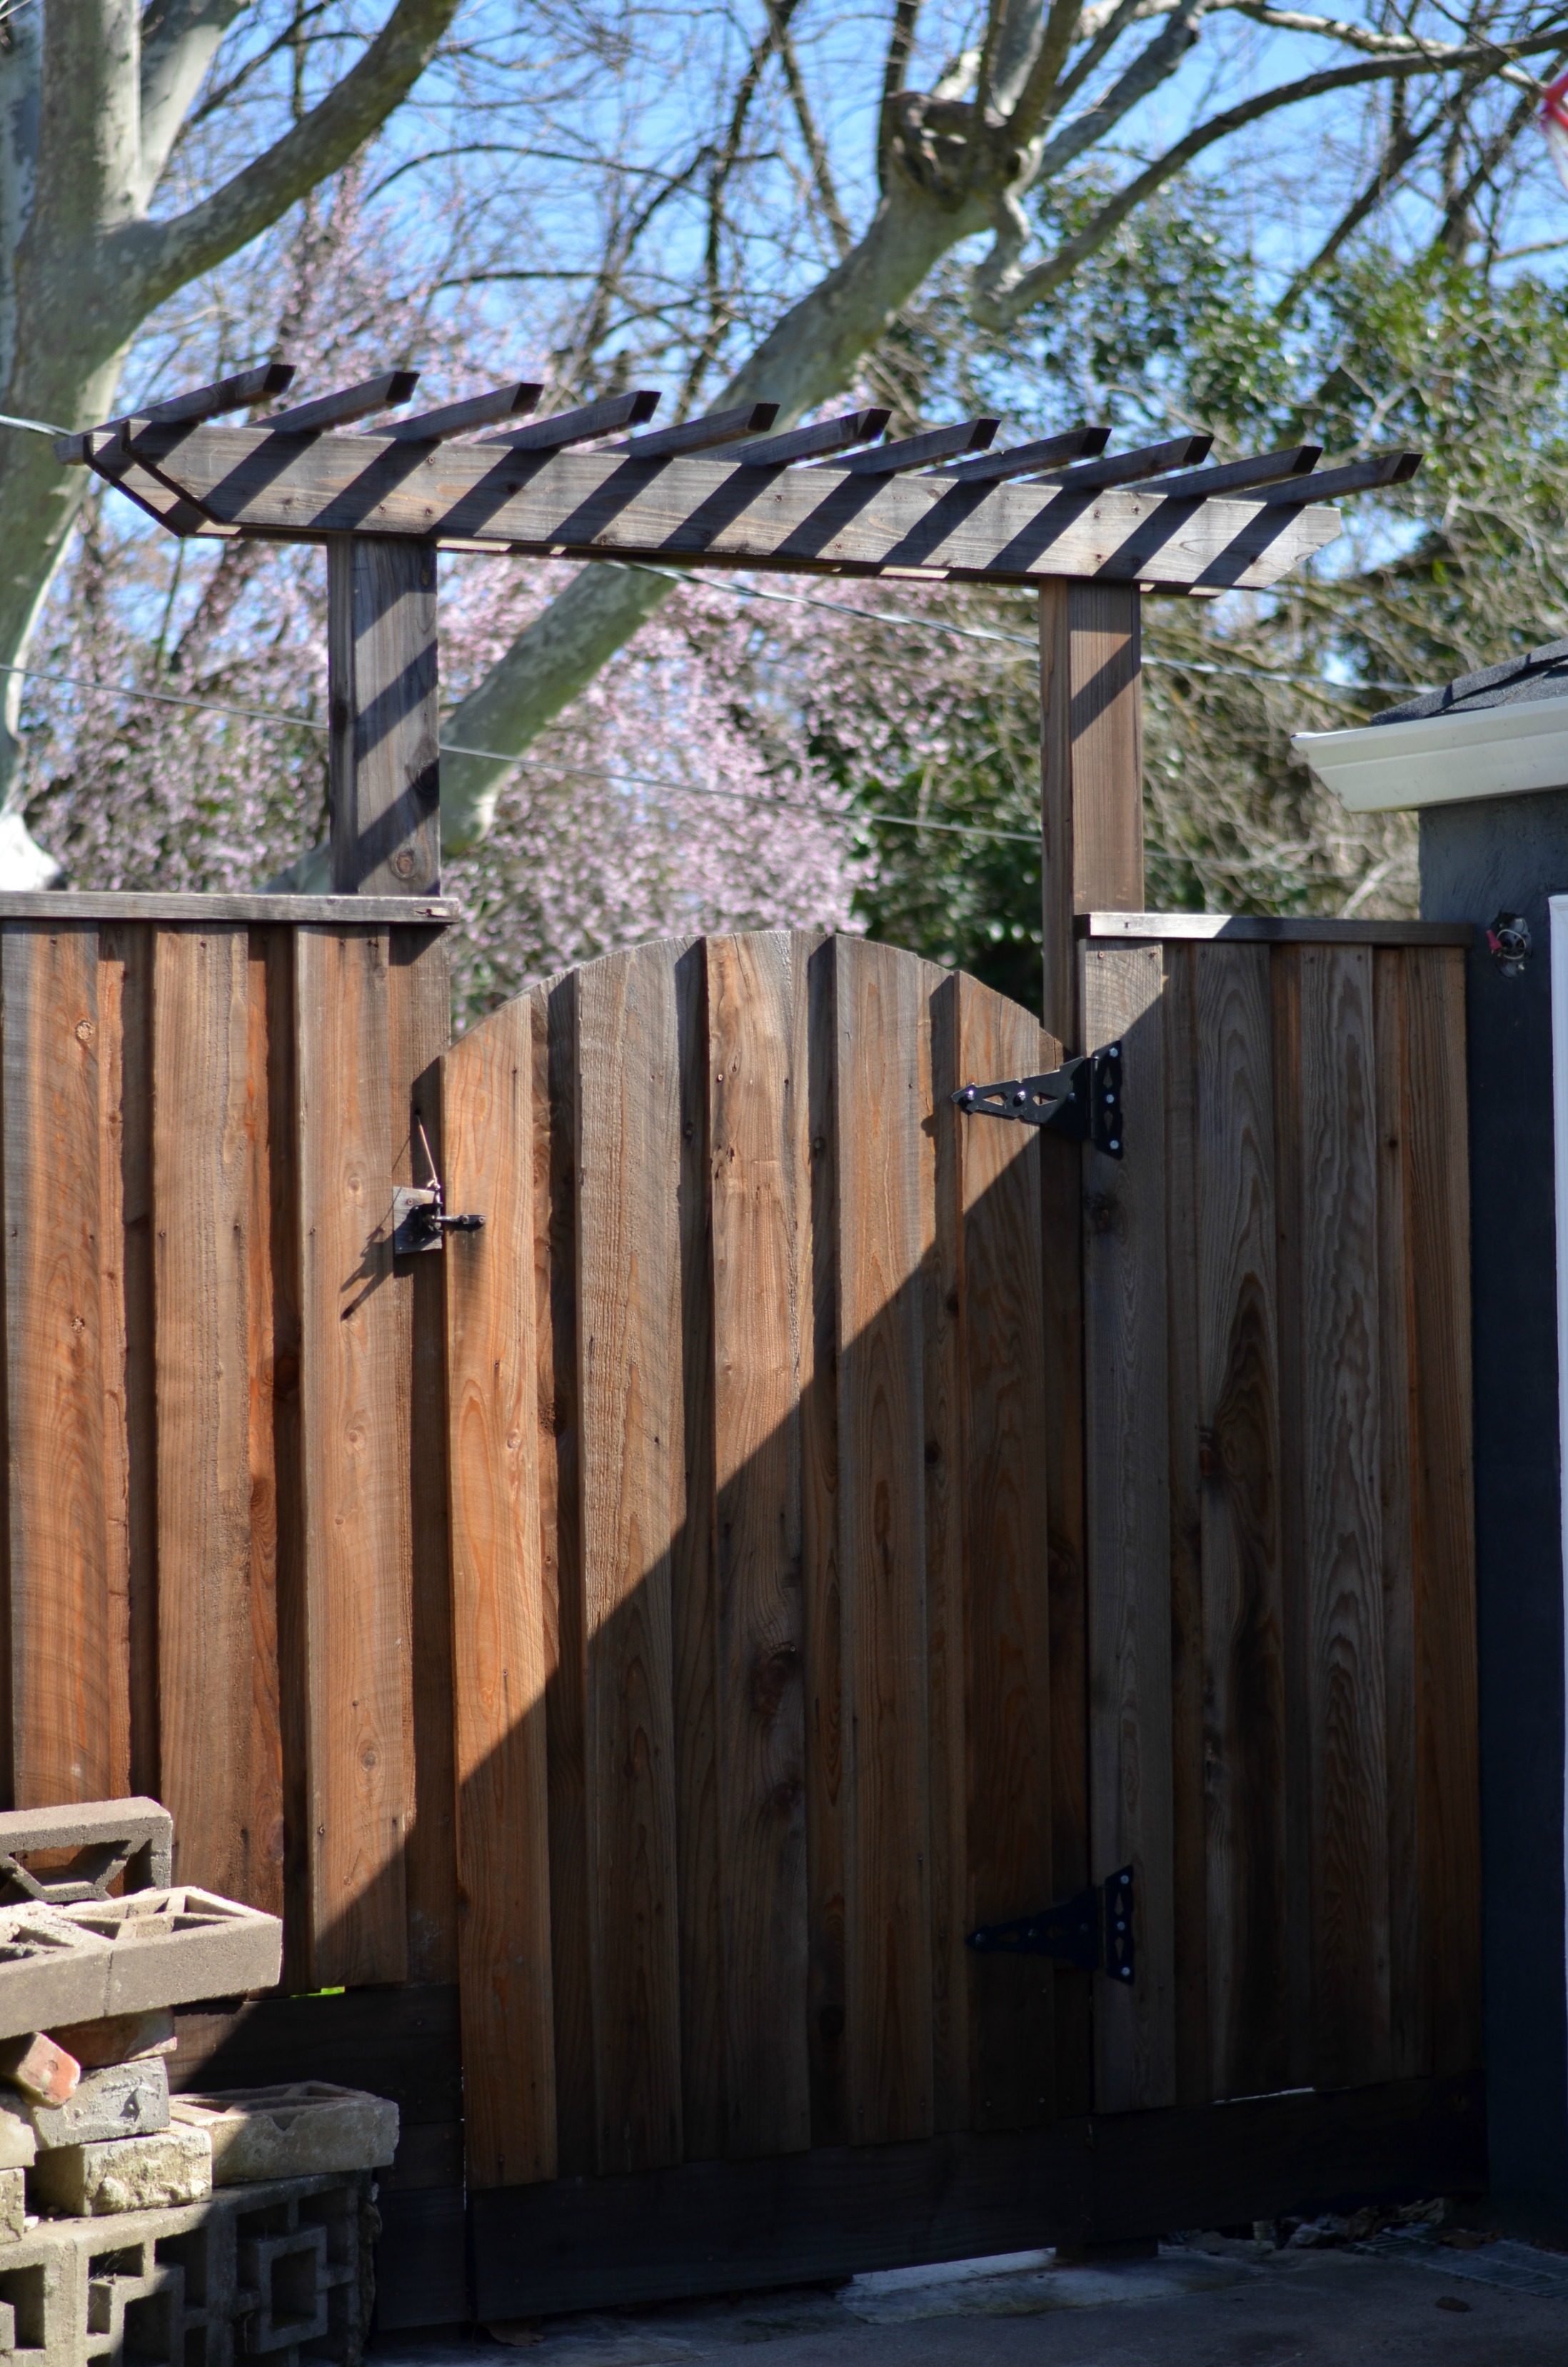
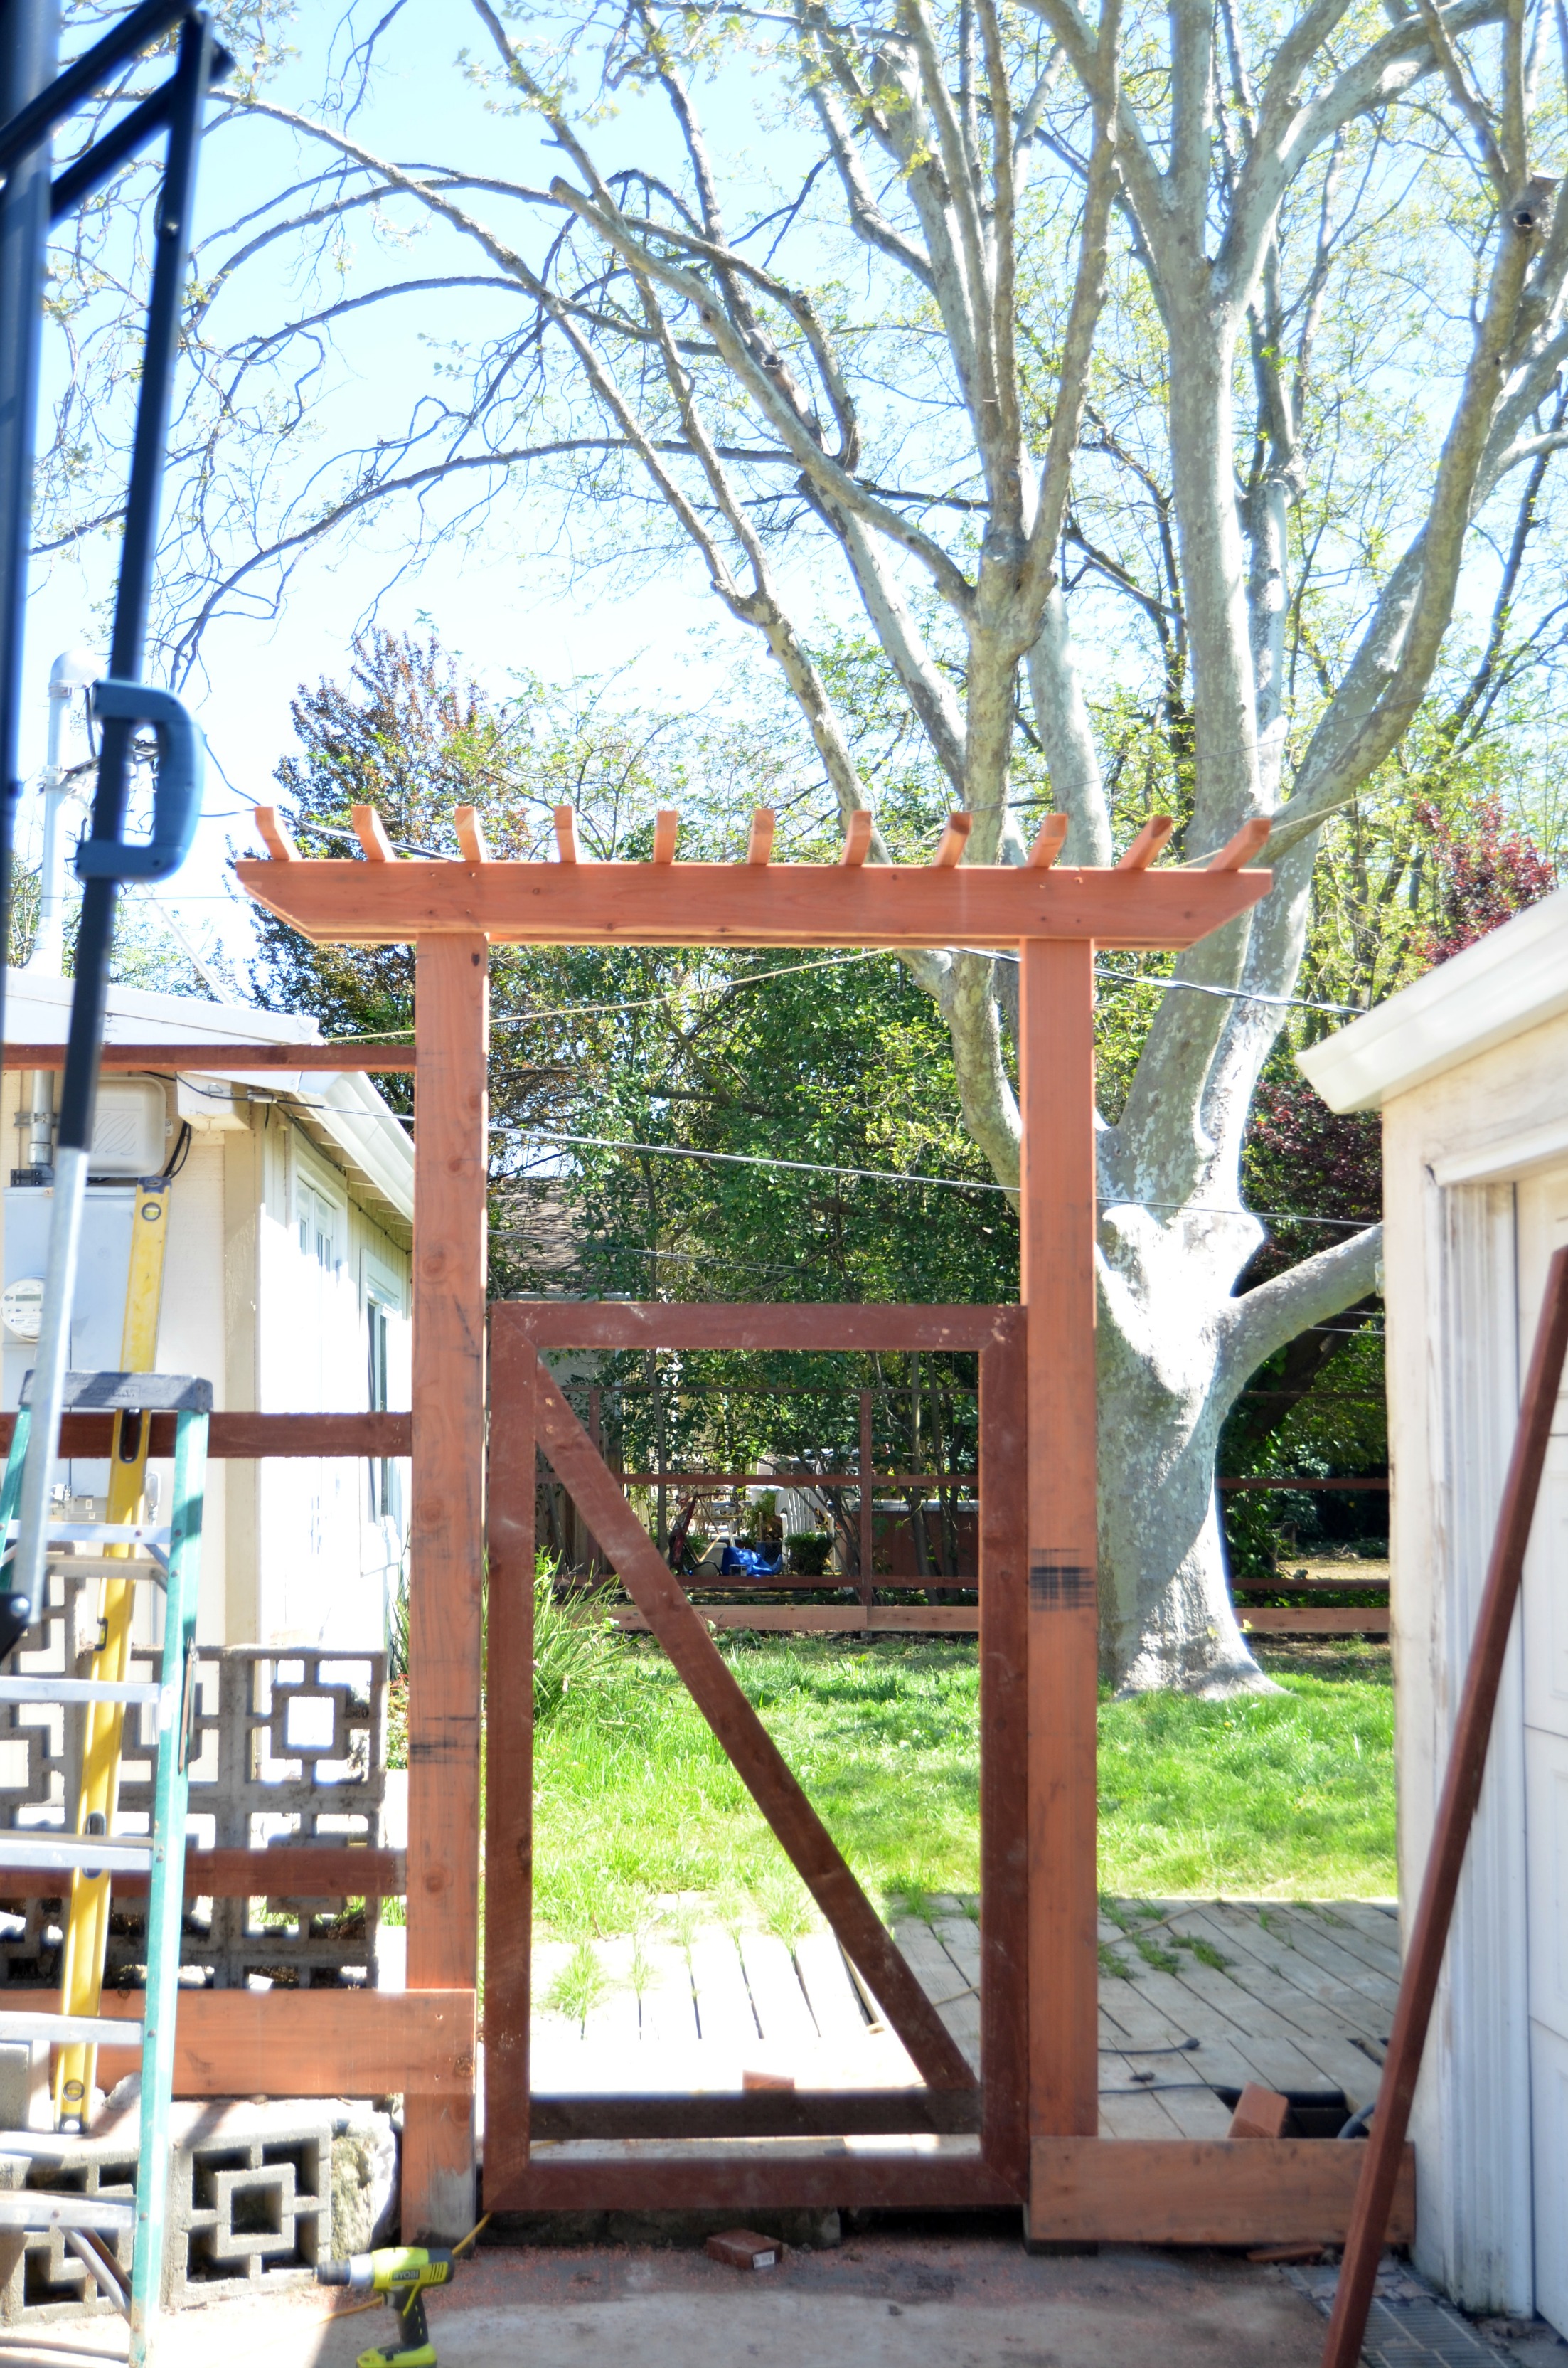
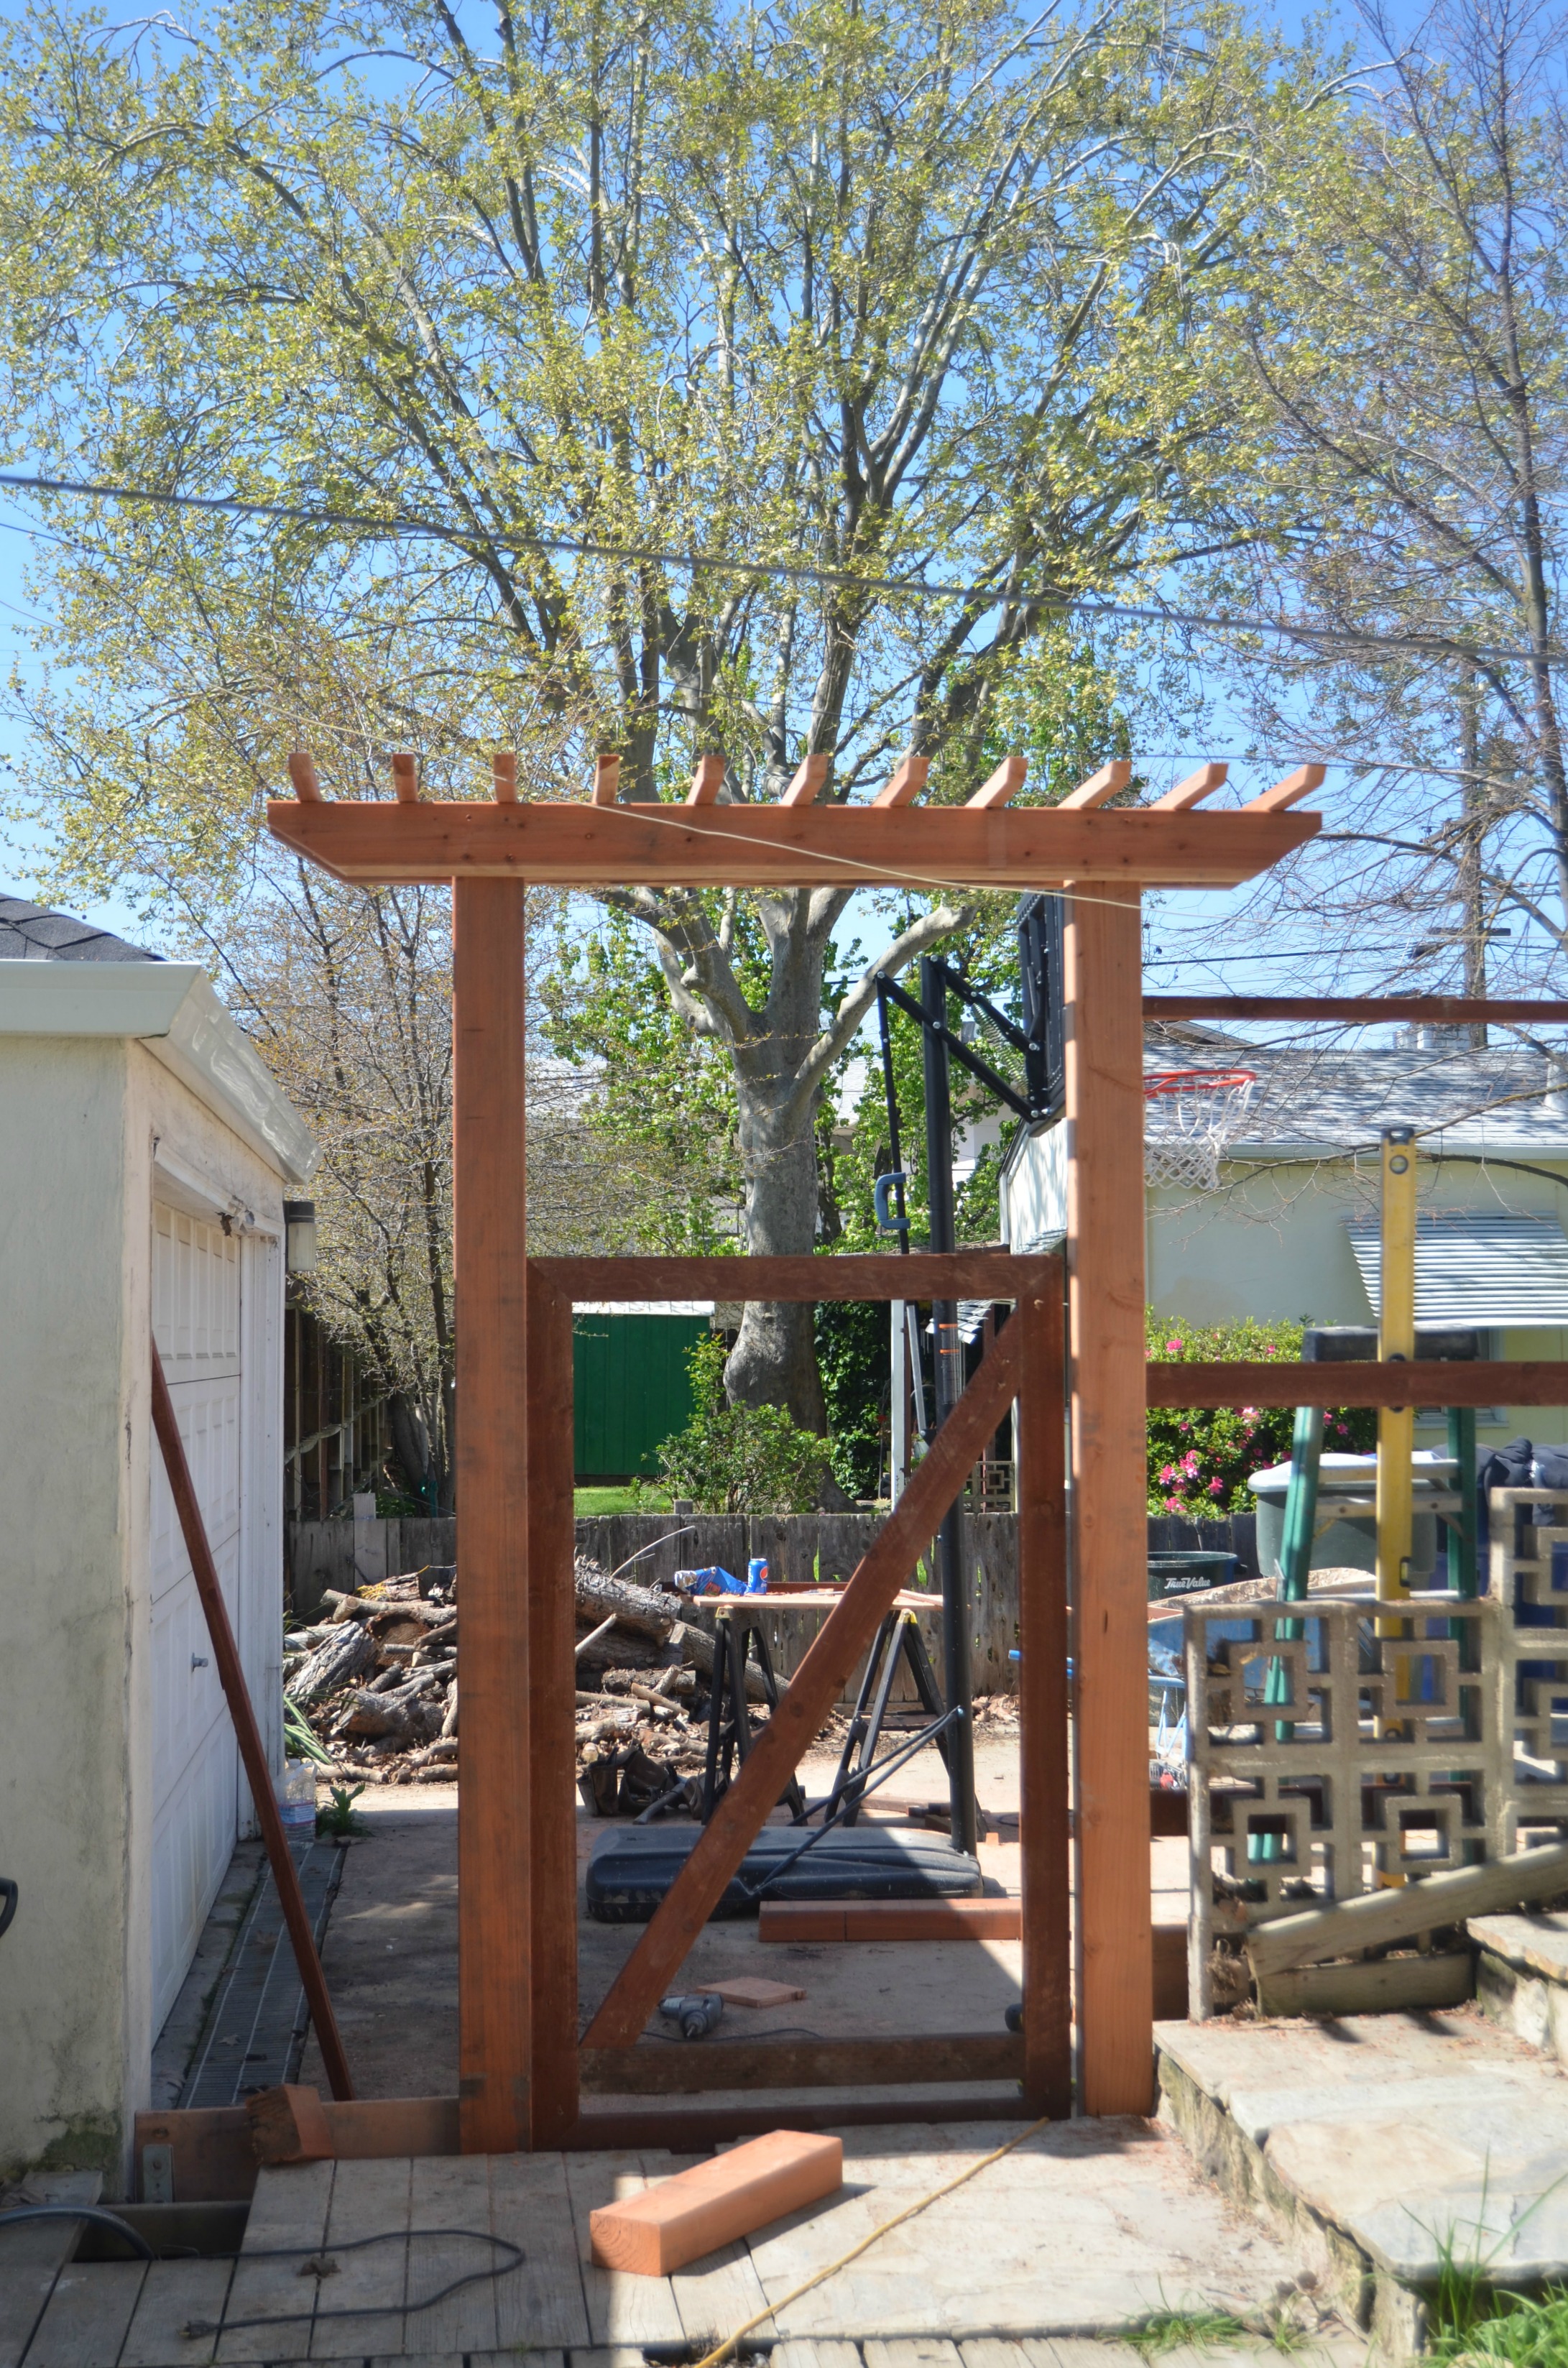
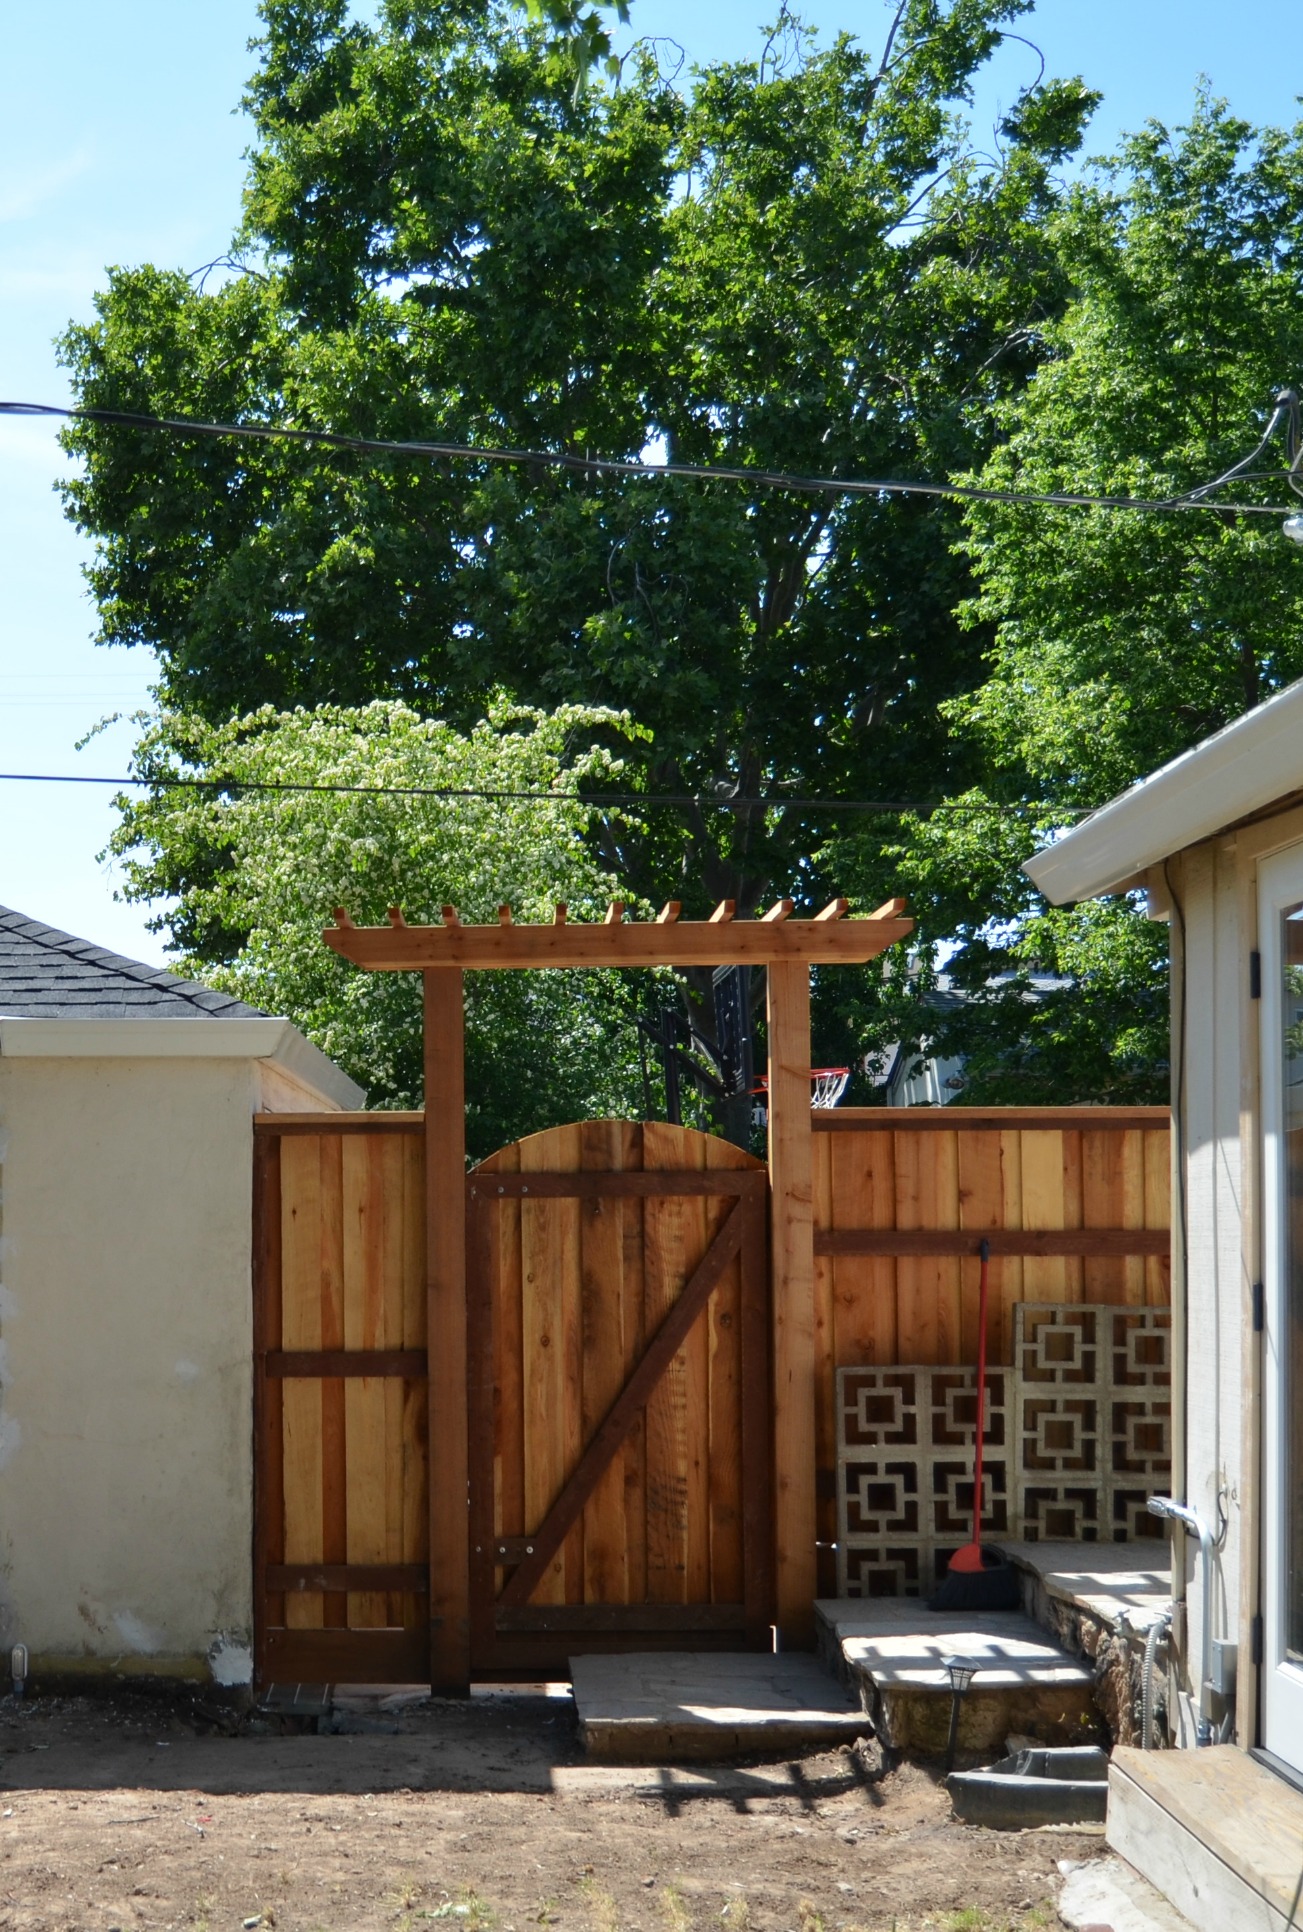
I really love the way the gate and arbor turned out. I plan to plant a flowering vine near it so it eventually grows up and around it.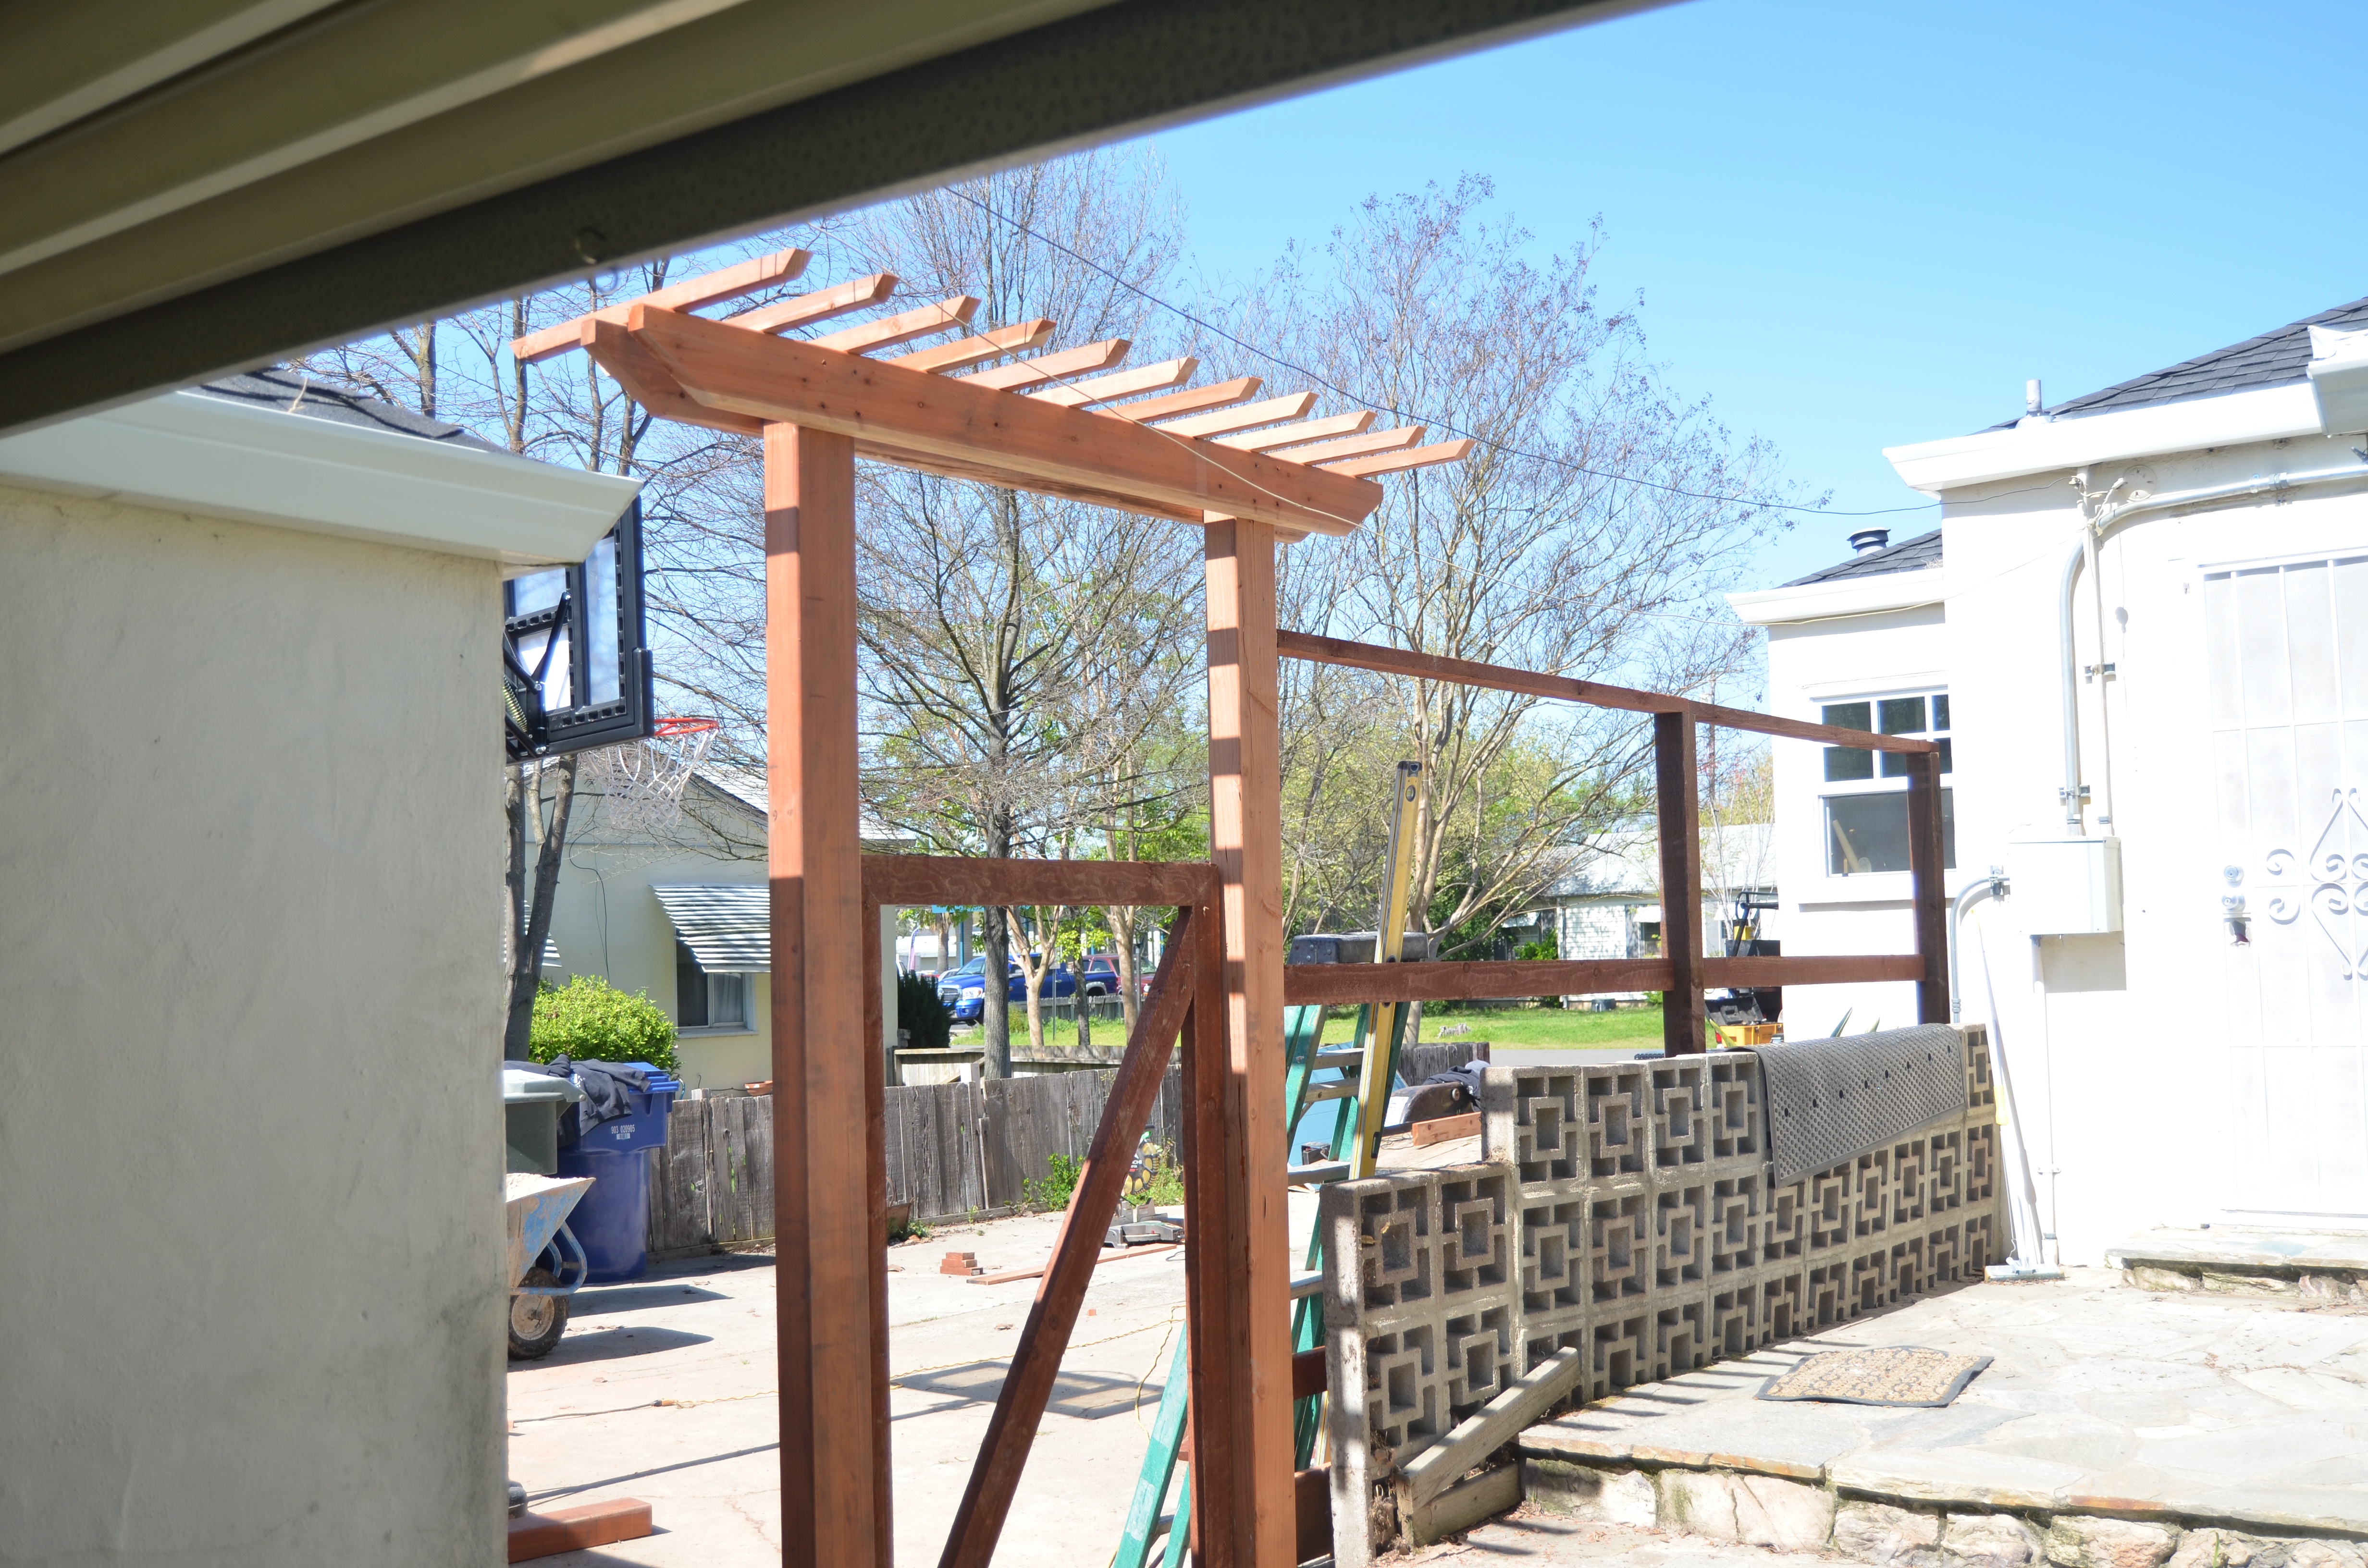
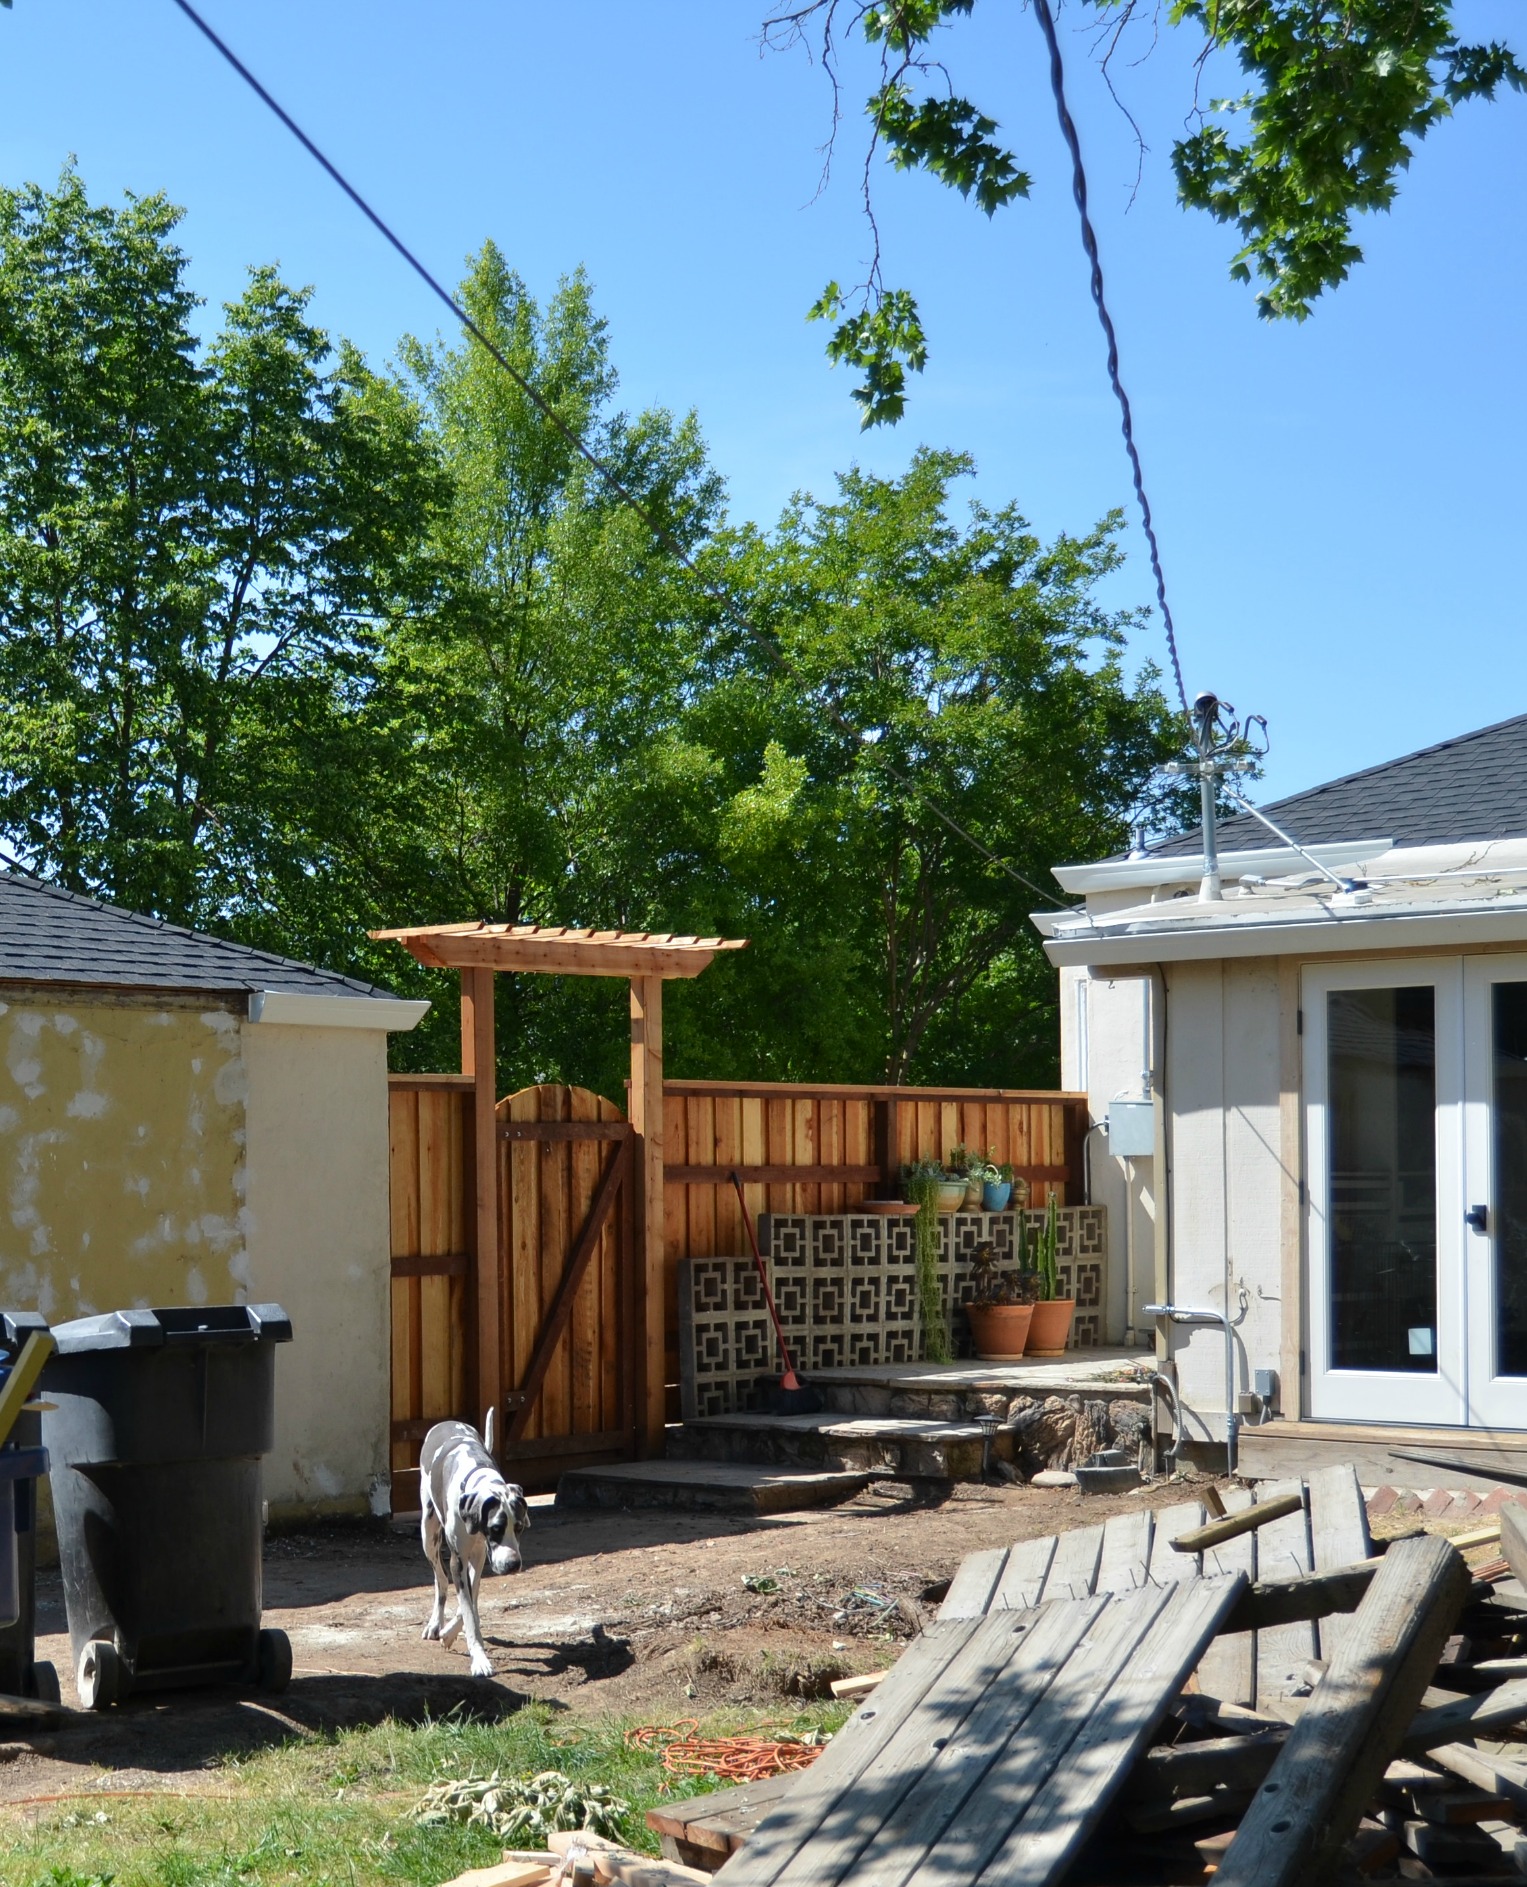
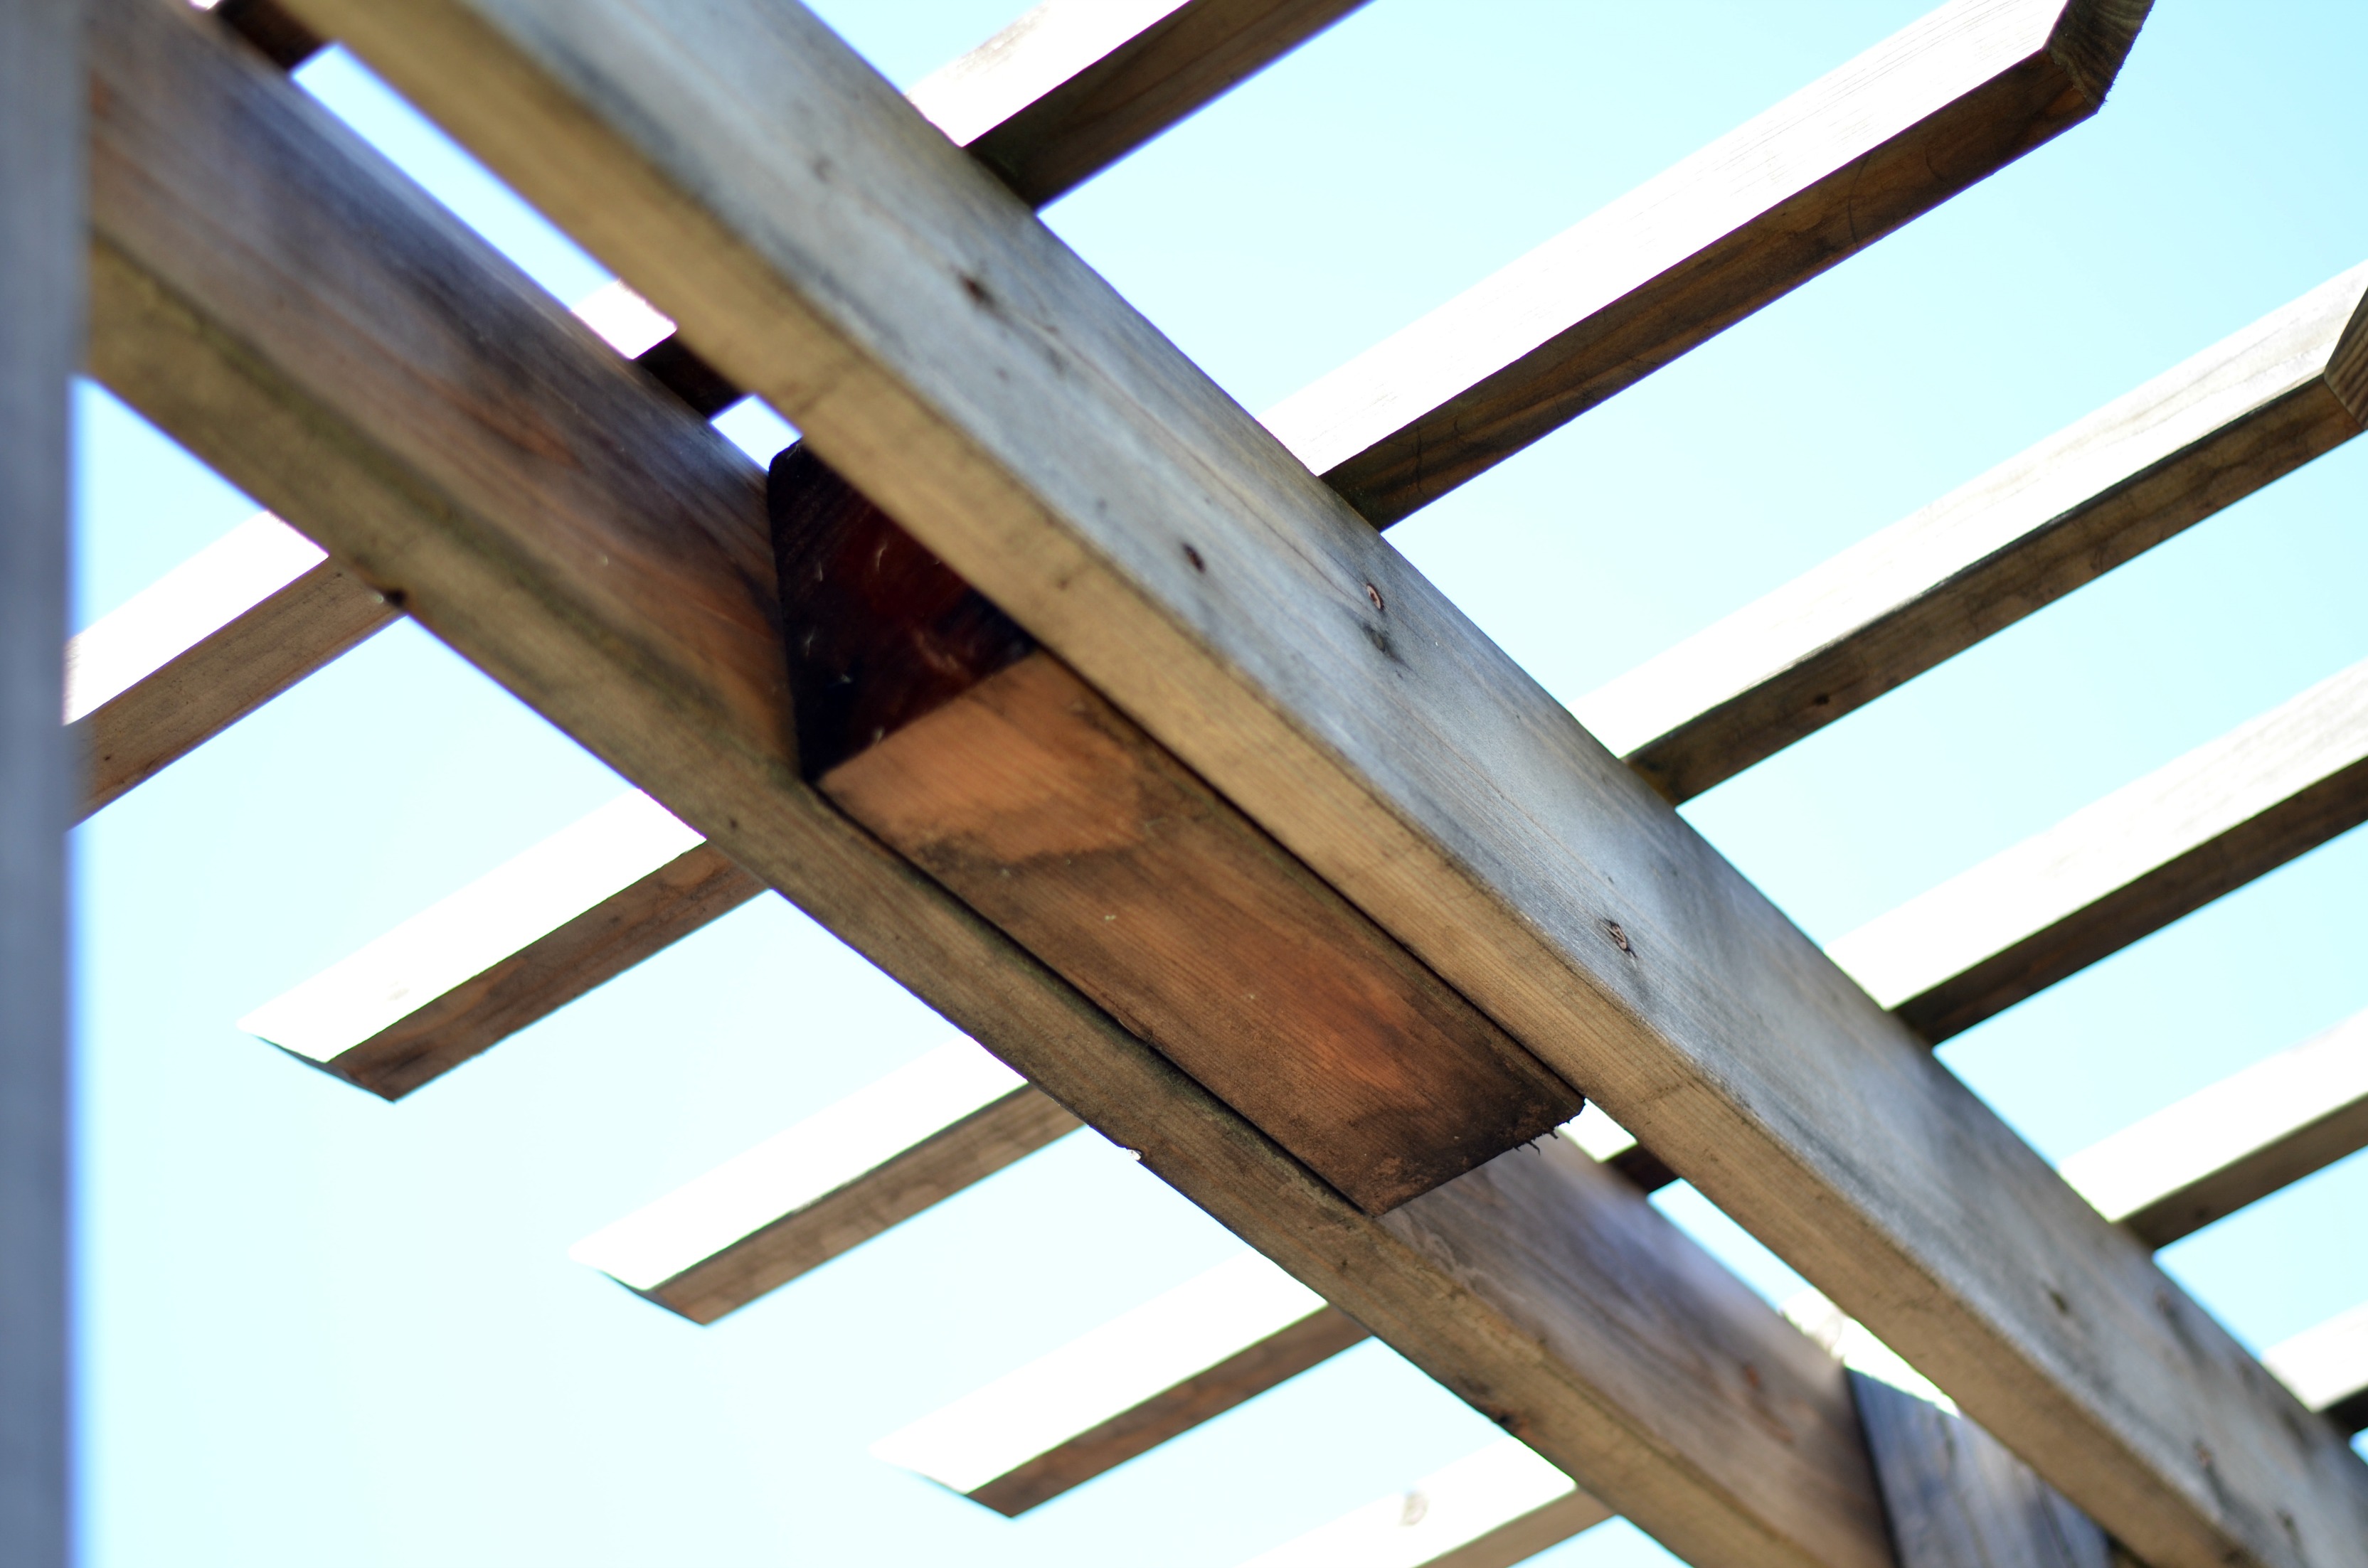
We even added a center block in the trellis portion of the arbor so I can attach wind chimes or a bell any other type of accessory to it.
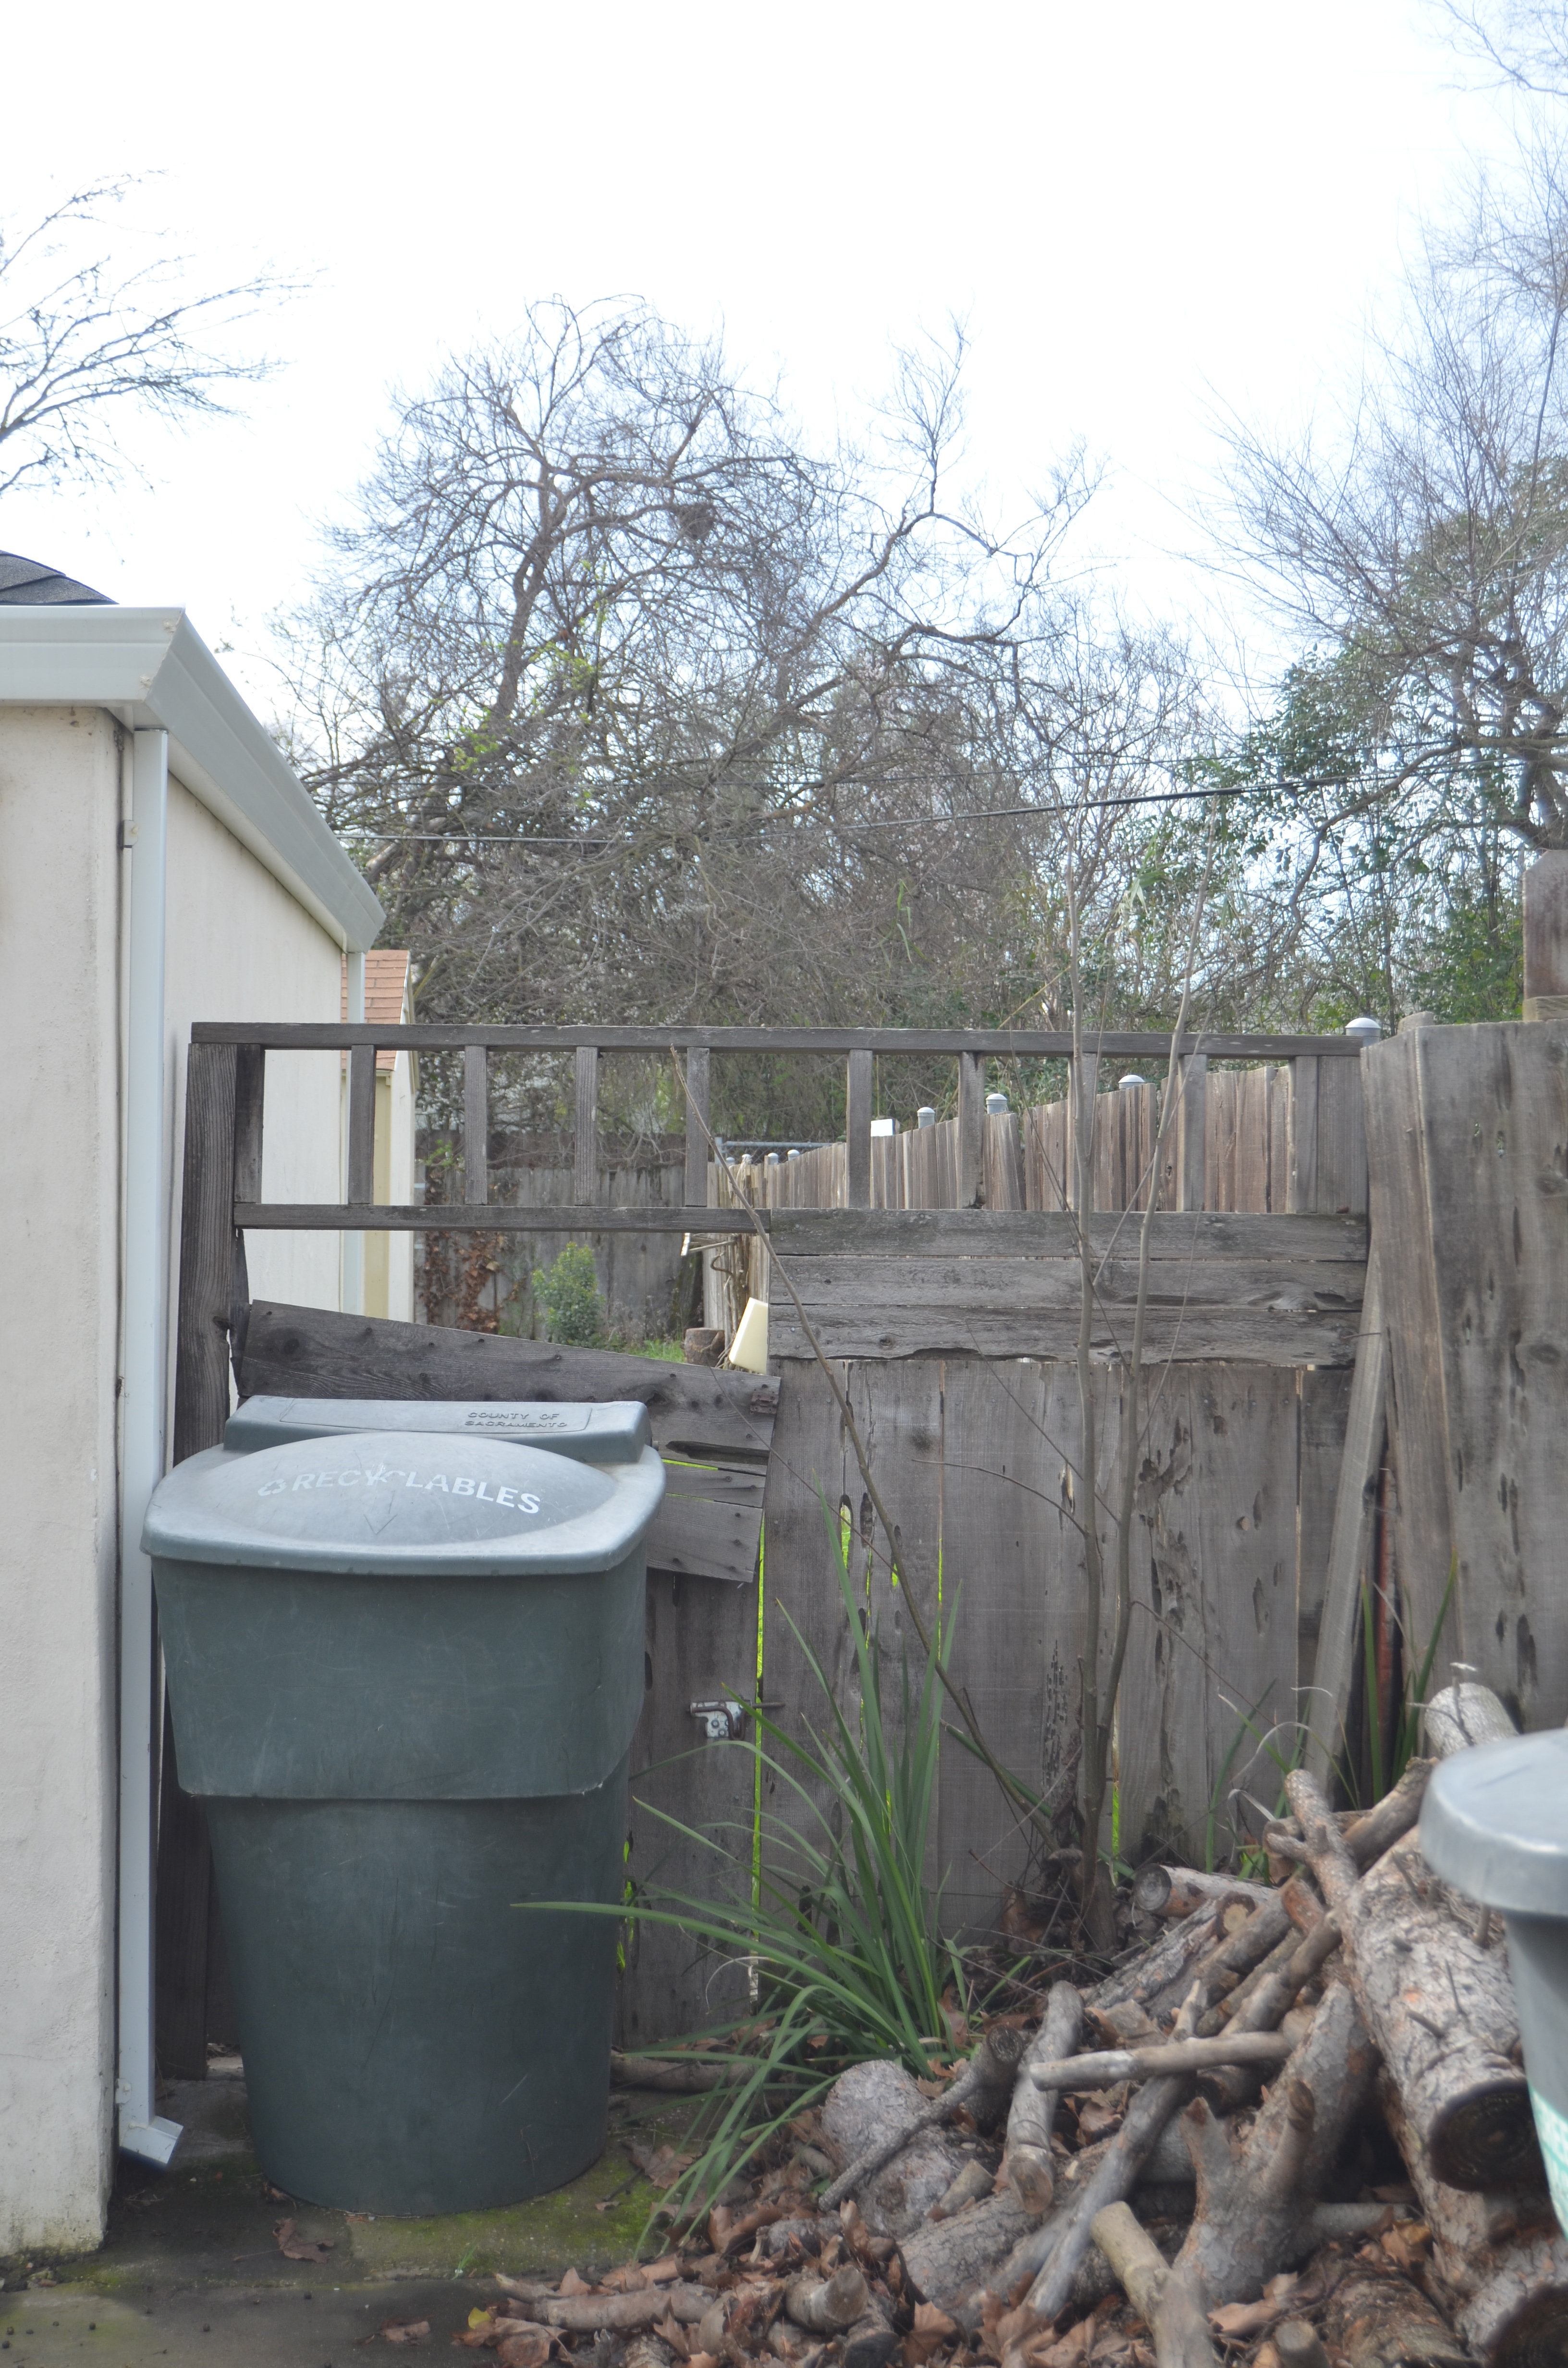
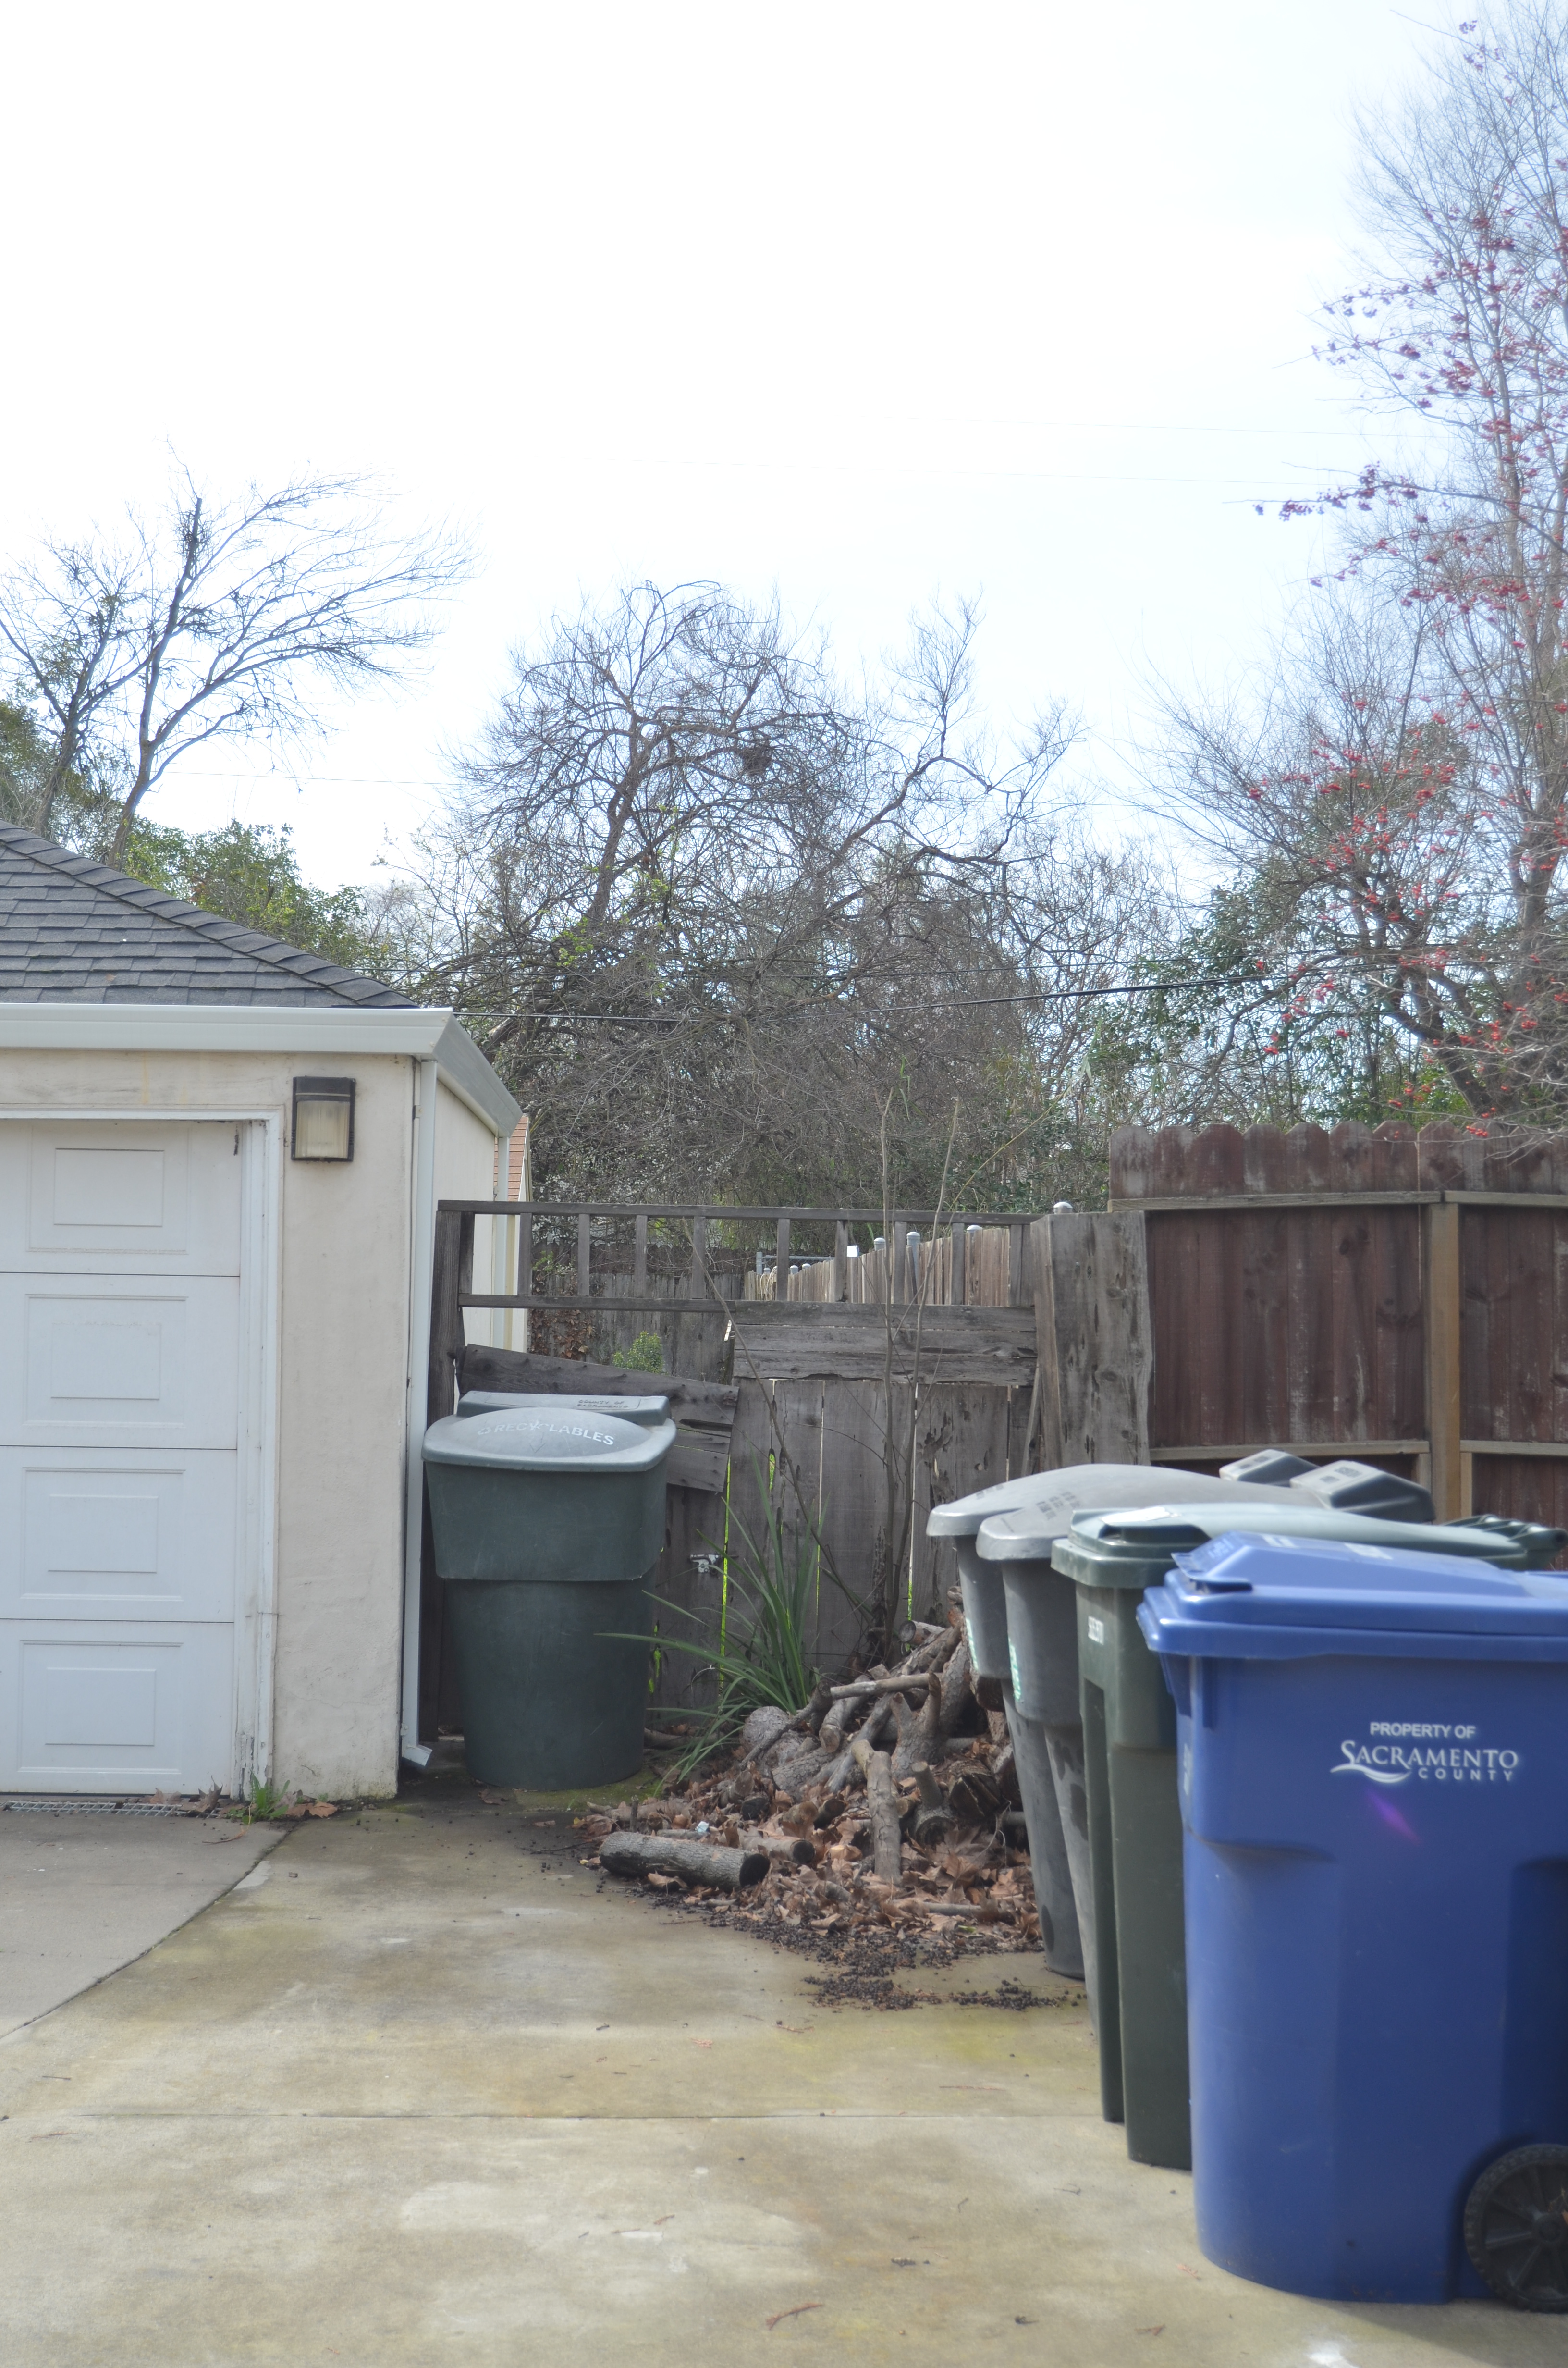
The other 2 entry gates were designed for dual purposes. They are in an area that previously was wasted space on the side of the garage. There was once an entry gate of sorts there but it was in really bad shape
Here’s the before:
And here is the after: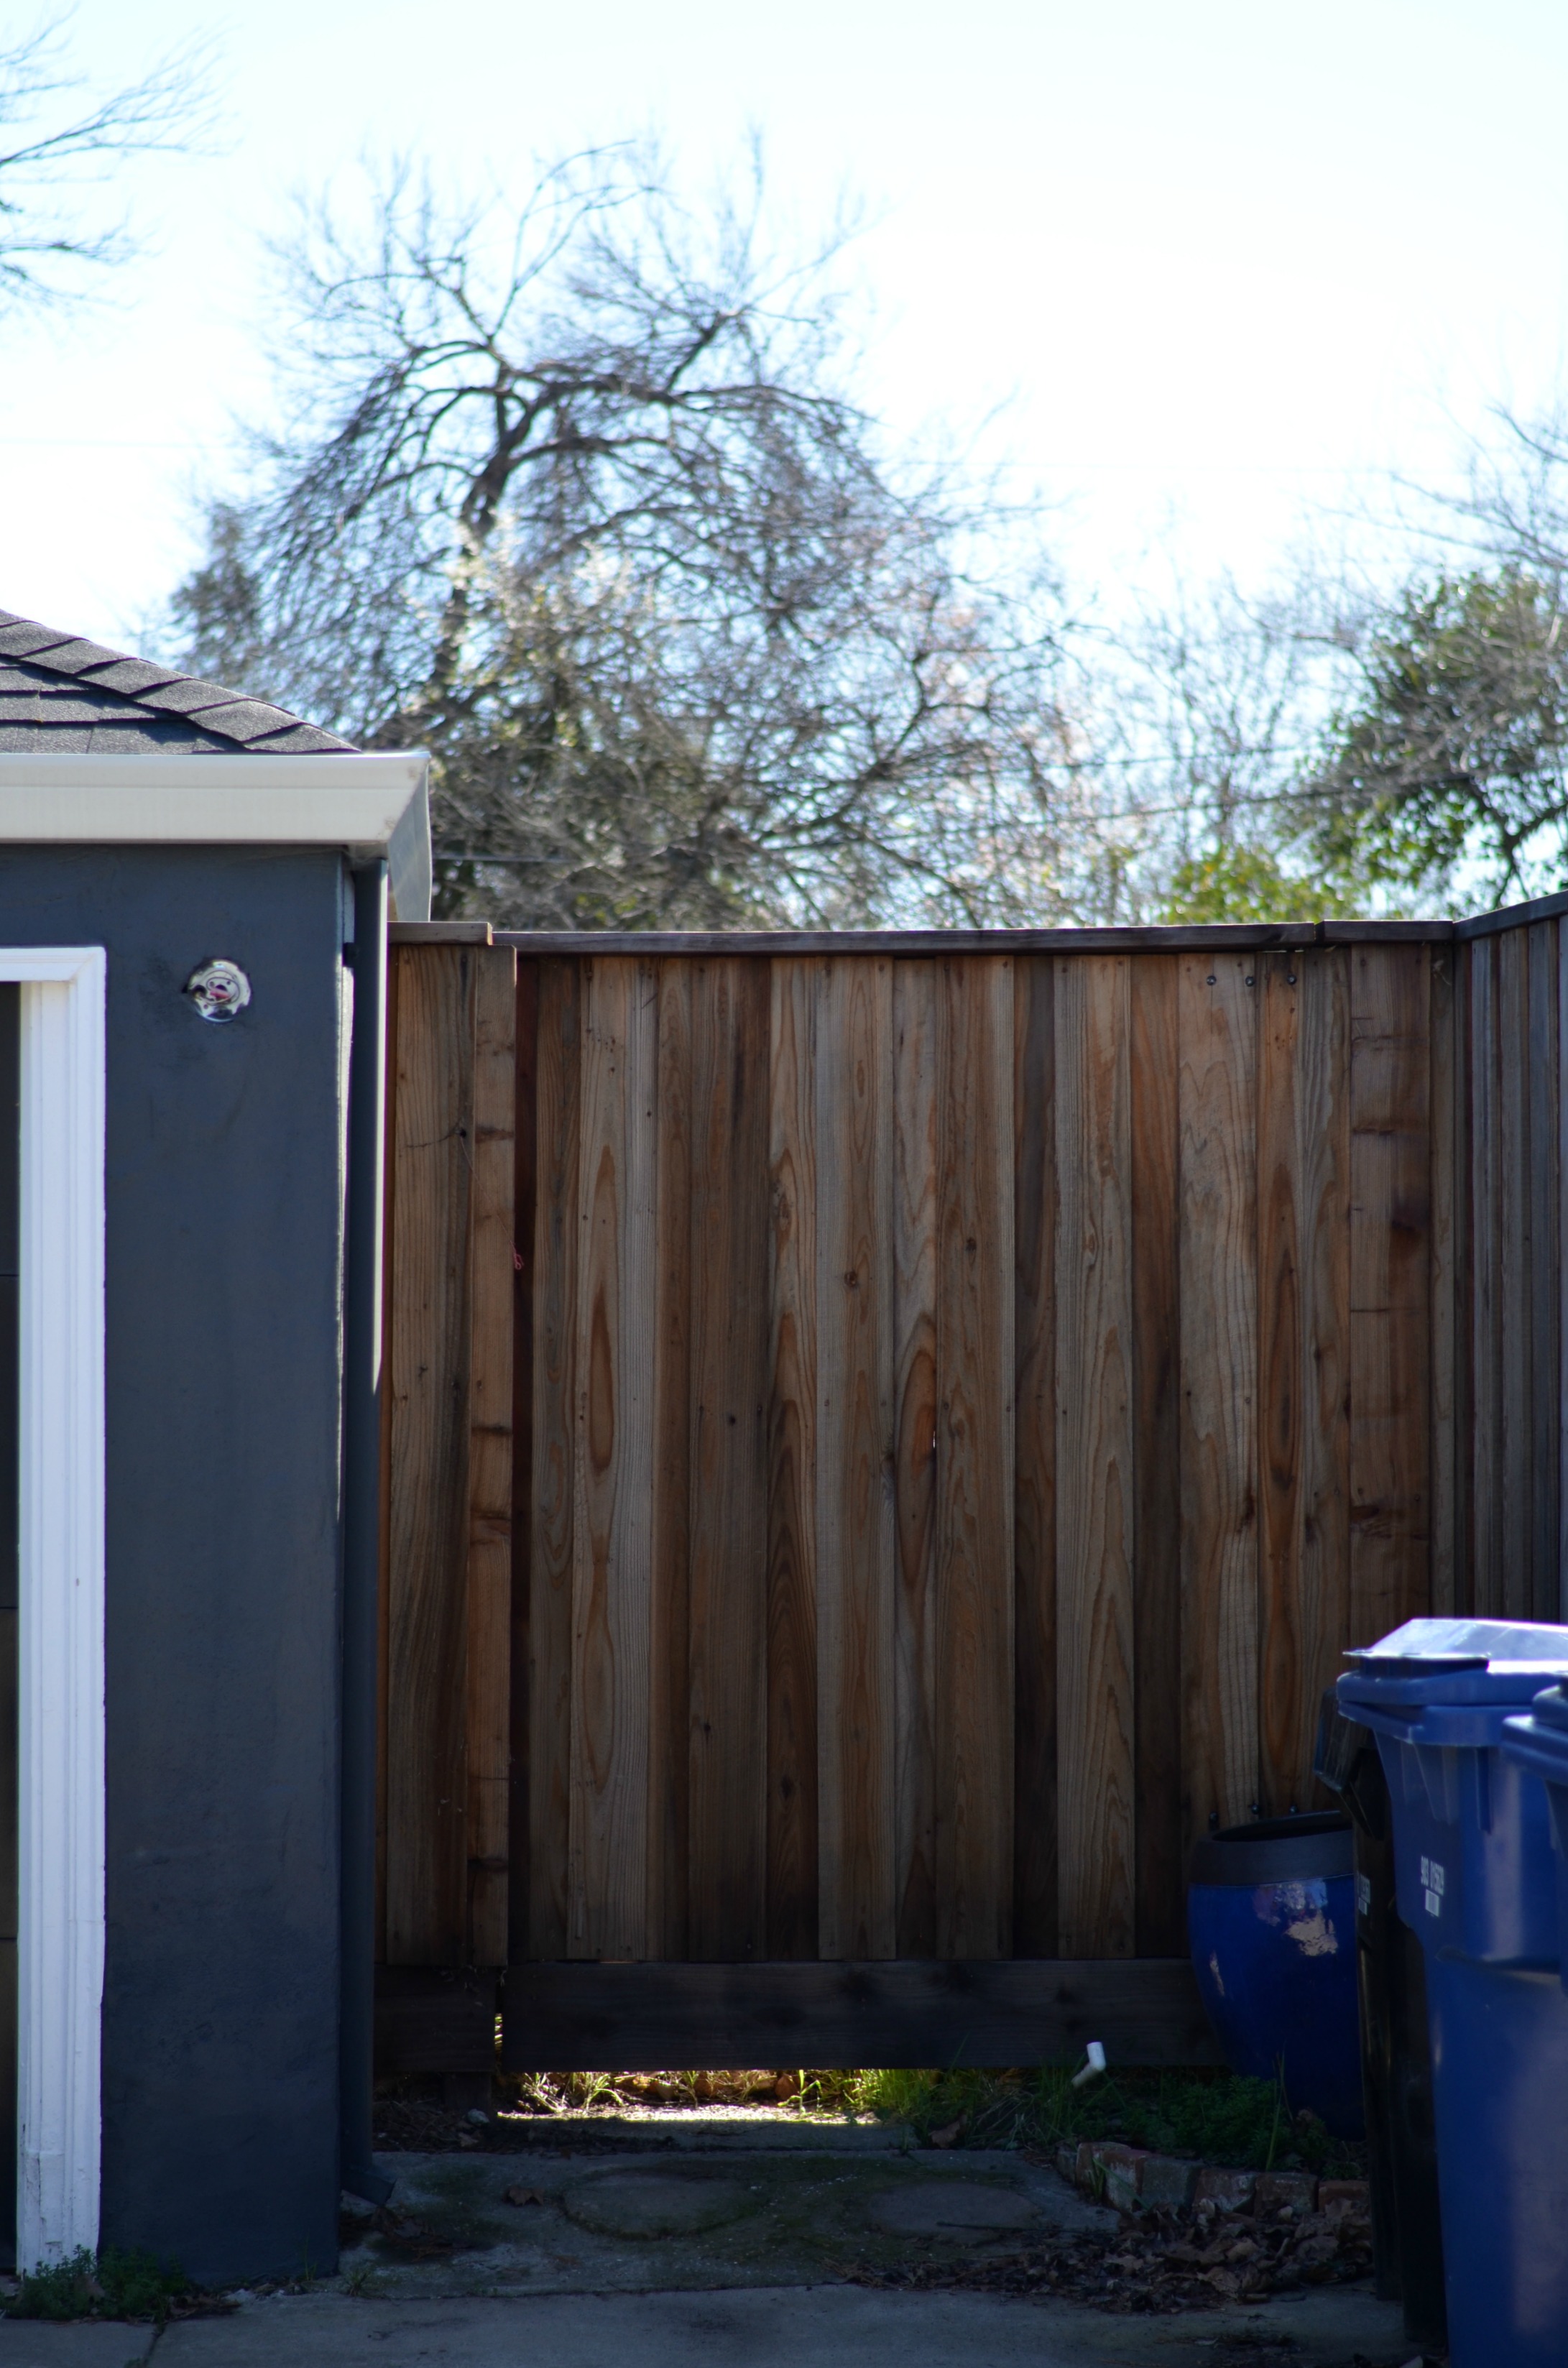
We decided to carve out the space on the side between the garage and side fence (its the depth of the garage) as an area dedicated for waste and recycle bin storage. We have several bins for yard waste, recycle, and trash and I hate having them all lined at the end of the driveway. Being able to tuck them behind the gate is perfect.
We took it a step further and created another identical entry gate toward the backside of the garage within the backyard. We made both gates extra wide and we did this for two reasons:
1. So we can access the bins from inside the yard without having to go out the gate to the driveway. This is especially convenient in fall when there’s lots of yard work happening. We can easily roll the bins in and out of the yard without having to tackle the stairs of the main entry gate.
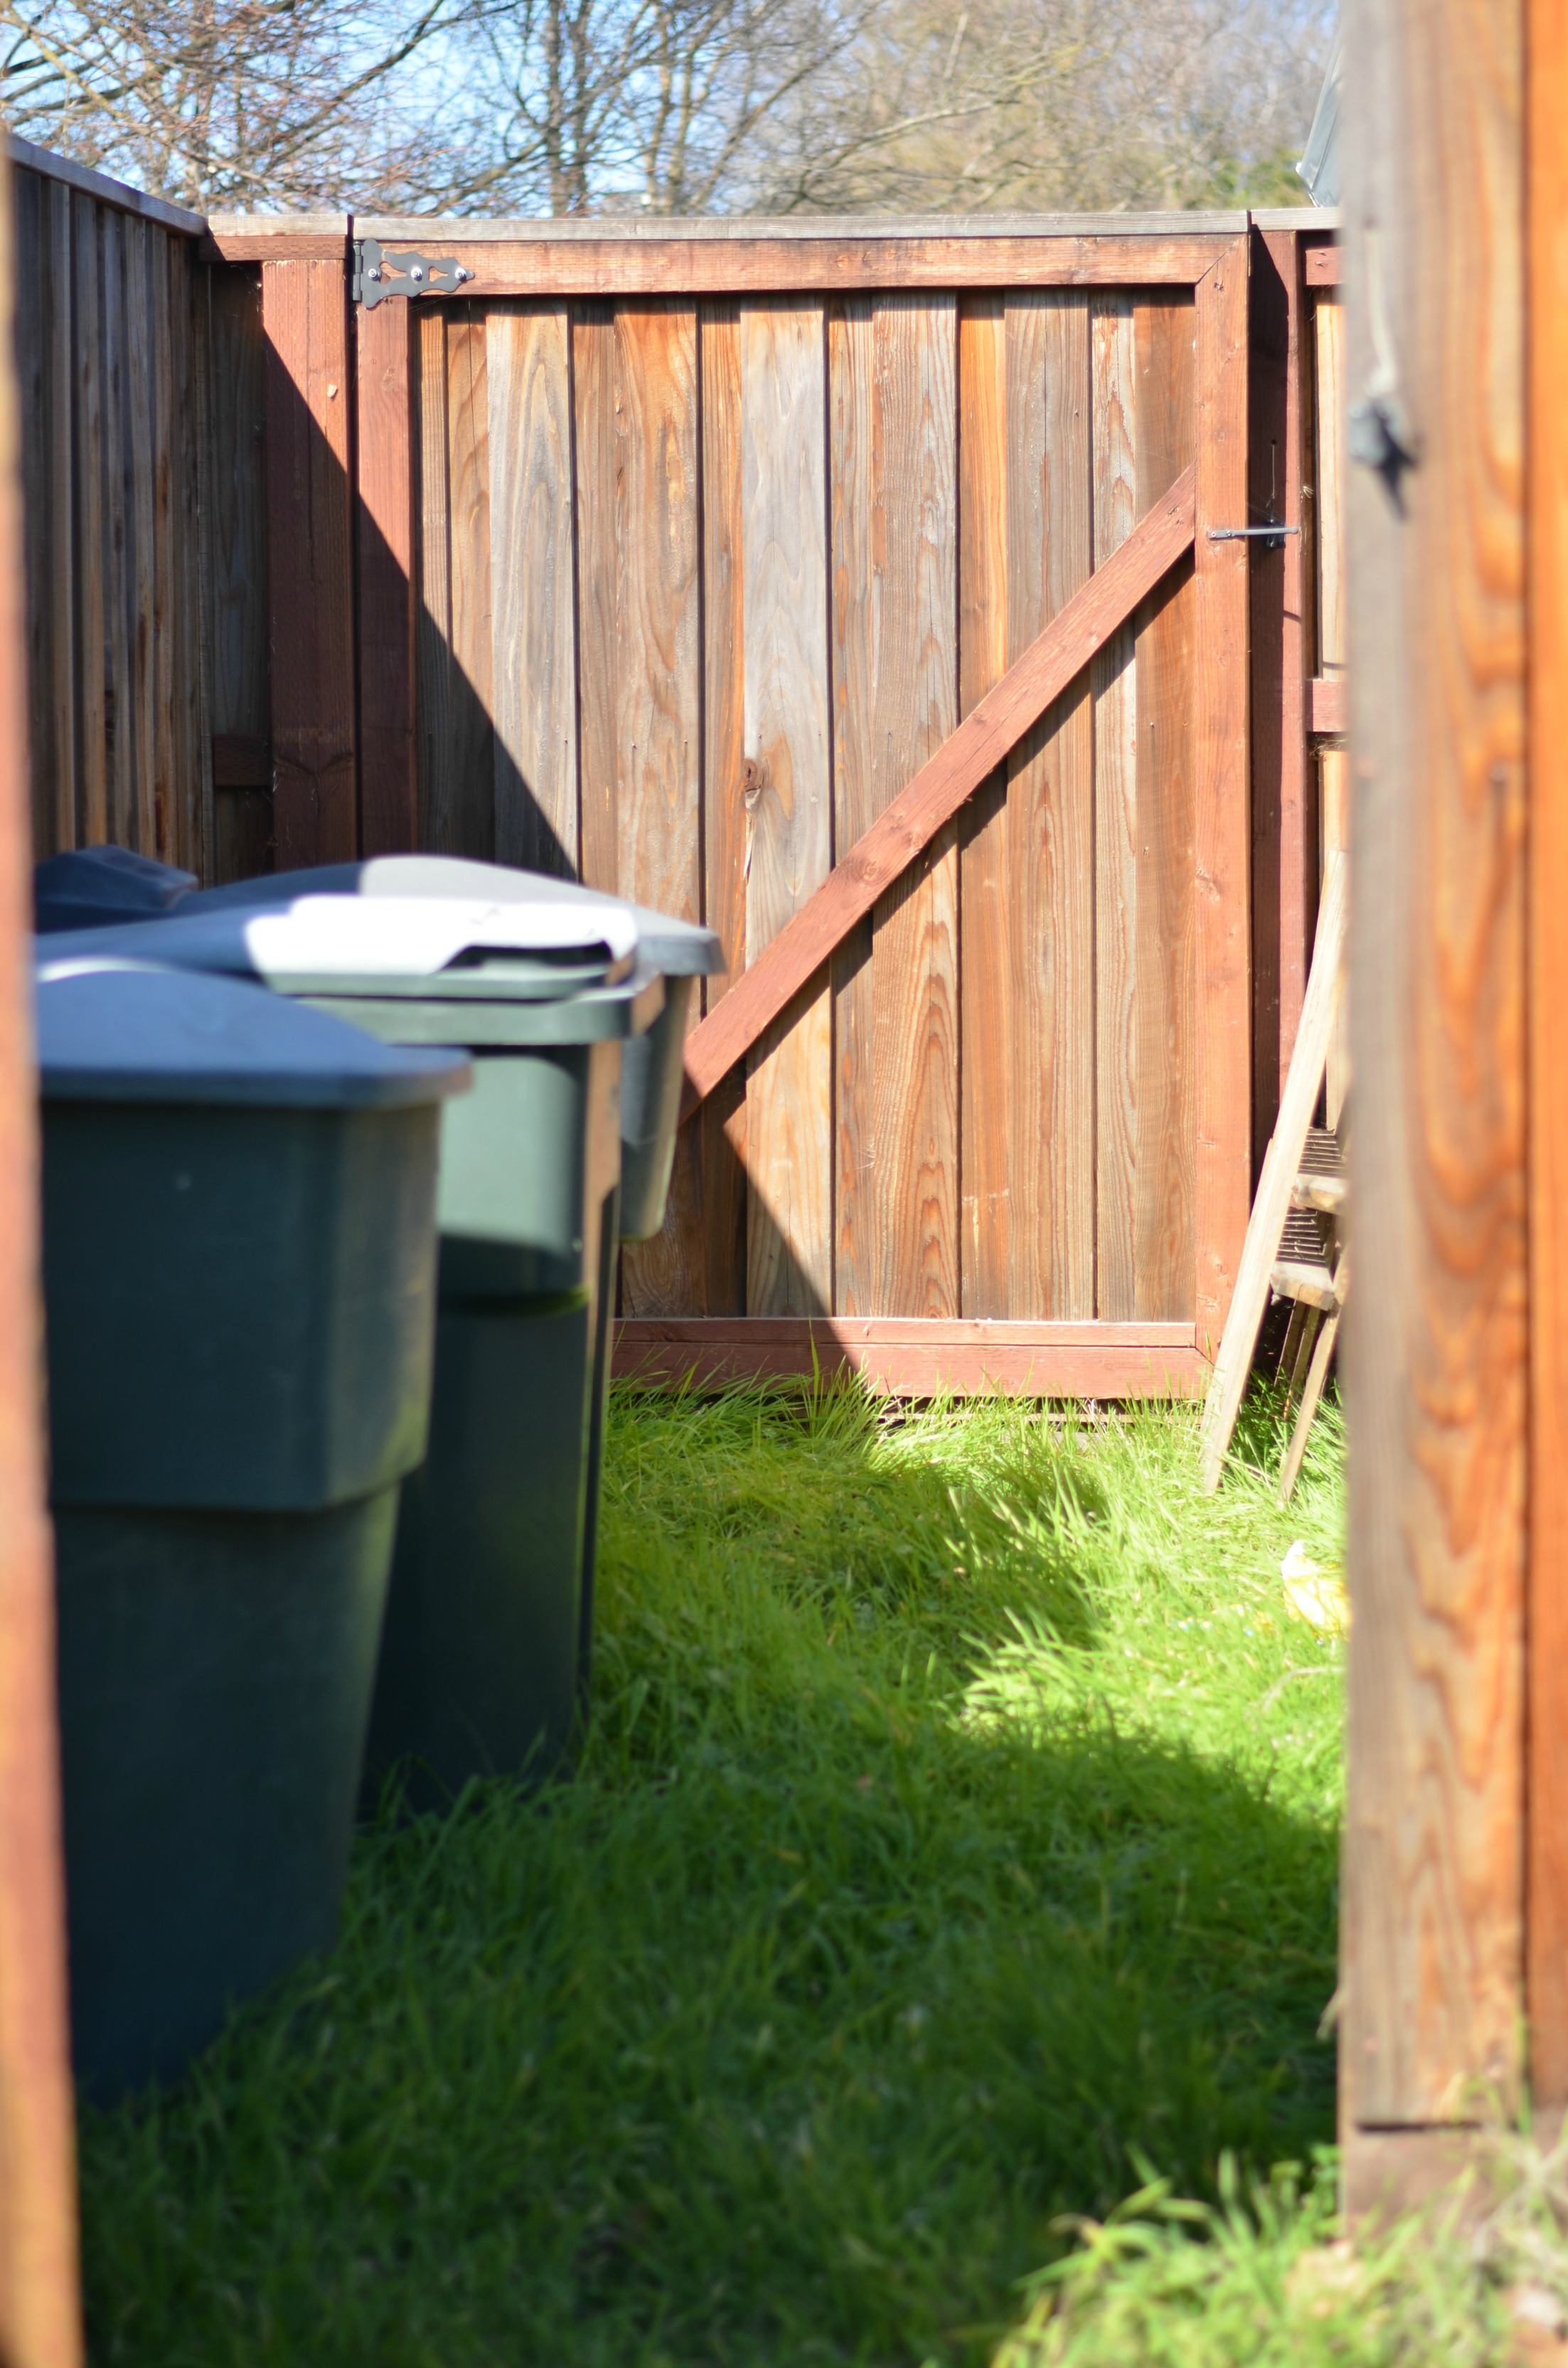
We will be pouring a concrete slab in this little area at some point.
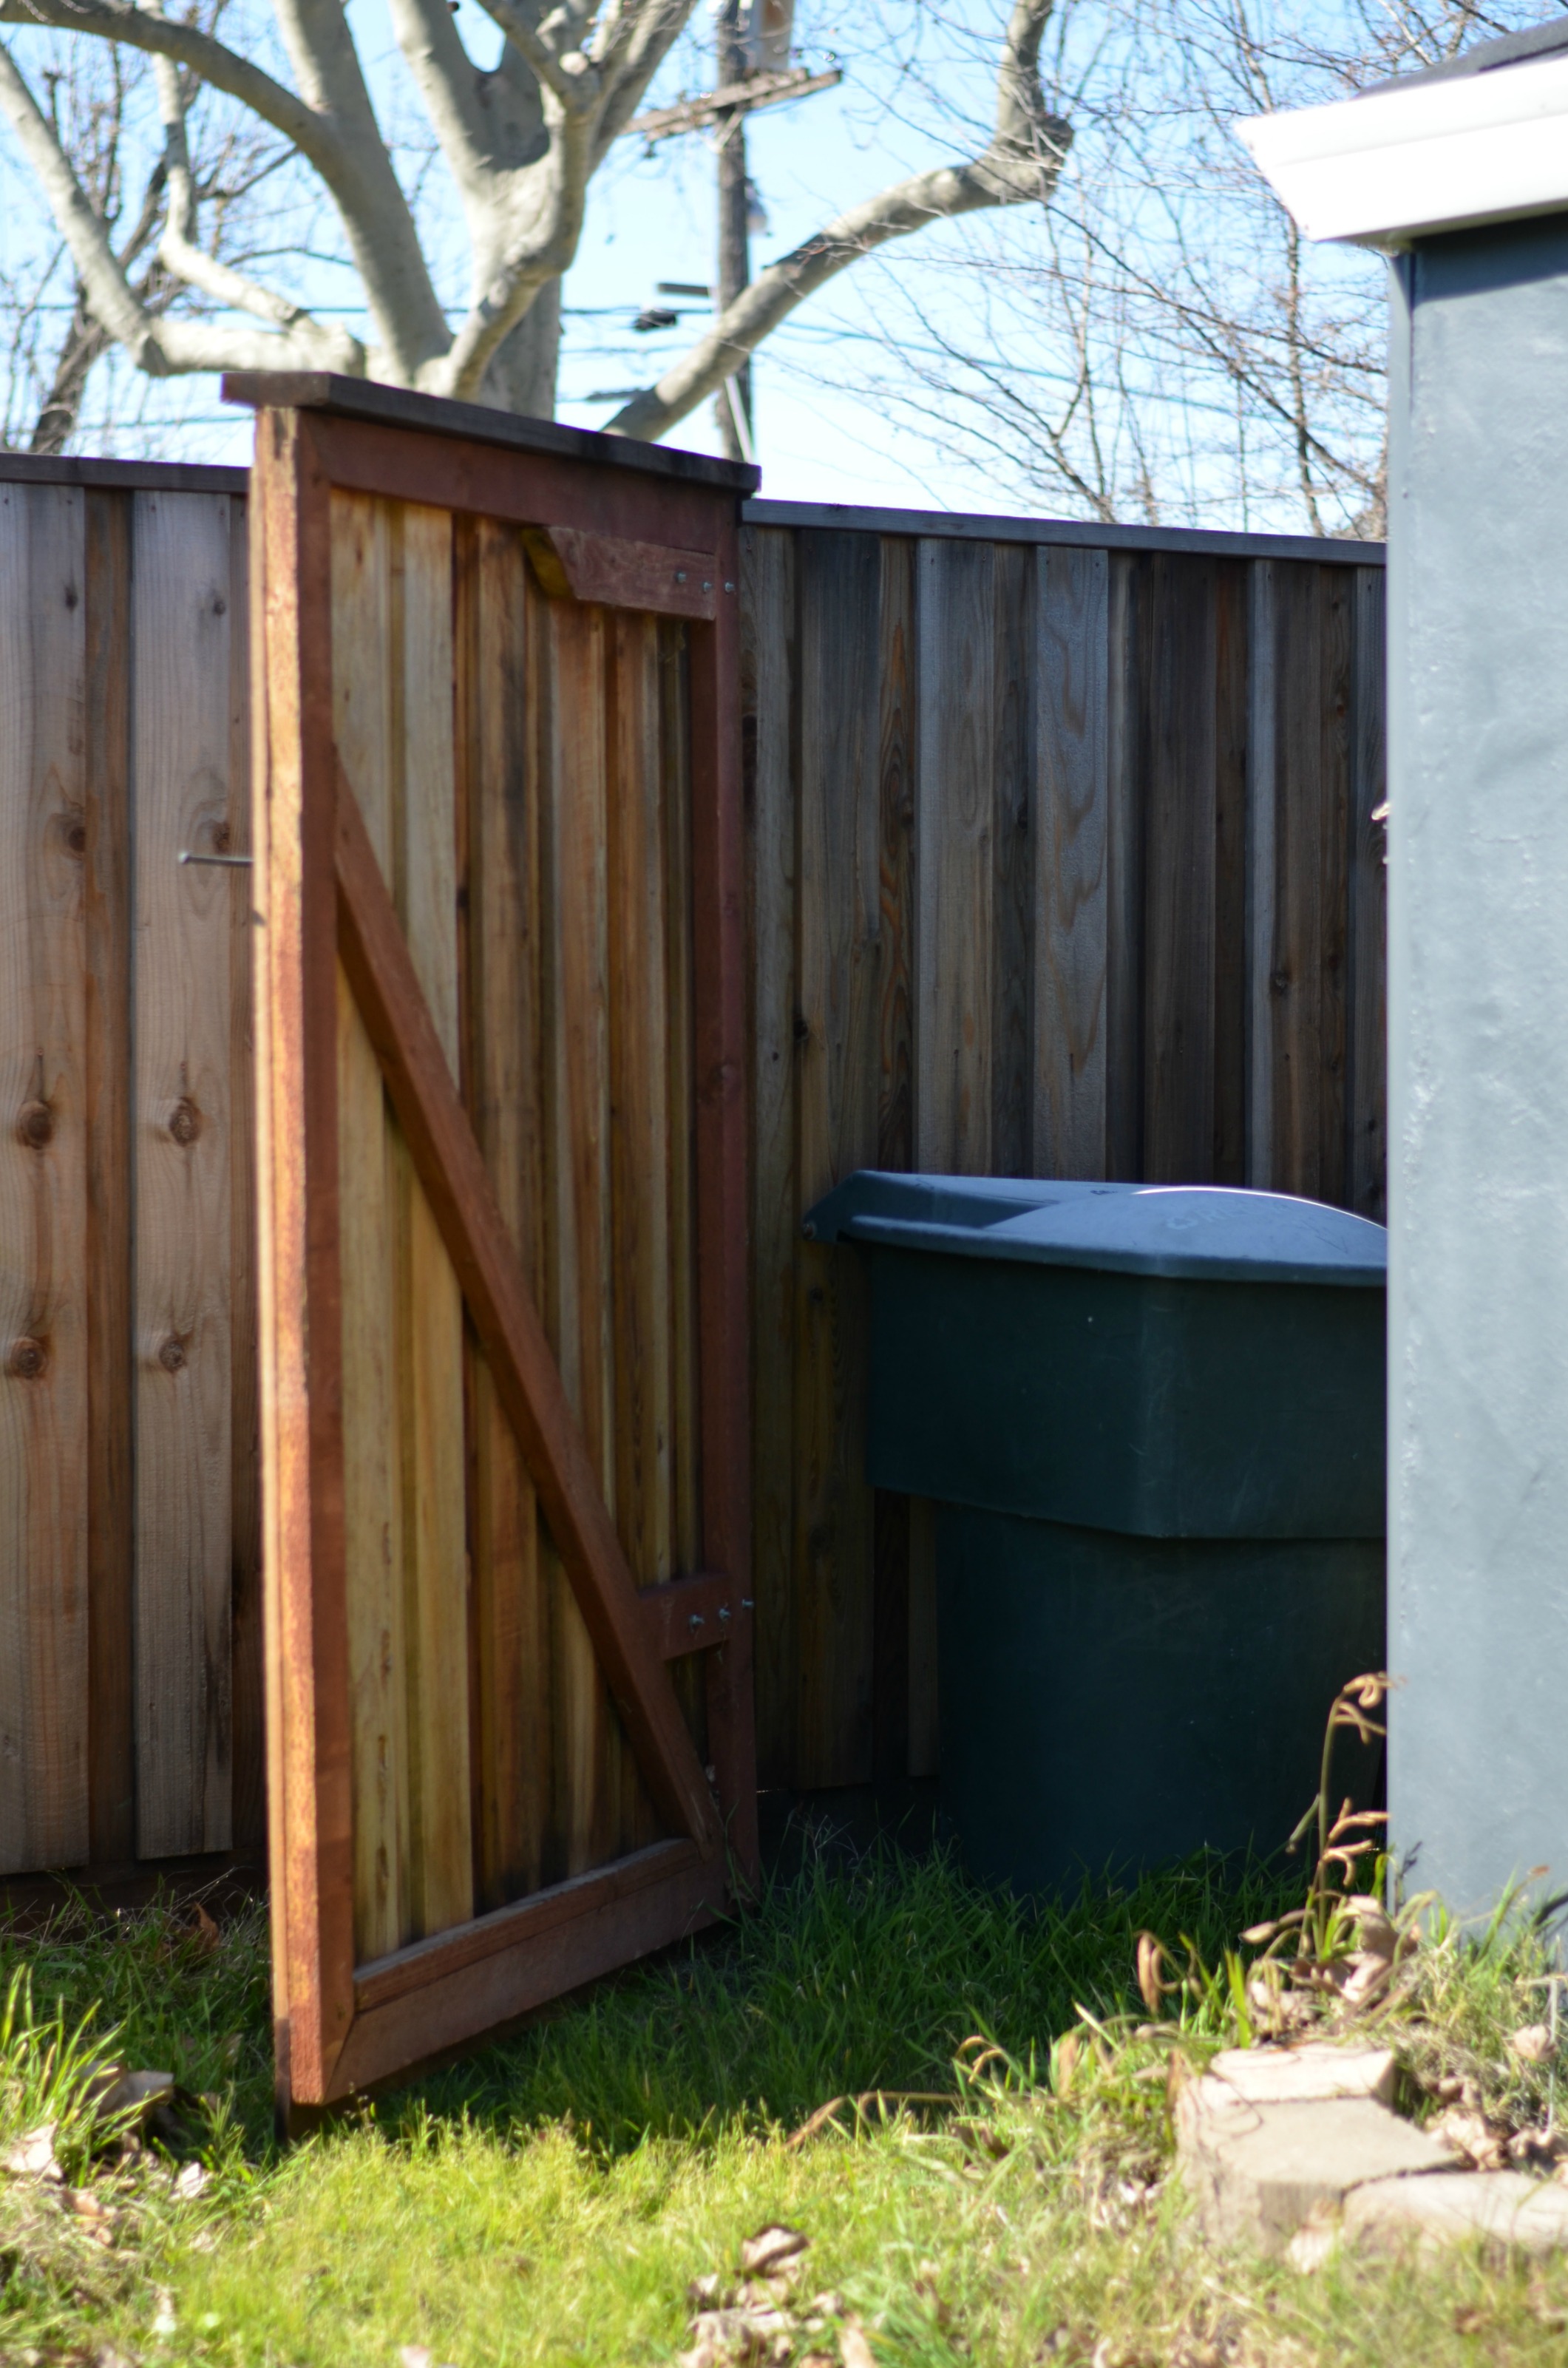
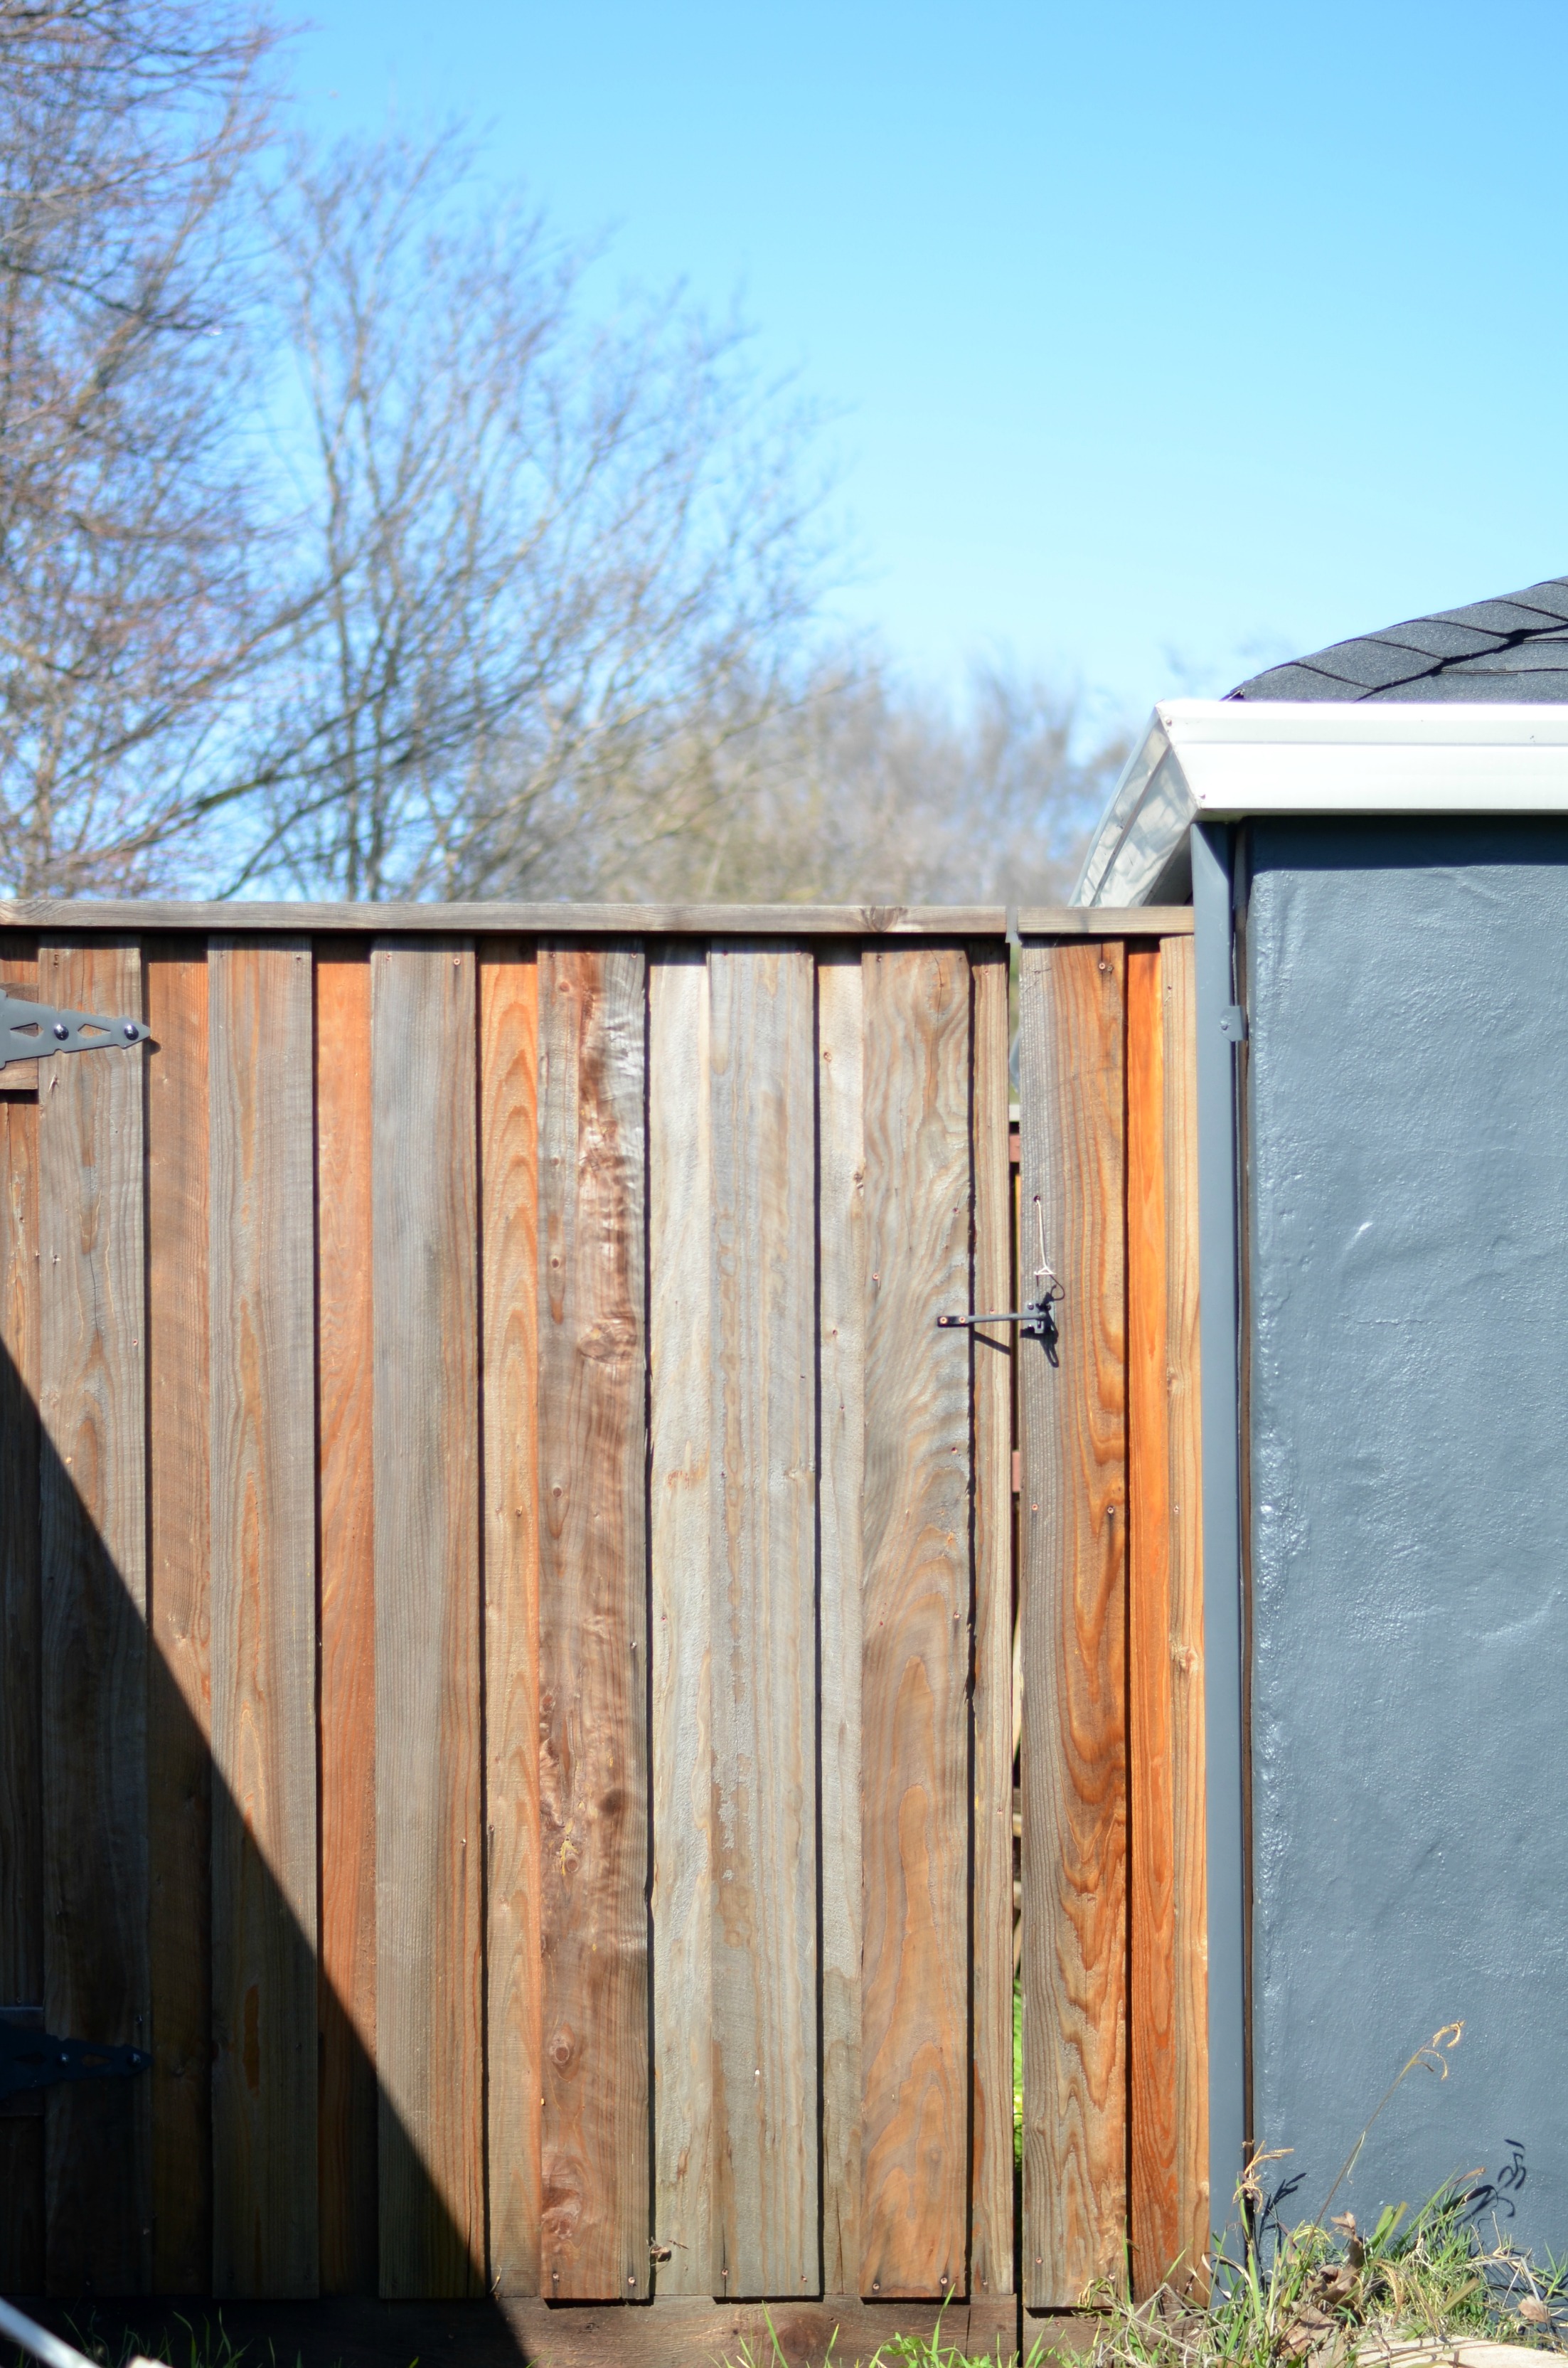
2. In in the event we (or any vendor/contractors) ever need to bring in any type of heavy equipment they can easily roll or ride them in straight from the driveway into the yard. Again avoiding the steps and space constraits of the main entry gate. This will be especially nice when we are using a wheelbarrel.
One of the things I really appreciated about our build is that we didnt have to do the “good neighbor” fence situation. We only share one side with a neighbor and they preferred the “ugly side” (its gonna be covered in ivy anyway) so we were able to keep all the flat portions of the fence facing the inside of our yard. We chose to have the small portion where the bushes used to be with the flat side facing the street becuase visually its better from the curb. Knowing this was a big contributing factor is deciding to with this this particular style fence.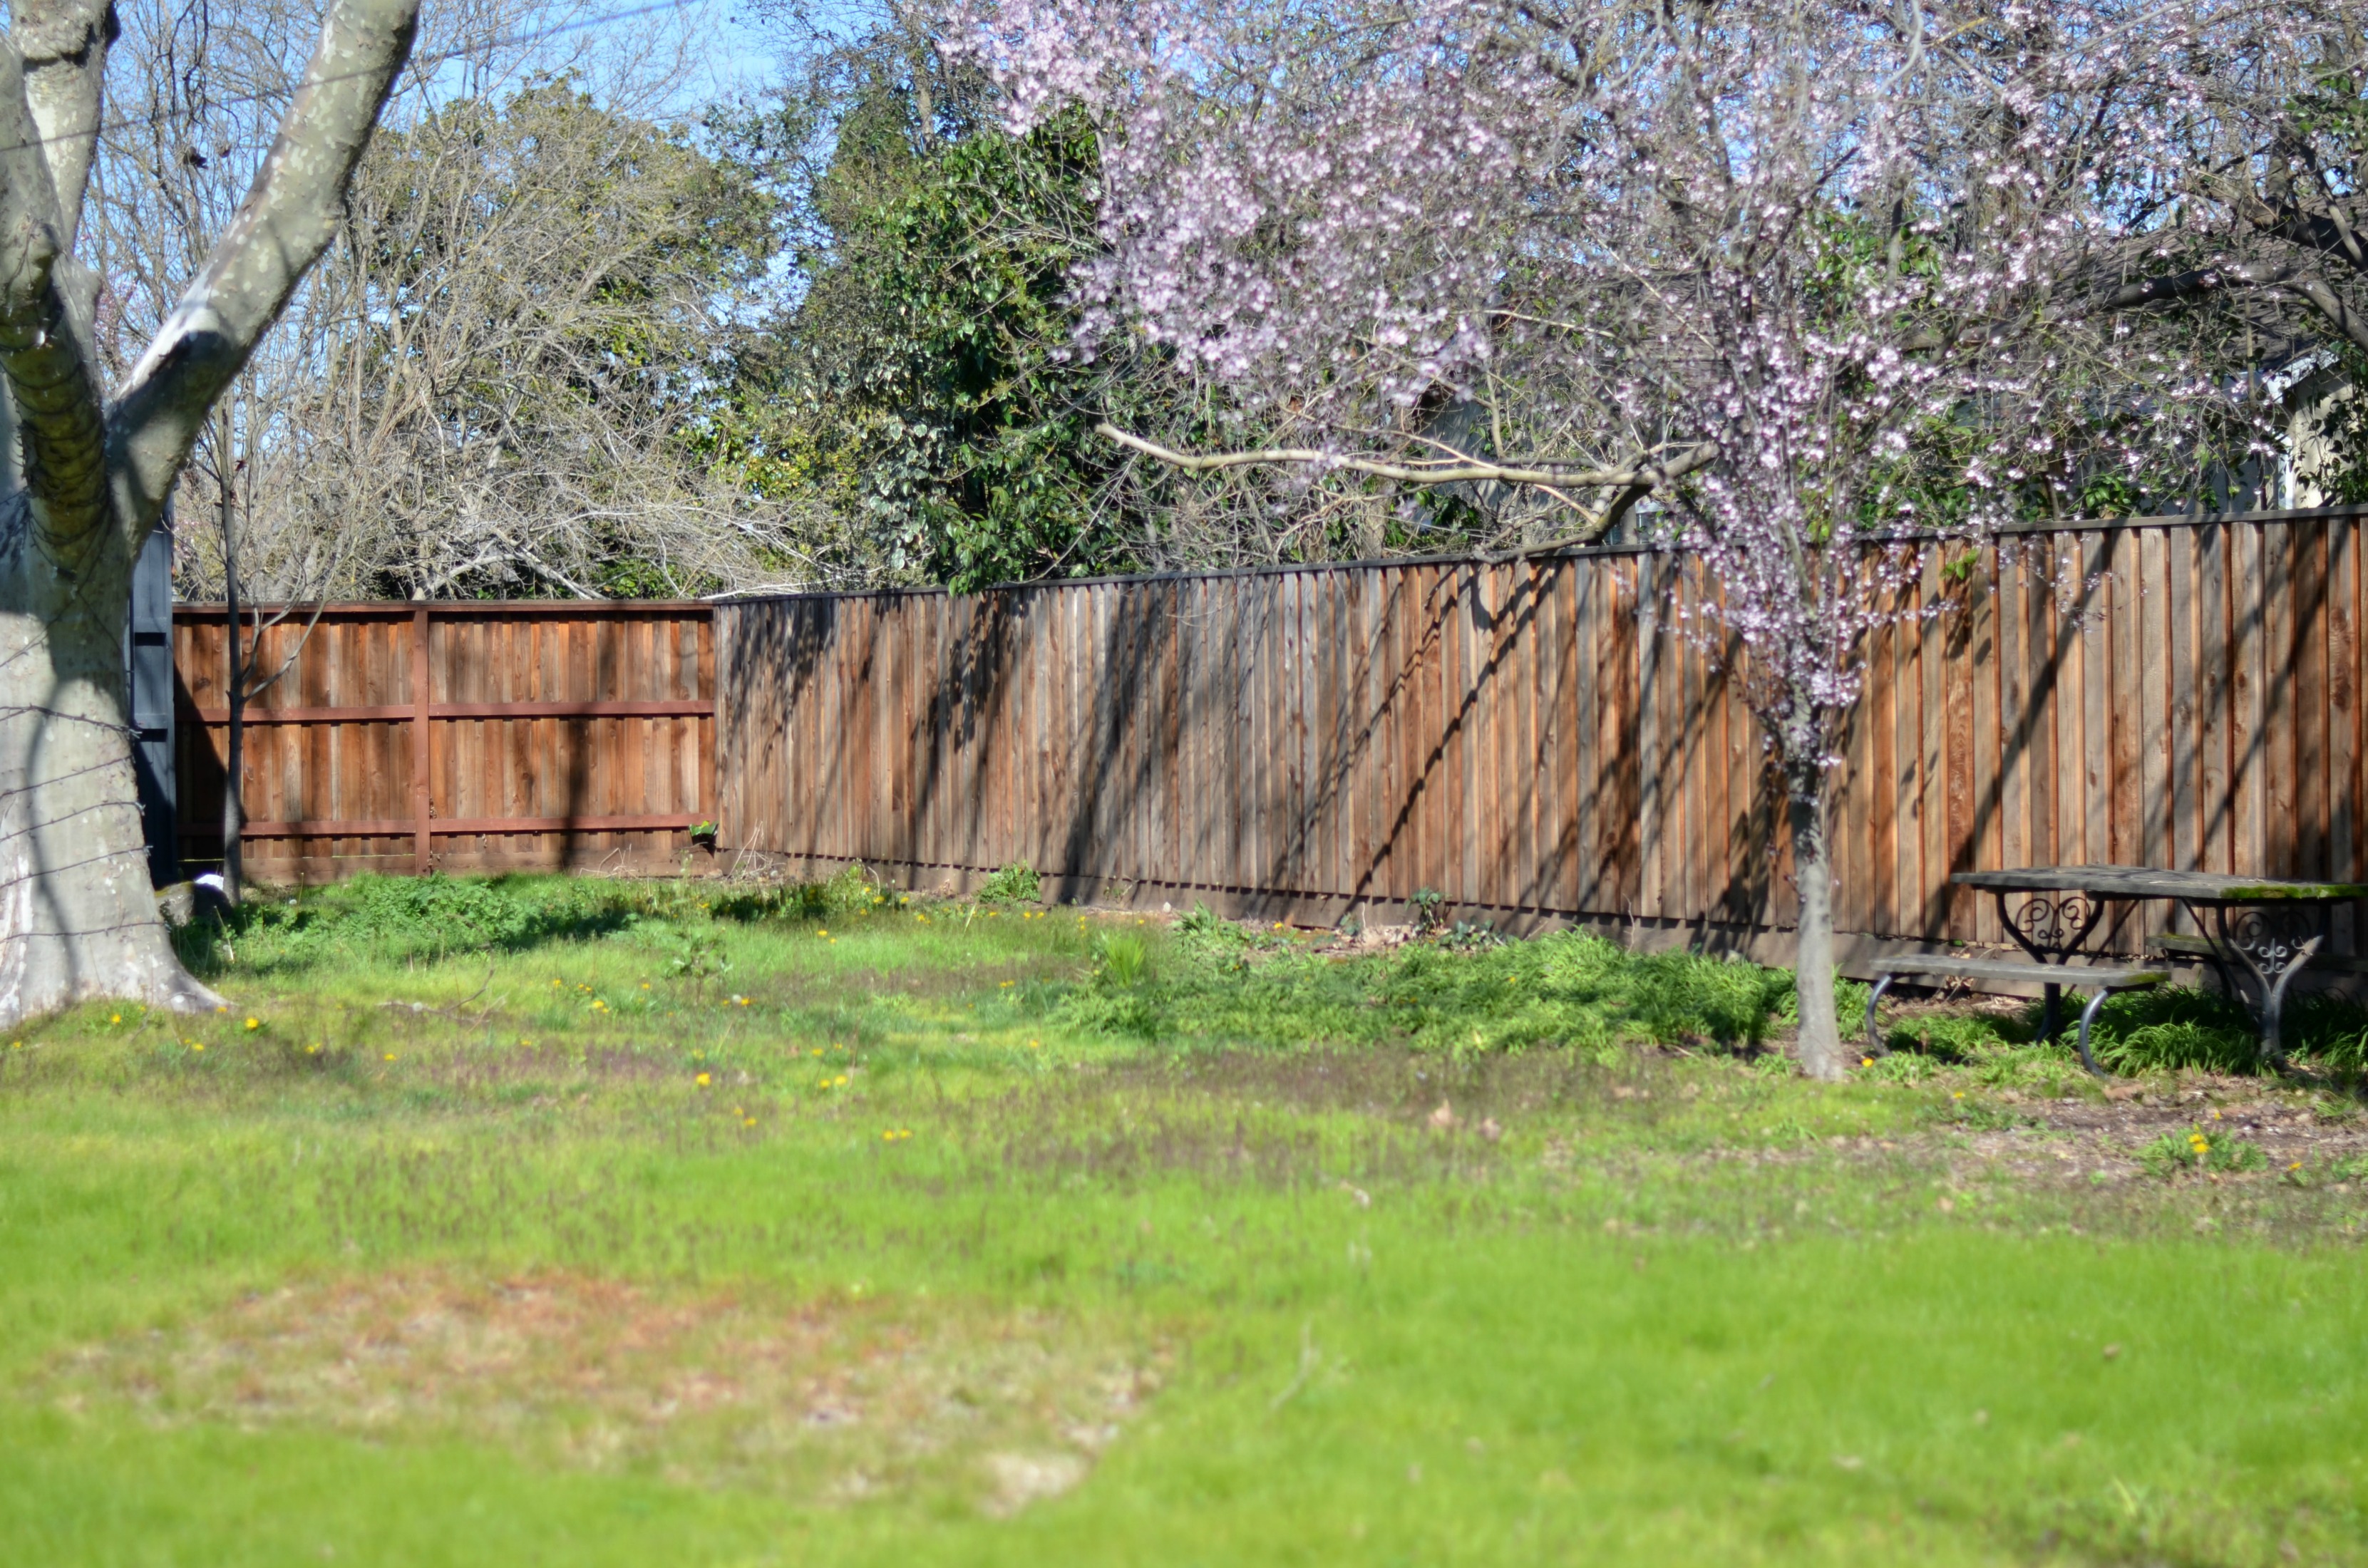
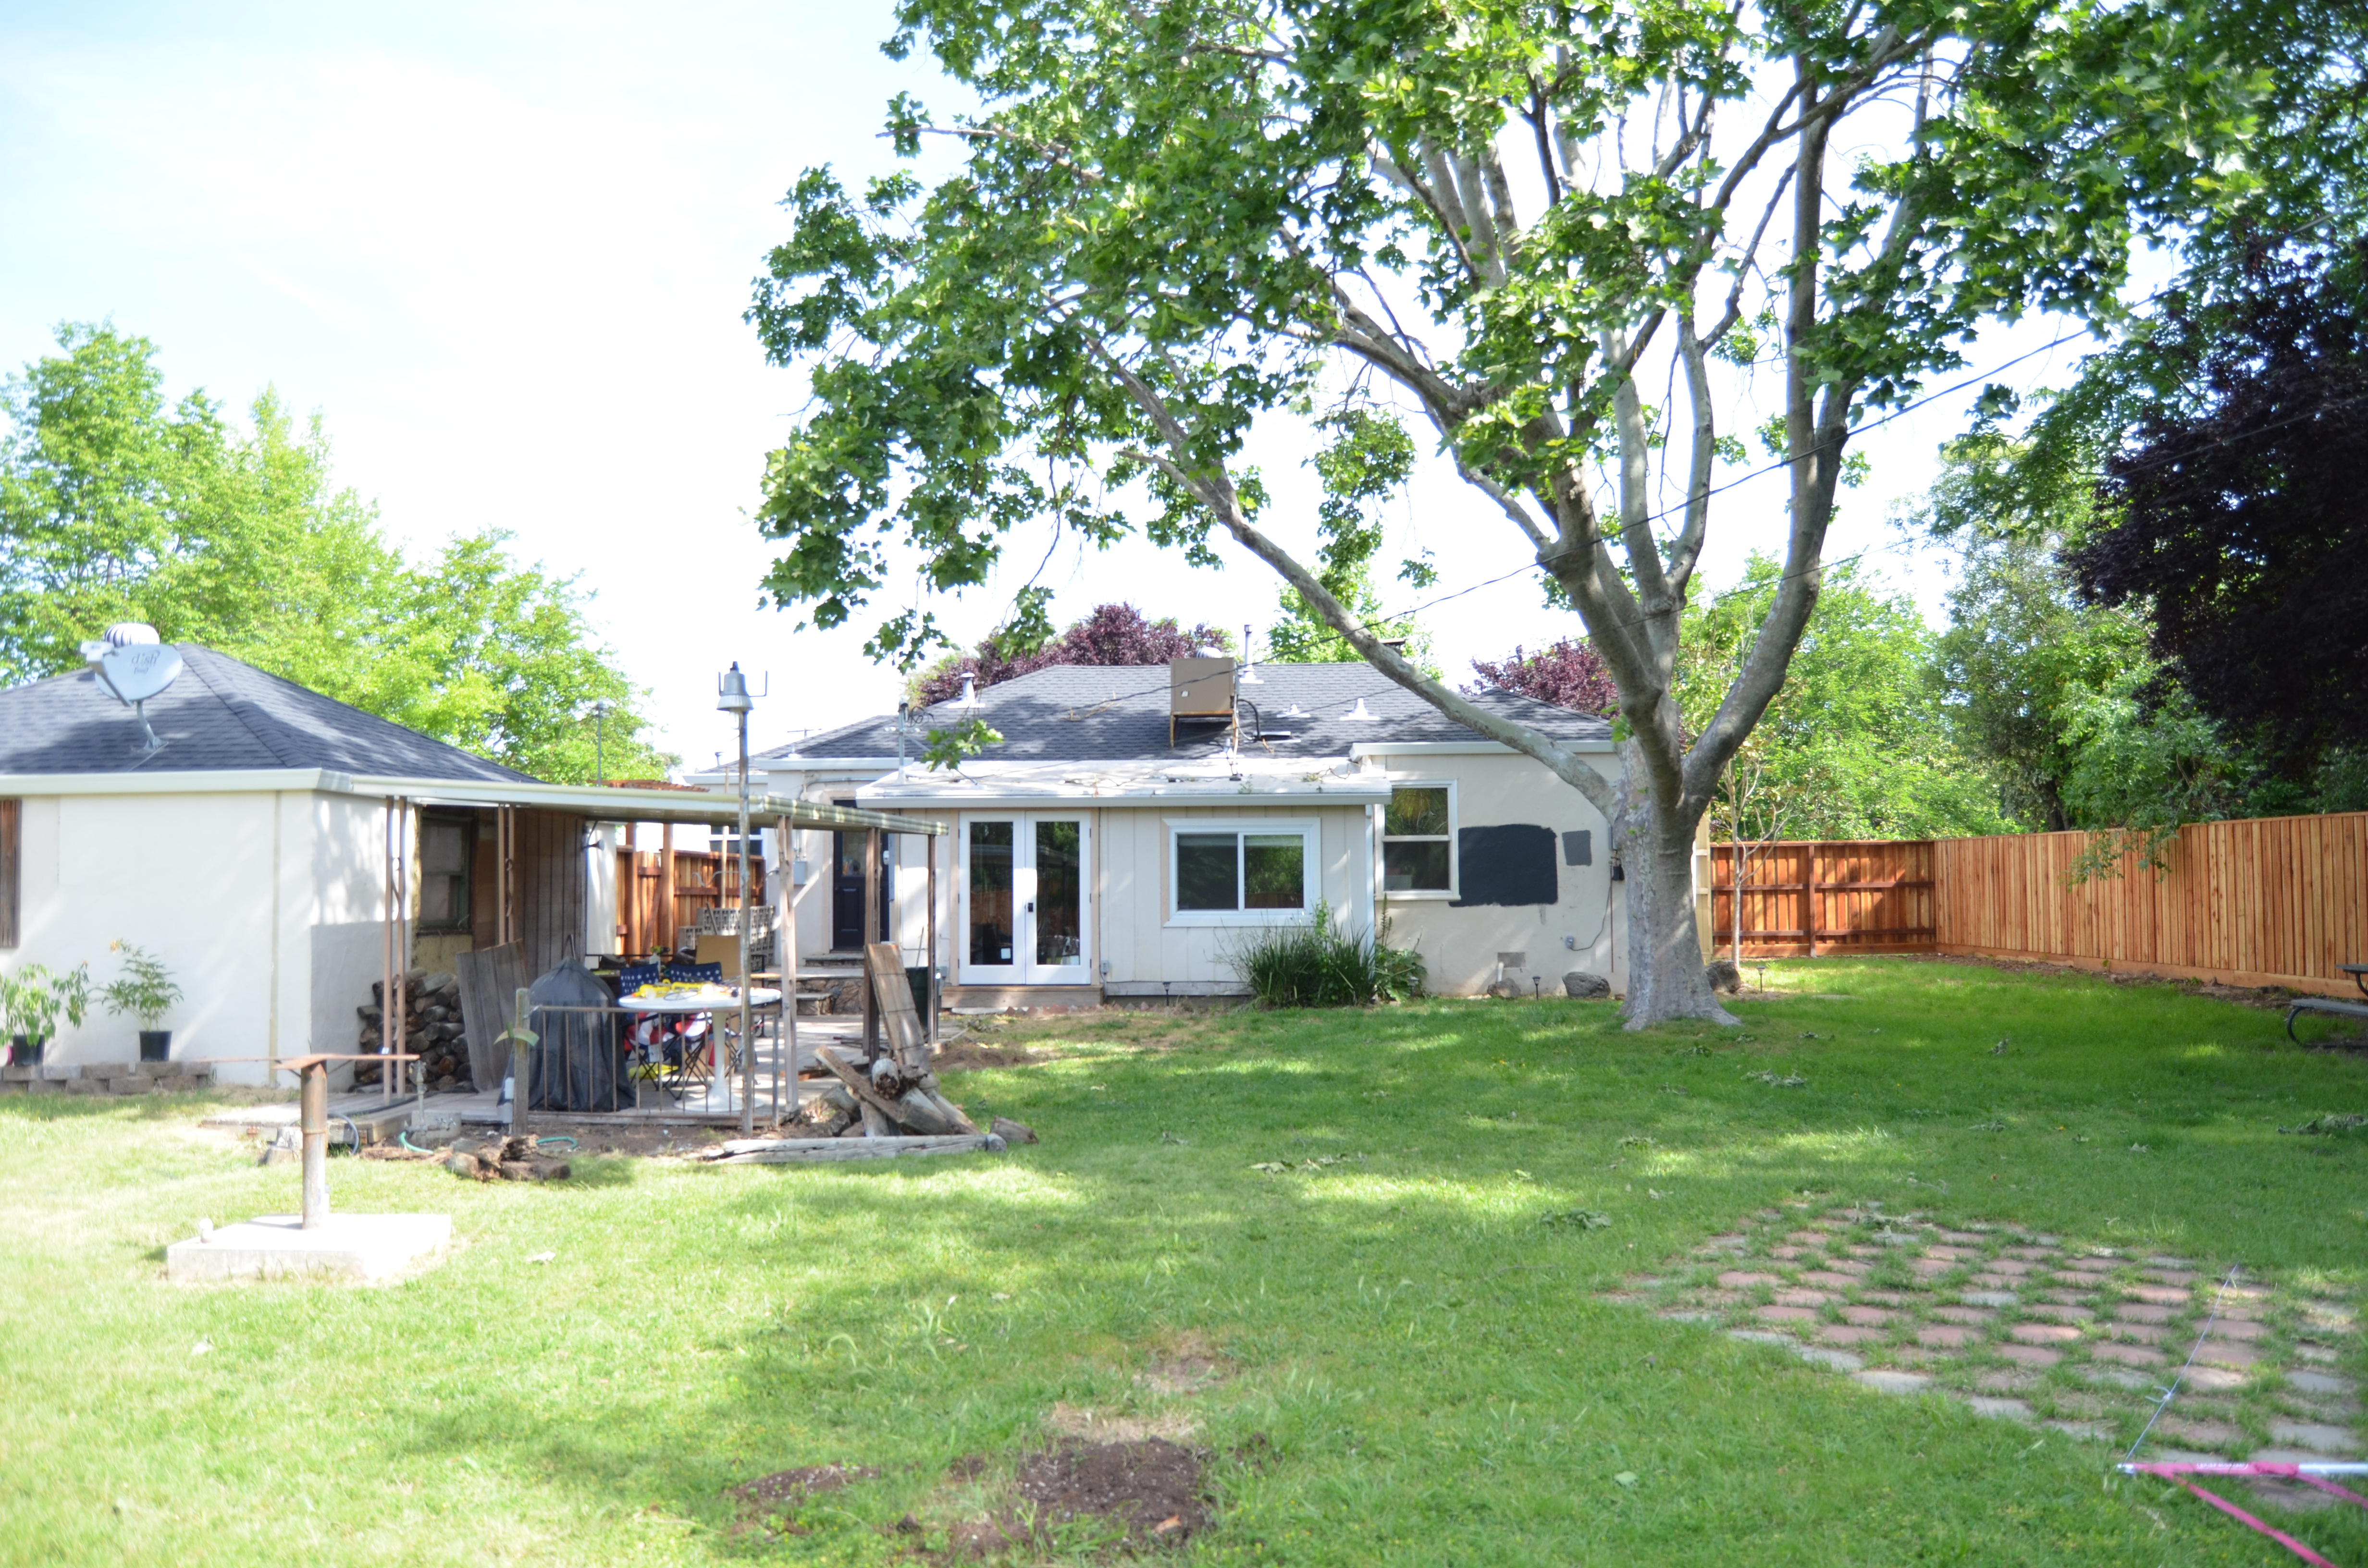
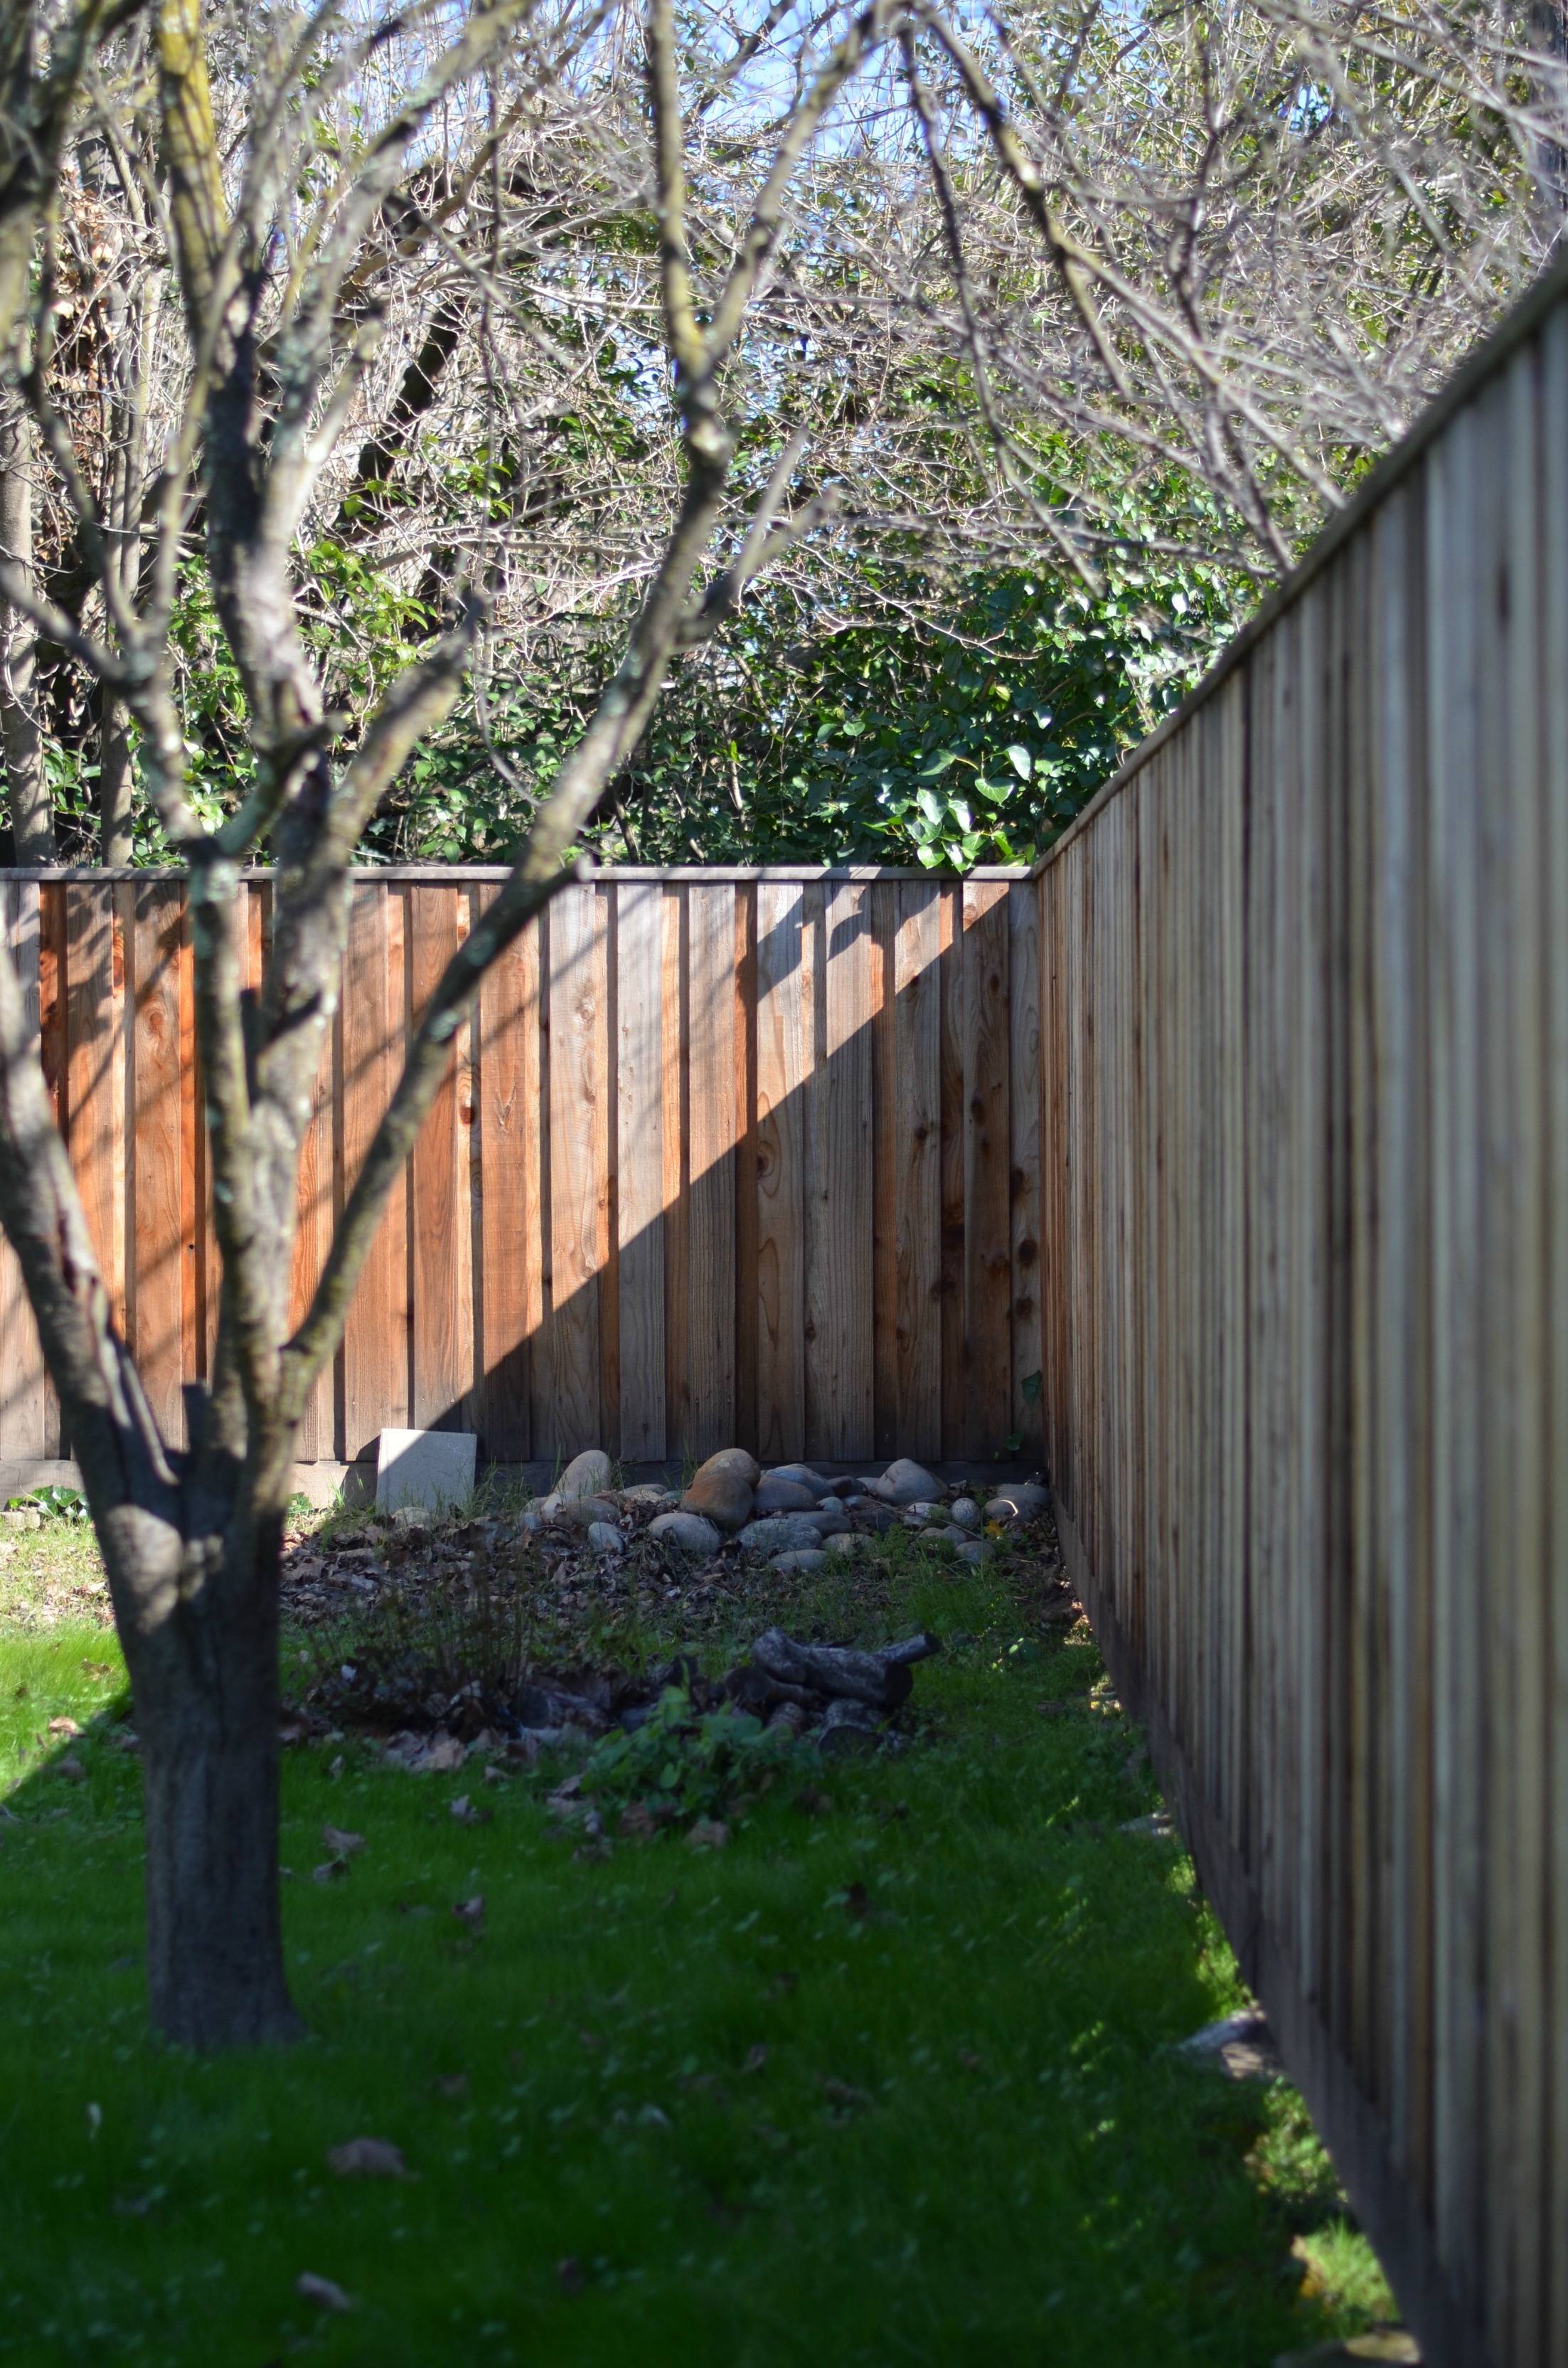
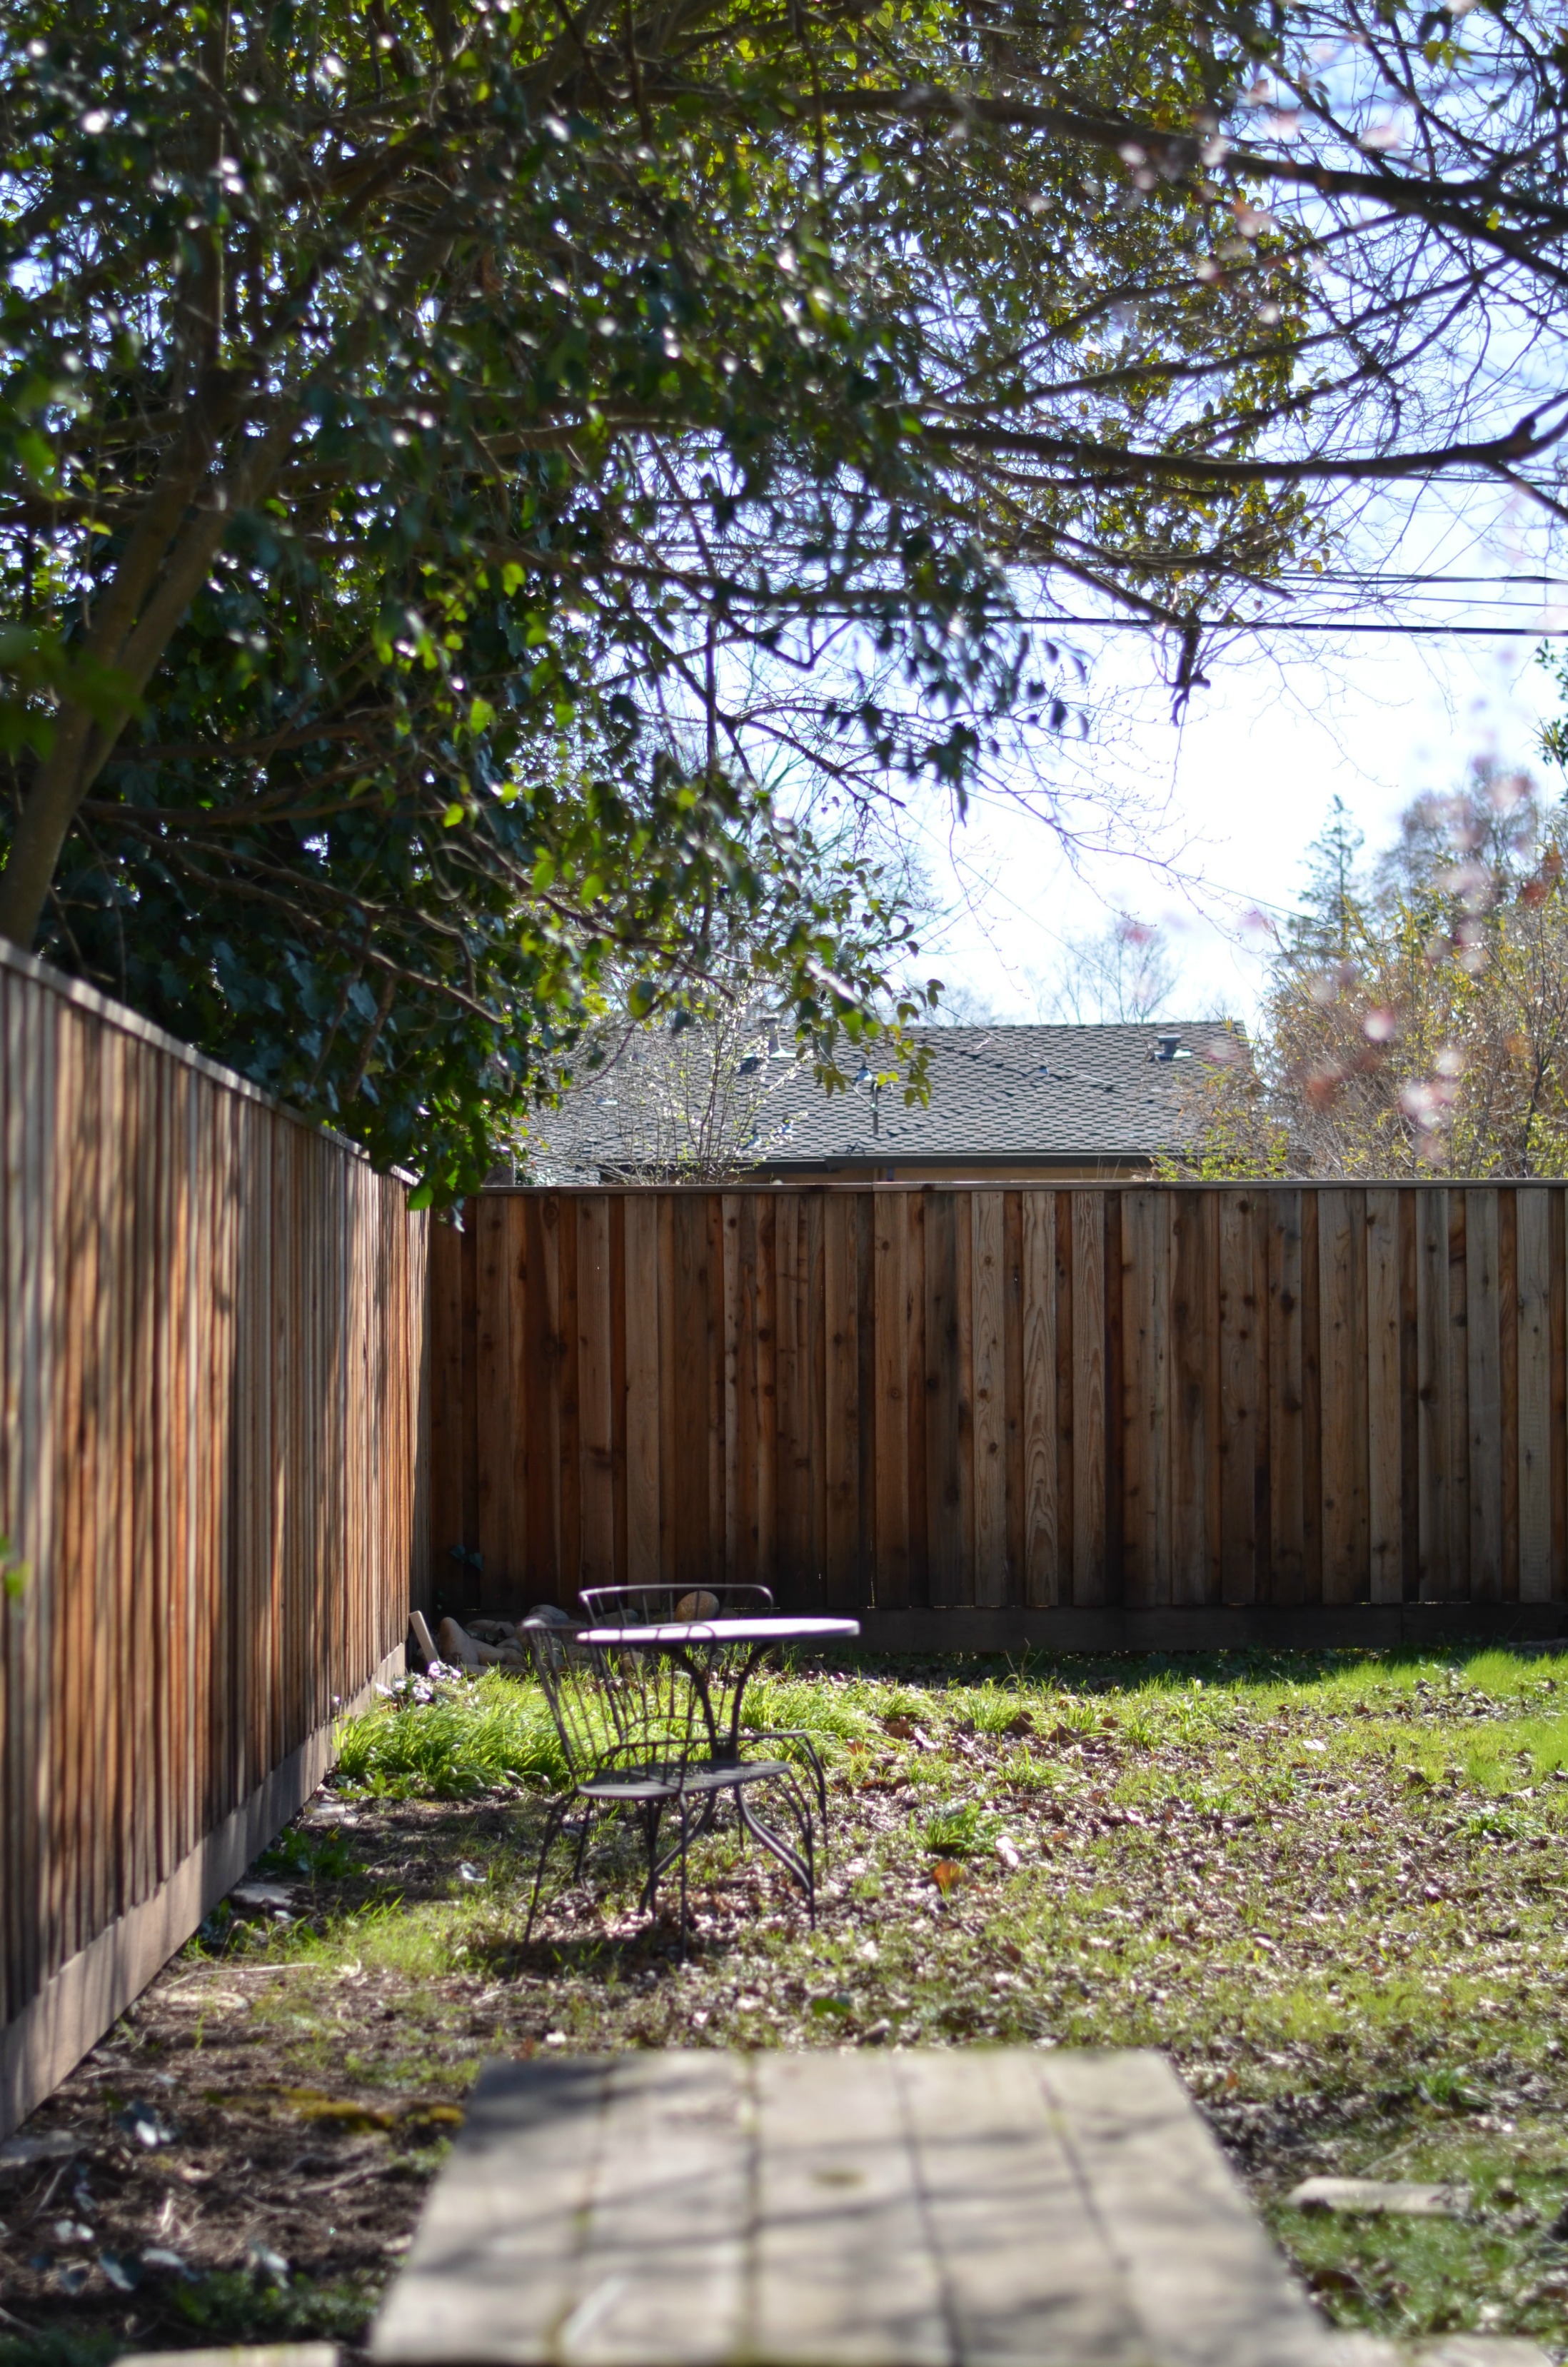 Phew thats alot! If you’re still with me…thank you! It was important to us that we were intentional and thoughtful about every element as we were bulding it. It was also really important that we hired a really good person to get it done and get it done as quickly as possible. We knew going in it was going to take about 5 days to do it. It also happened to be unseasonably wet that year and the ground was soaked even days after the rains stopped, so that effected things a bit too. Our builder was amazing and very professional. We have since recommended him to friends and neighbors.
So thats it friends. We are very happy with how things turned out. Now on to the next big project…
Until next time..
Monica says
Wow, Shavonda! Thanks for sharing. Fencing is such a practical piece of designing and renovating any home that many people don’t think about or go into, so thank you sharing this. It’s very inspirational and will help me in my own process when I am ready to replace my 20 year old fence that’s rotting and fallen over several times now. Can’t wait to read more. 🙂
Shavonda Gardner says
Thank you so much Monica! And youre so very welcome. I totally get how overwhelming it can be and how there are just so many things to consider. Hope I helped you with some decisions for your own project.
Mona says
Wow! What a transformation. It looks great. I love how your yard is so big & the potential for designing something special is awesome. Good work!
Shavonda Gardner says
Thank you so much Mona! We could see all the amazing gatherings out here for sure. Now we just gotta get going on making it happen!
Angie says
Great job! I love the new look❤
Shavonda Gardner says
Thank you so much Angie!
Jennifer says
Shavonda I can appreciate how much thought and “what-if” situations are put into the project layout!! The fence project turned out GREAT!!
Shavonda Gardner says
Hi Jennifer! Thank you so much! We figured if we were gonna spend all this money to do it, lets consider the lifespan of the project, ya know. Wanted to make sure we covered all the bases.
Victoria Ford says
Girl you are right on time with this fence post. My husband and I are getting a fence out in on Monday and are choosing supplies as I right this nd I’m wondering if the arbor would be a good buy. Thank you for sharing and sharing in such detail. I needed that. It looks great!
Shavonda Gardner says
Hi Victoria! Thank you so much! The thing I learned through this process is there is so much about having a fence done that you dont really think about. We love having the arbor detail and it wasnt very much to add on either. Totally work it. Plus its going to add to the overall cottage feel of the landscape when its all said and done. Good luck with your project!!
Haley says
This looks awesome! I love this style of fence.
Shavonda Gardner says
Thank you Haley!