Hi Everyone!
Soooo how about a bit of a garden update! The last time I checked in with progress on the garden was back in May so I owe you one. And I should warn you: this will be a pretty lengthy & full post. If you’d like to catch up on the garden build process thus far you can check out: Post 1, Post 2, & Post 3.Ok friends so right after my last garden update things got unexpectedly busy. Between travel, work projects and mom life the garden build ended up being abandoned for several months. Before I knew it it was December and I was gutted that this project was at a standstill. I REALLY didn’t want to go into 2020 having let another year go by without seeing this garden truly get up off the ground (pun intended). With just a few weeks left in the year I decided to make a final push to try to get as much done as possible by January 1. Since our winters are super temperate and work had slowed down for the holidays, it was the perfect opportunity to accomplish a final goal for the year . I was able to get it done just in the knick of time….finishing up the beds on NYE!
The Raised Beds
When designing the garden I always knew I would be using raised beds as the primary way of growing edibles. As much as I would love to plant directly in ground, we have a pesky little problem called Bermuda grass. This stuff is the bane of any gardeners existence as it’s incredibly invasive and hard to get rid of. And since #aintnobodygottimeforthat….raised beds it is.
Growing in raised beds has many many benefits: 1. You can plant earlier in the season since the soil warms faster than in ground. 2. You have control over the soil you grow in since you fill the beds. 3. You can make the beds higher so there’s less bending over and stress on your back. 4. You can get creative with the style and material of your beds…..wood, metal, bricks, blocks, stones, recycled materials, etc. I have an entire Pinterest board dedicated just to raised bed design!
For our beds I decided to build them using redwood because its very long lasting, weather and pest resistant, and here in Northern California is readily accessible & available. With that said, redwood is not cheap. Also I just love the look, smell, and natural patina process of redwood. Our fence is redwood and its the prettiest grey tone now. A lot of people also choose woods like cedar or Douglas fir for raised beds, which are also great options.
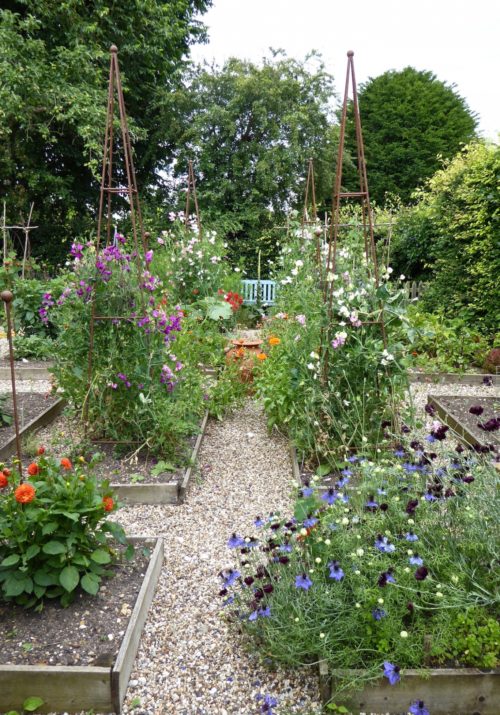
My original design plan for the garden called for four large L shaped main beds very inspired by that of a traditional French potager:
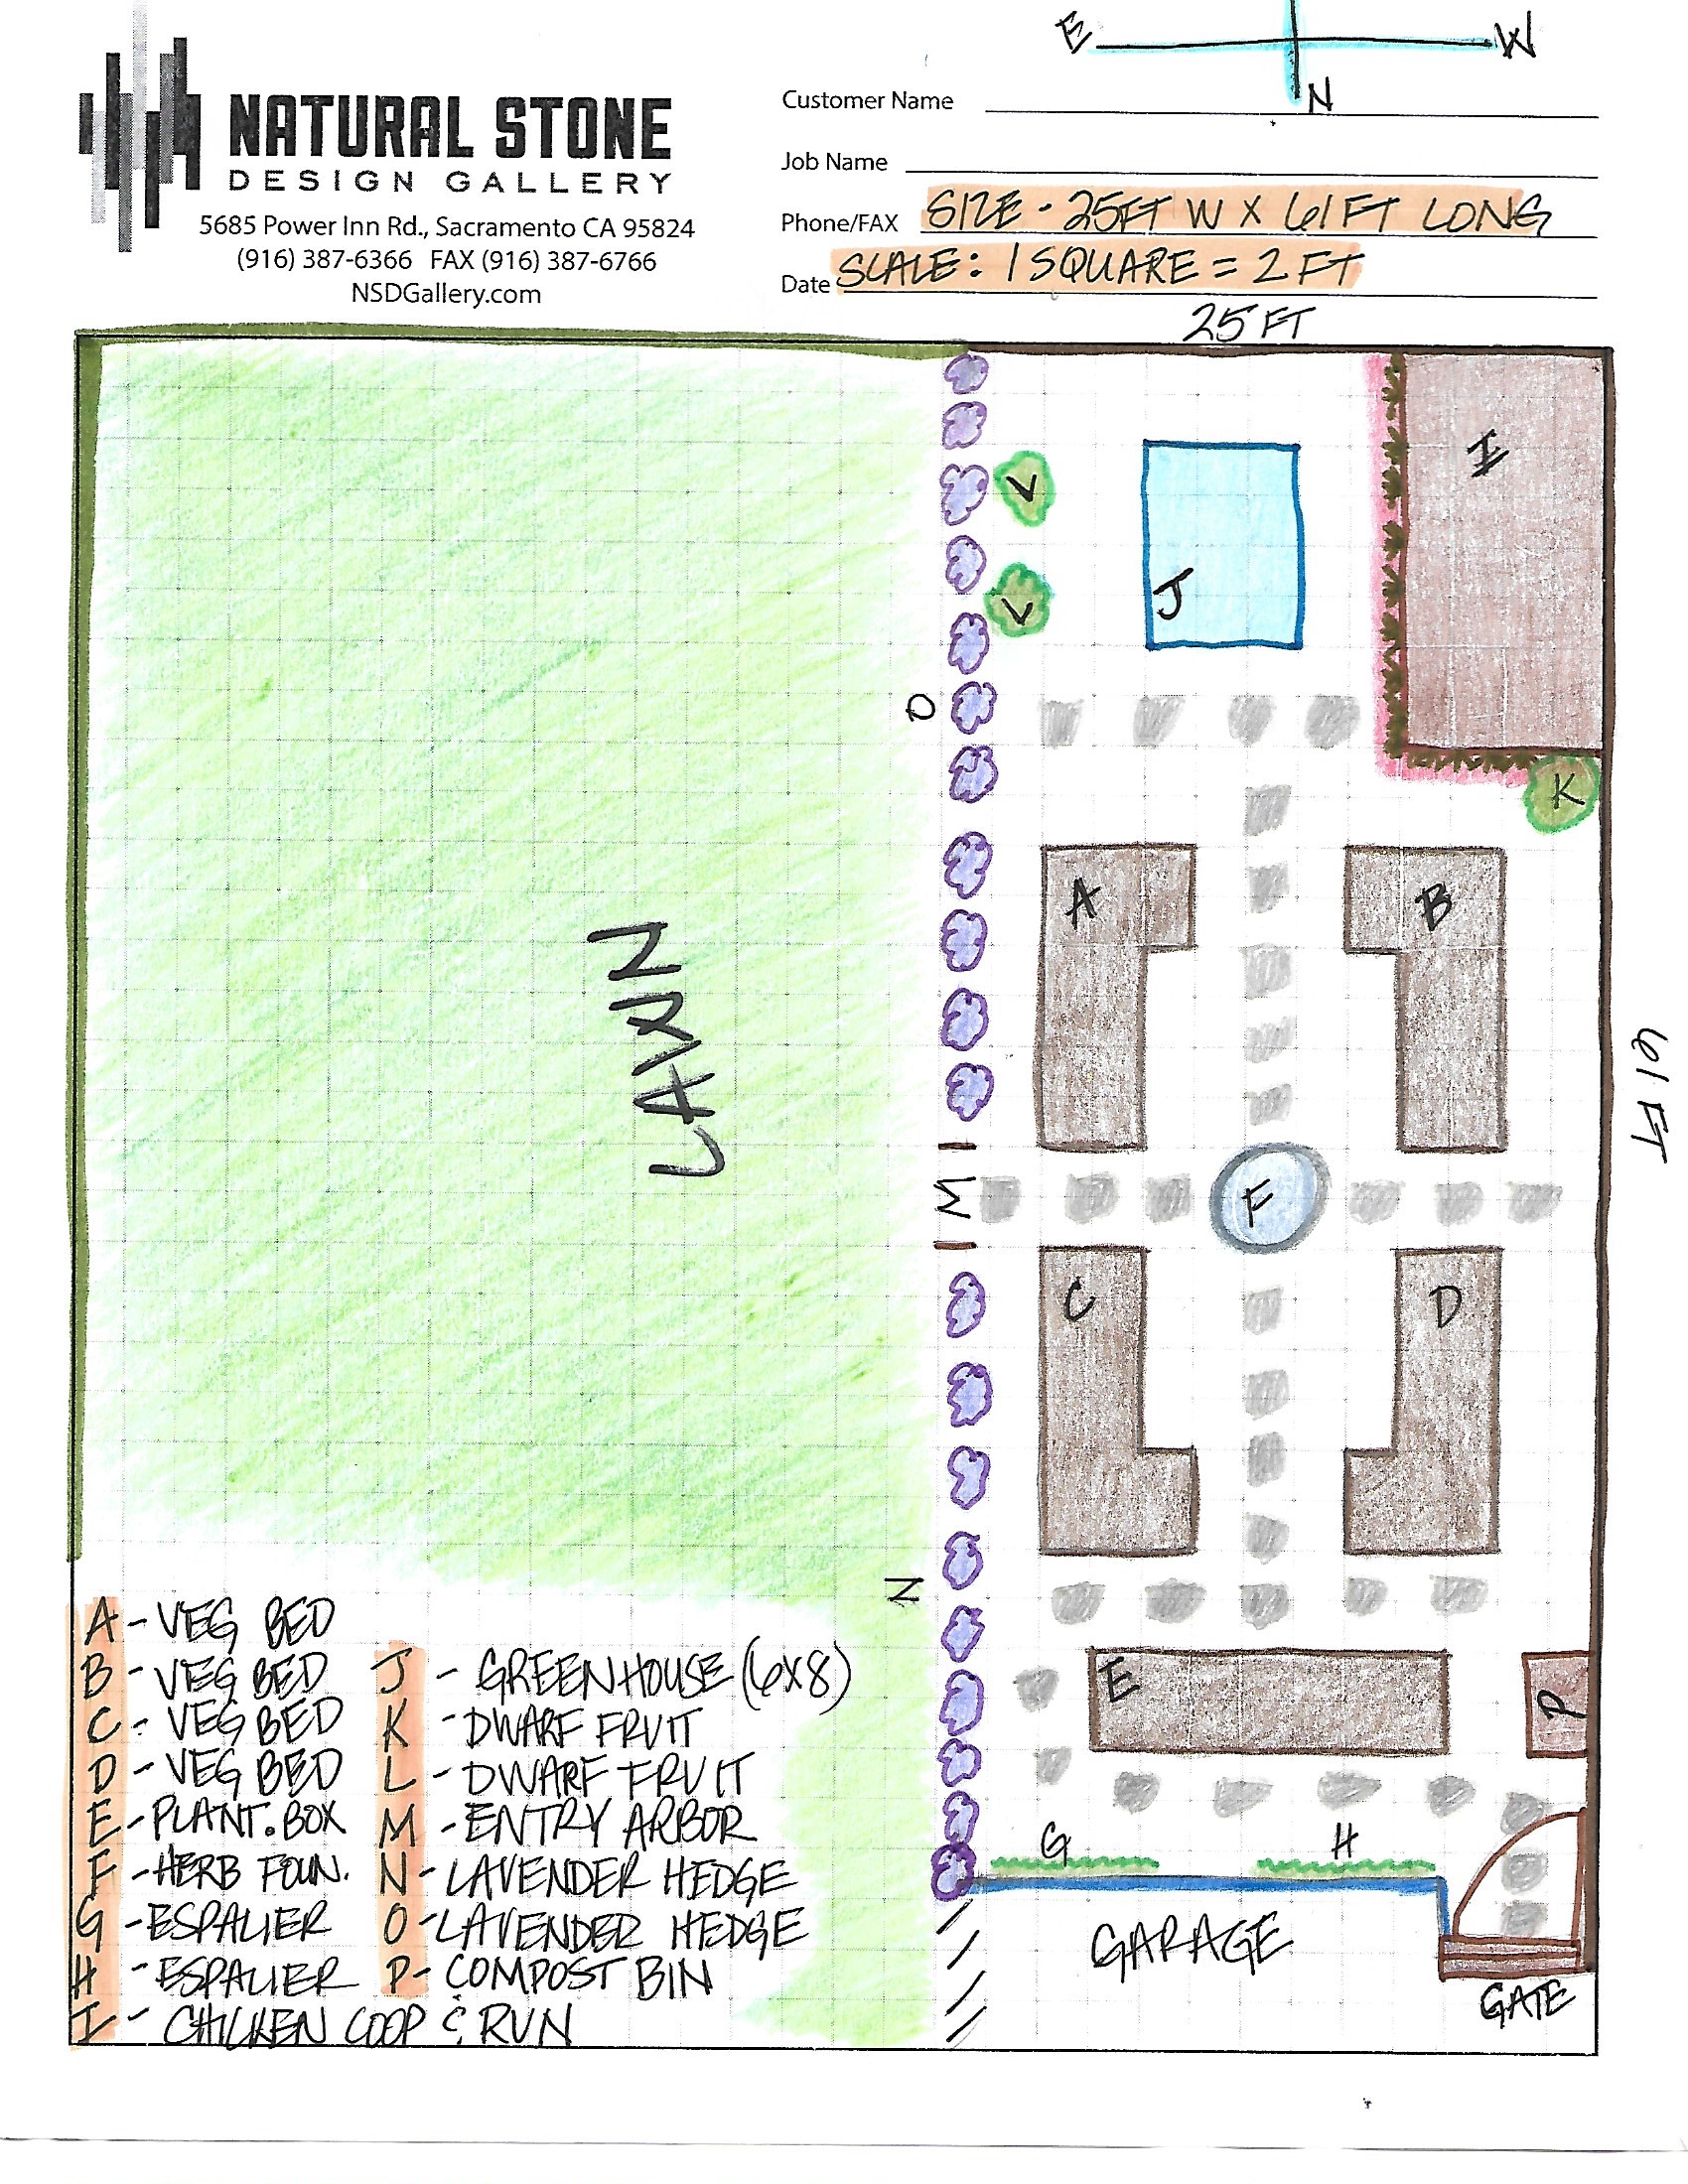
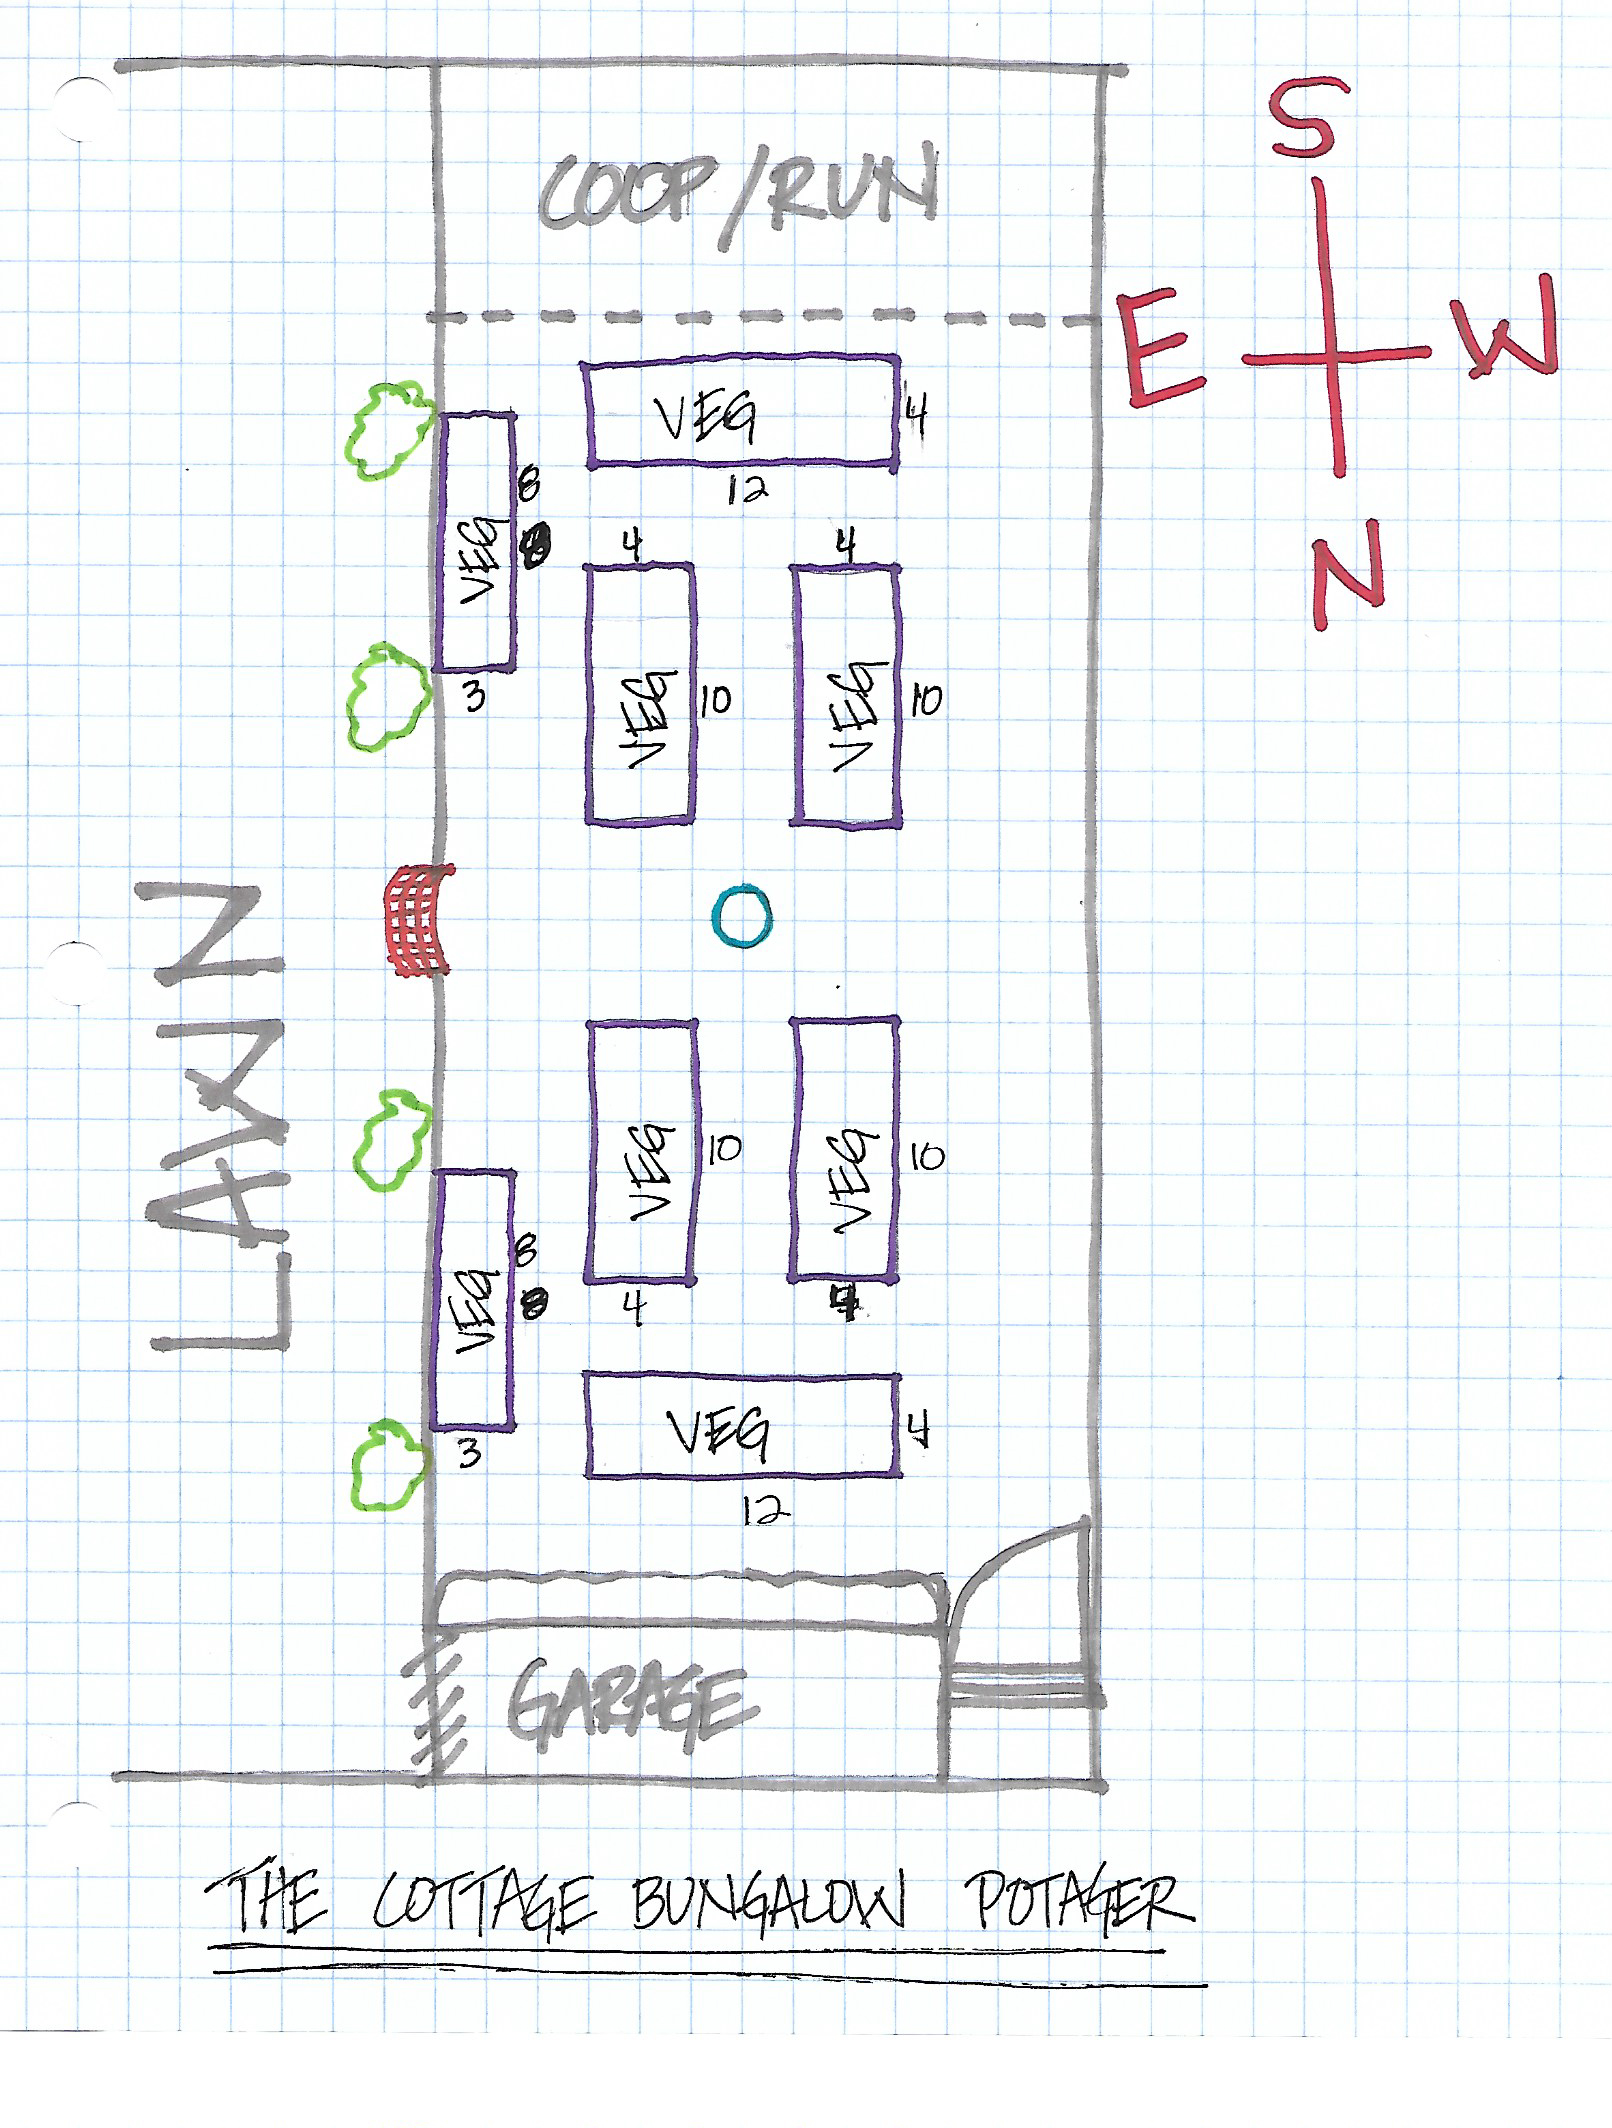
I’ve always loved the look of L shaped beds and thought they would be great for our space. But, in the end I decided against the L shaped beds in favor of various rectangular shaped beds. This new layout allows for a better flow and better use of our space since it’s quite a long narrow shape. It also enabled me to squeeze in a couple more beds.
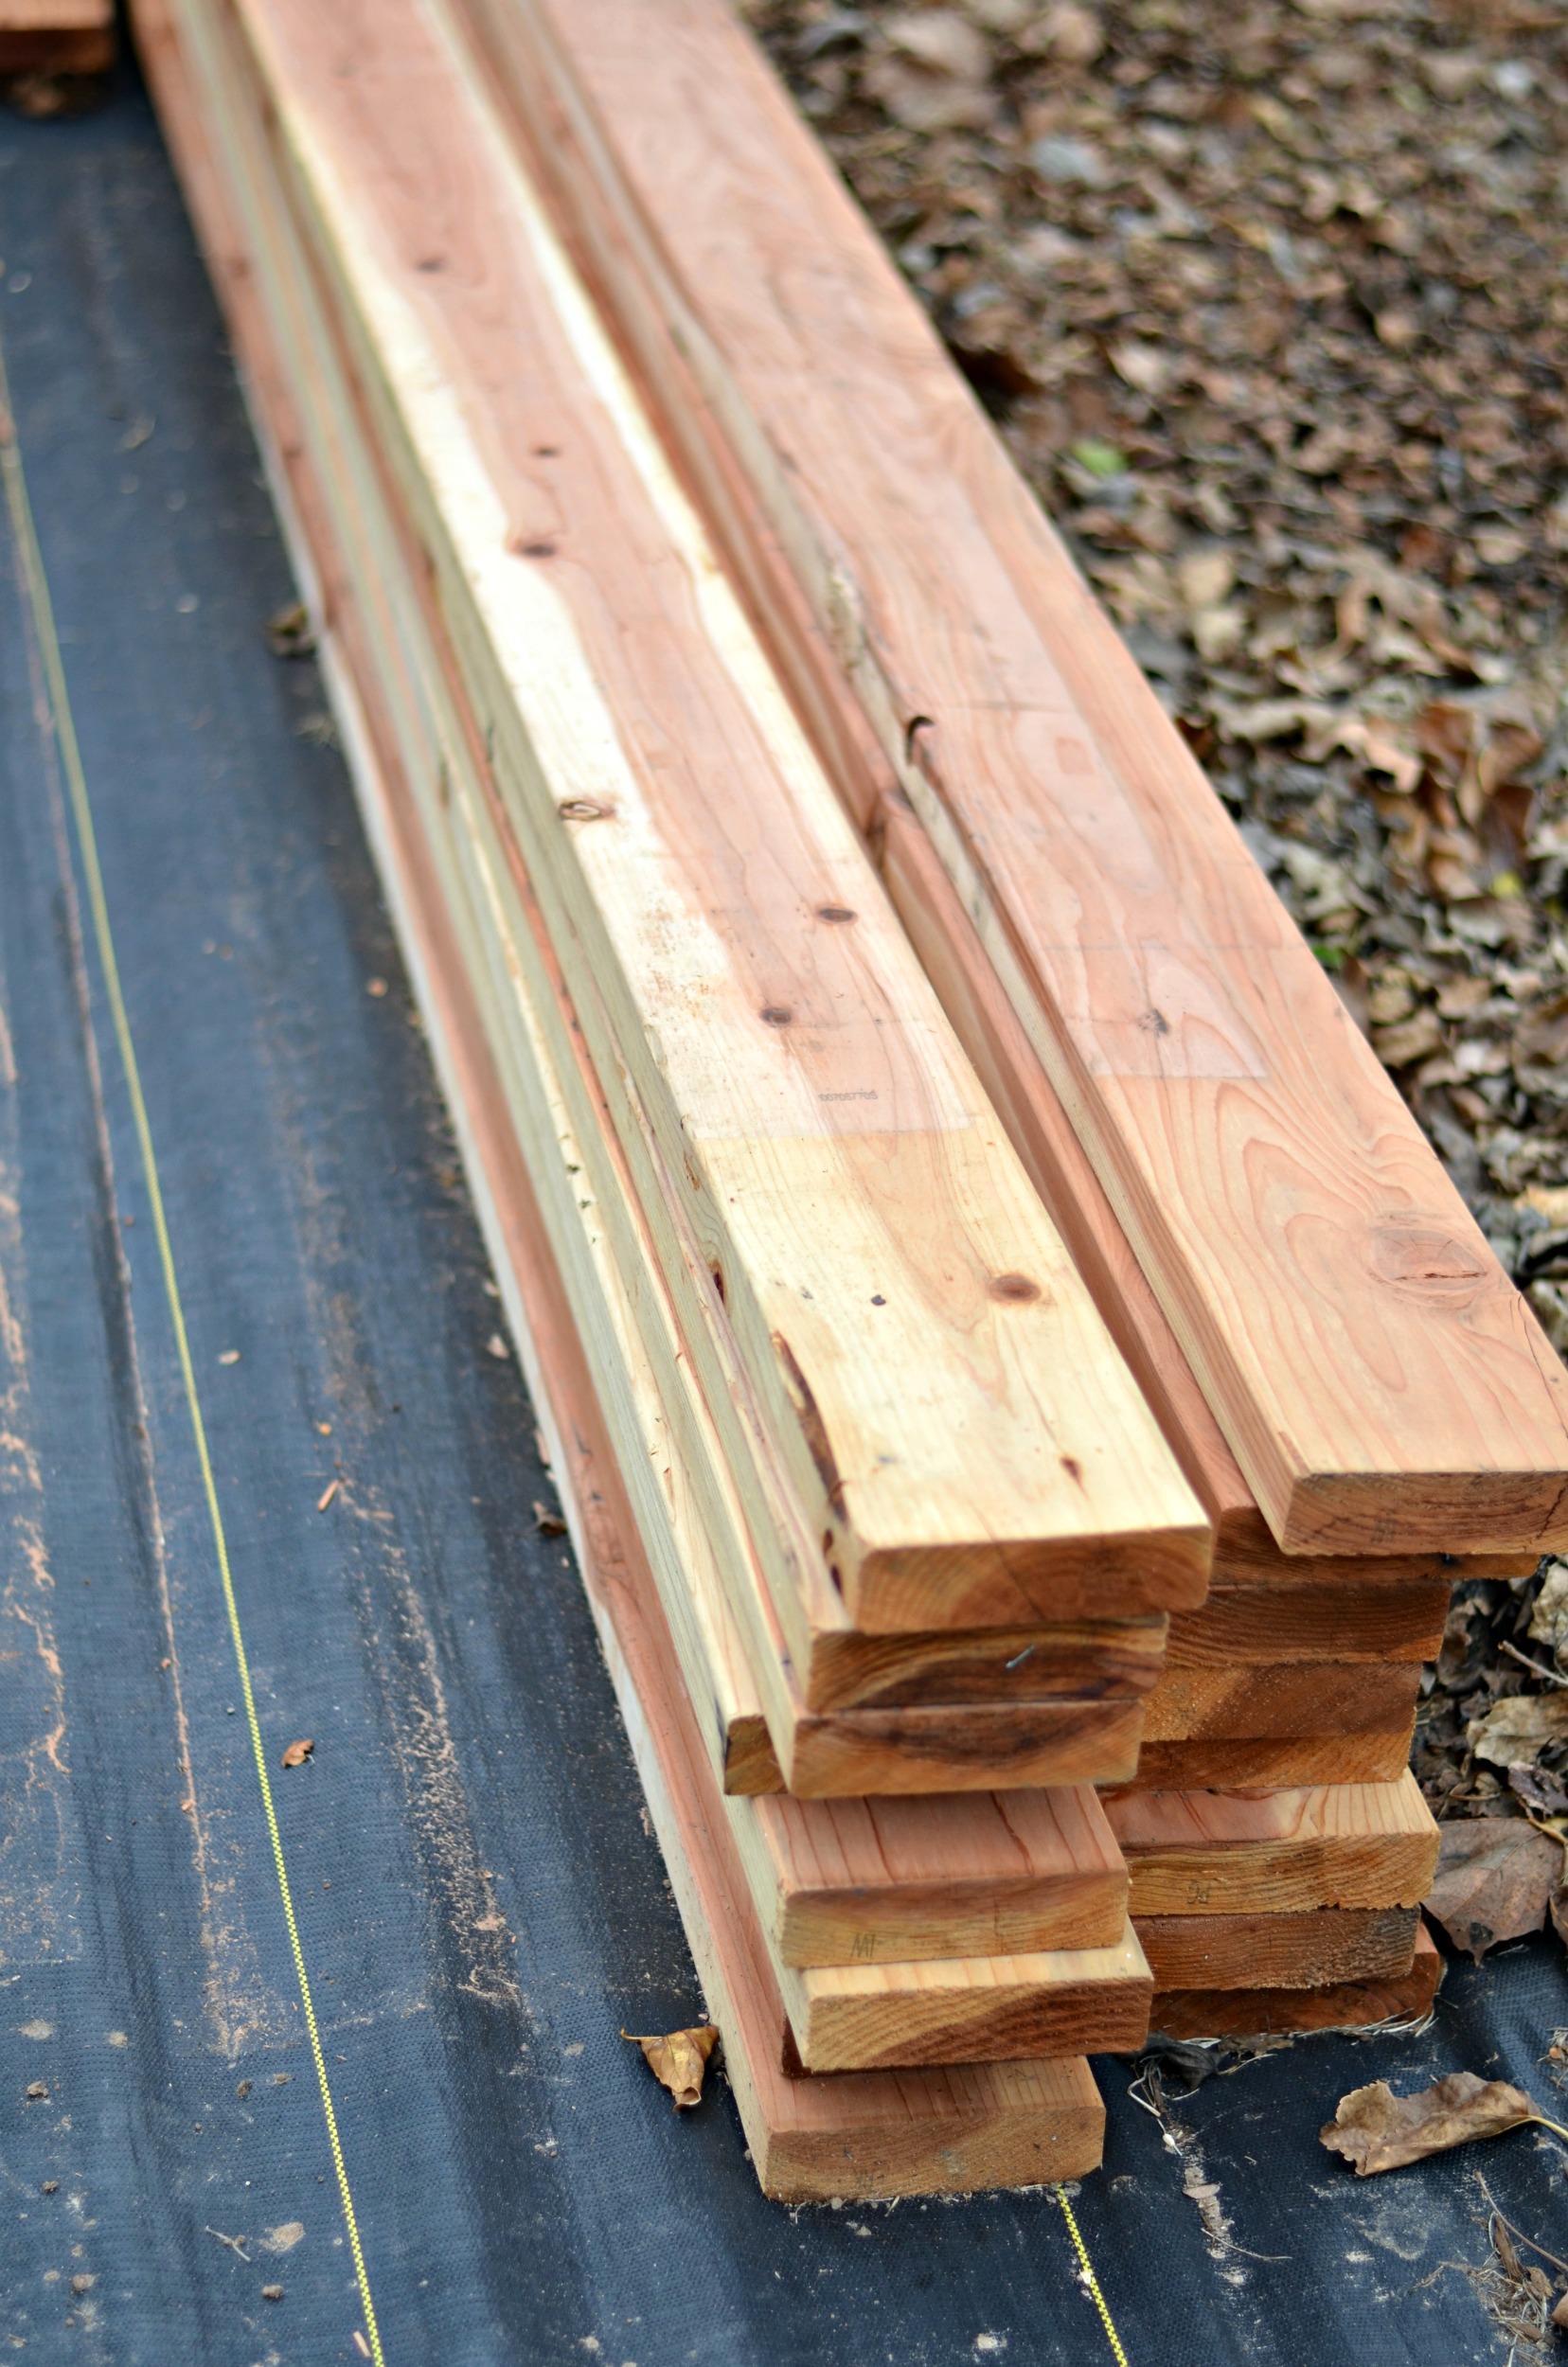
With the new plan in place I got started plotting the construction of the beds. I decided to order the wood from local lumber supplier, Berco Redwood, and went with 2 x 6 smooth common construction boards in various lengths. Since I wanted the beds to look decent, but not necessarily be aesthetically “perfect”, common construction boards would serve just fine. Also I needed A LOT of wood and these were the most cost effective option. They are super varied and come with lots of knots so if you want a more finished look you may want to choose a higher grade of wood. I priced out what it would cost to source the wood at Home Depot as well and it was a much better price to order in bulk locally. Also we purchased our redwood through Berco when we rebuilt the fence so I knew them to be trusted source with a great quality product.
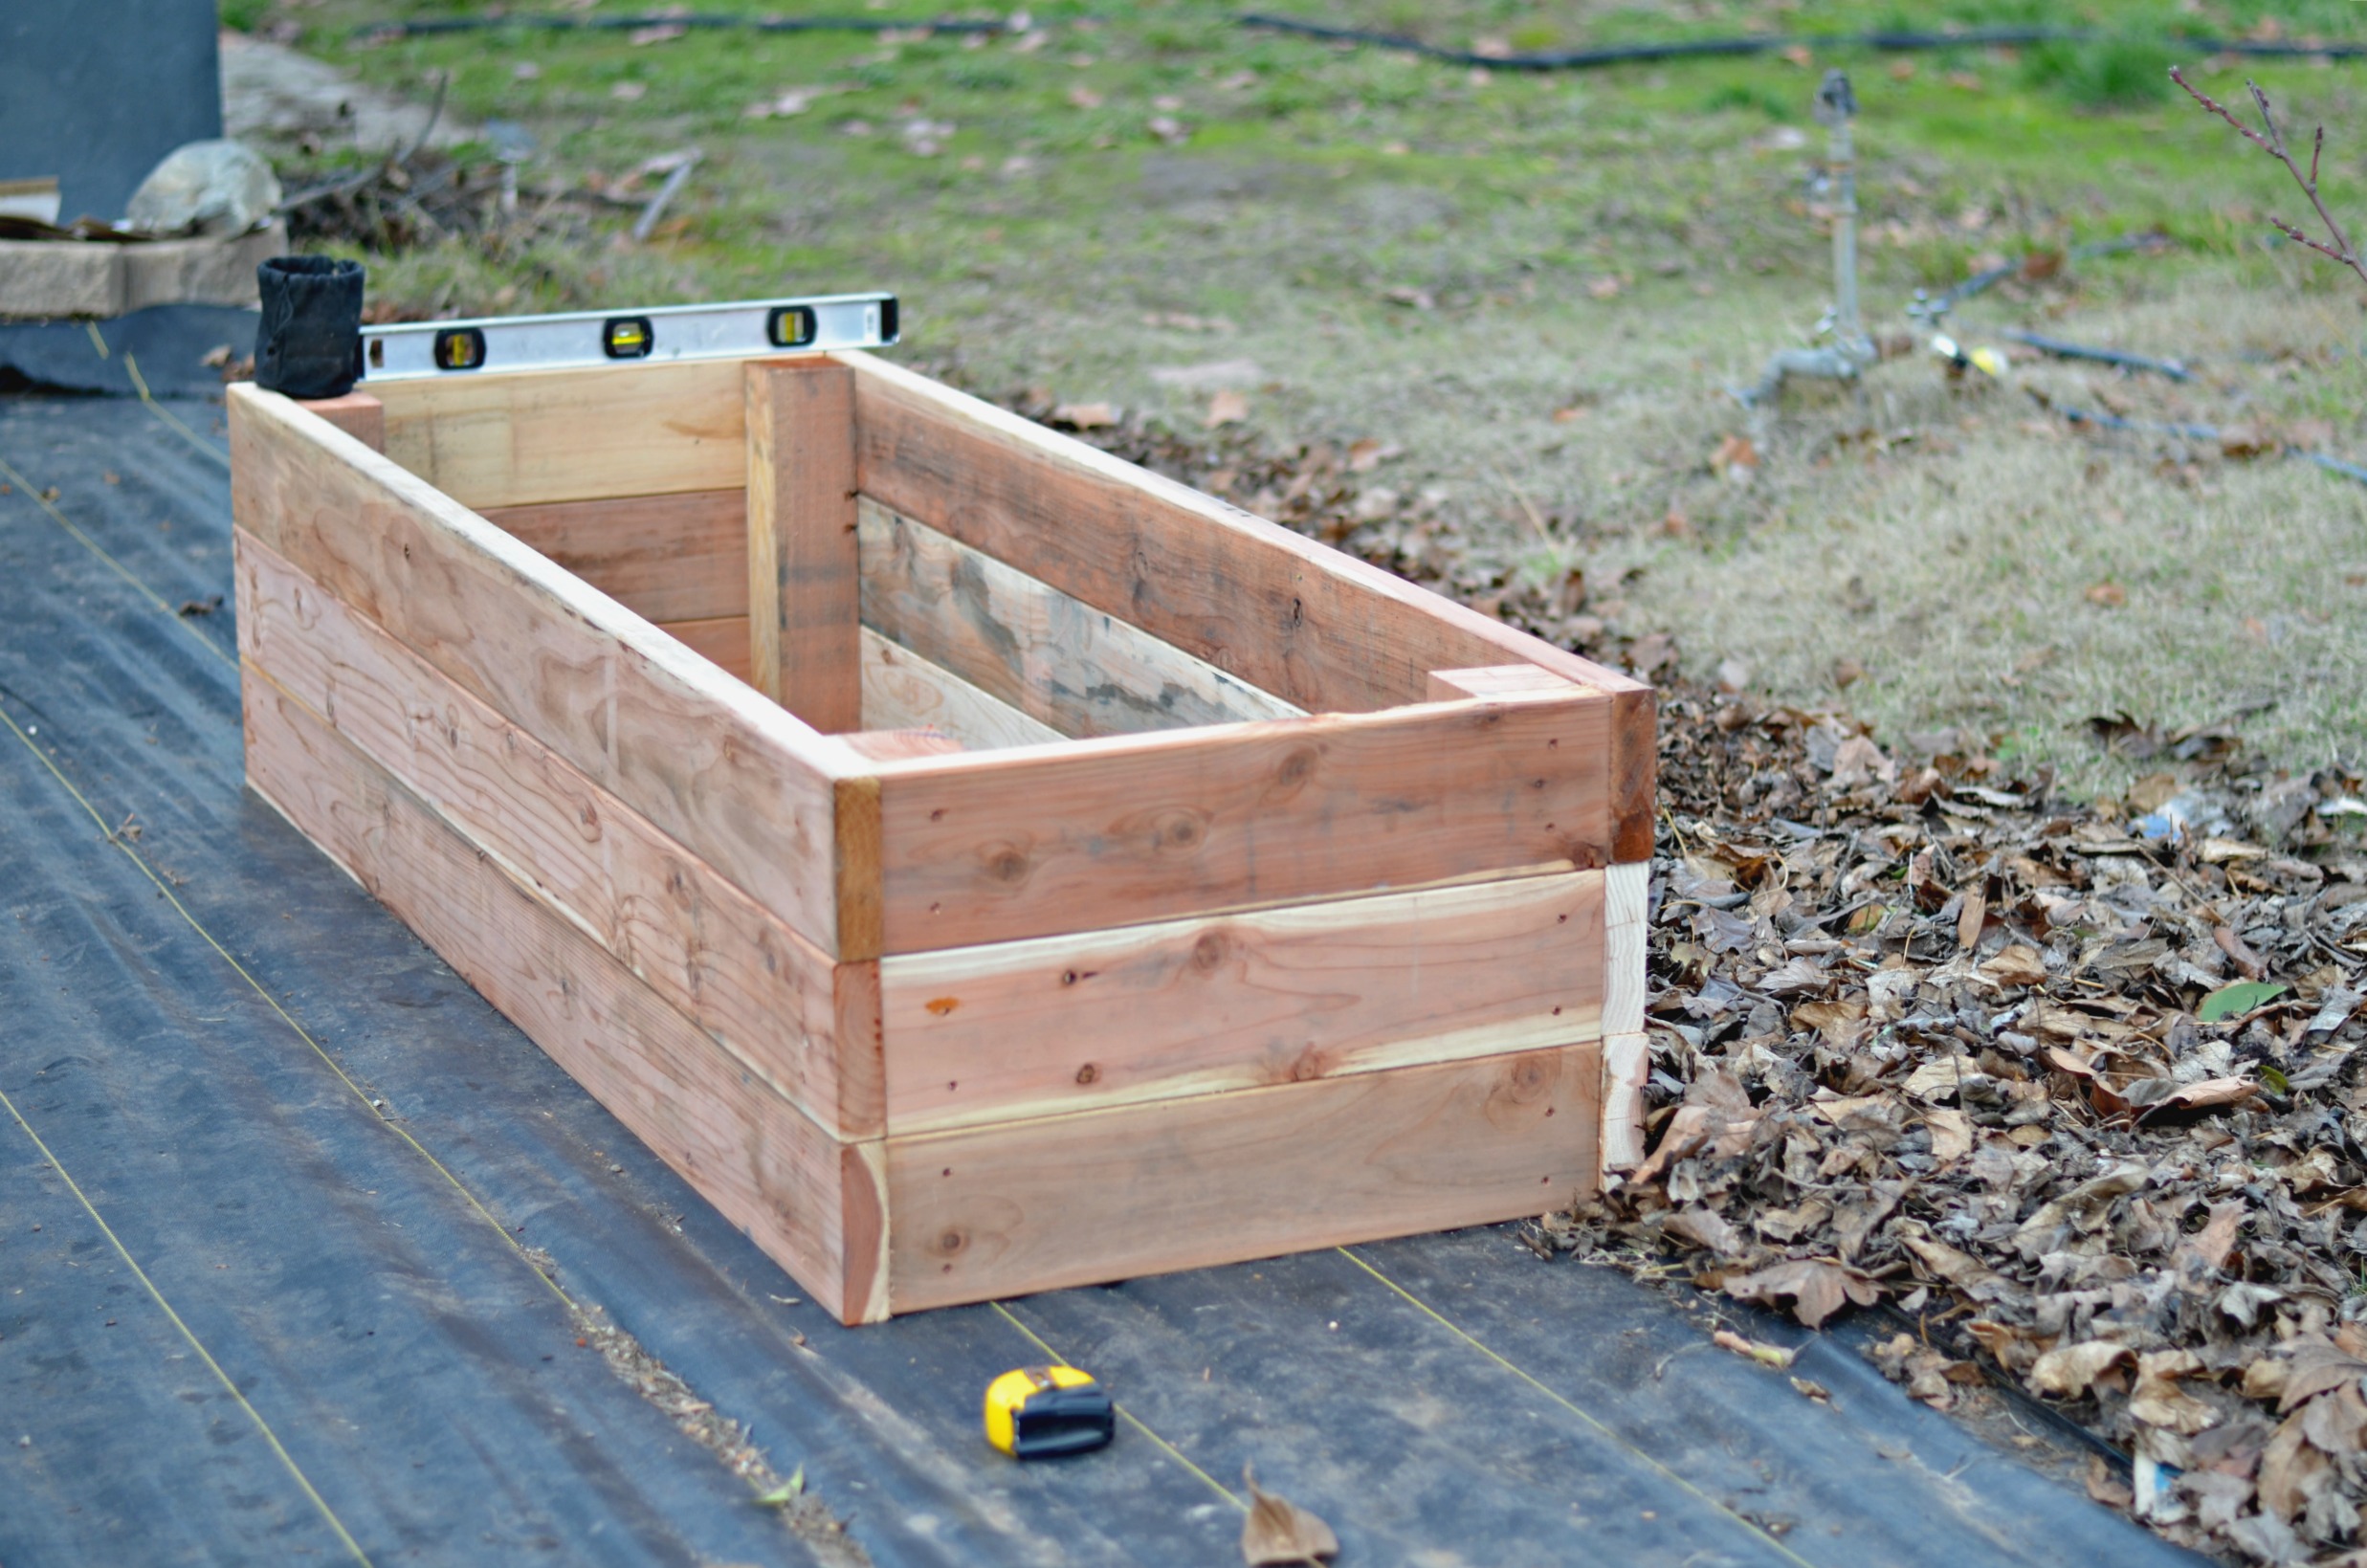
After a lot of thought I decided to make the beds three boards high so they would be 18 inches tall (which actually ends up being 16 1/2 inches tall because 6 inch wide boards are really only 5 1/2 inches wide). I took the advice of fellow garden friends on this one and decided the initial investment to make the beds taller would be worth it in the end. Plus, I have some pretty serious back issues to consider and a taller bed means much needed relief from bending so low.
The six main beds are all 4 ft wide and either 12 or 10 ft long, and two smaller beds are 2 ft wide and 6 ft long (even though I have them as 3 x 8 on the revised plan. 2 x 6 was a better fit in the end). After a crap ton of calculation and double and triple checking my very sketchy math skills, I ordered the wood based on sizing that would require the least amount of cuts. I basically only wanted to have to cut the boards I would be using for the short sides (4 and 2 ft ends) of the beds and the corner supports. I ordered true lengths for the long sides of the beds. I used 4 x 4s for the corner supports of the beds which only came in 8 ft lengths so I ordered 7 to accommodate all the beds . I also used 2 1/2 inch decking screws. It was then time to get building.
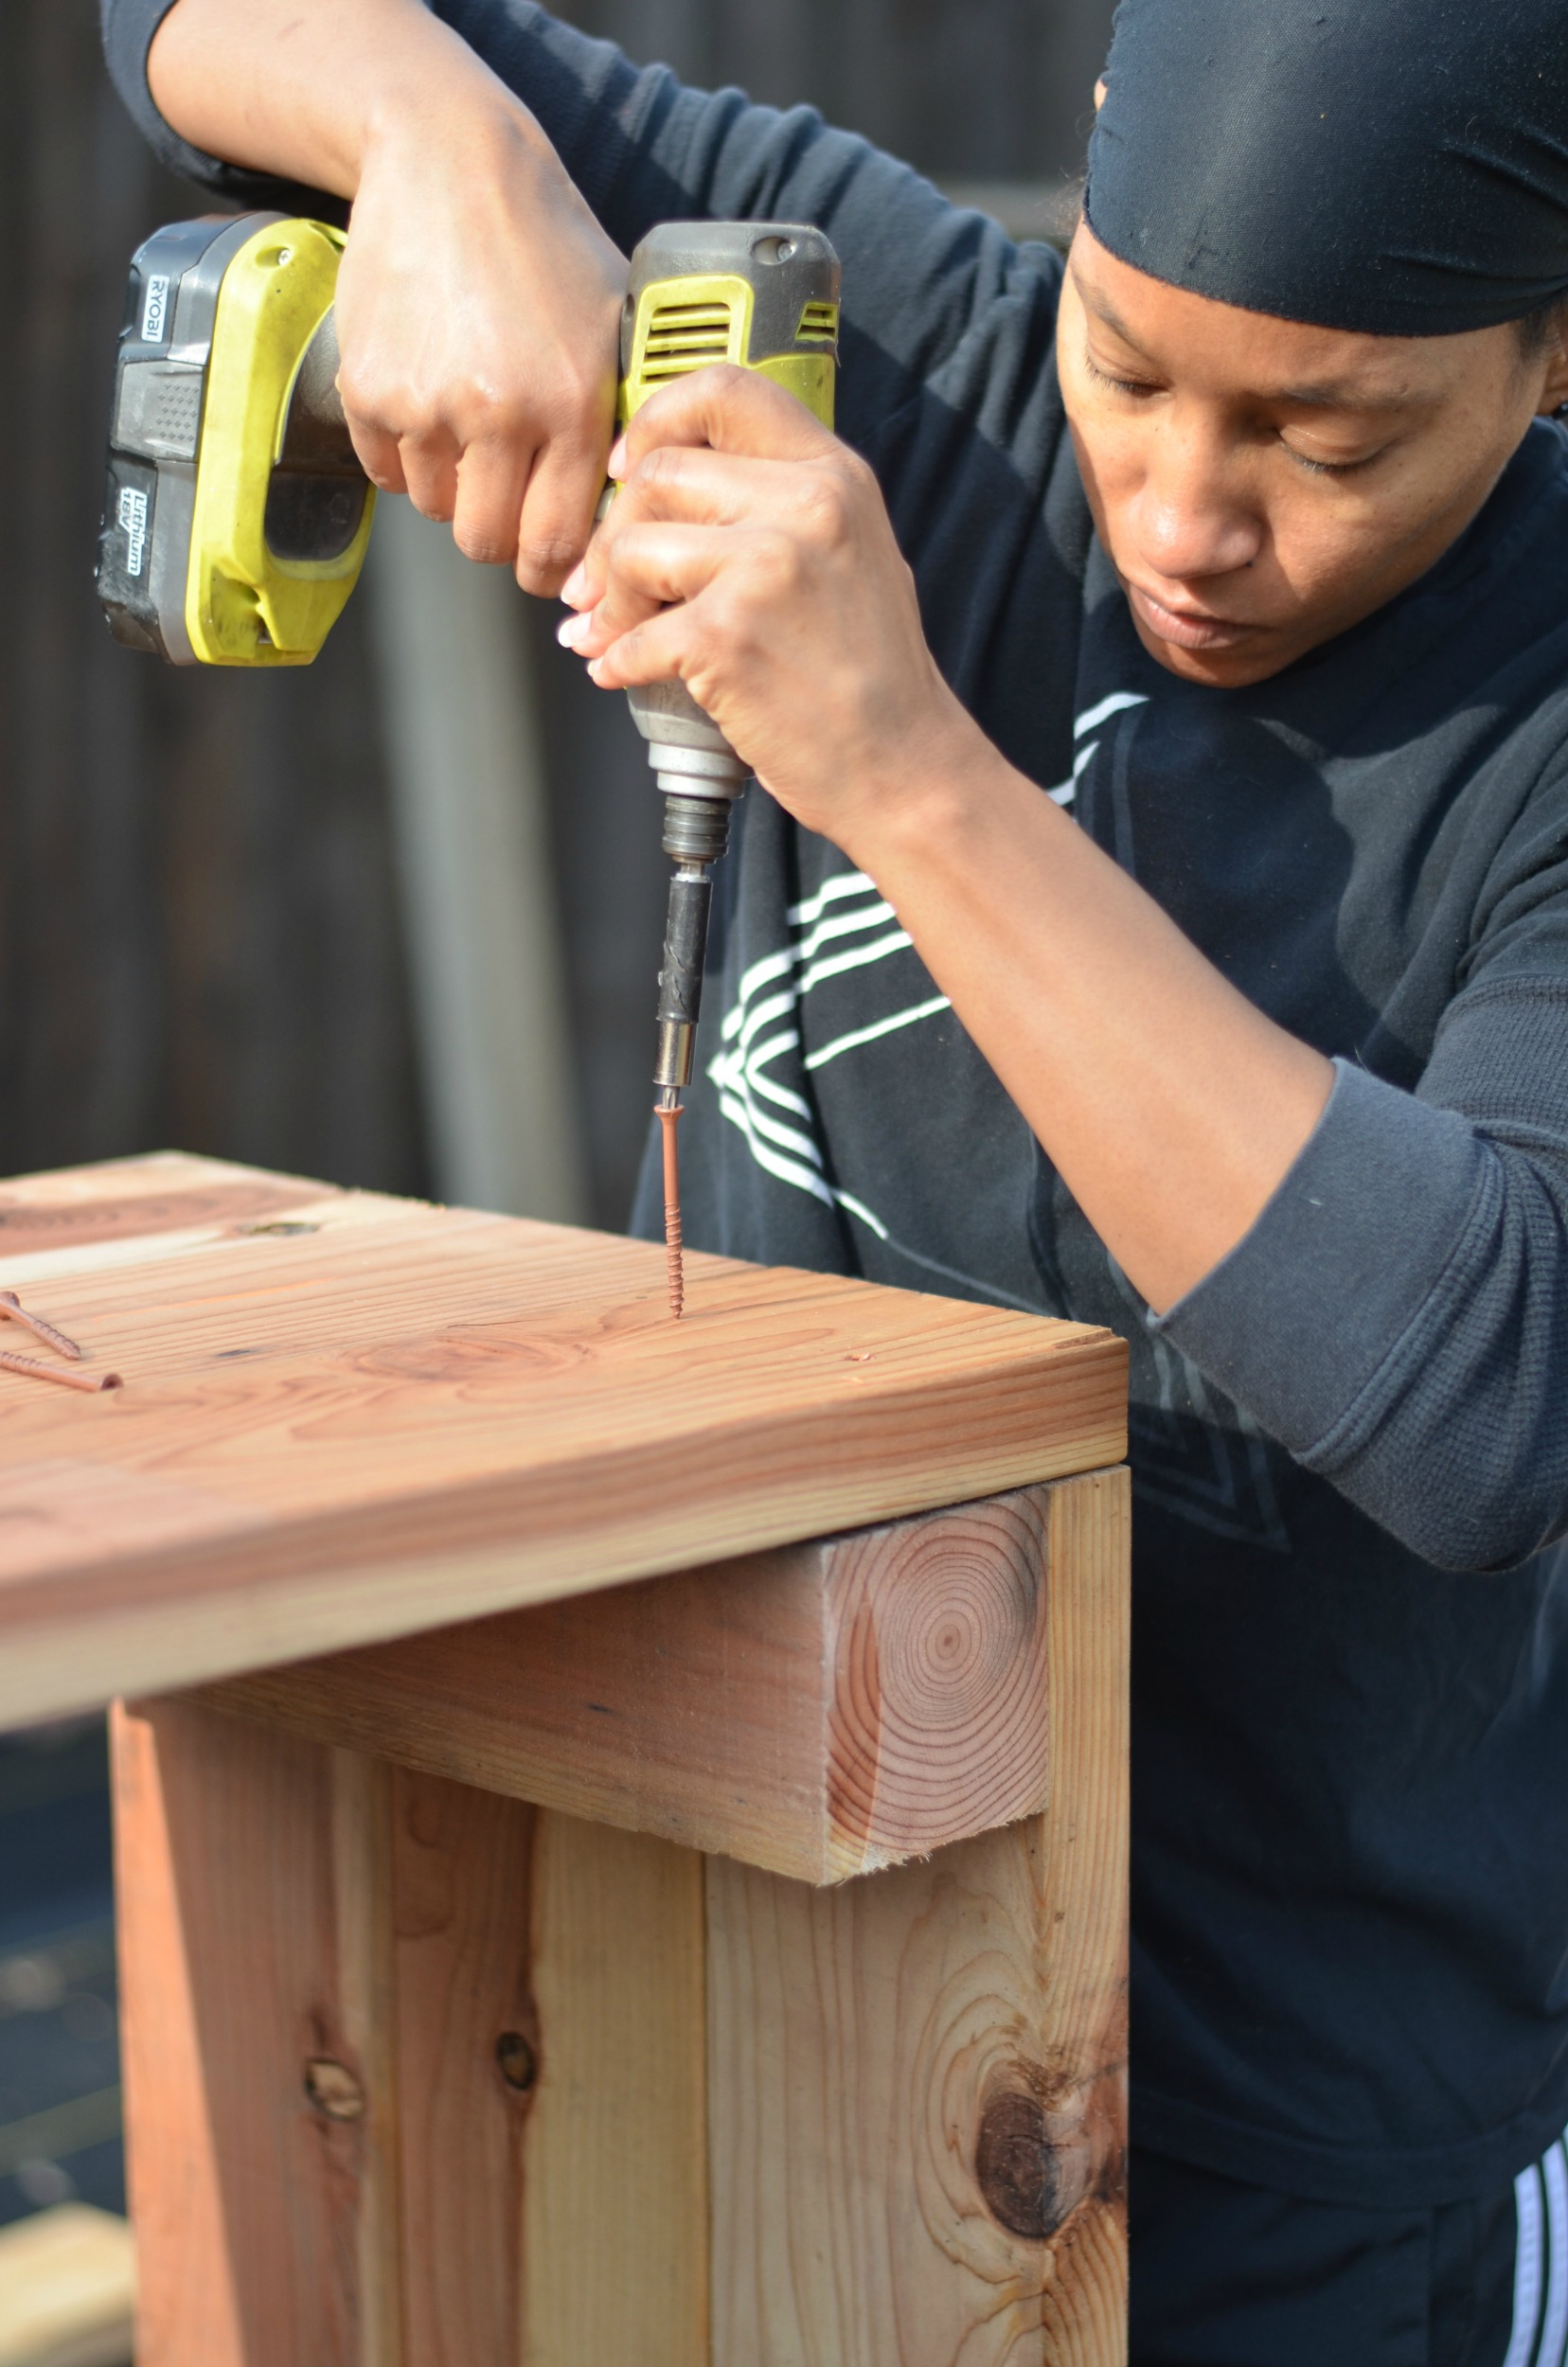
I built the beds over a period of three days doing a bit at a time each day. I got help from a neighbor friend the first day, solo built the second, and then had help from Naomi the third day. For the construction of the beds I followed Deanna’s garden bed build guide. It was incredibly straight forward and very easy. Time consuming, but easy.
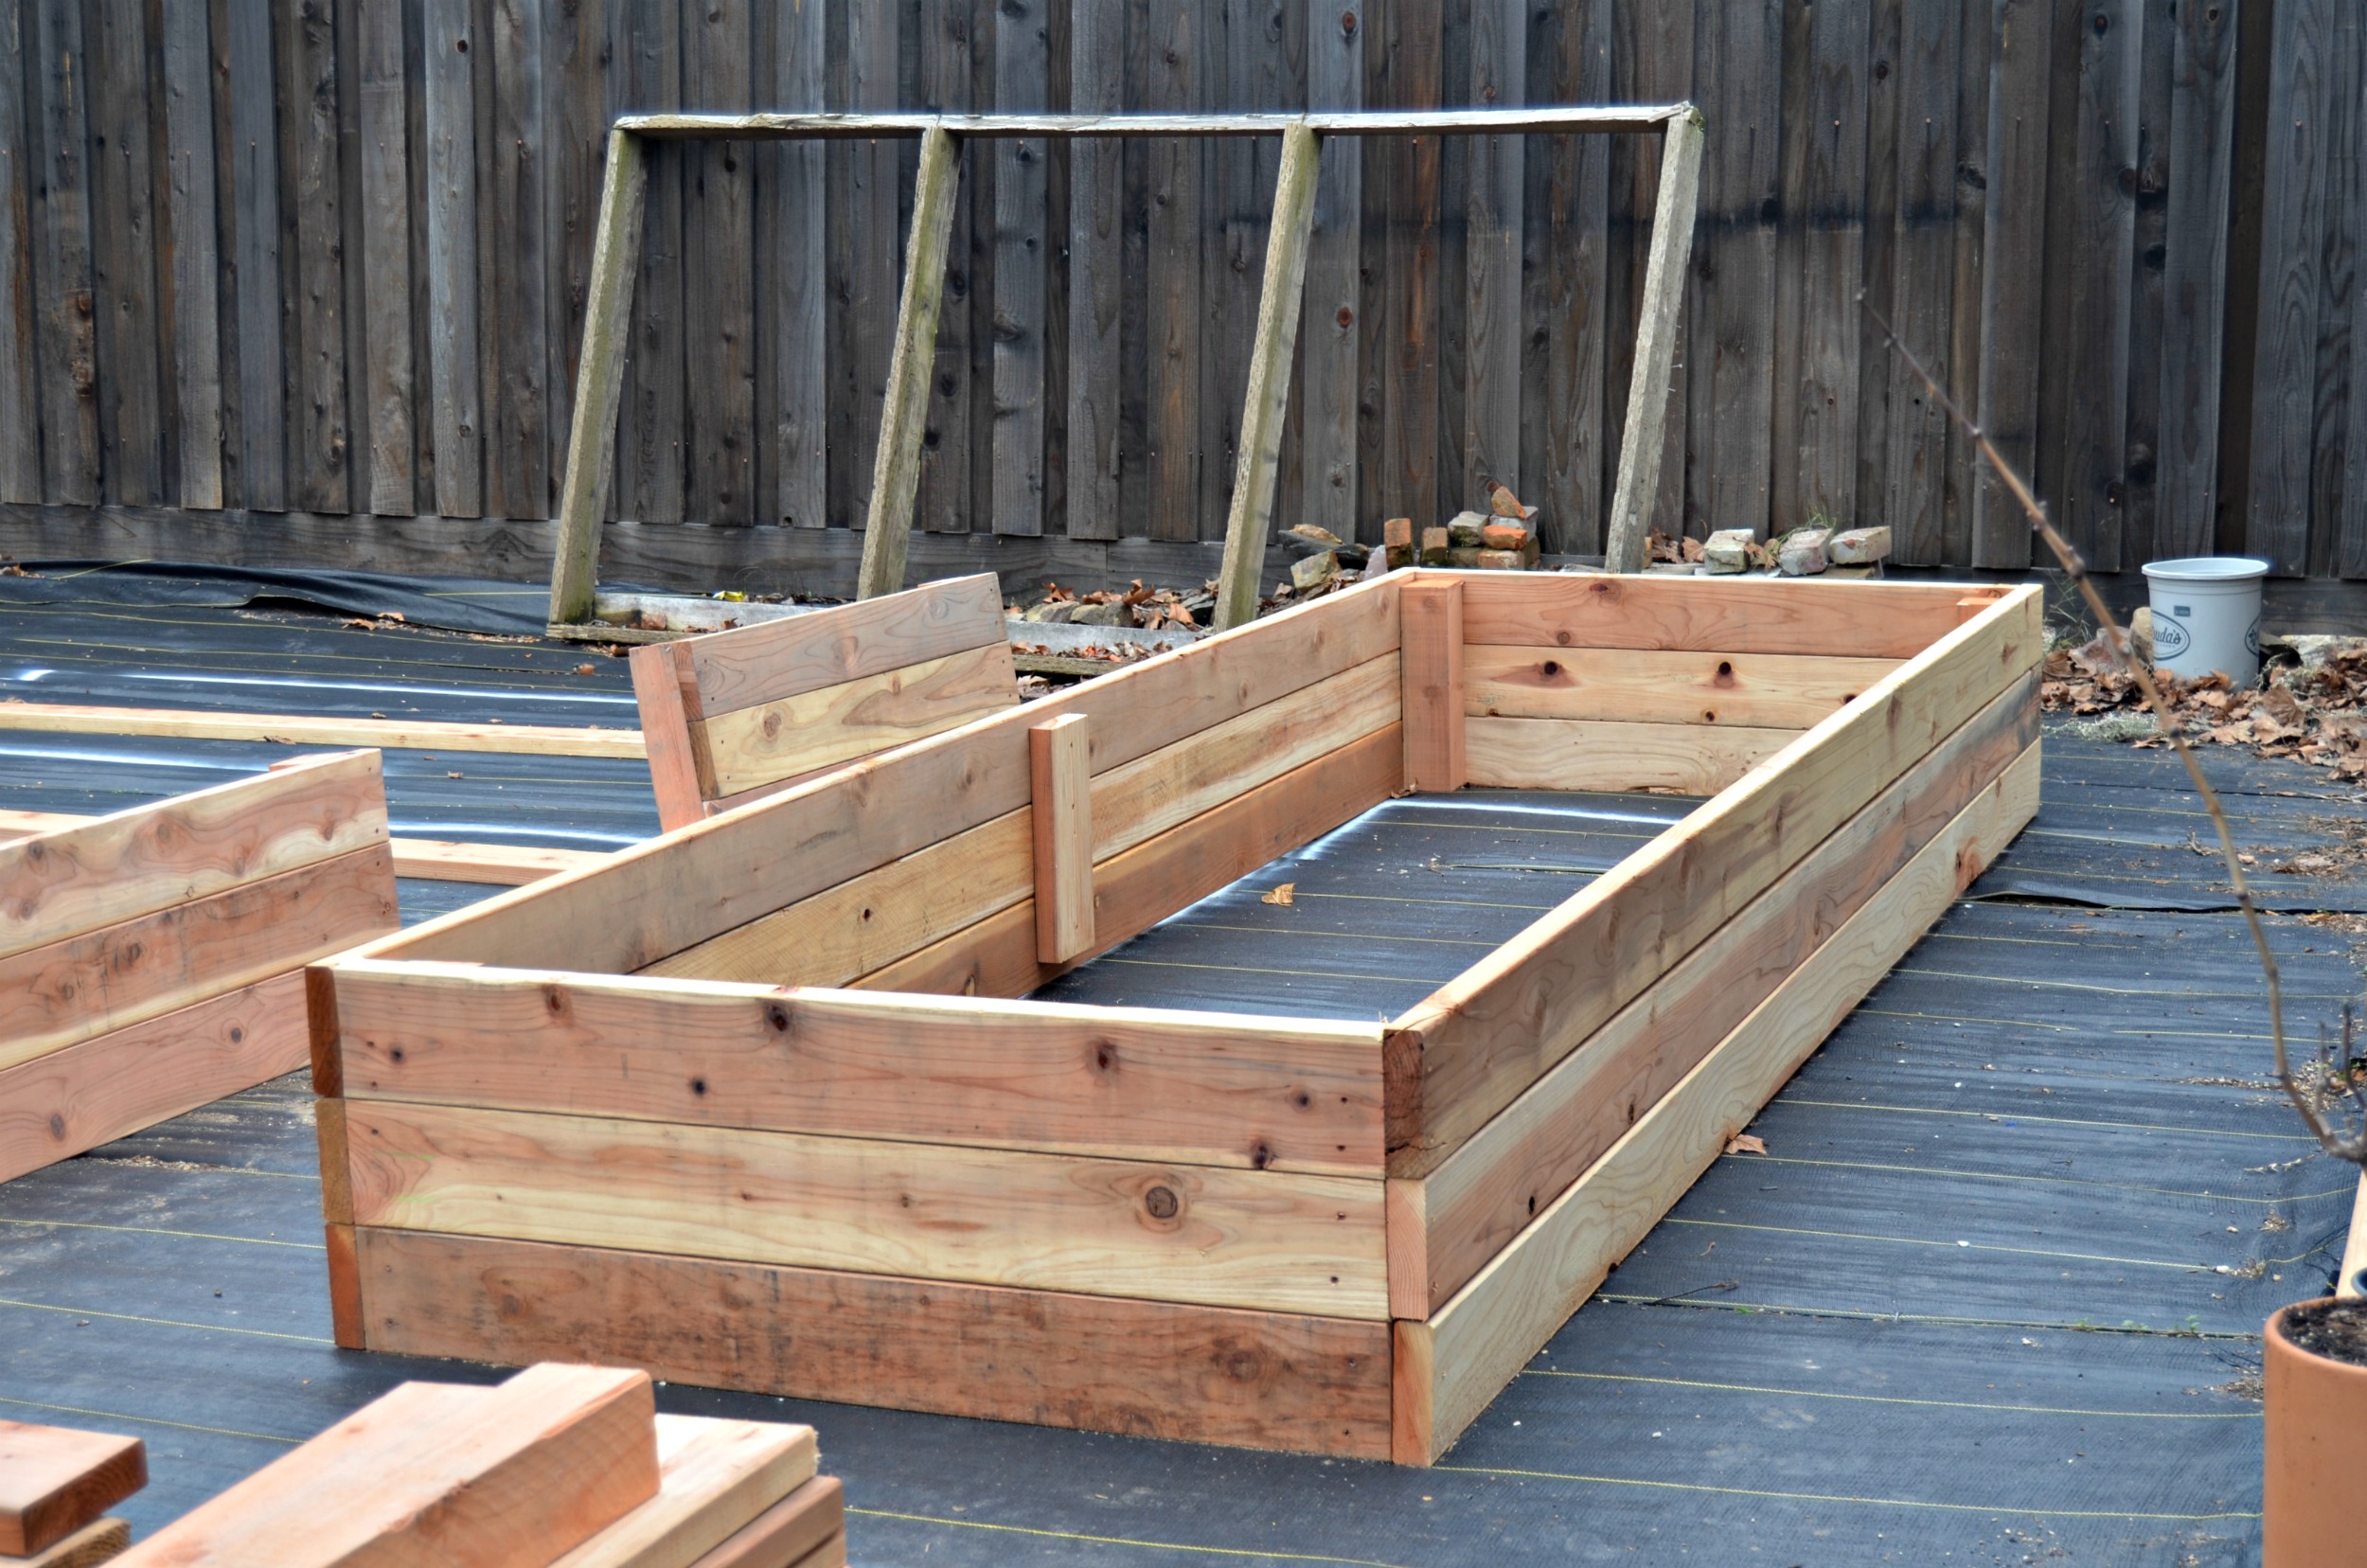
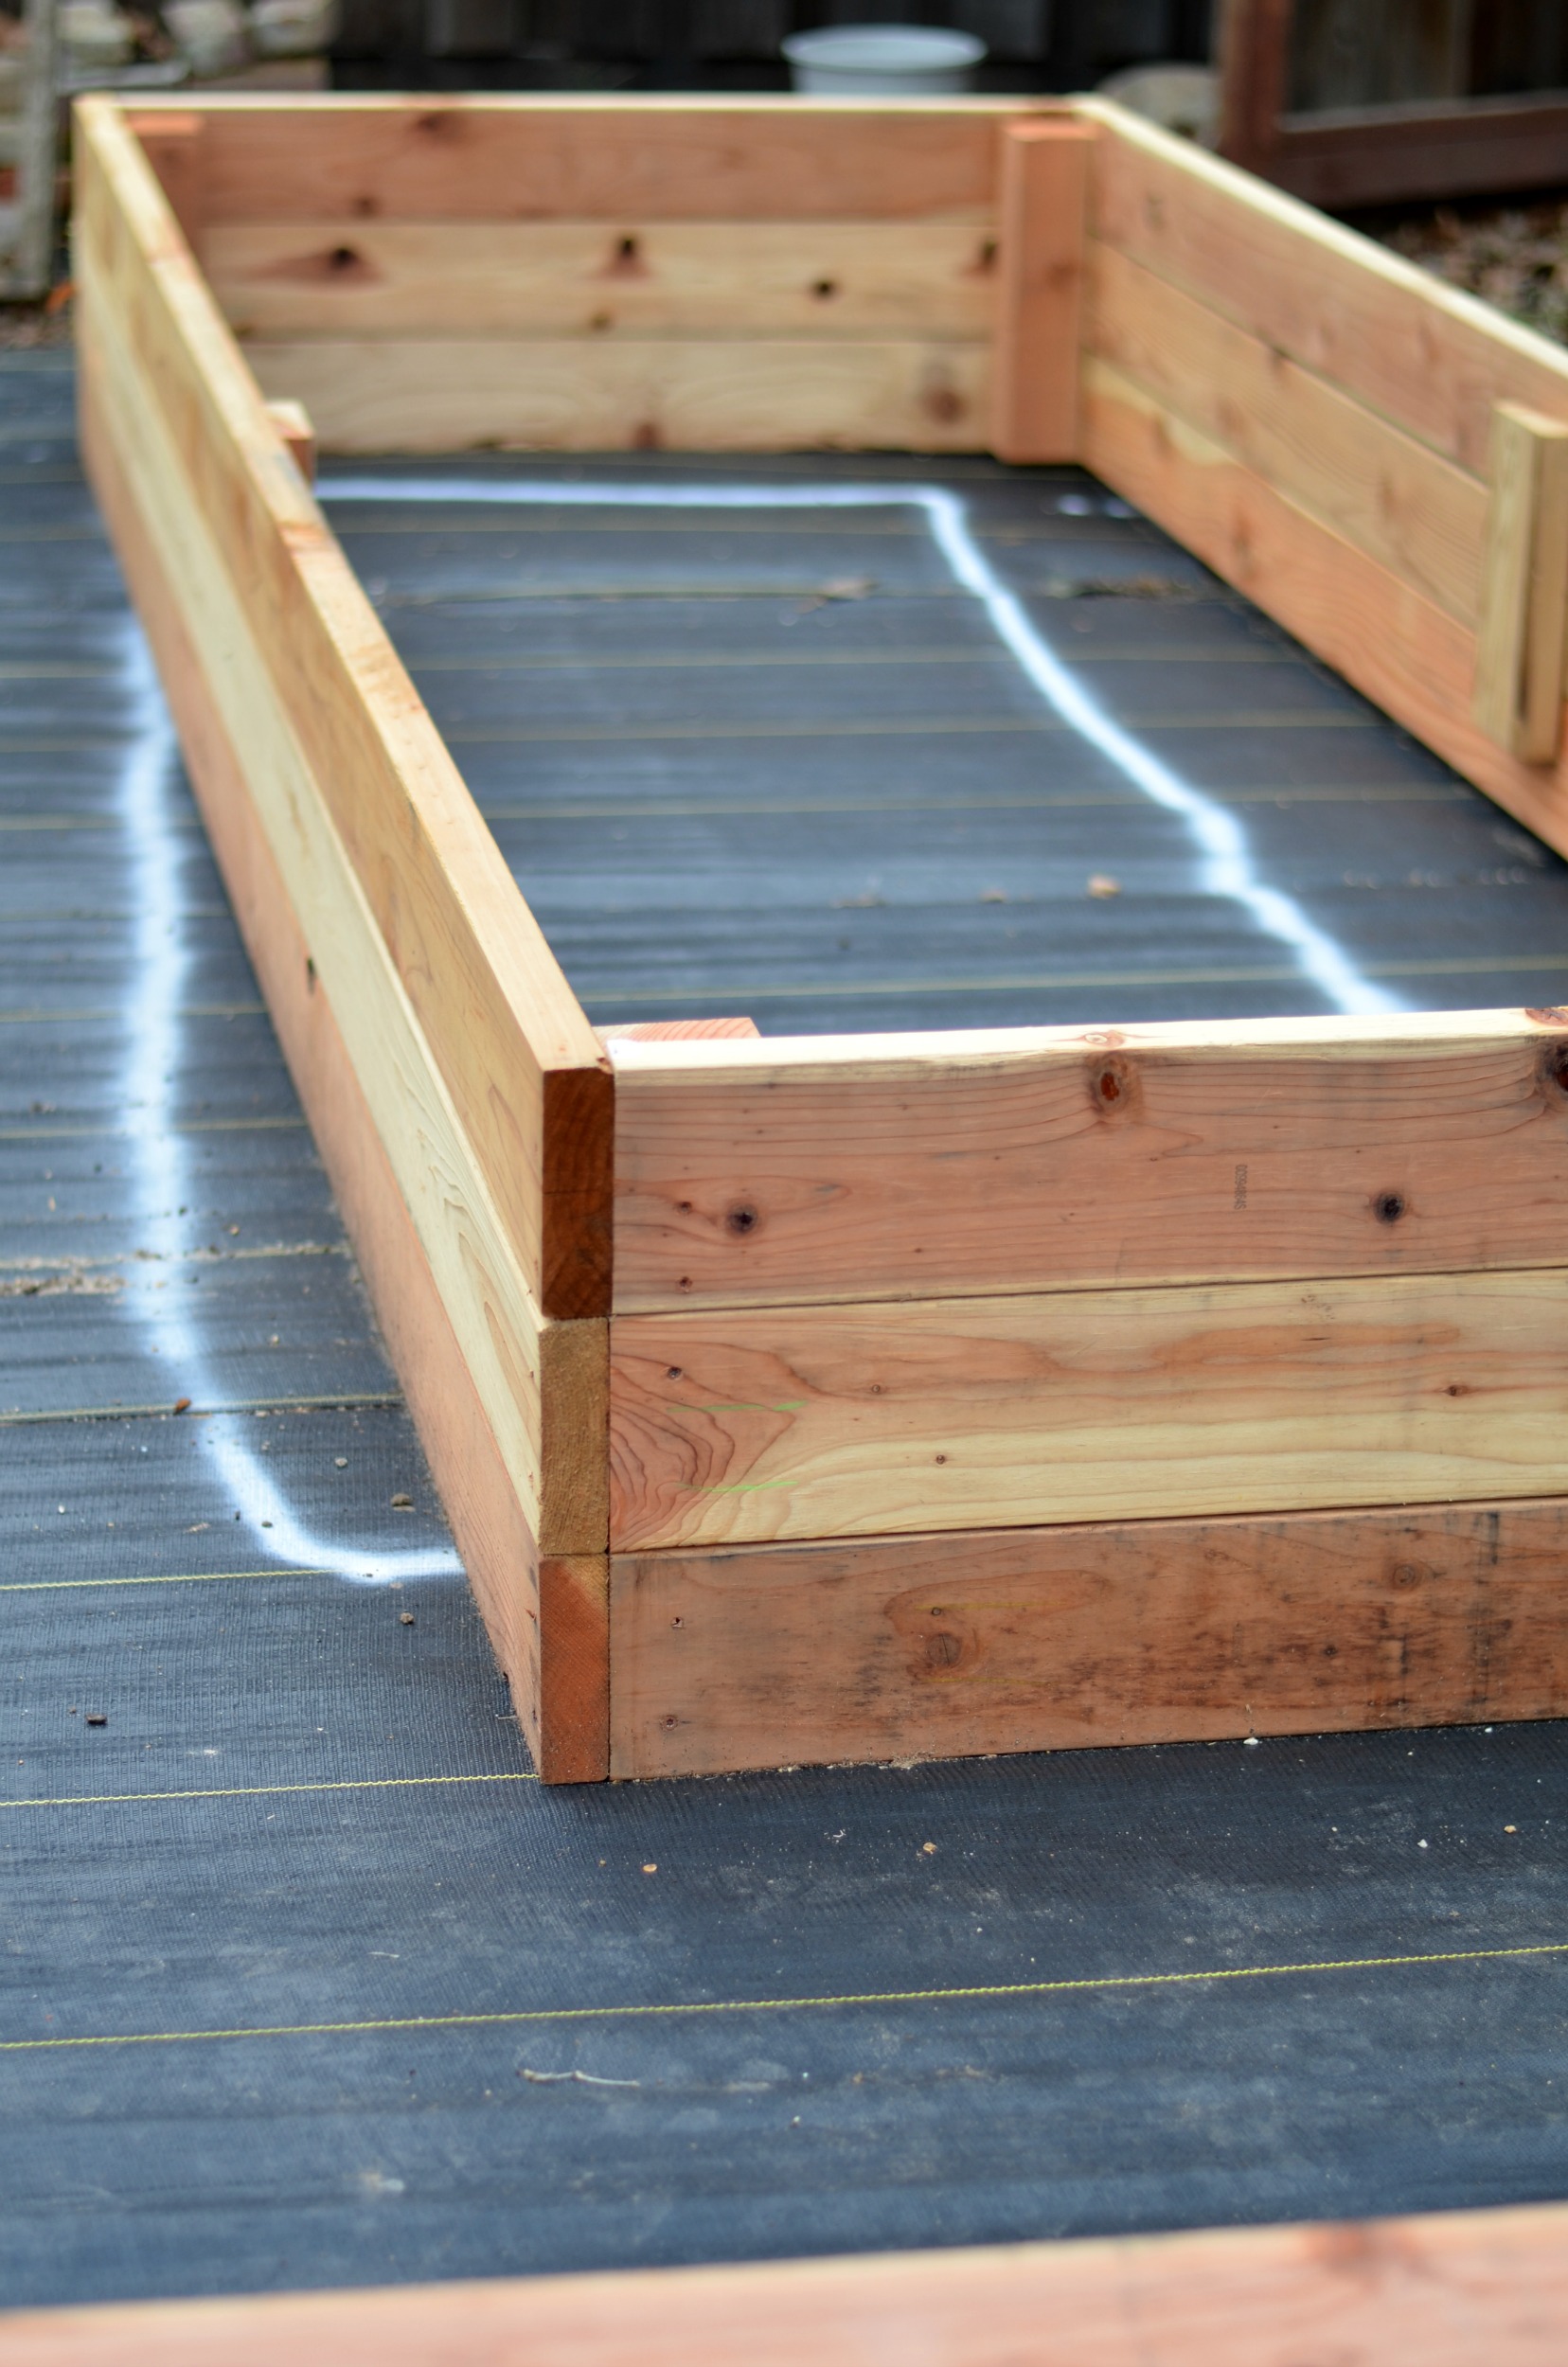
My neighbor friend helped me build the two 12 ft beds which are located at either end of the garden area. The first bed took FOR- E- VERRR to build….also I totally messed up in some areas but in the end we built a sturdy solid bed. Once we got that first bed built I got my bearings and the rest was smooth sailing. Because all of the beds are so long I decided to use leftover pieces of 2 x 6 from making cuts as extra support along the center of the sides.
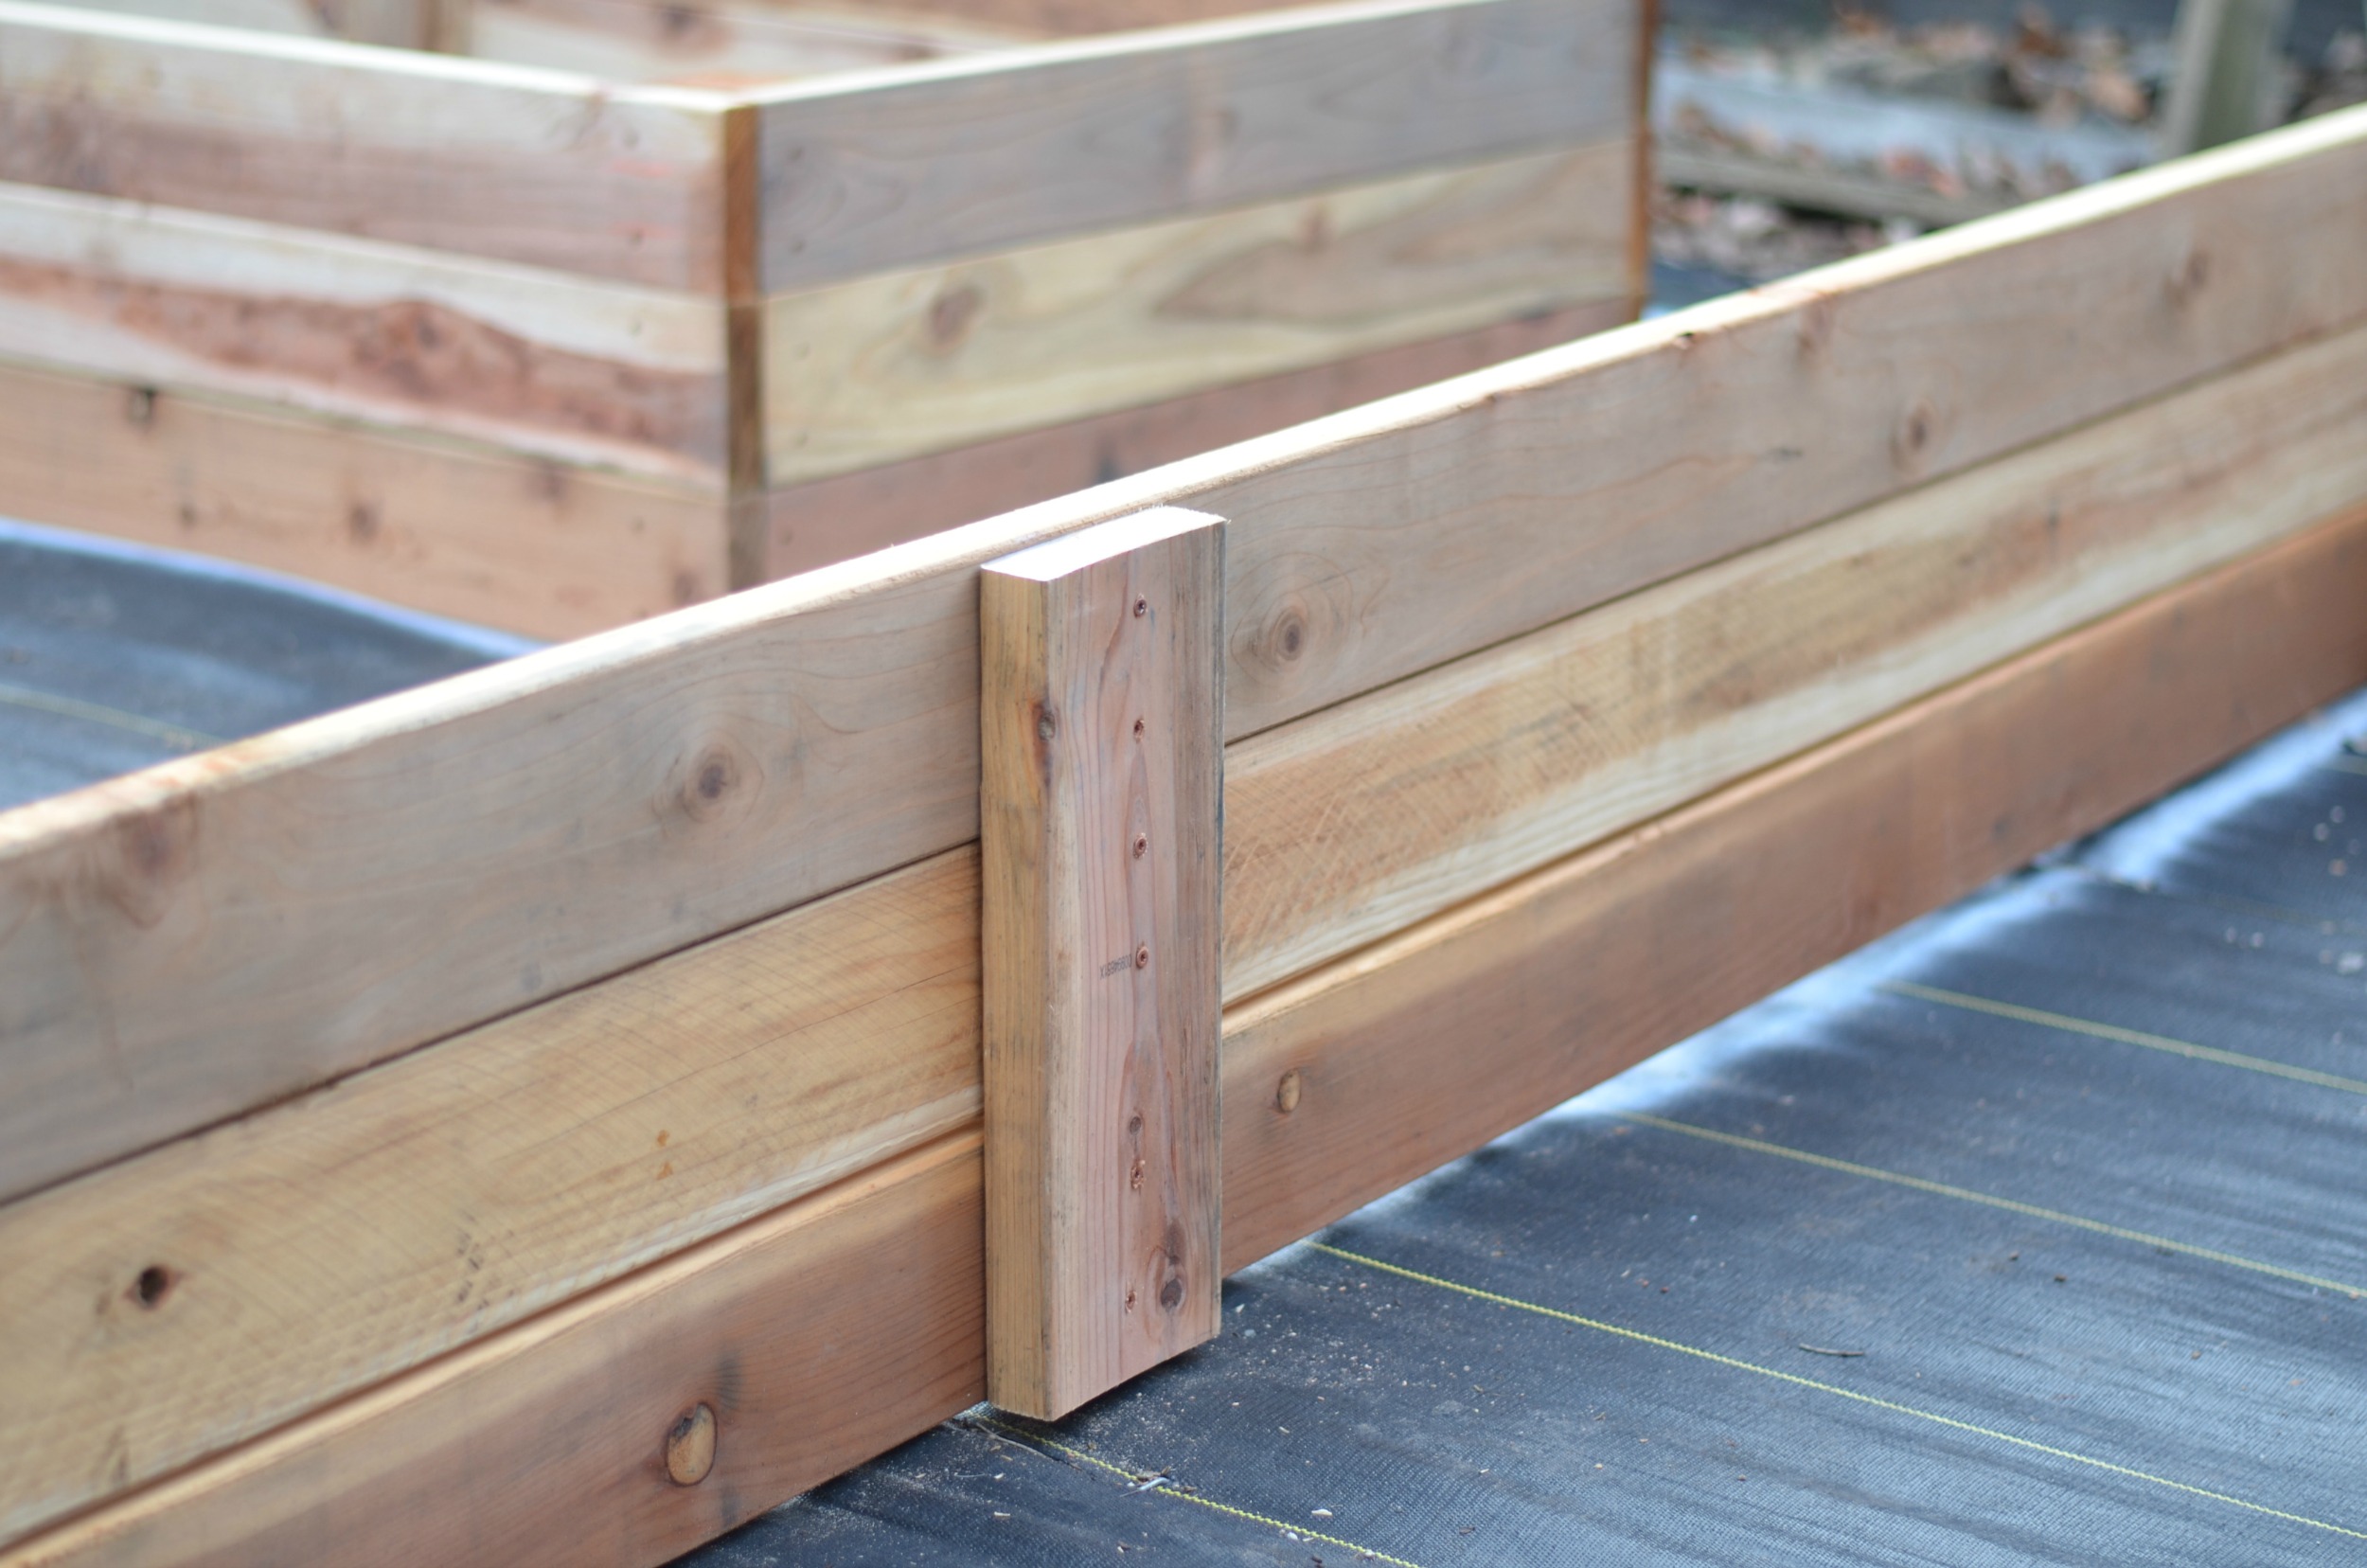
I changed up the sizing after building the first bed so it runs the entire depth of the bed for better support.
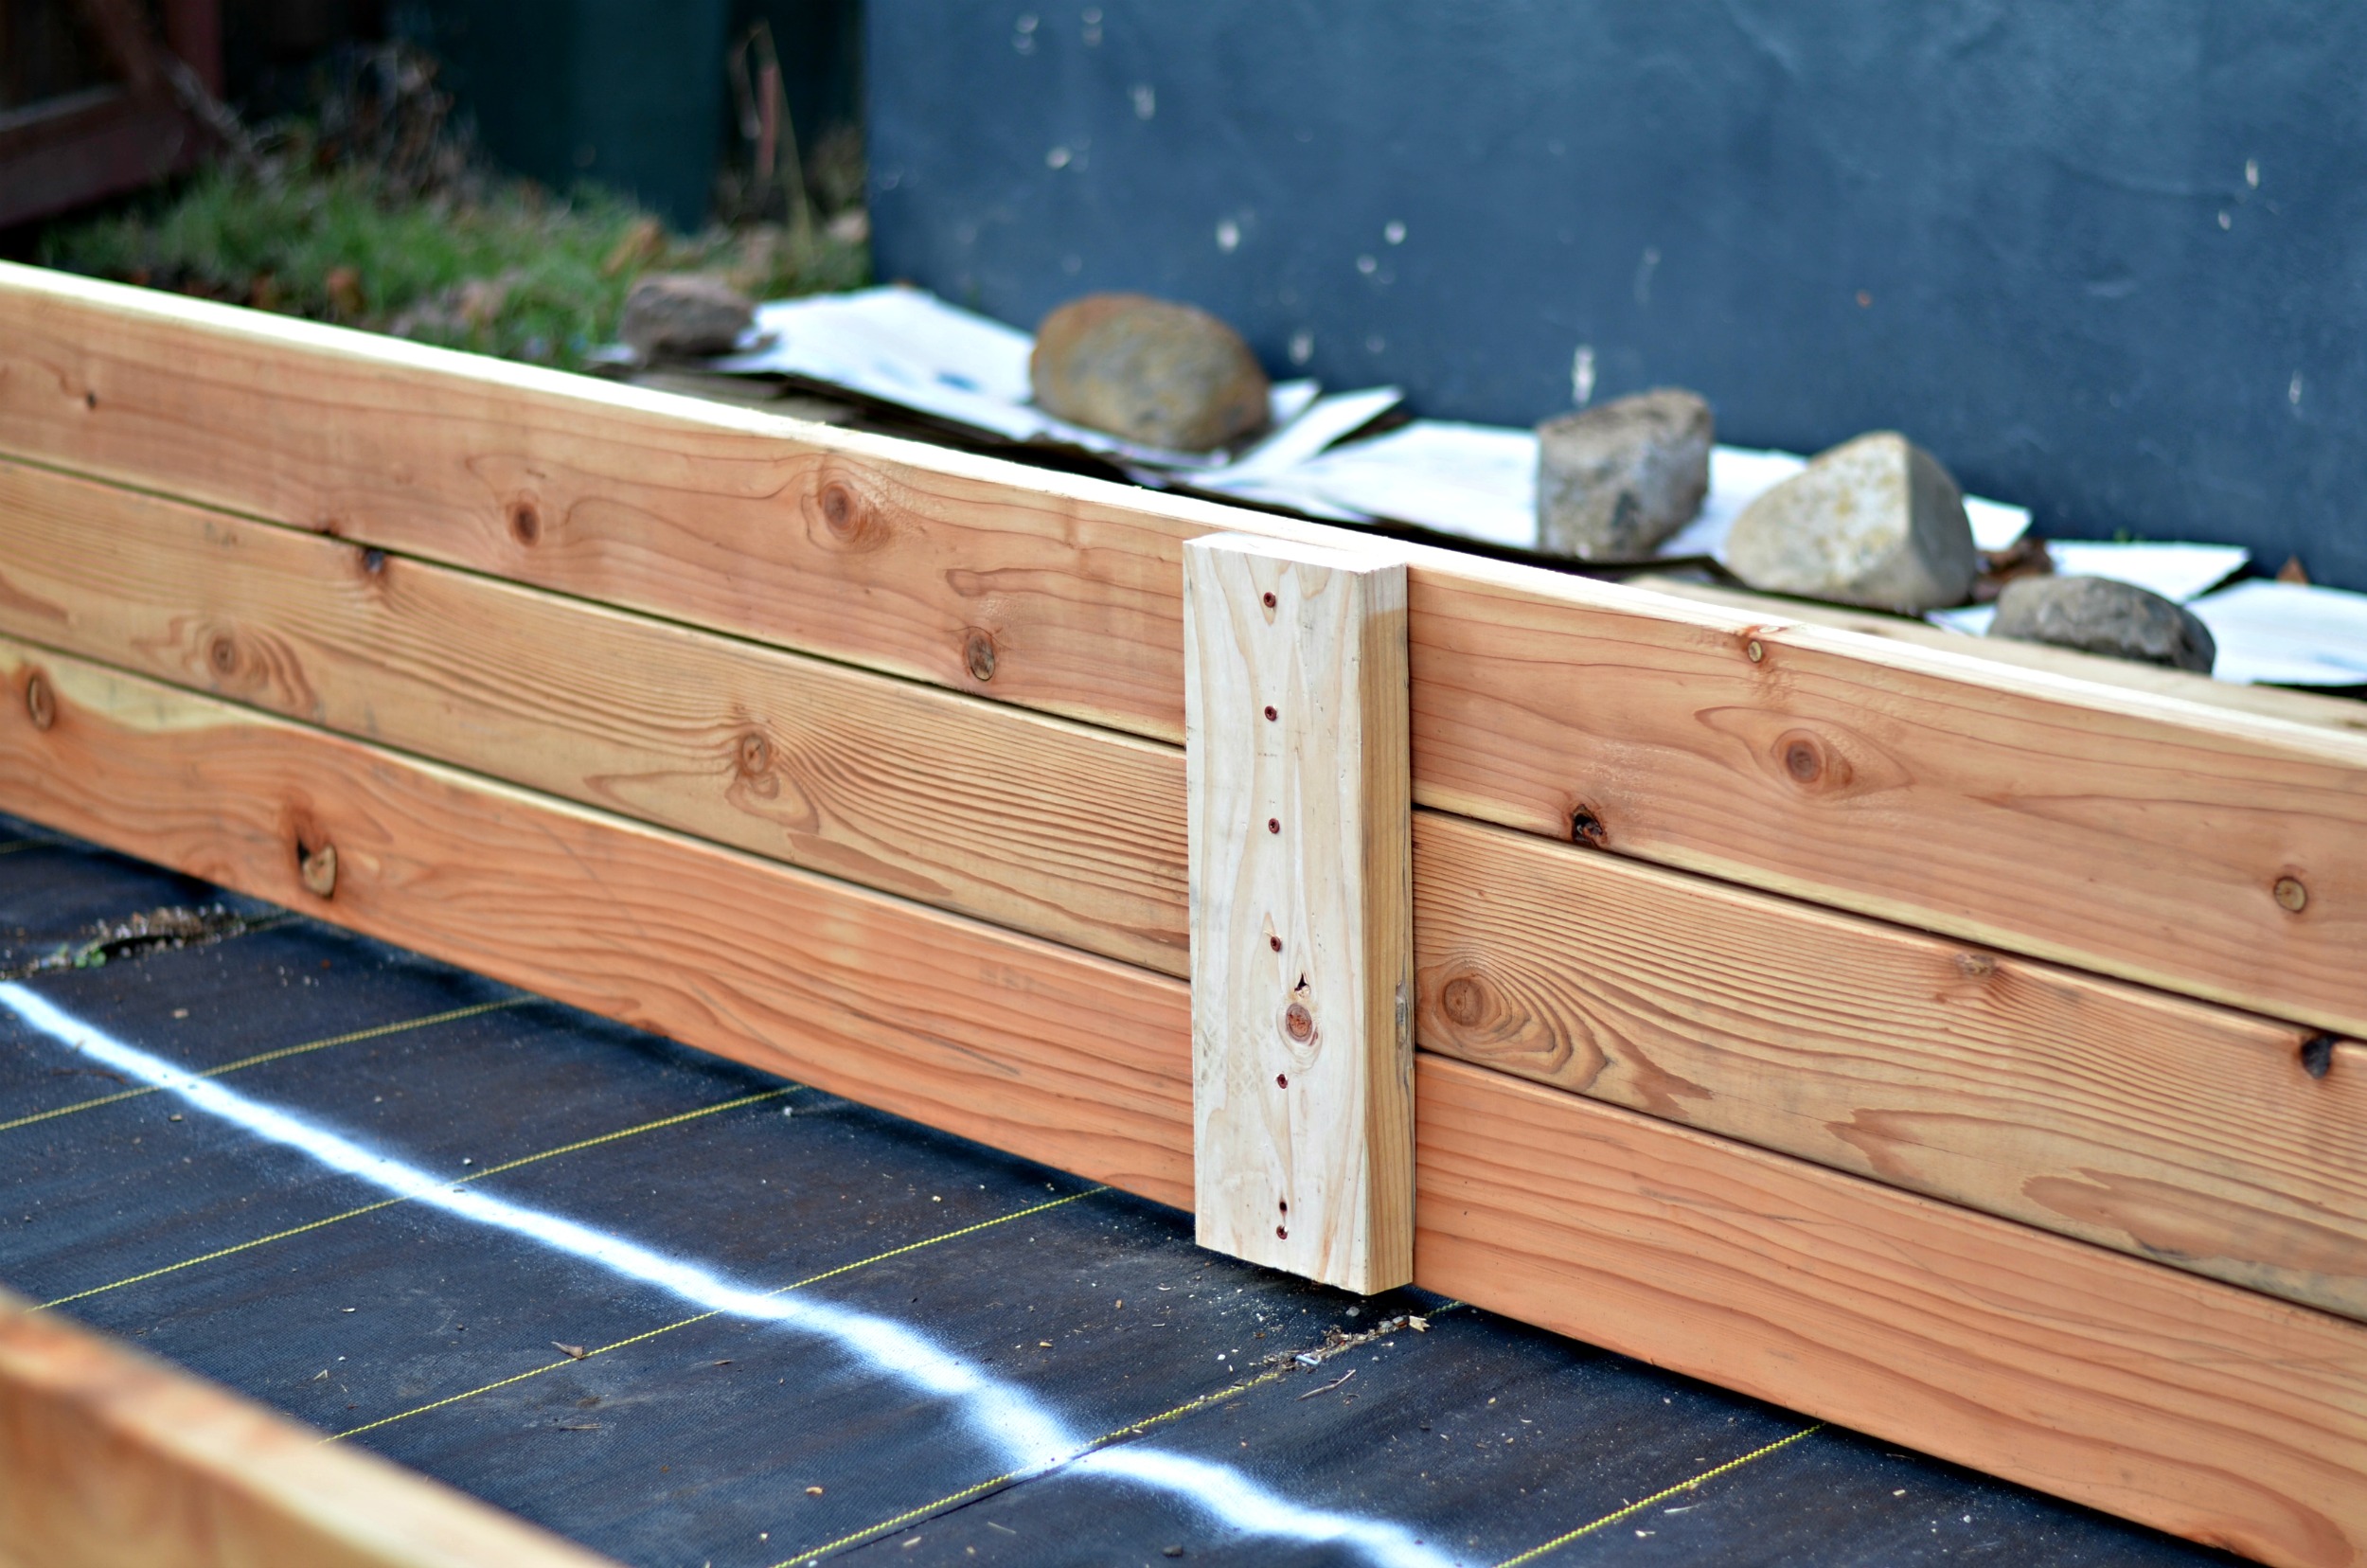
After those first beds I decided it would be faster to go ahead and build all the 4 ft sides for the rest of the beds at once, and since it was only a one person job I was able to do it while I waited for a day to have a second set of hands.
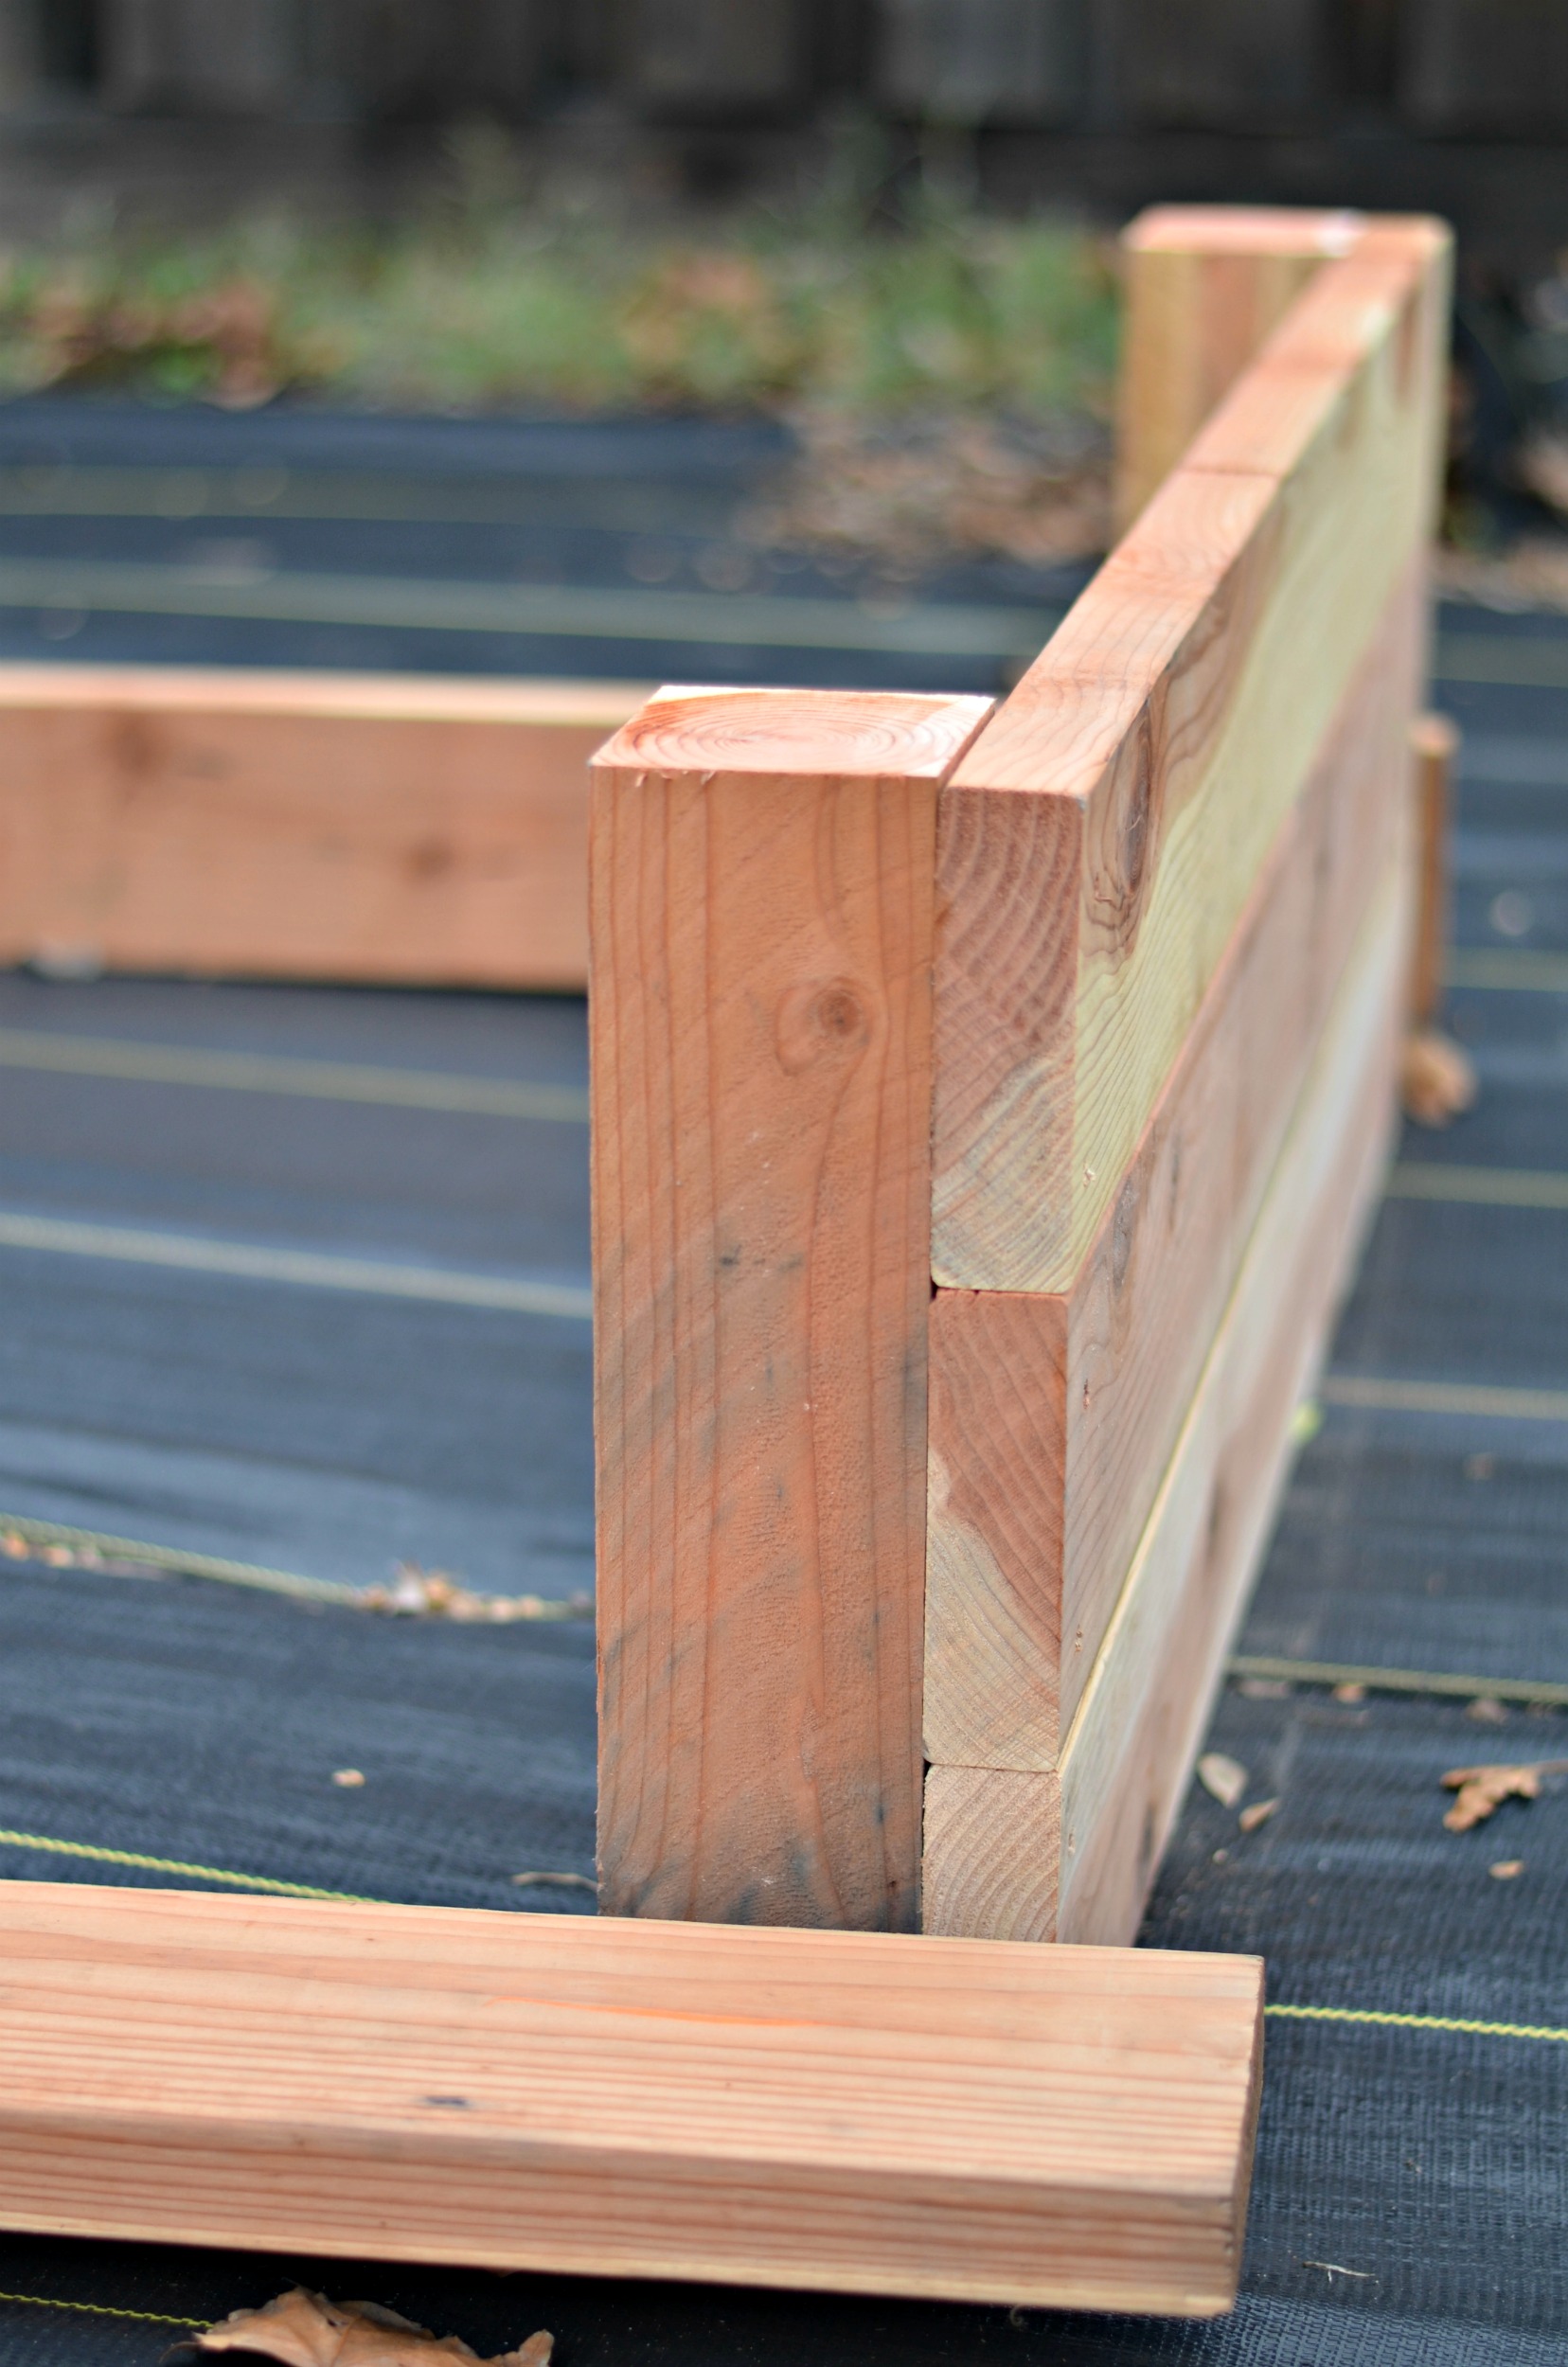
After building all of the shorter sides I laid the beds out roughly where they would be placed just to get an idea of what things would look like in terms of placement and scale.
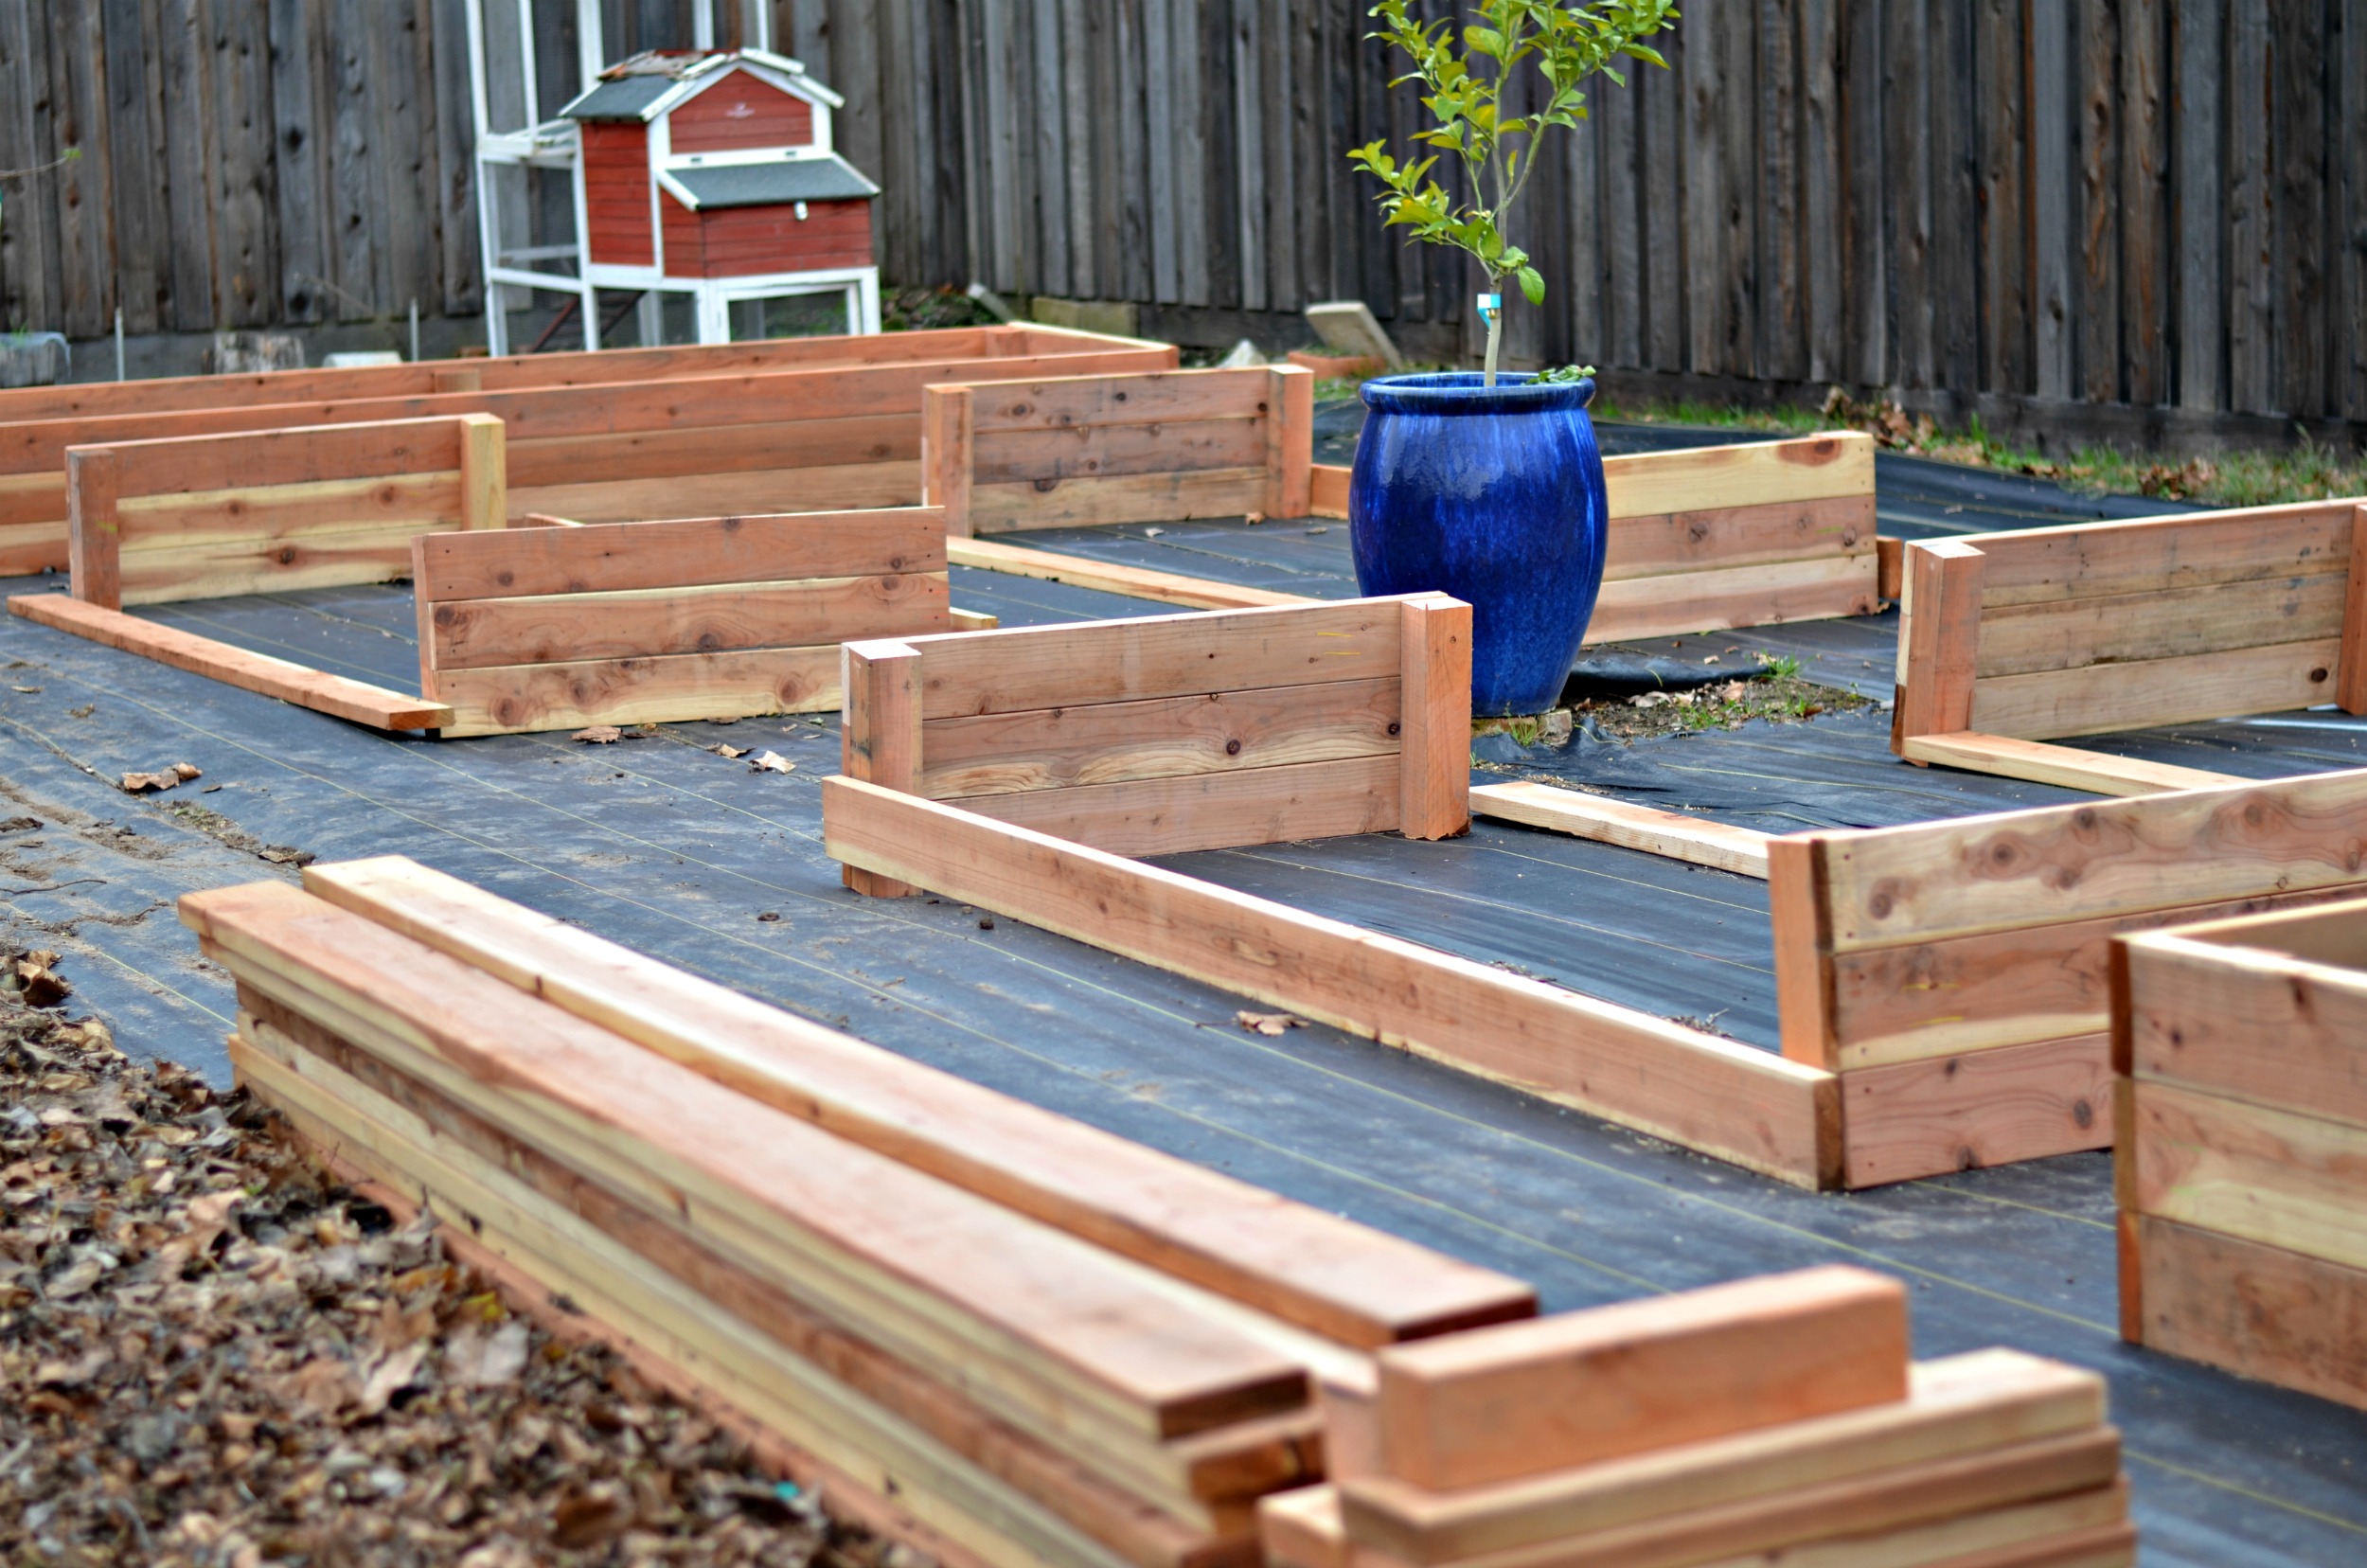
I was so excited because I could actually get a true sense of the space! All the days of dreaming and pinning and drawing layouts and folding magazine corners and collecting info in my beloved garden binder was finally coming to life!
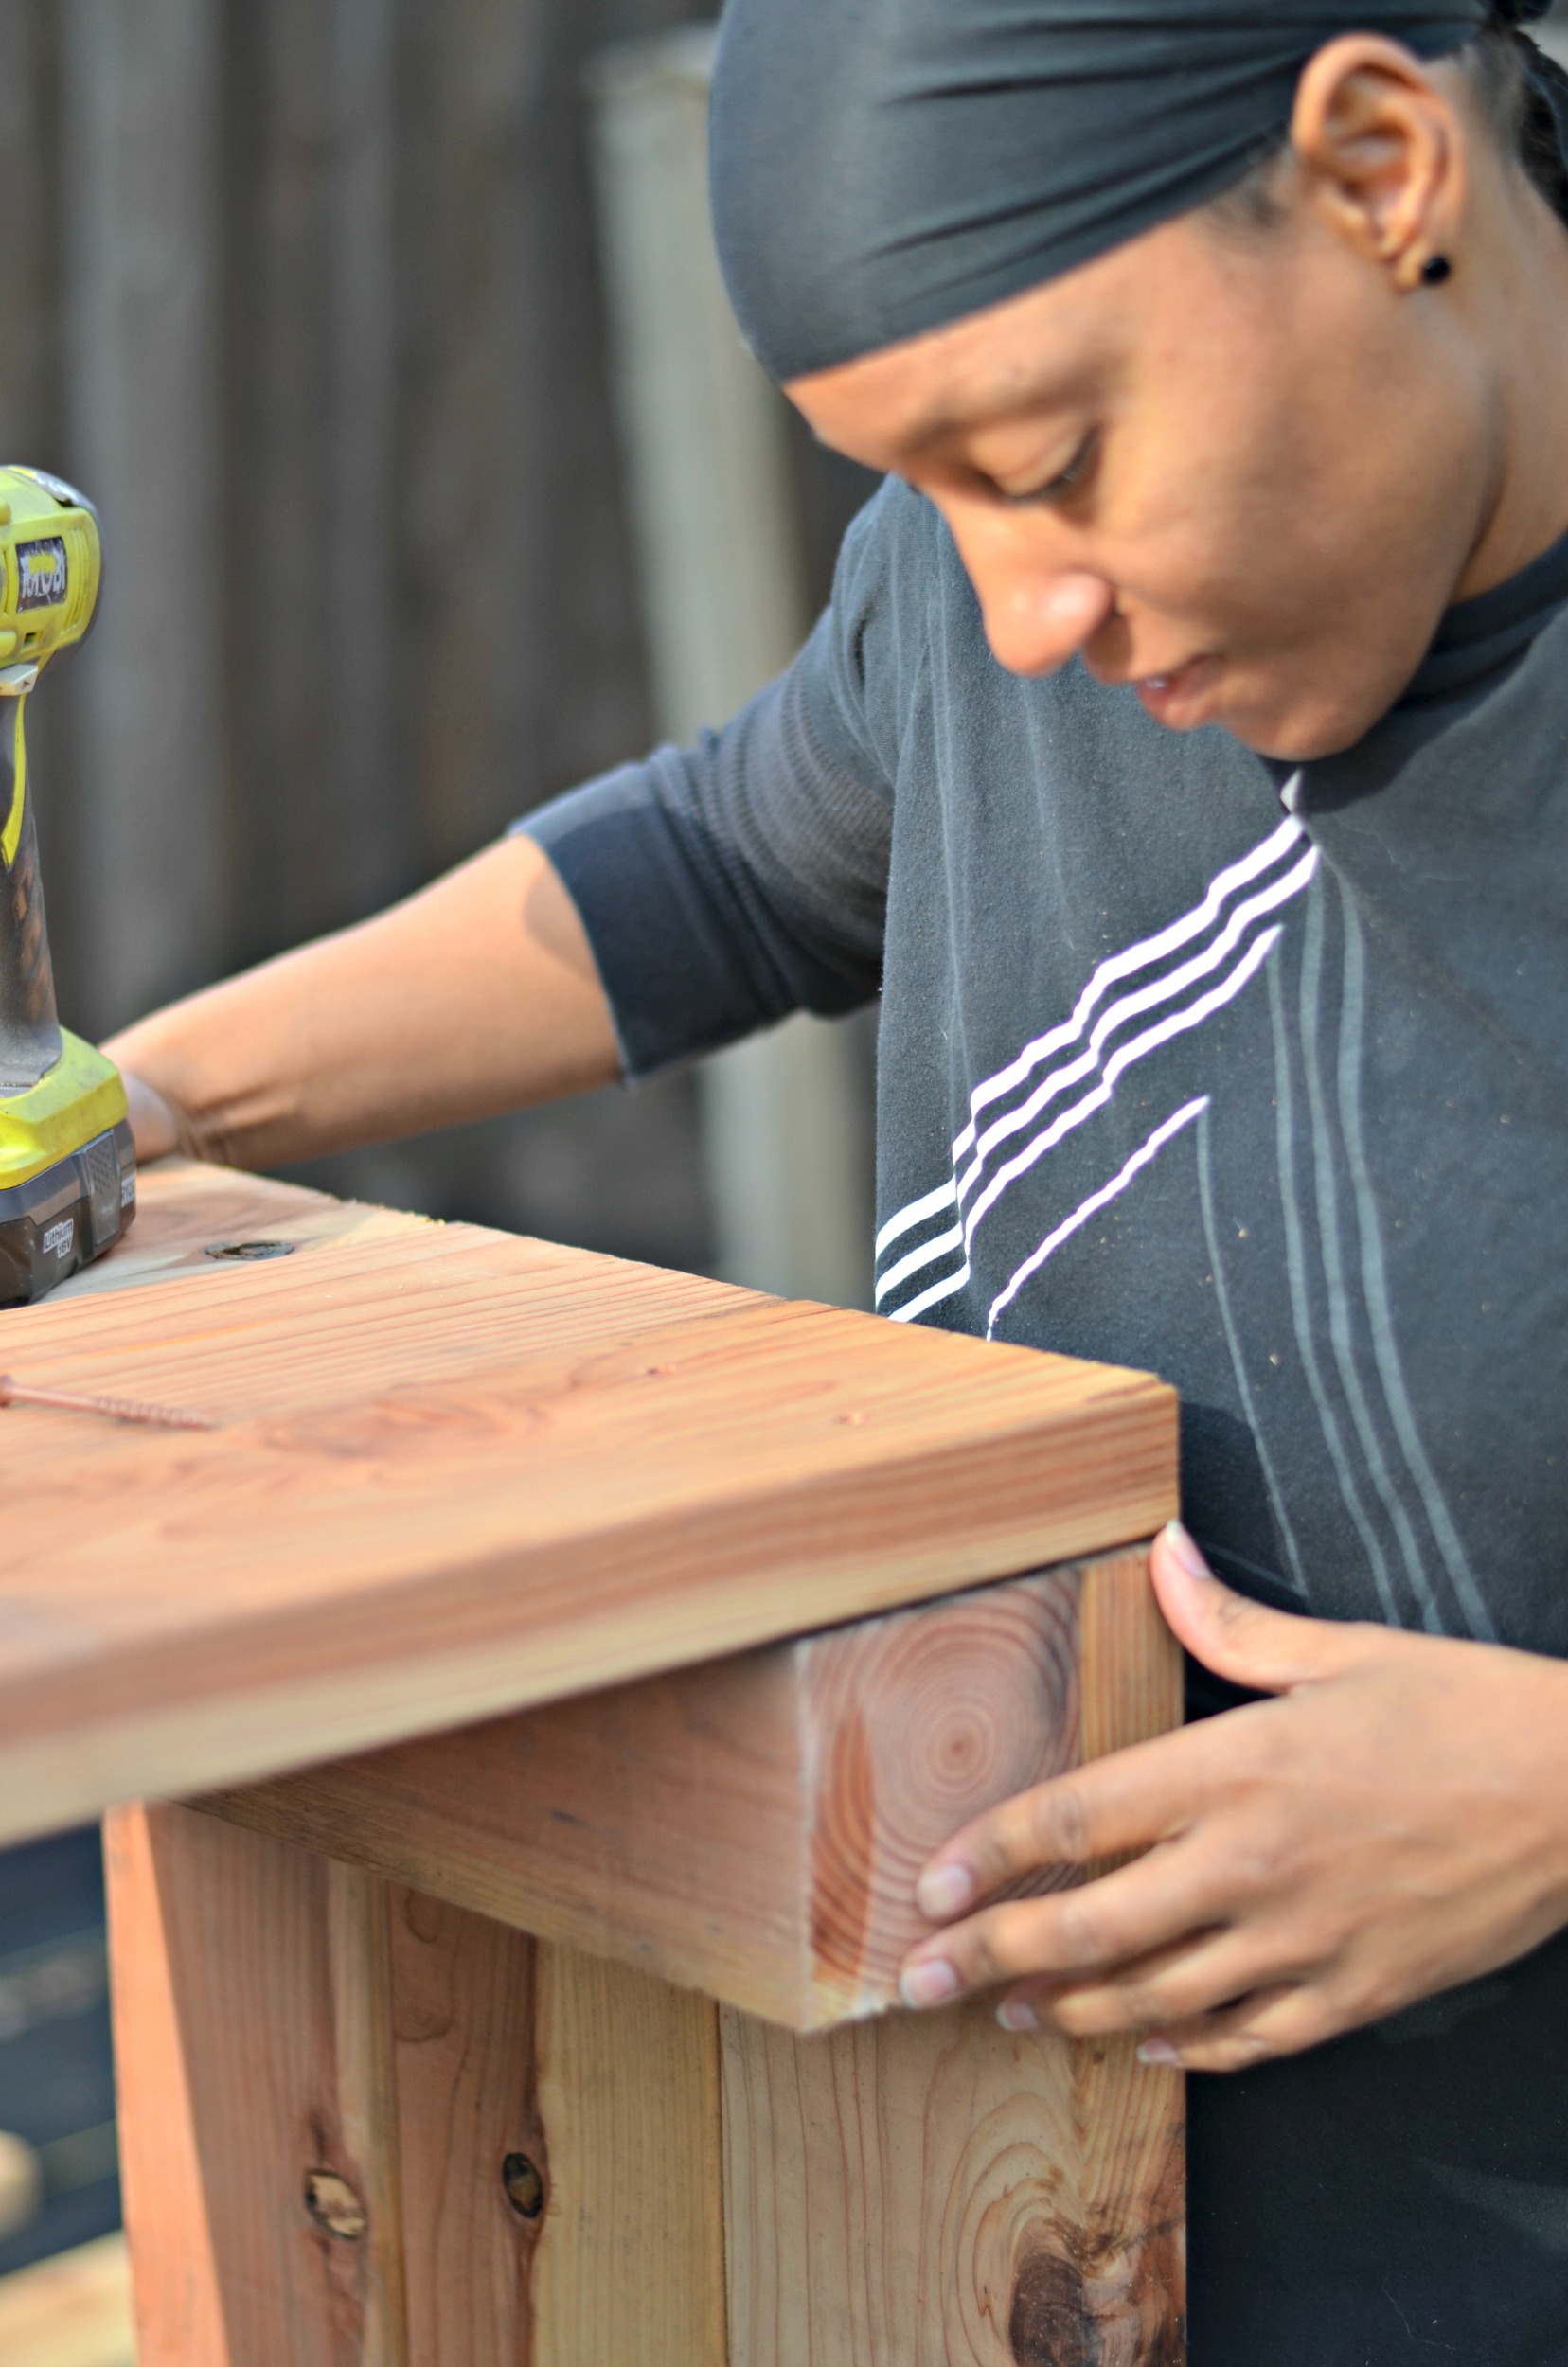
With the short sides of the beds built it was super easy and relatively fast to attach the long sides and complete the beds. It was just a matter of screwing the side boards into the 4×4’s.
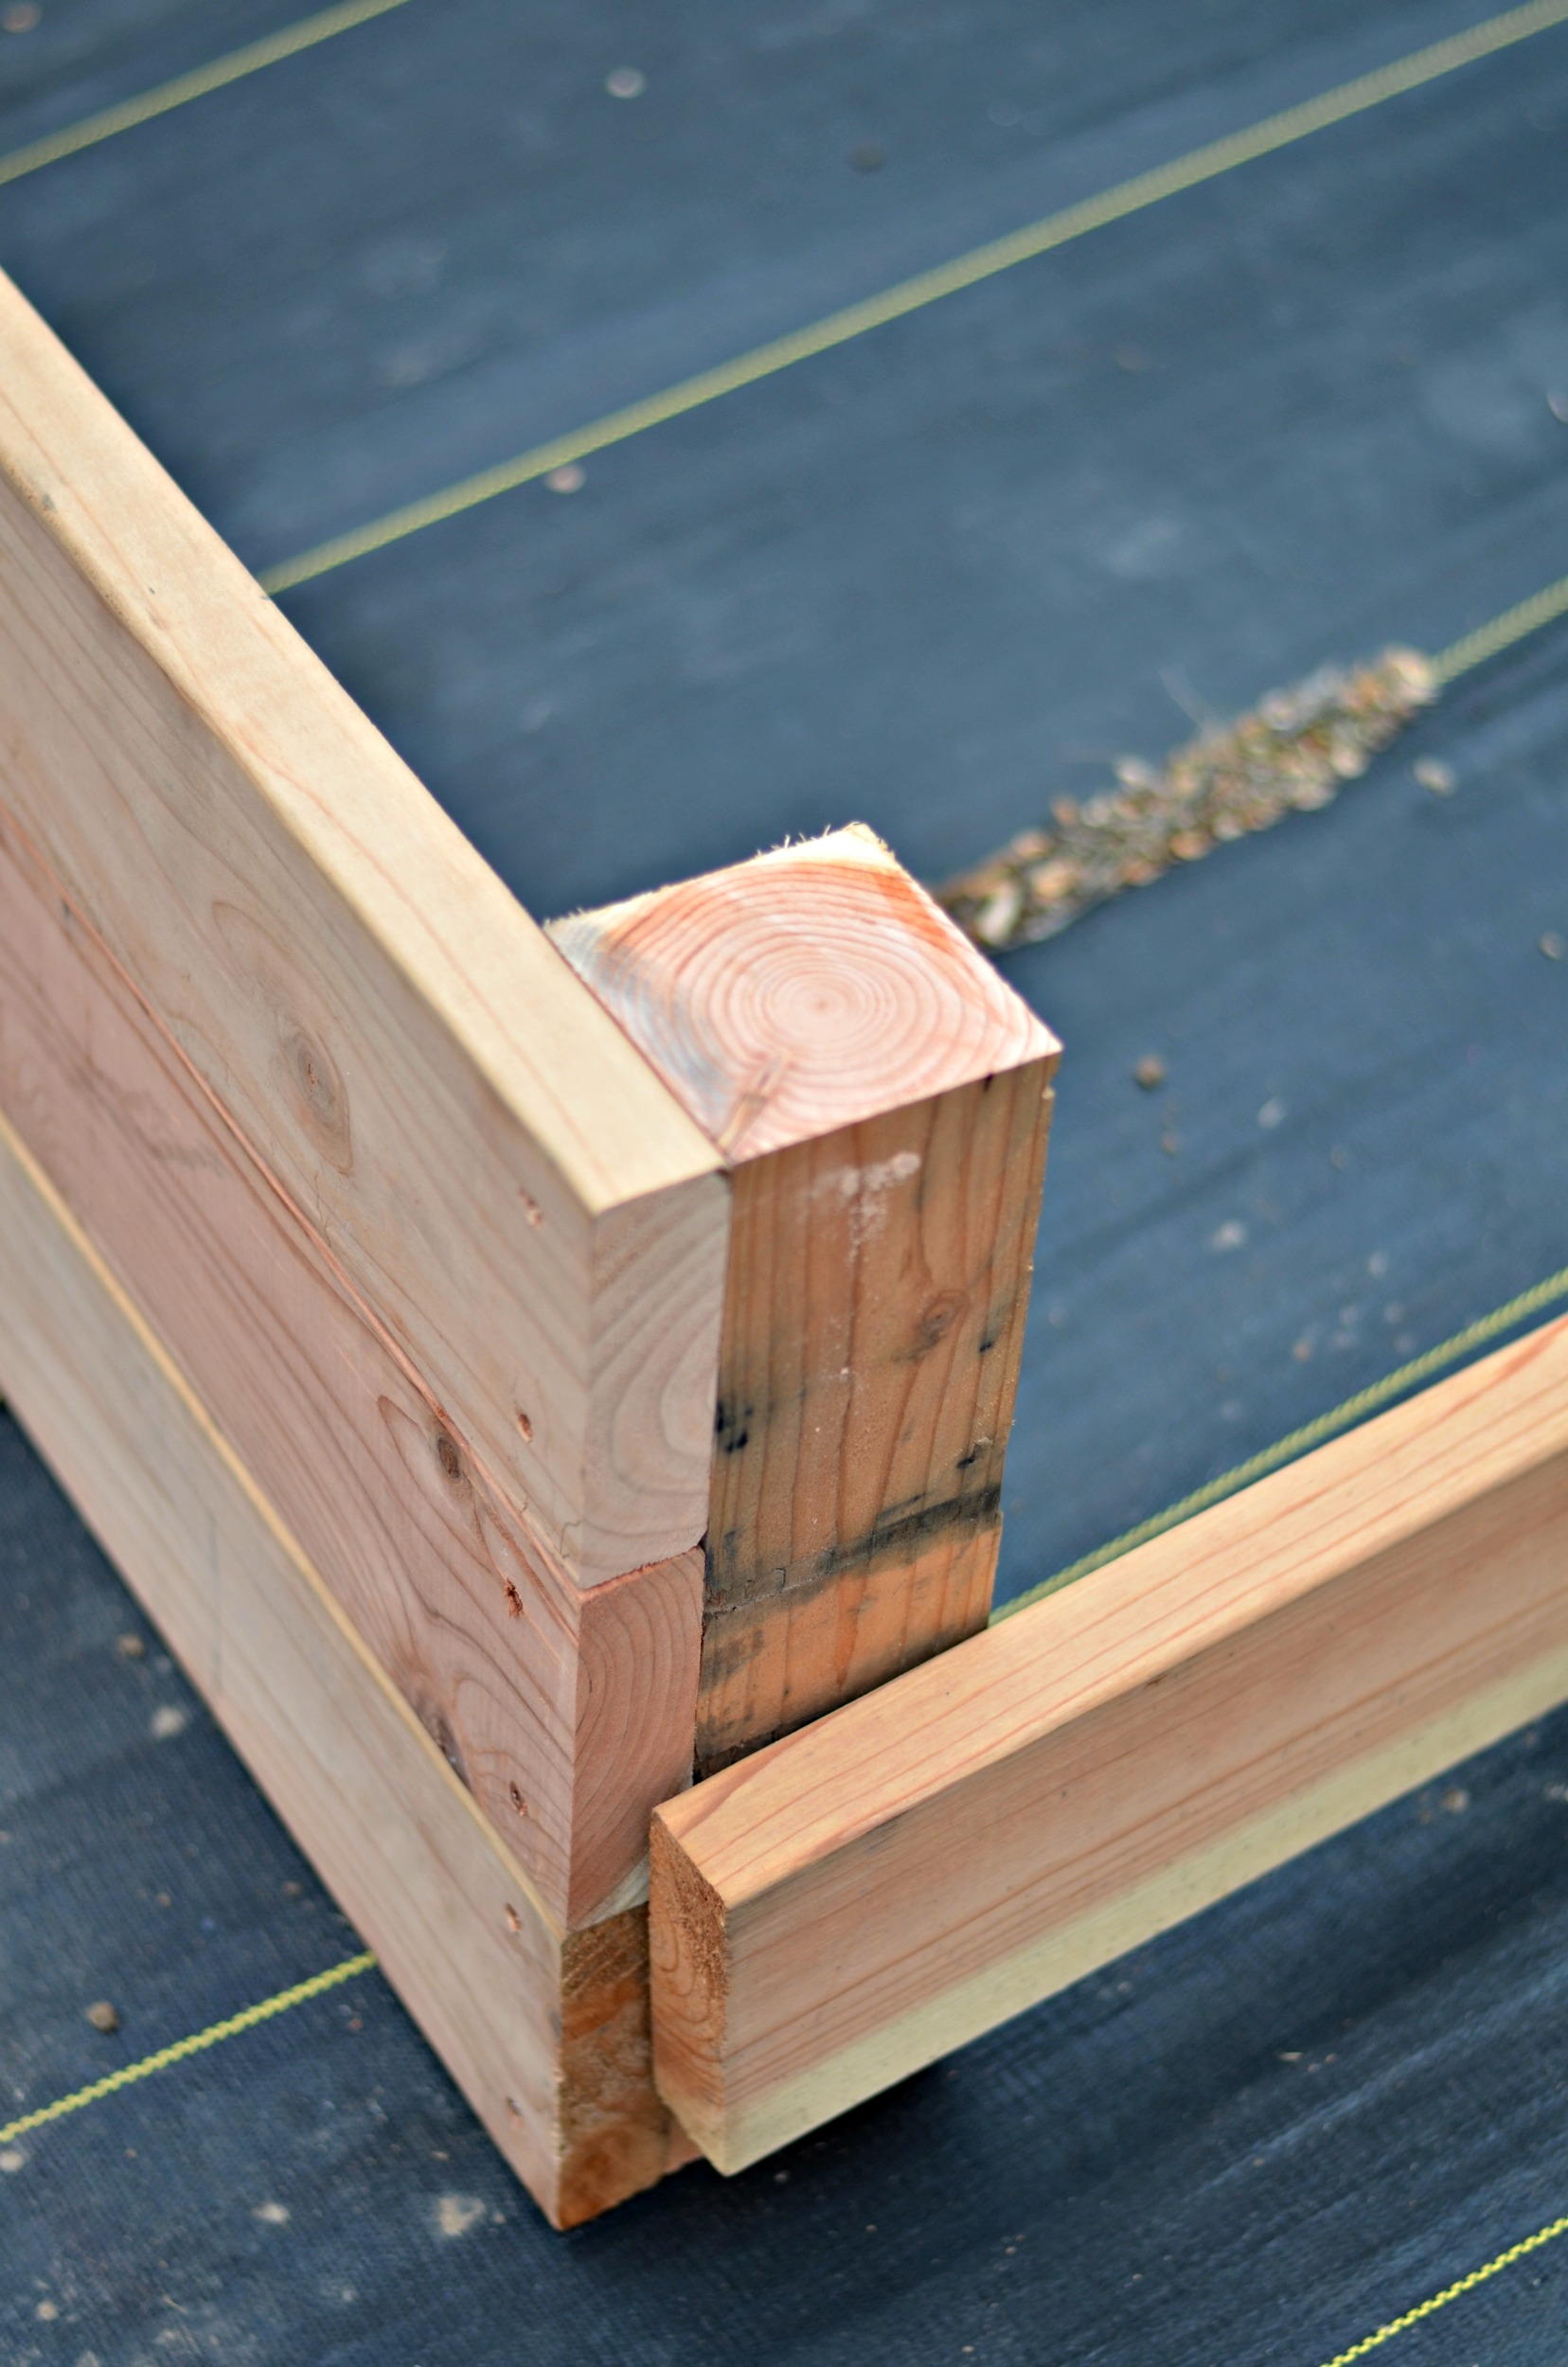
I had help from Naomi for this part. We timed how long it took us to put together a 4 x 10 bed and it came in at 13 minutes 8 seconds. The 2 x 6 beds took less time.
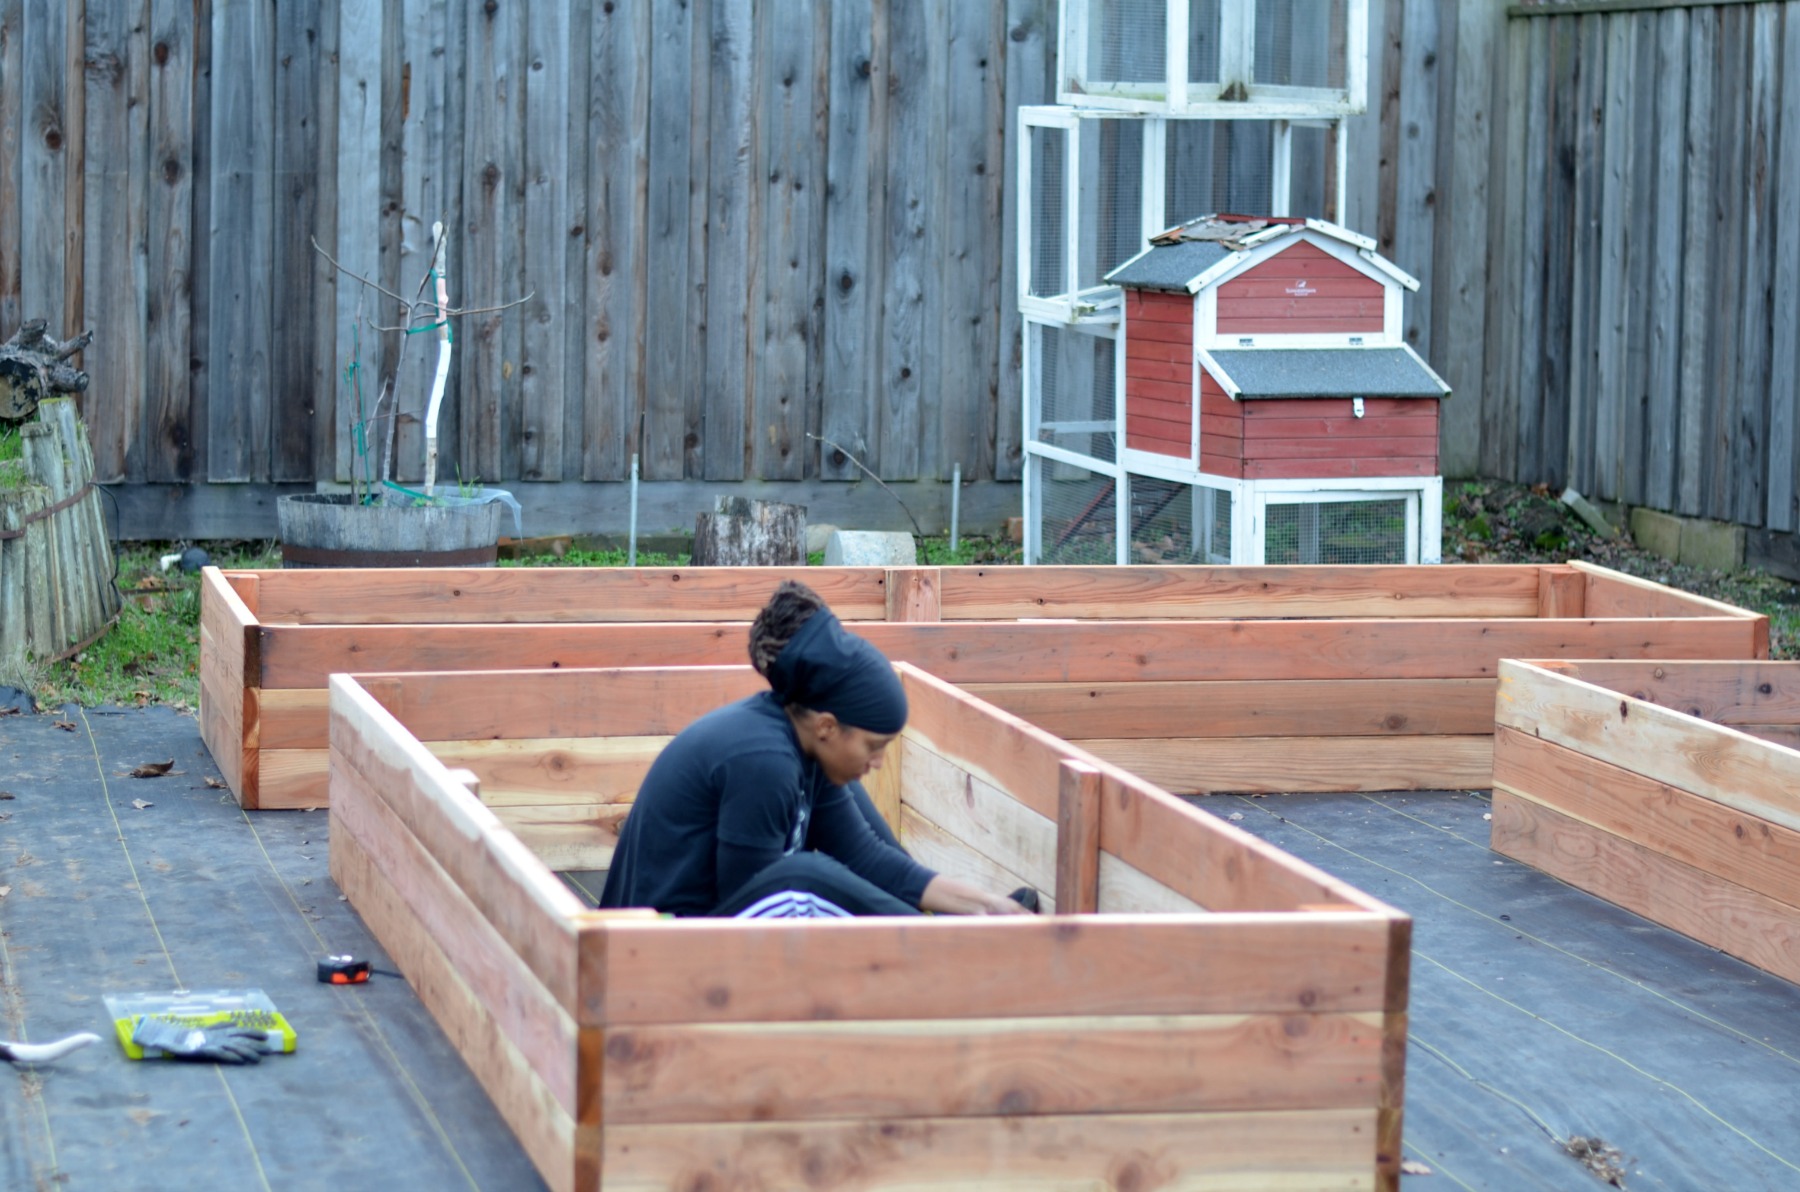
It was a lot of work, but I’m SO THRILLED with how the beds came together. They look even better than I imagined they would.
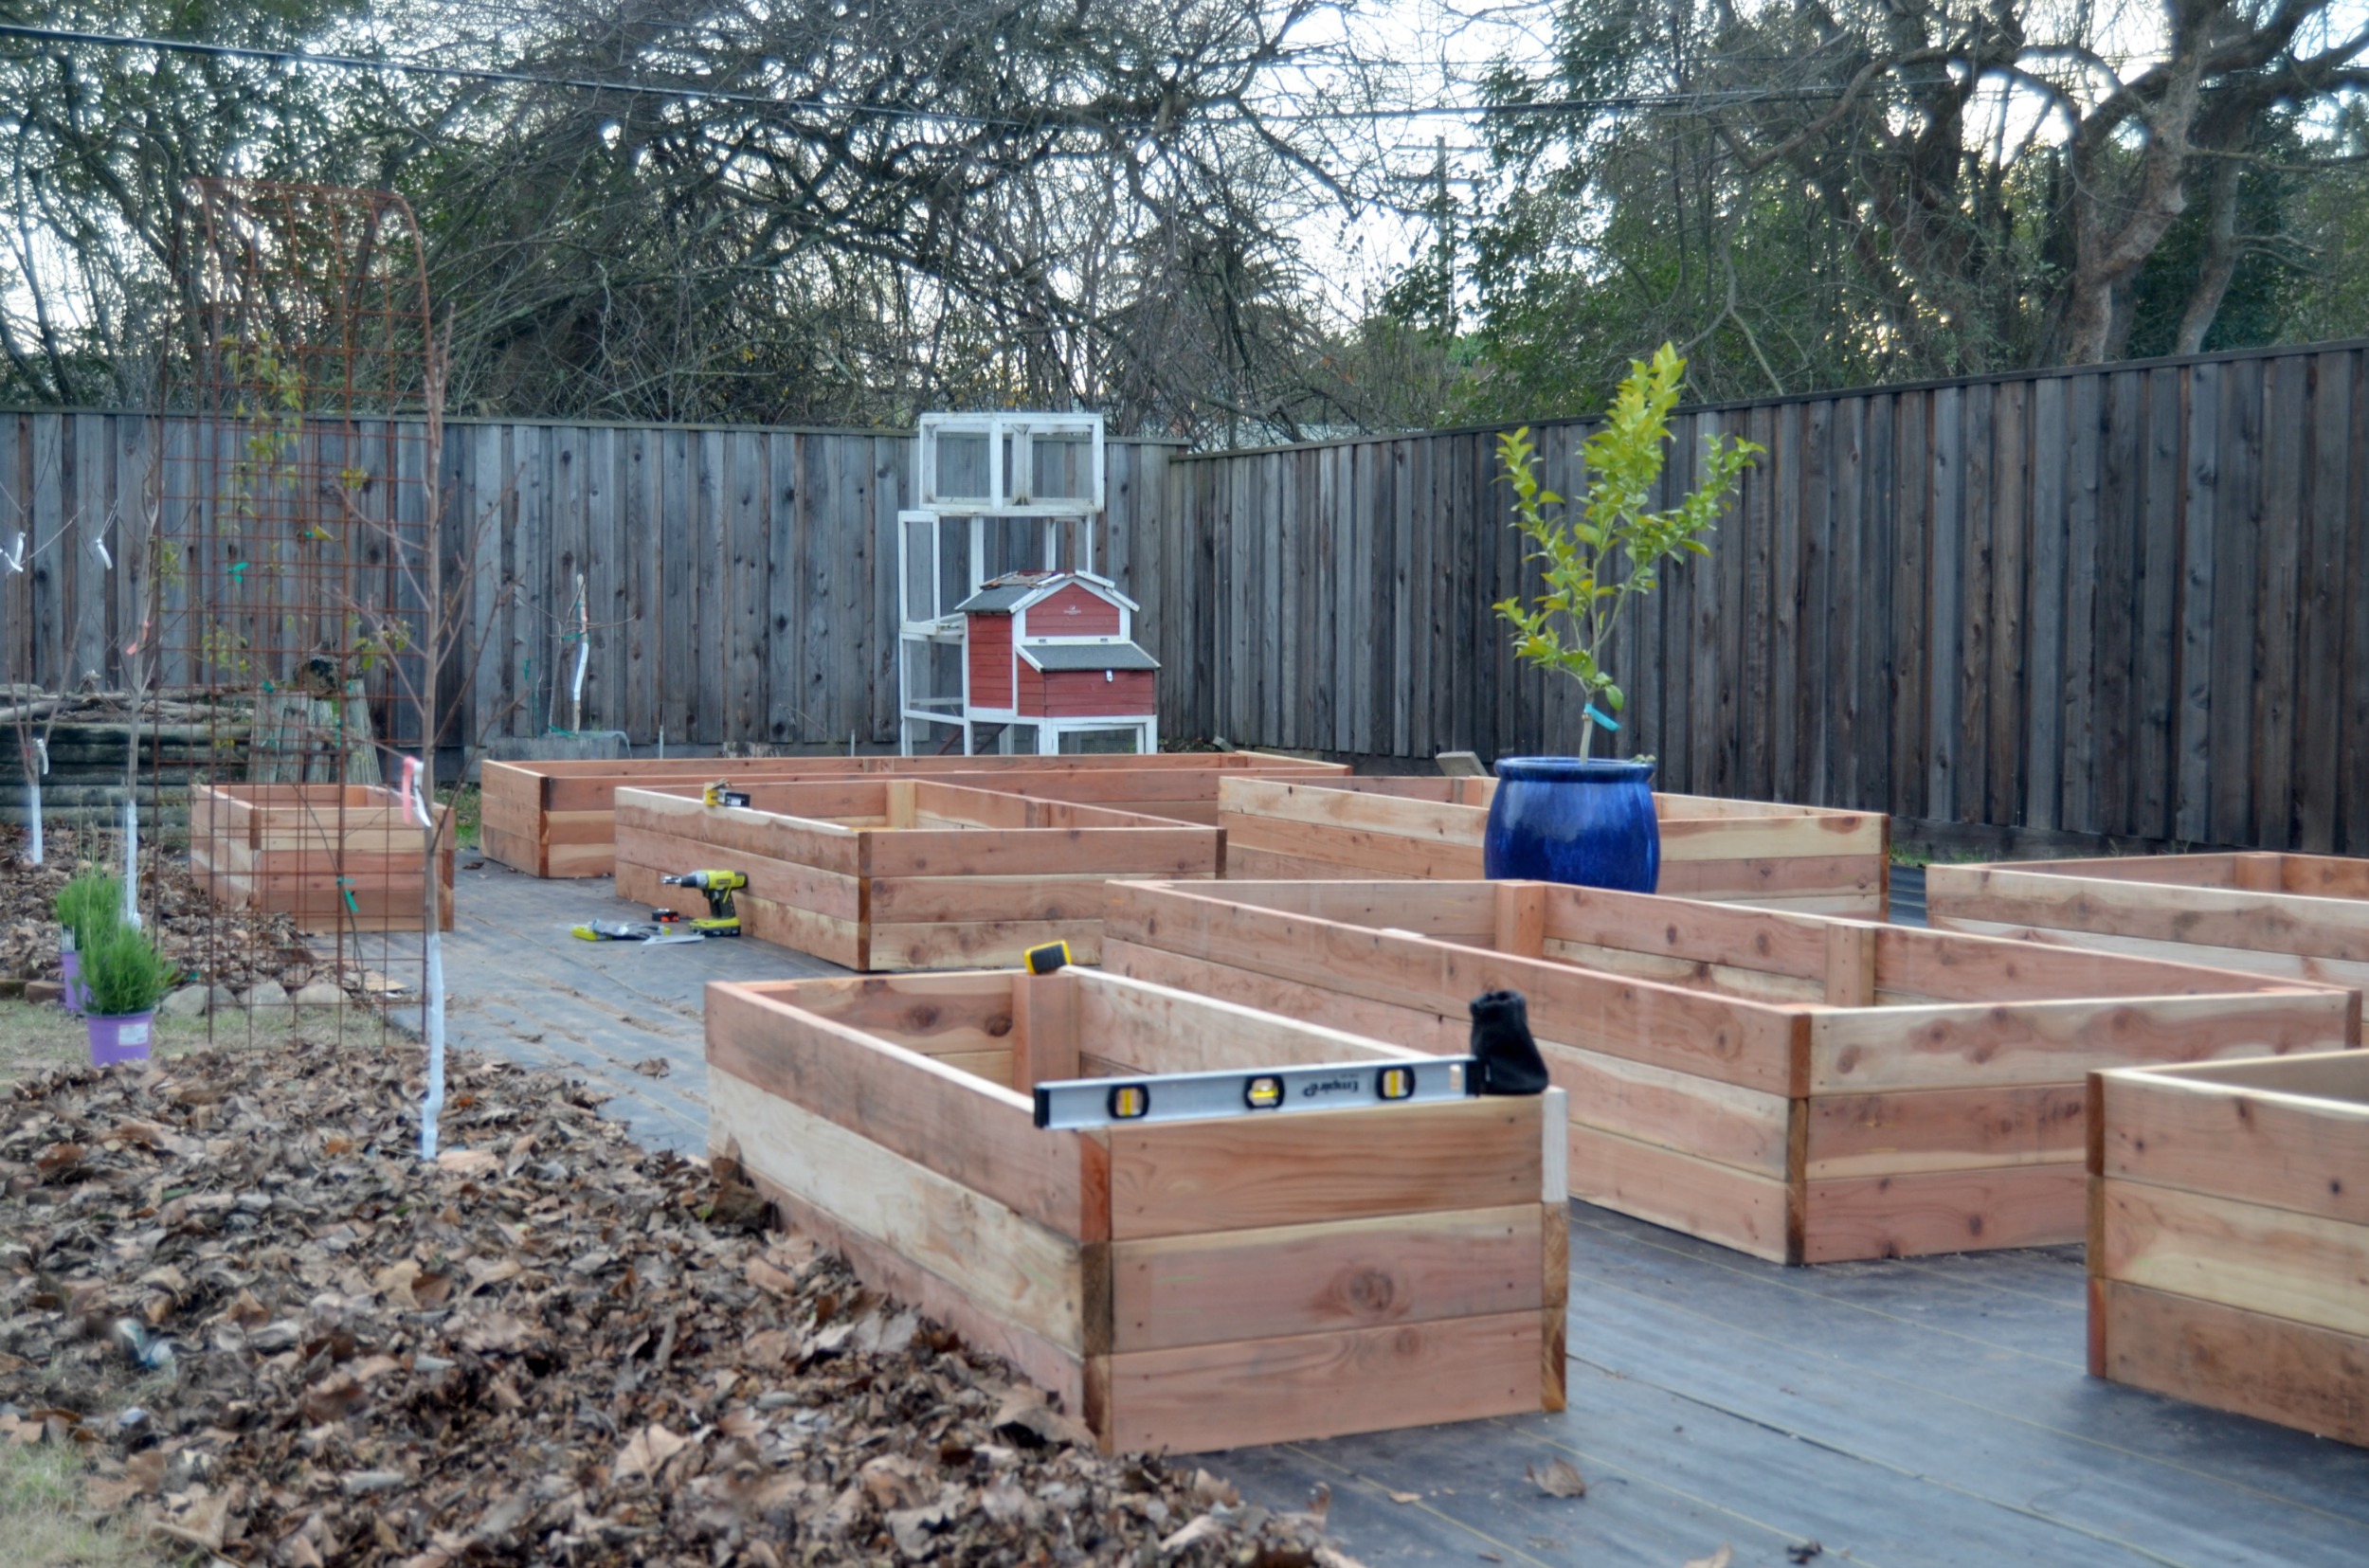
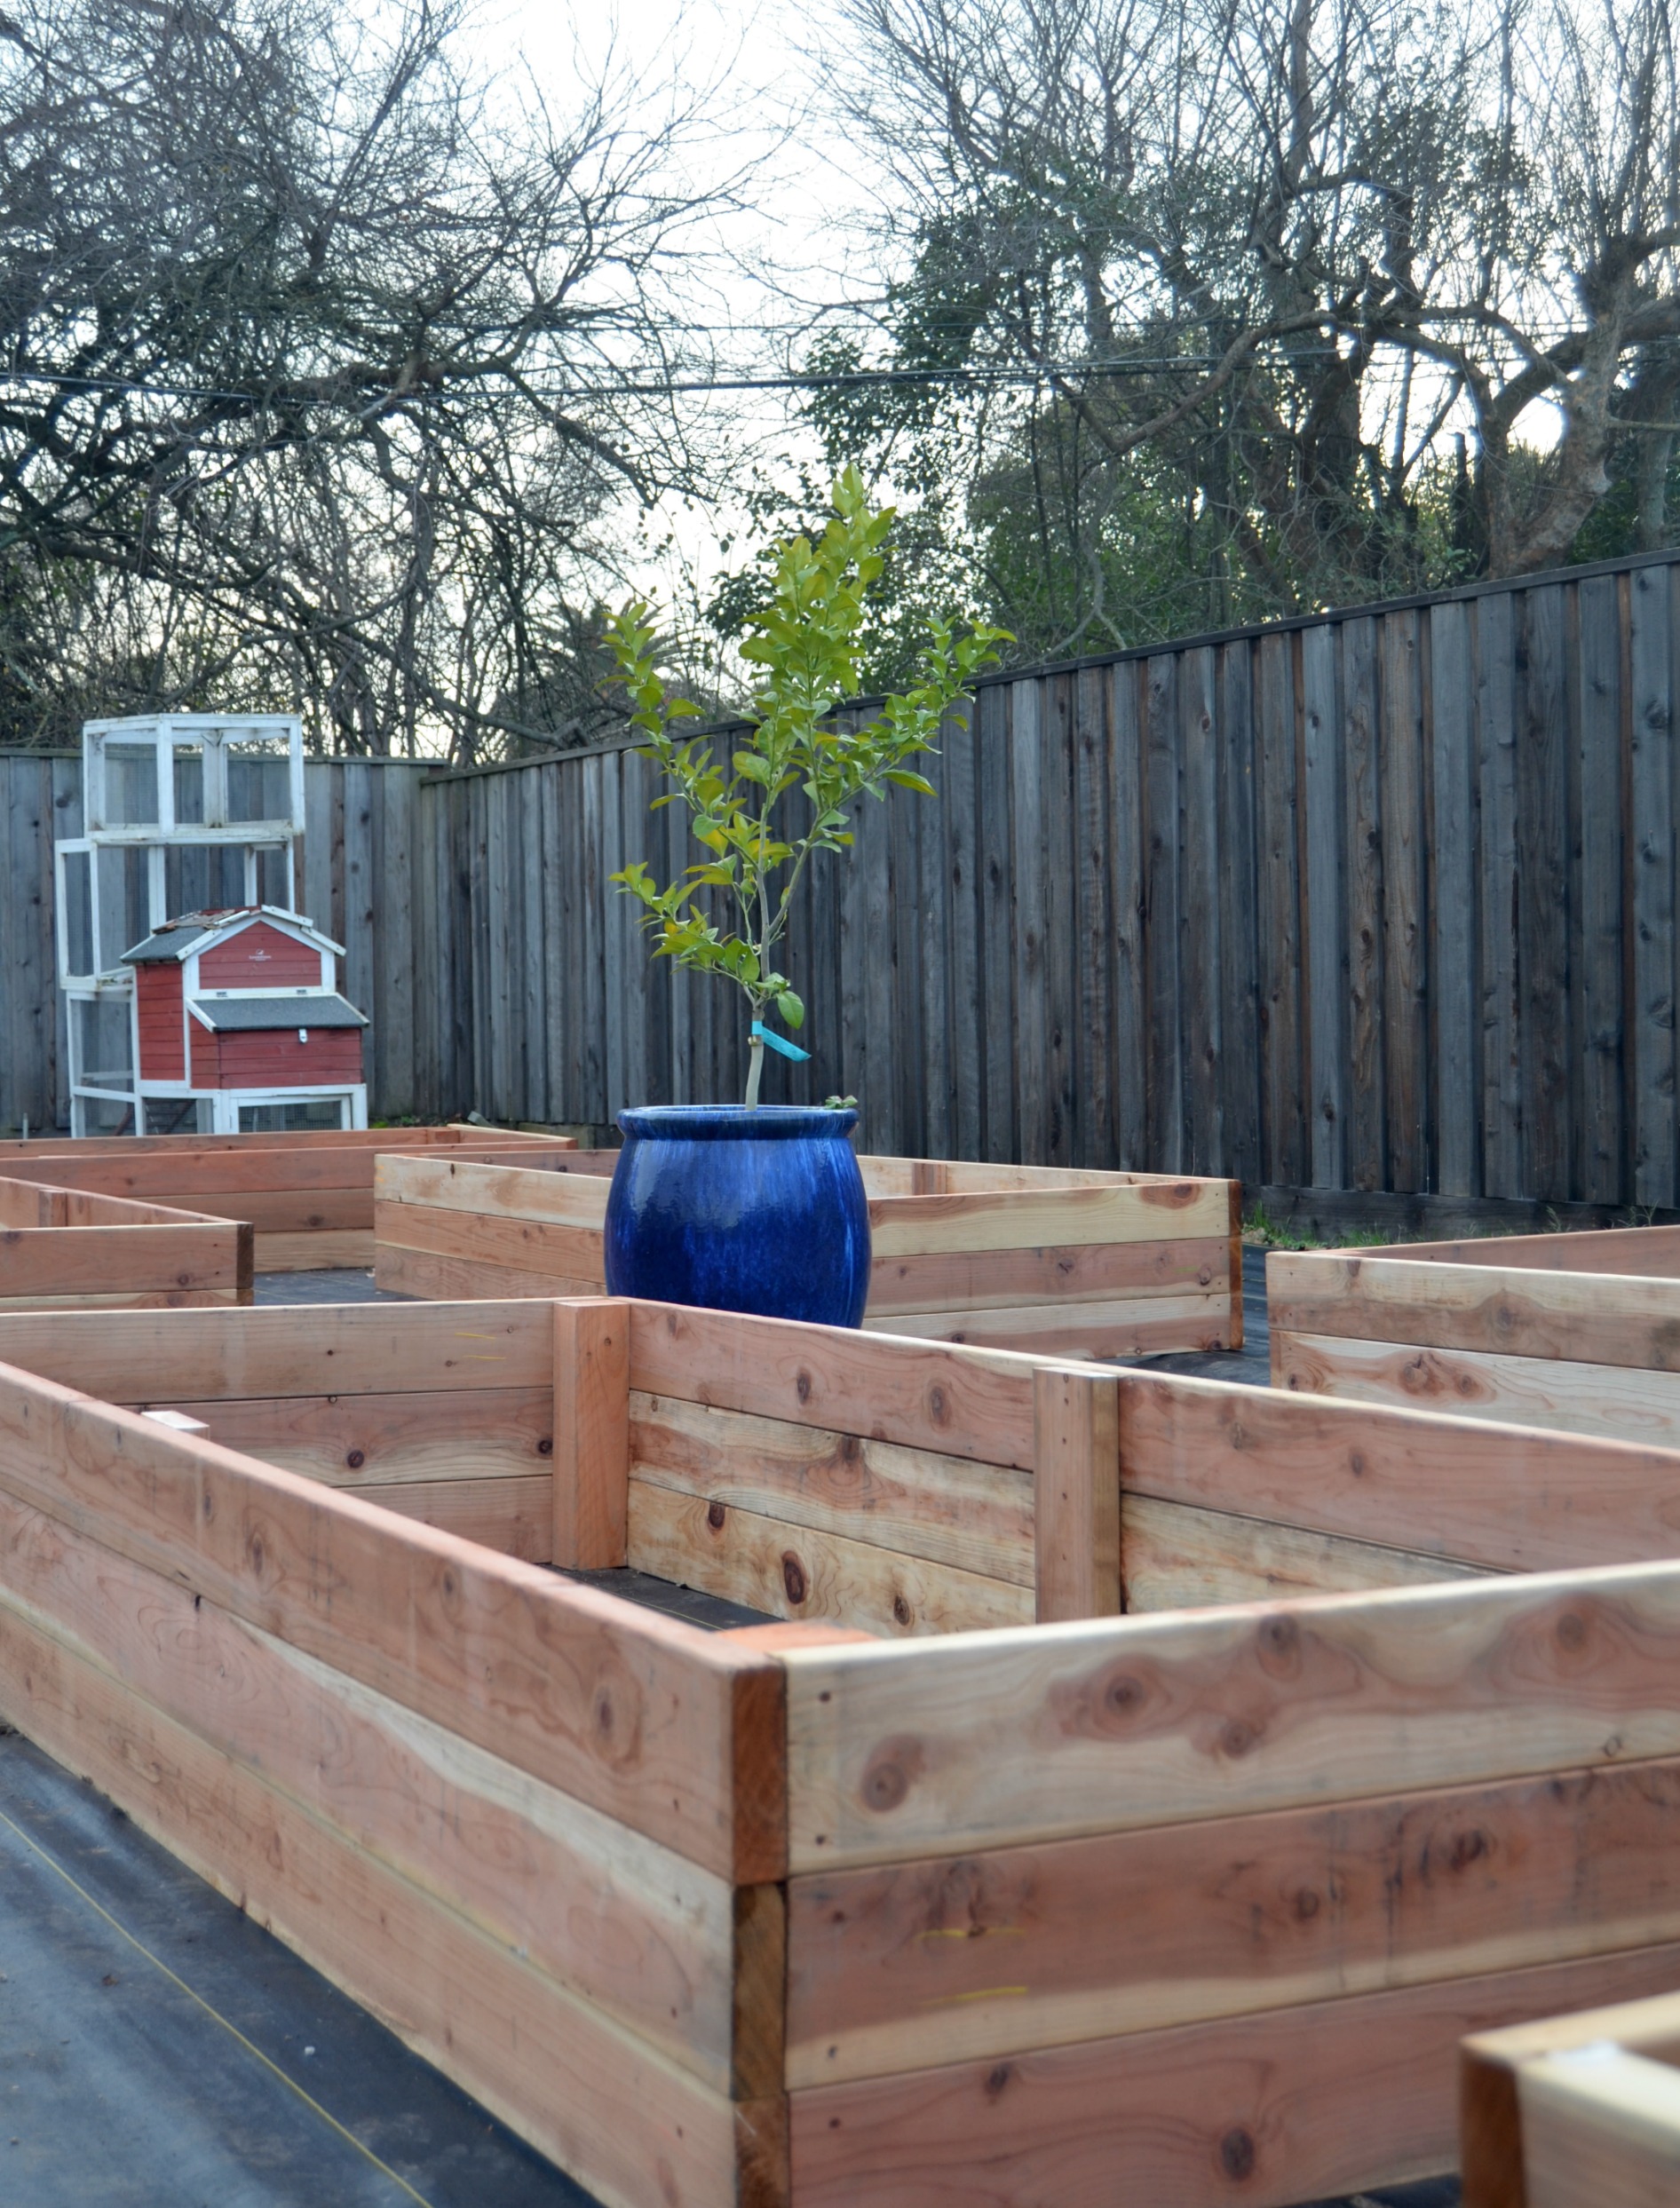
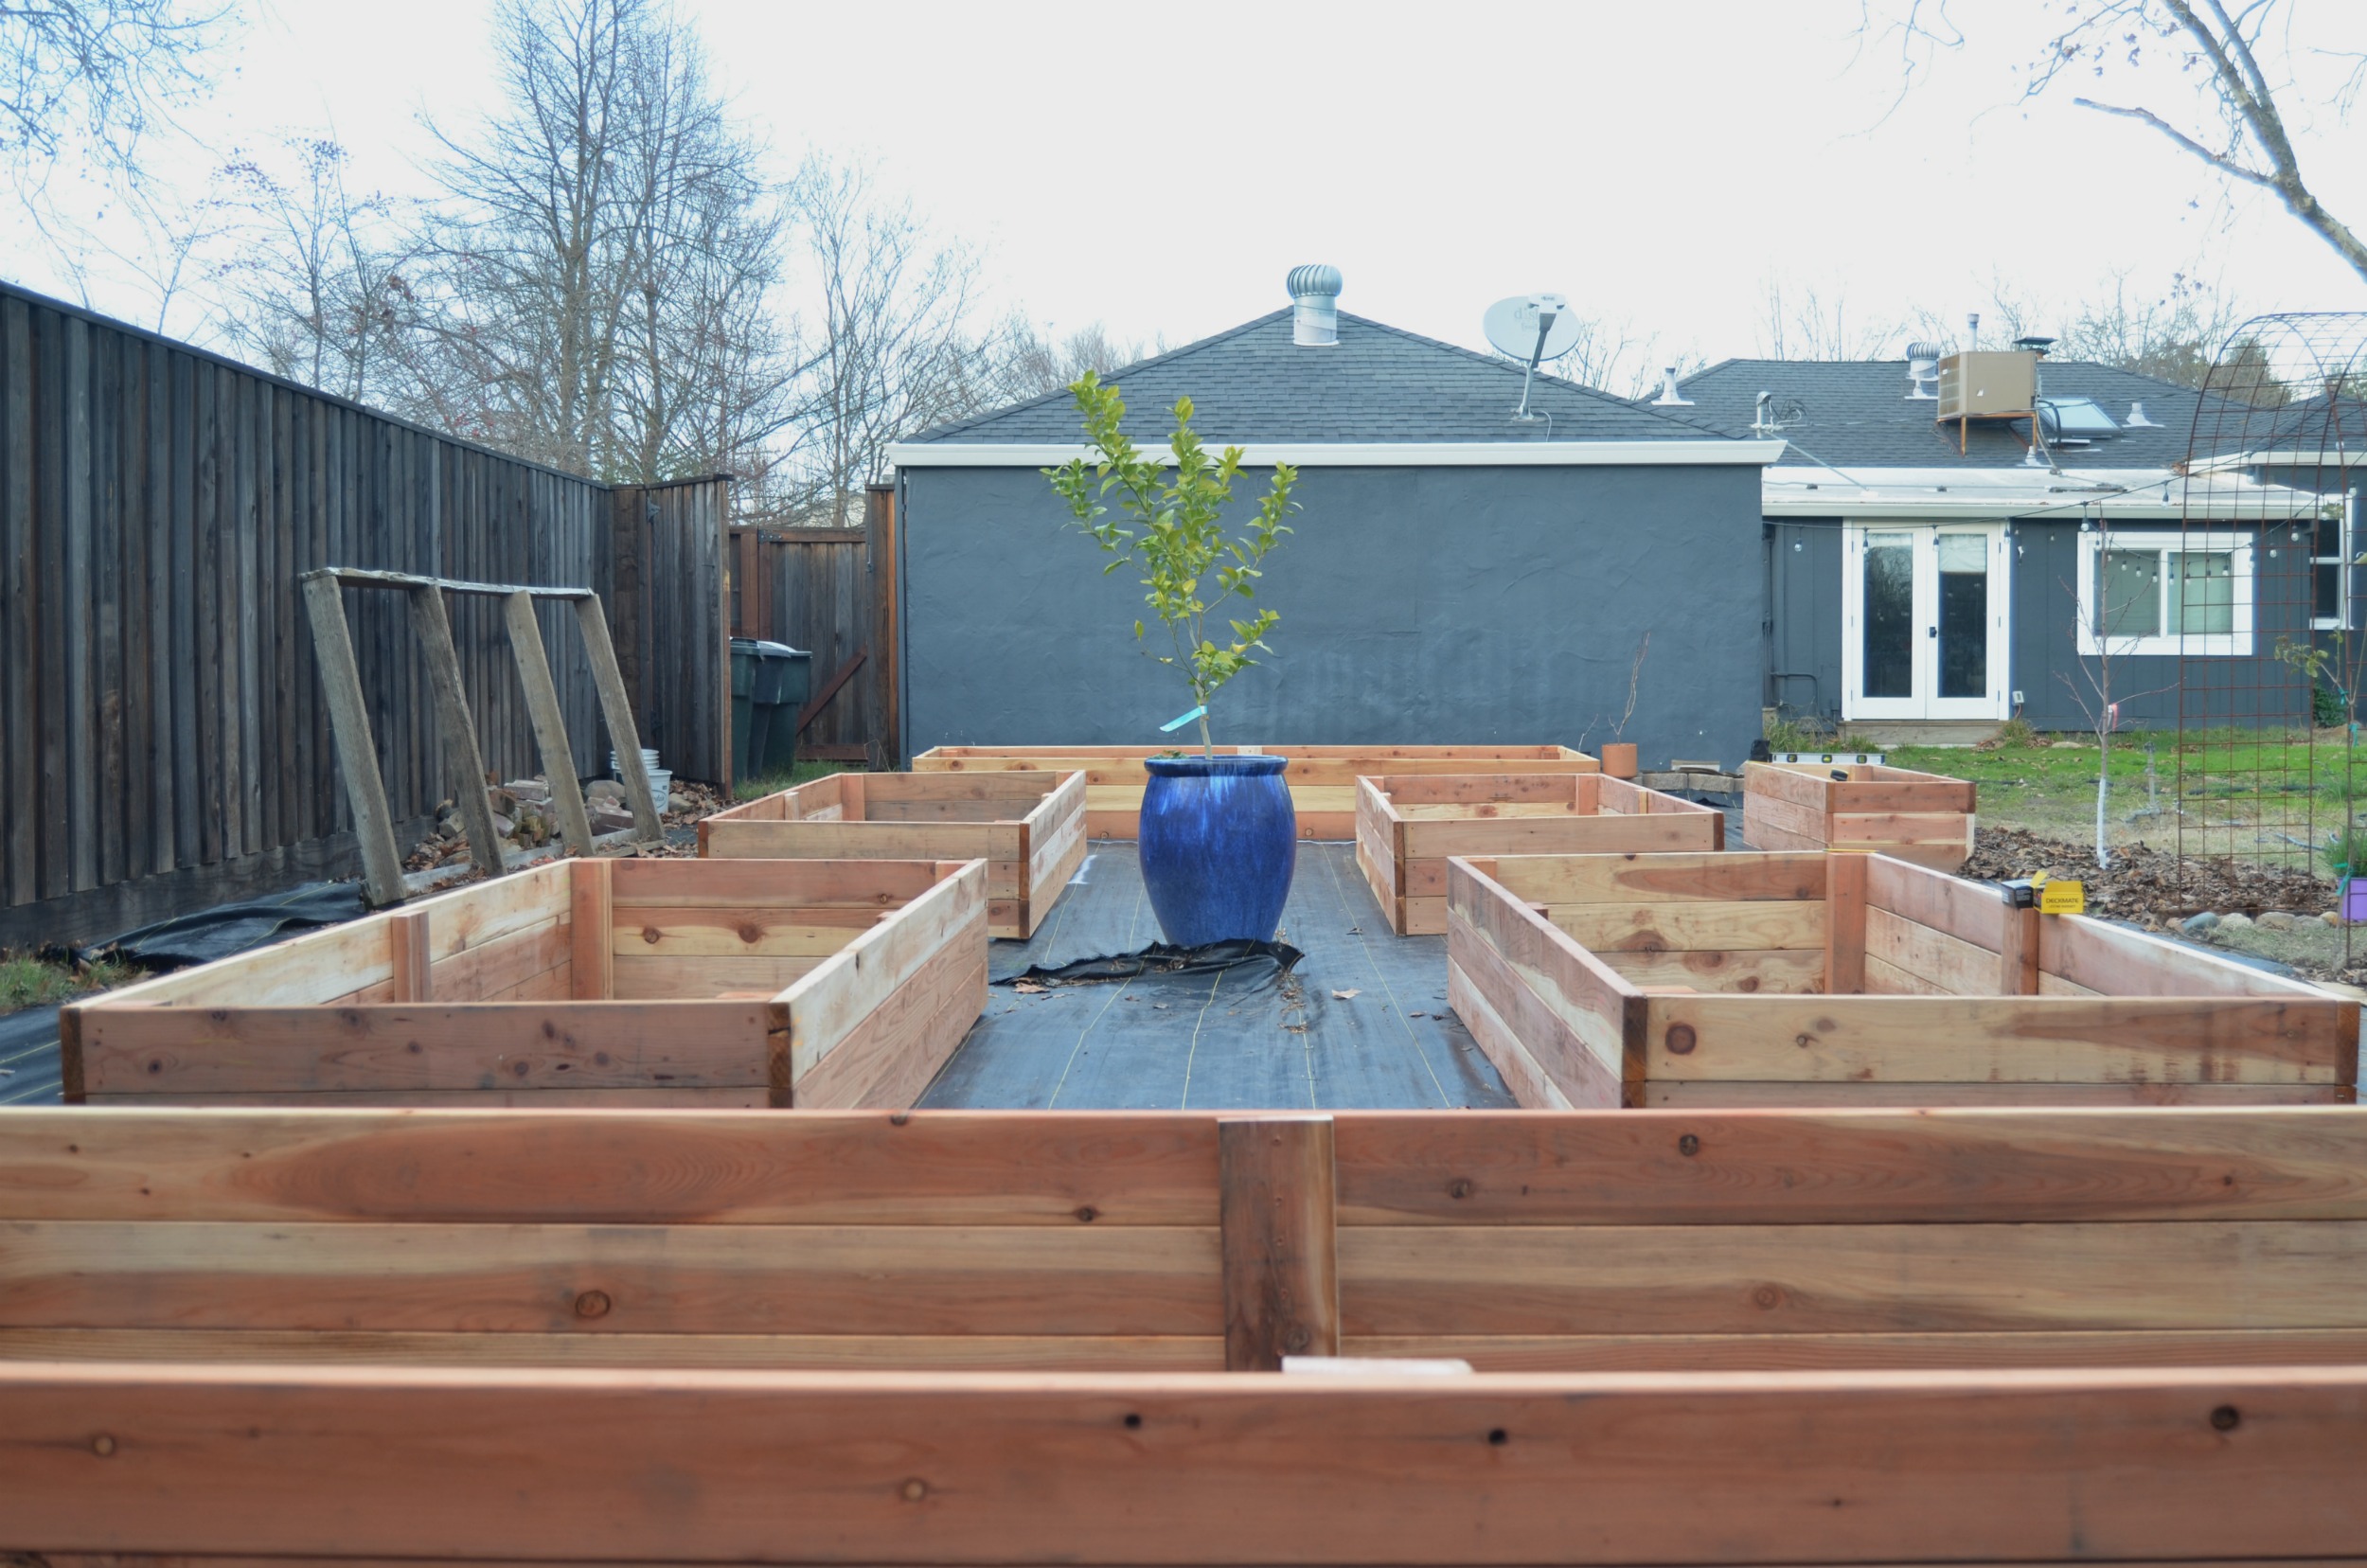
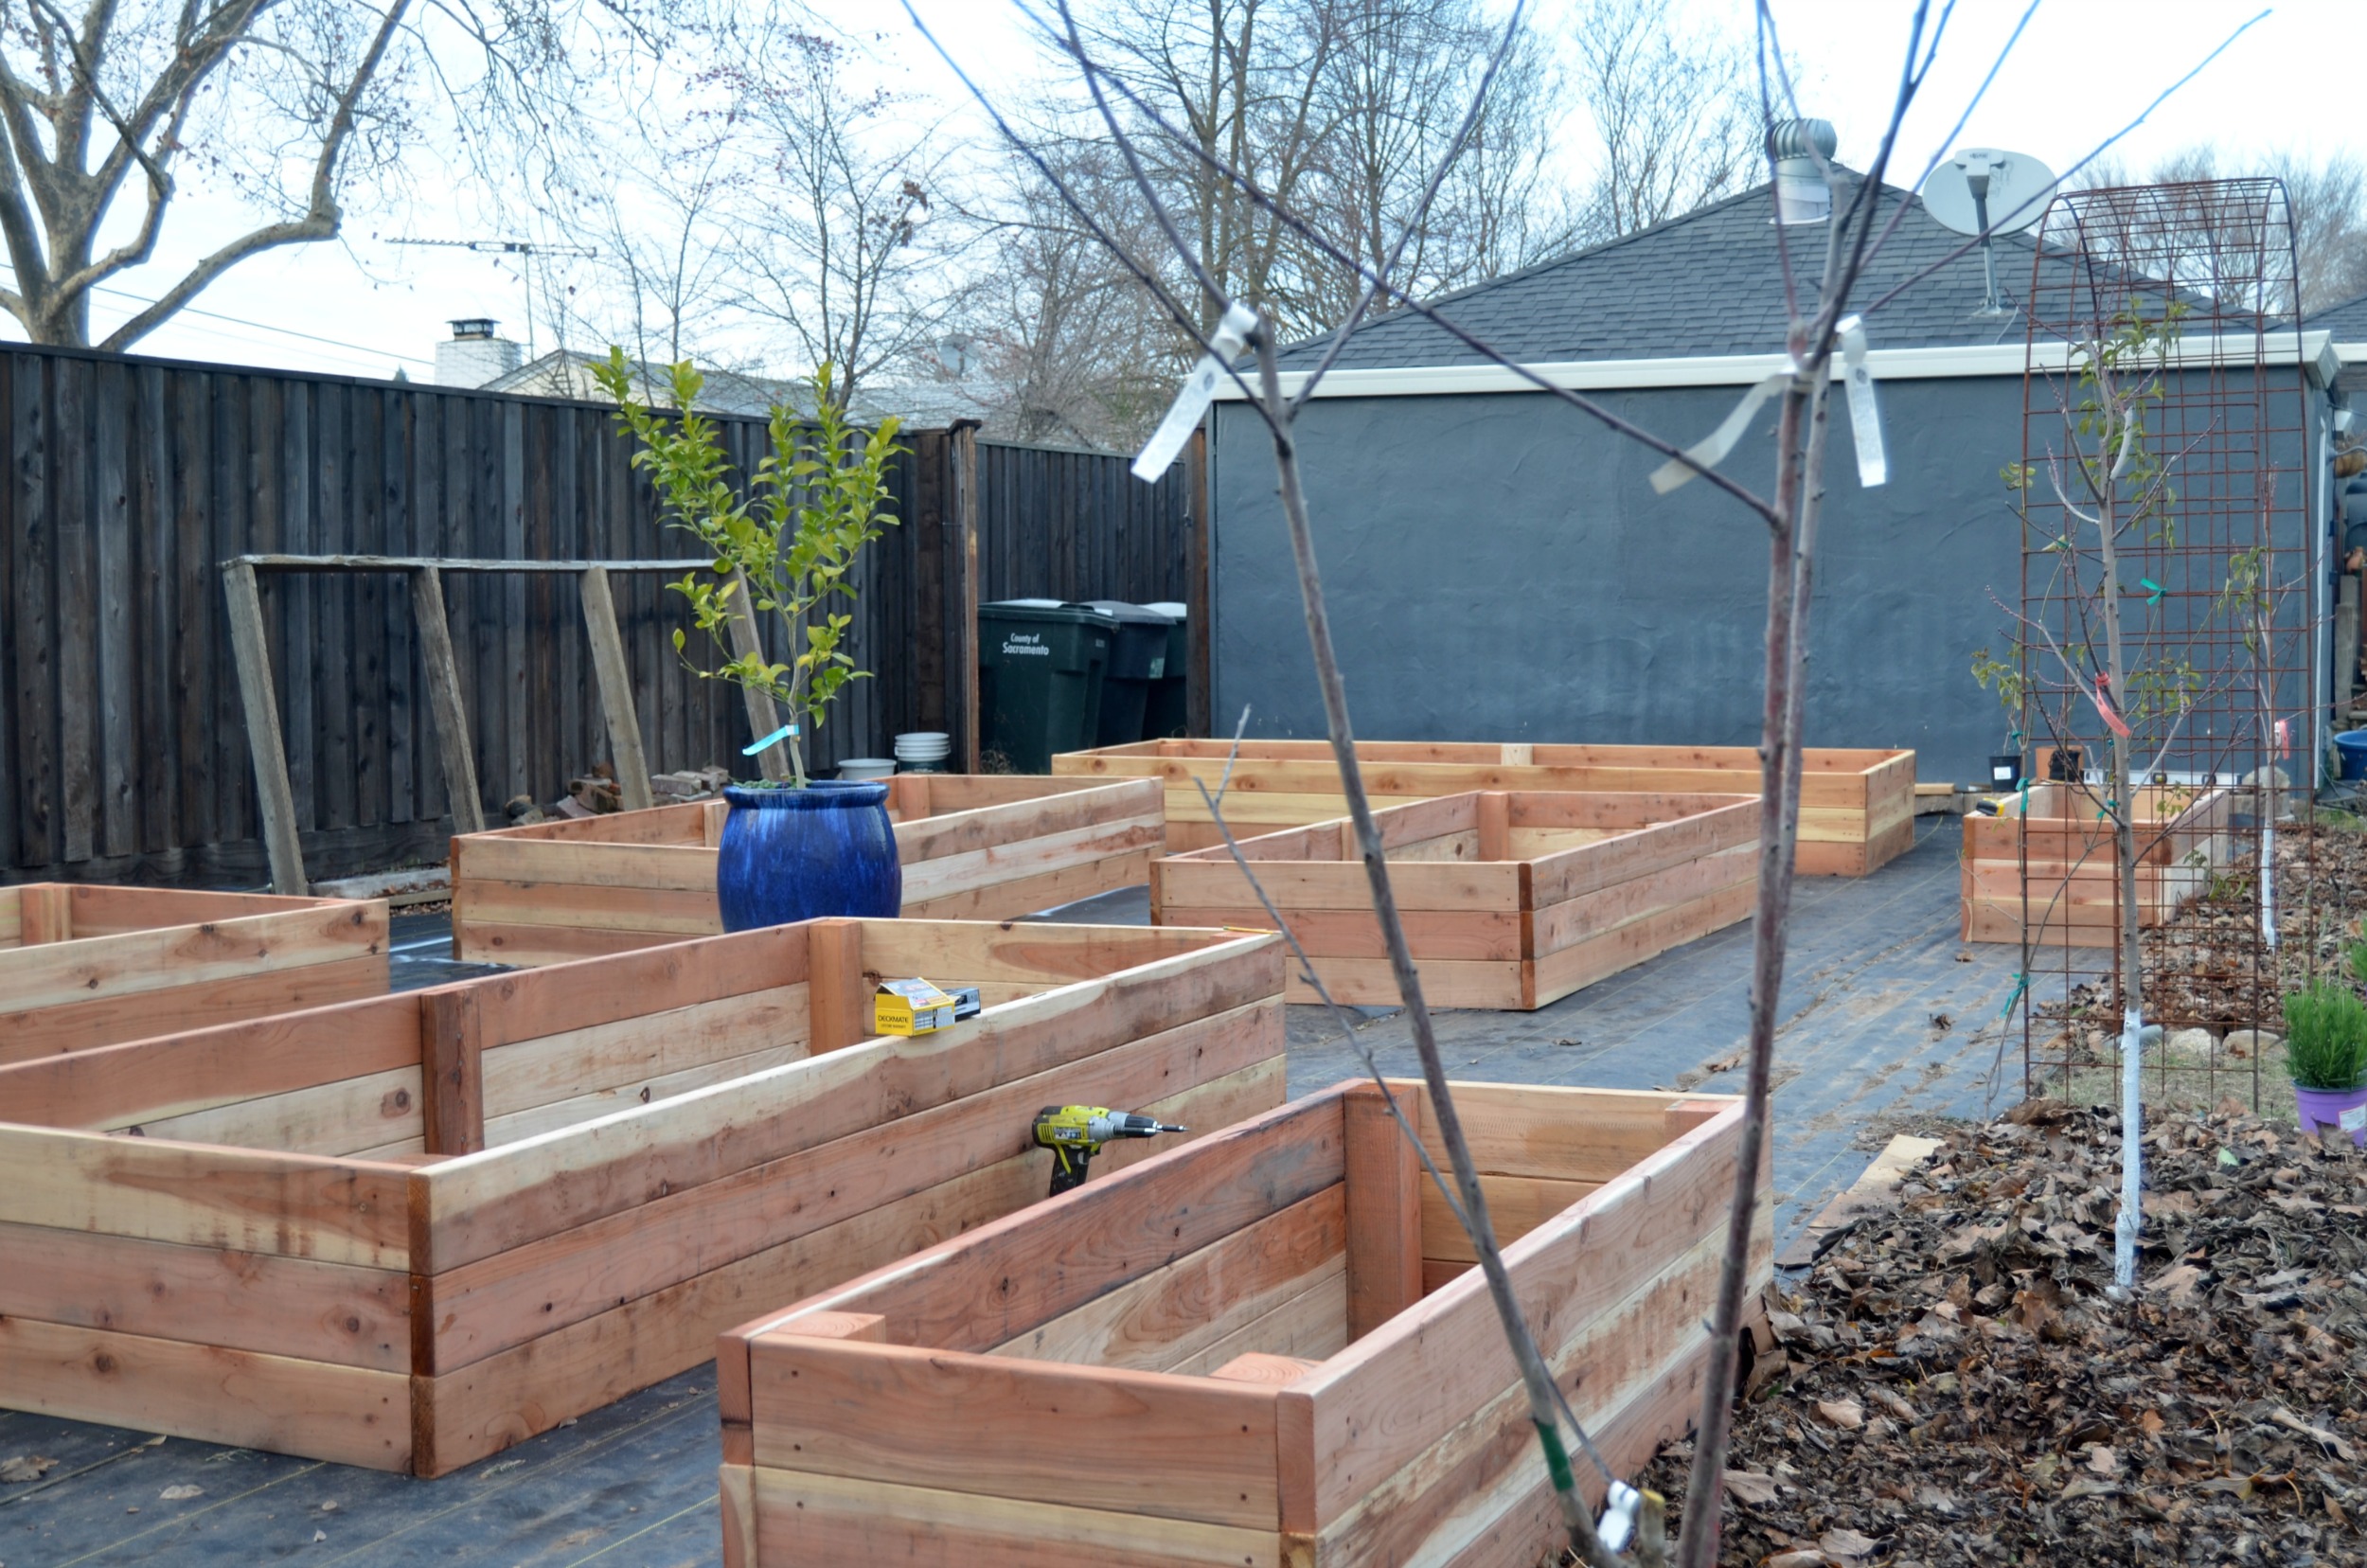
The layout brought to life is perfect. The size and scale of the beds is just right for the space and the pathways are nice and wide for easy navigation through the garden. I kept them between 36-52 inches so there would be plenty of space to get a wheelbarrow or garden cart through
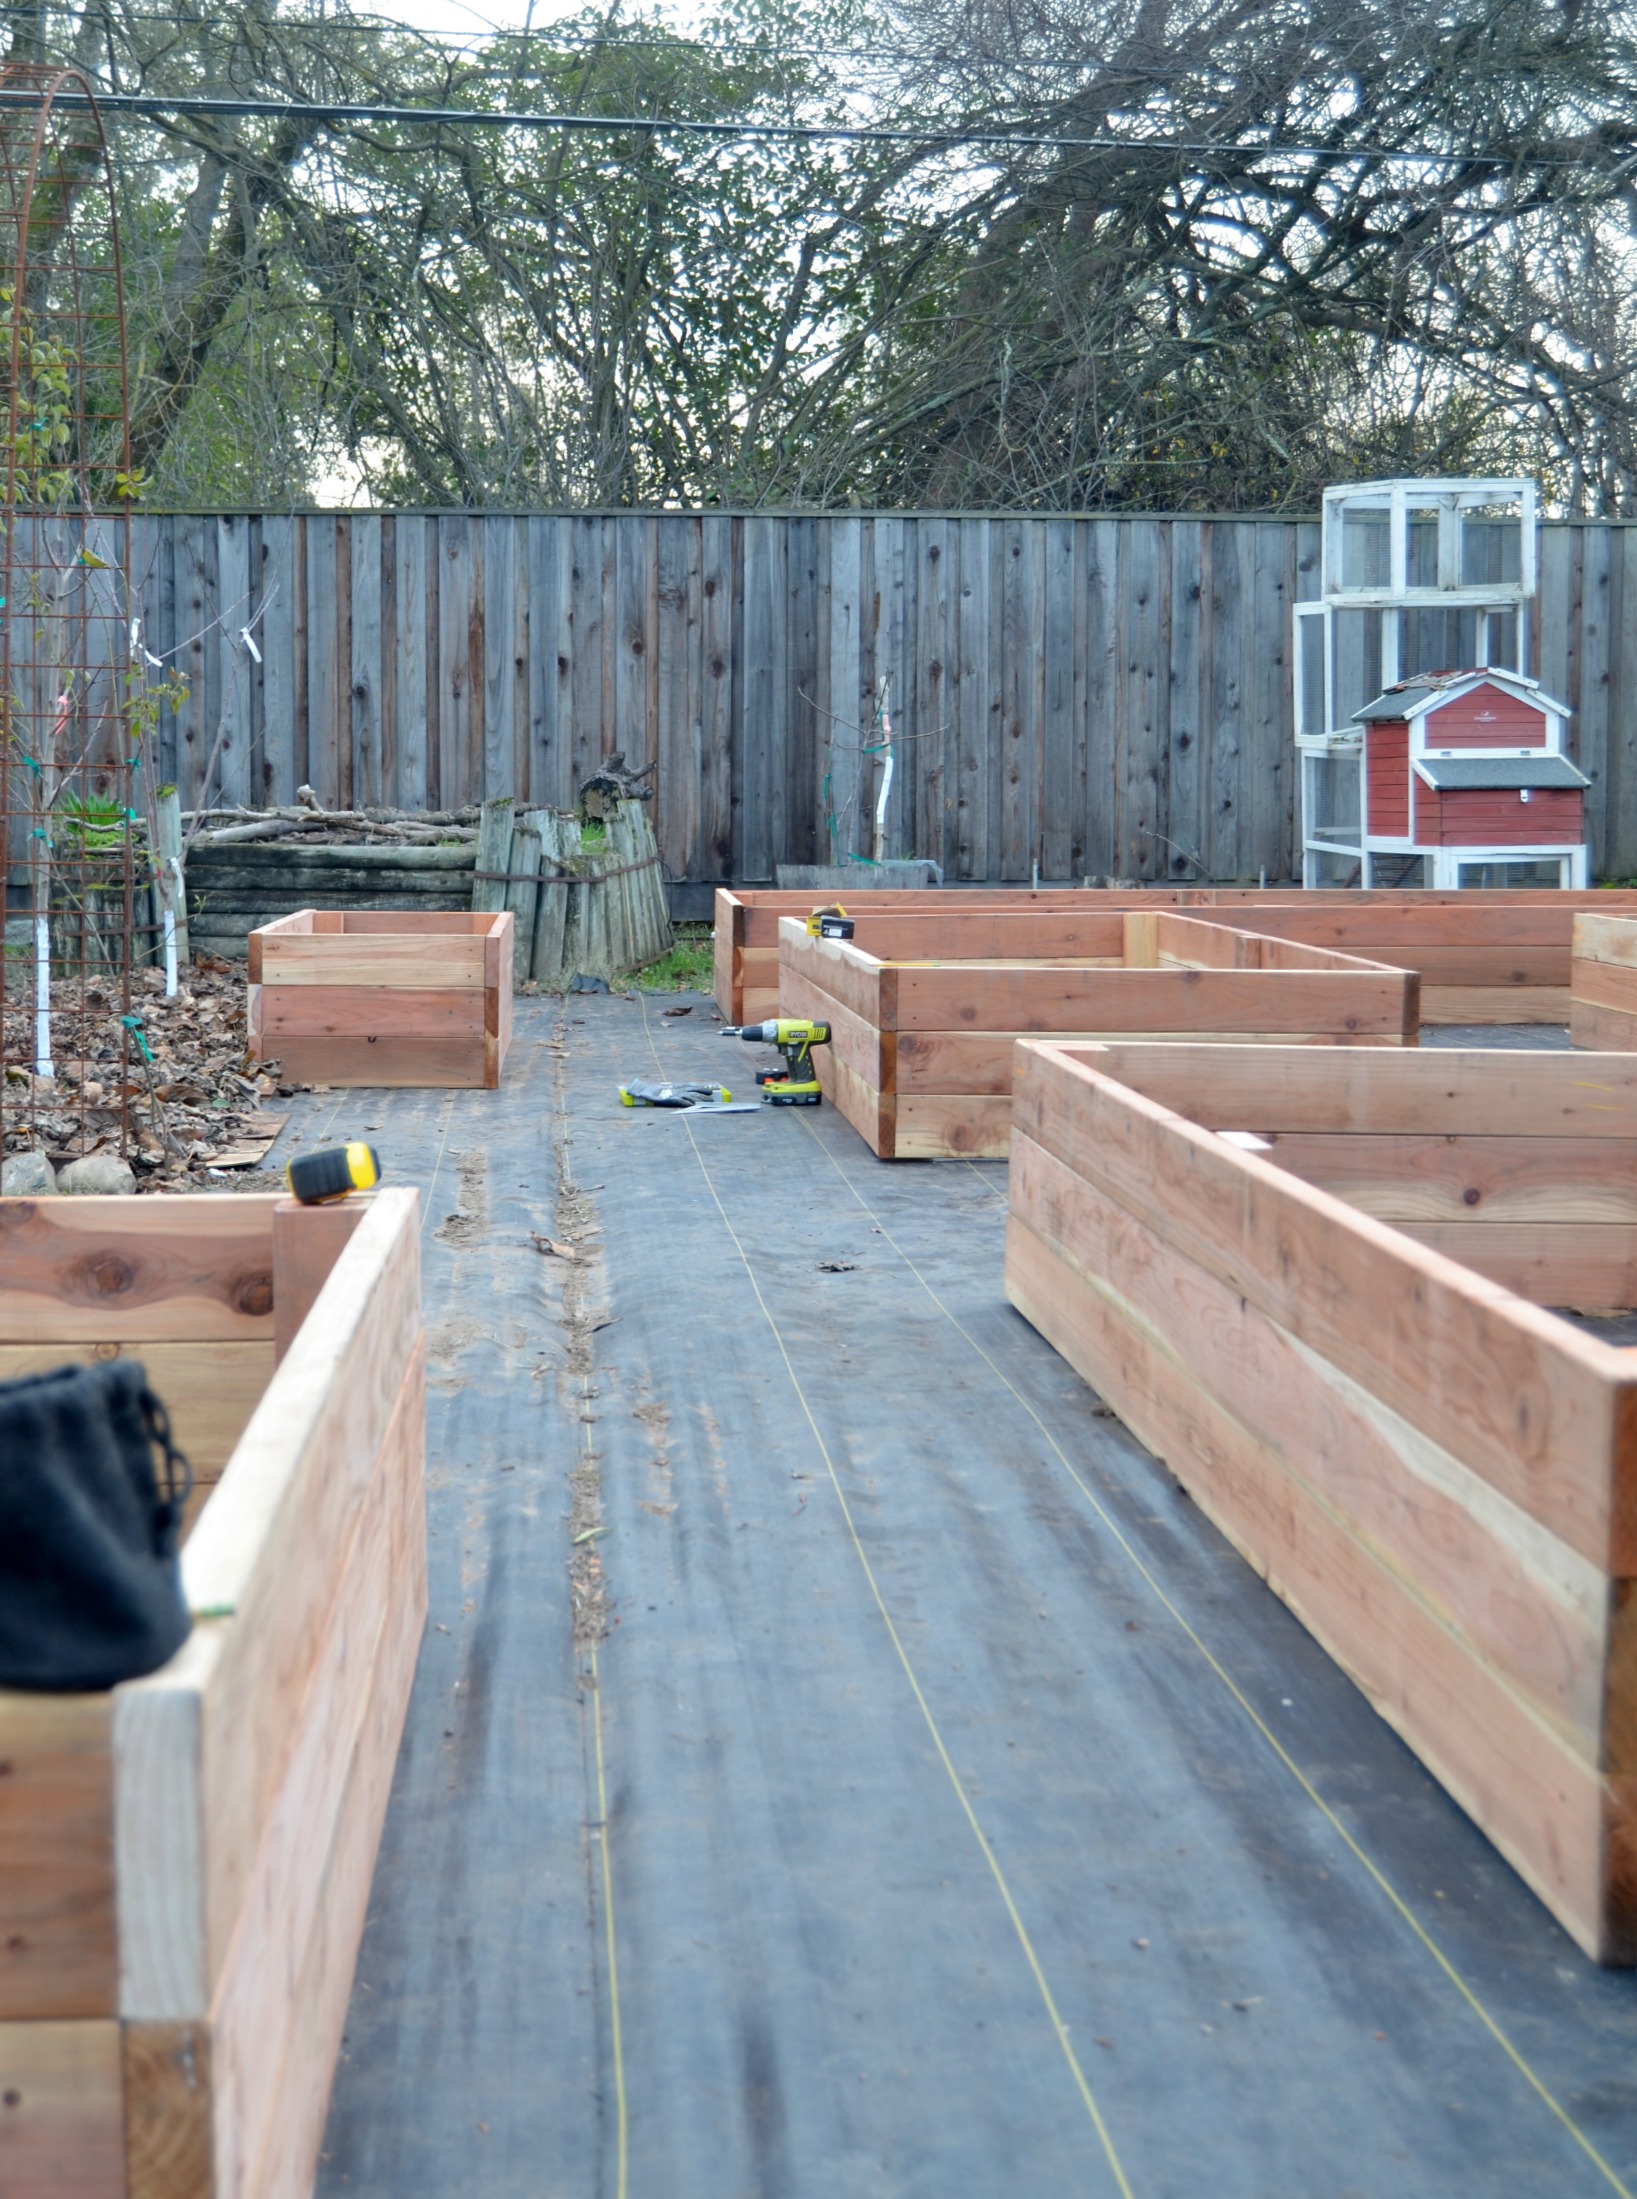
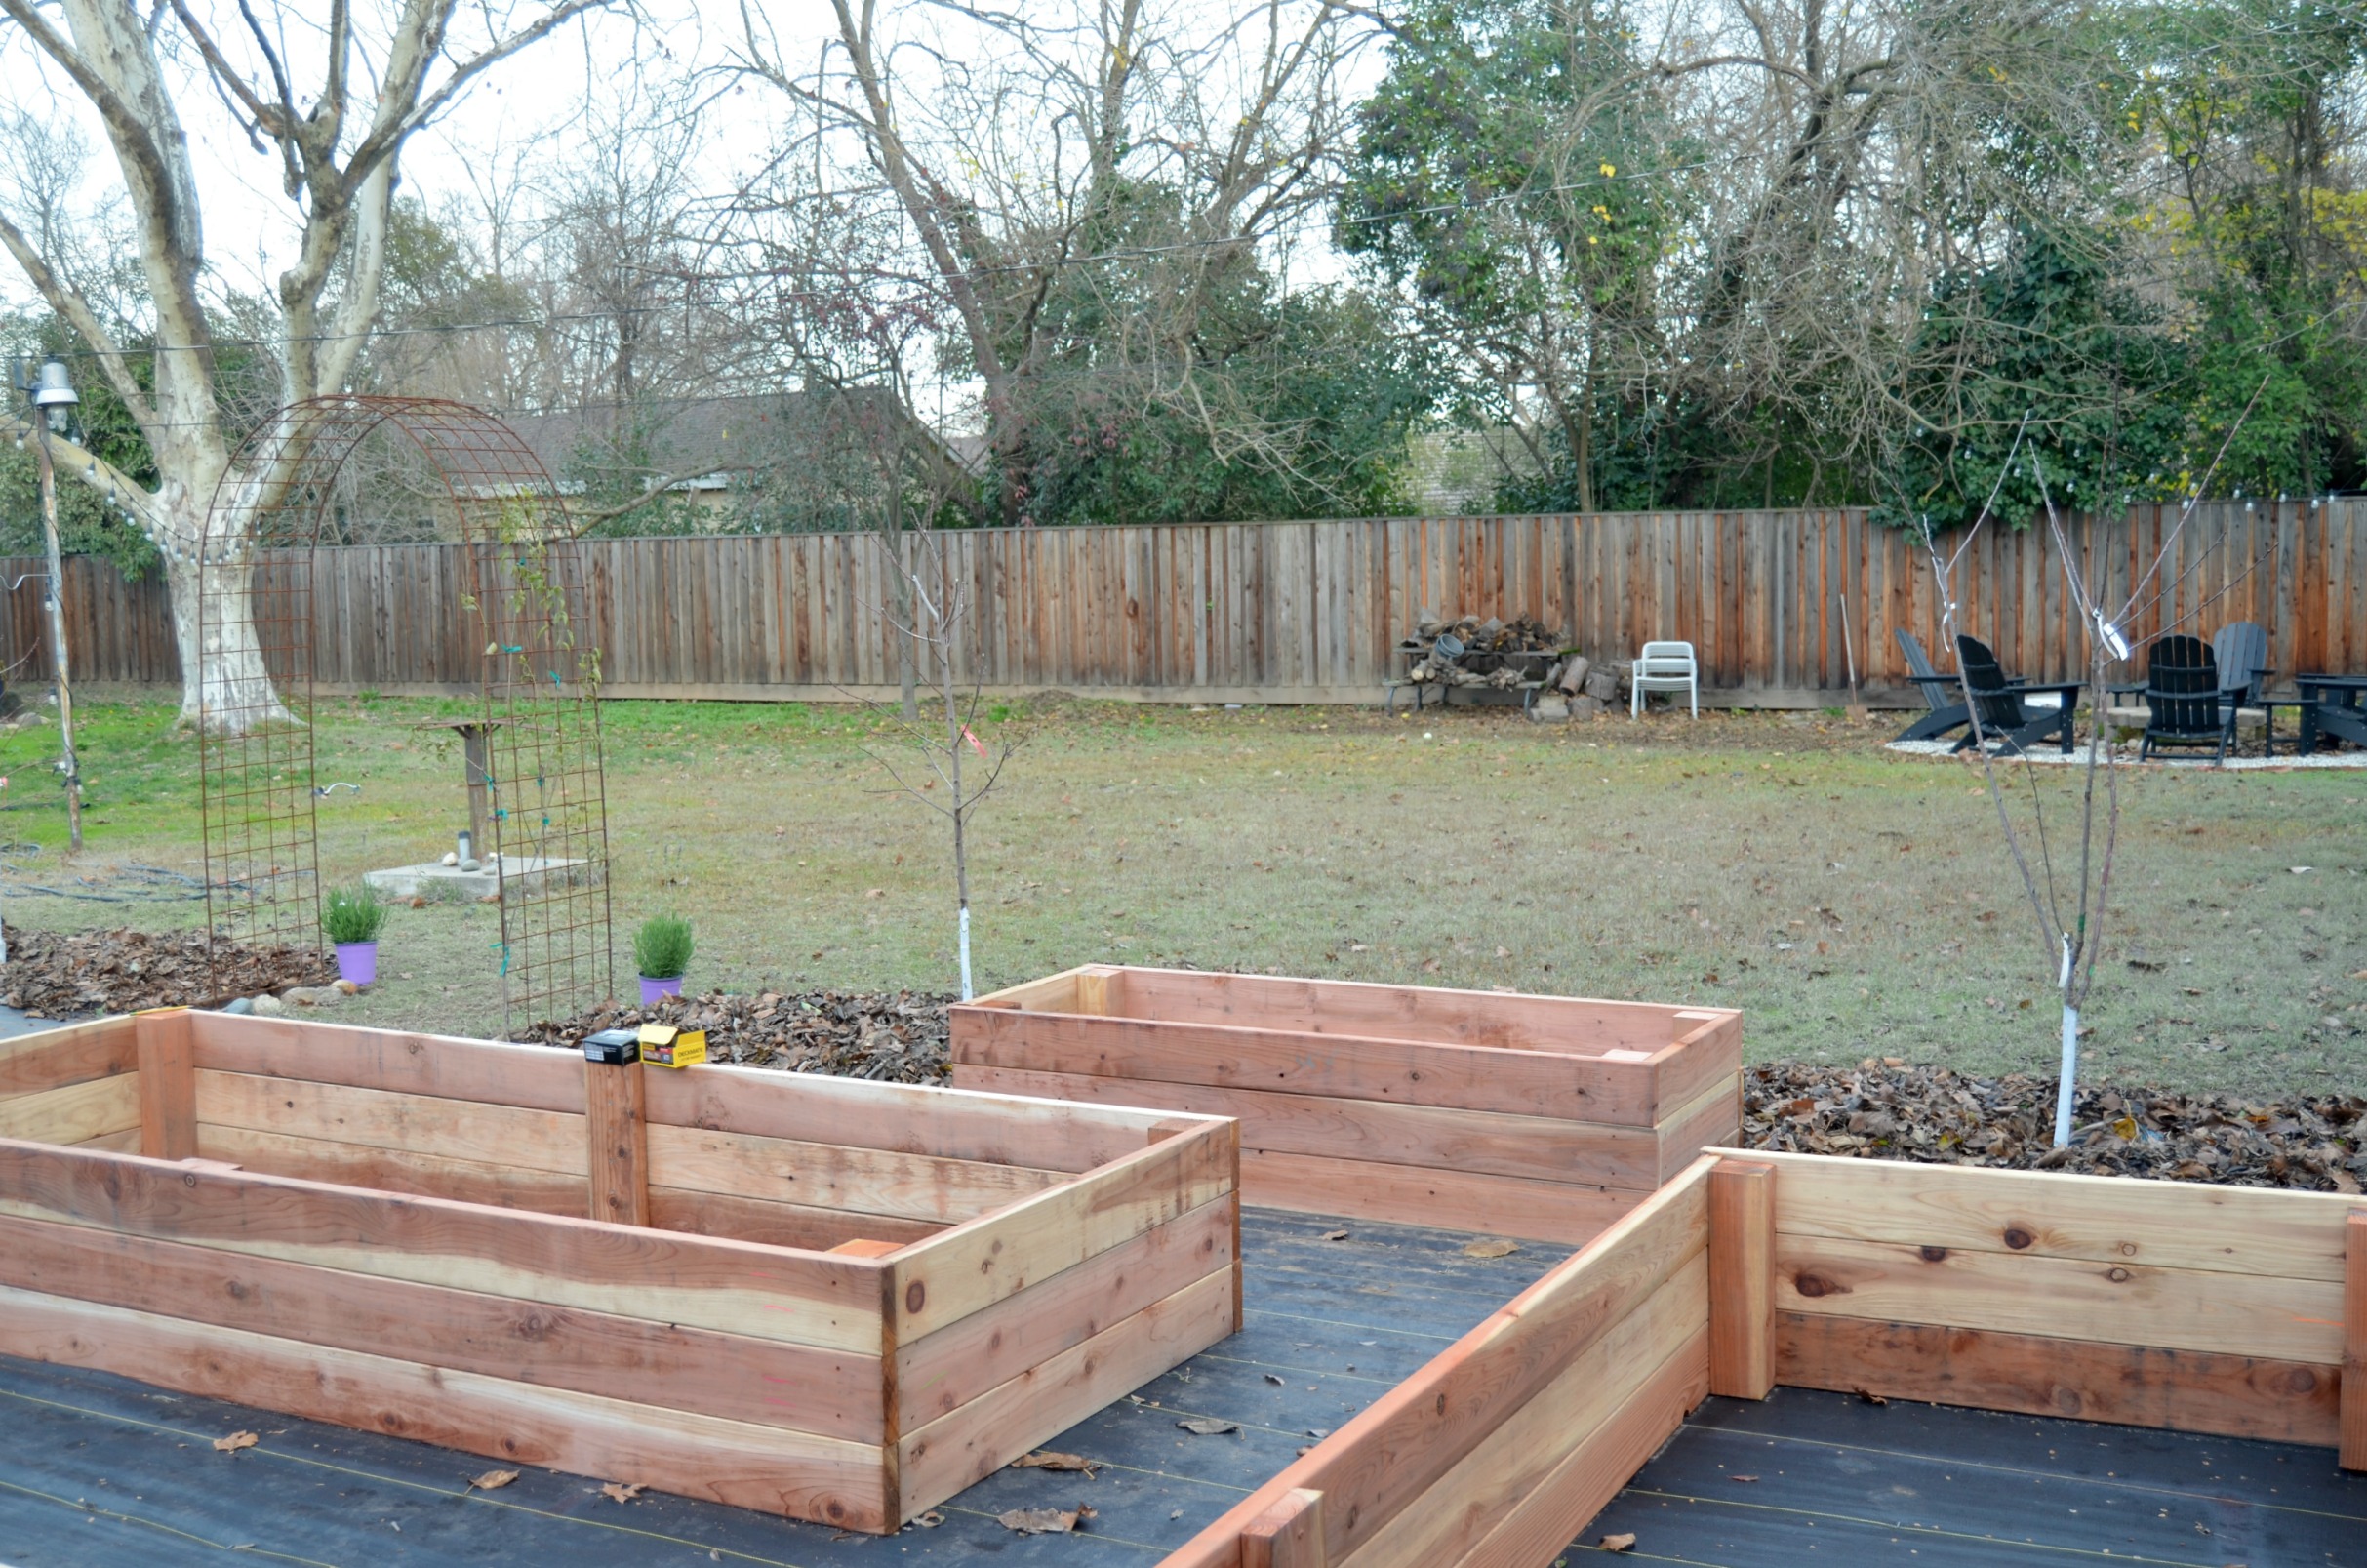
I also really love the way the garden area looks in relation to the rest of the yard. It takes up a good bit of space, but there’s still a lot of area in the yard outside of it.
Now let’s get to the nitty gritty and talk numbers. Exactly how much did it cost to build these beds? The total came in at just under $1000 for the lumber. As I said, redwood is not cheap. This was absolutely a situation of opting to invest upfront in quality. These beds should last at least 10 years…likely even closer to 20. This is an expense I was fully prepared for and is part of why I took my time to carefully plan its construction. The garden is an extension of our home just as the other exterior living areas are. Also since I built all of them at once rather than one or two at a time over time that contributes to the sticker shock. I spent so much time working through the calculations and estimates prior to purchasing…
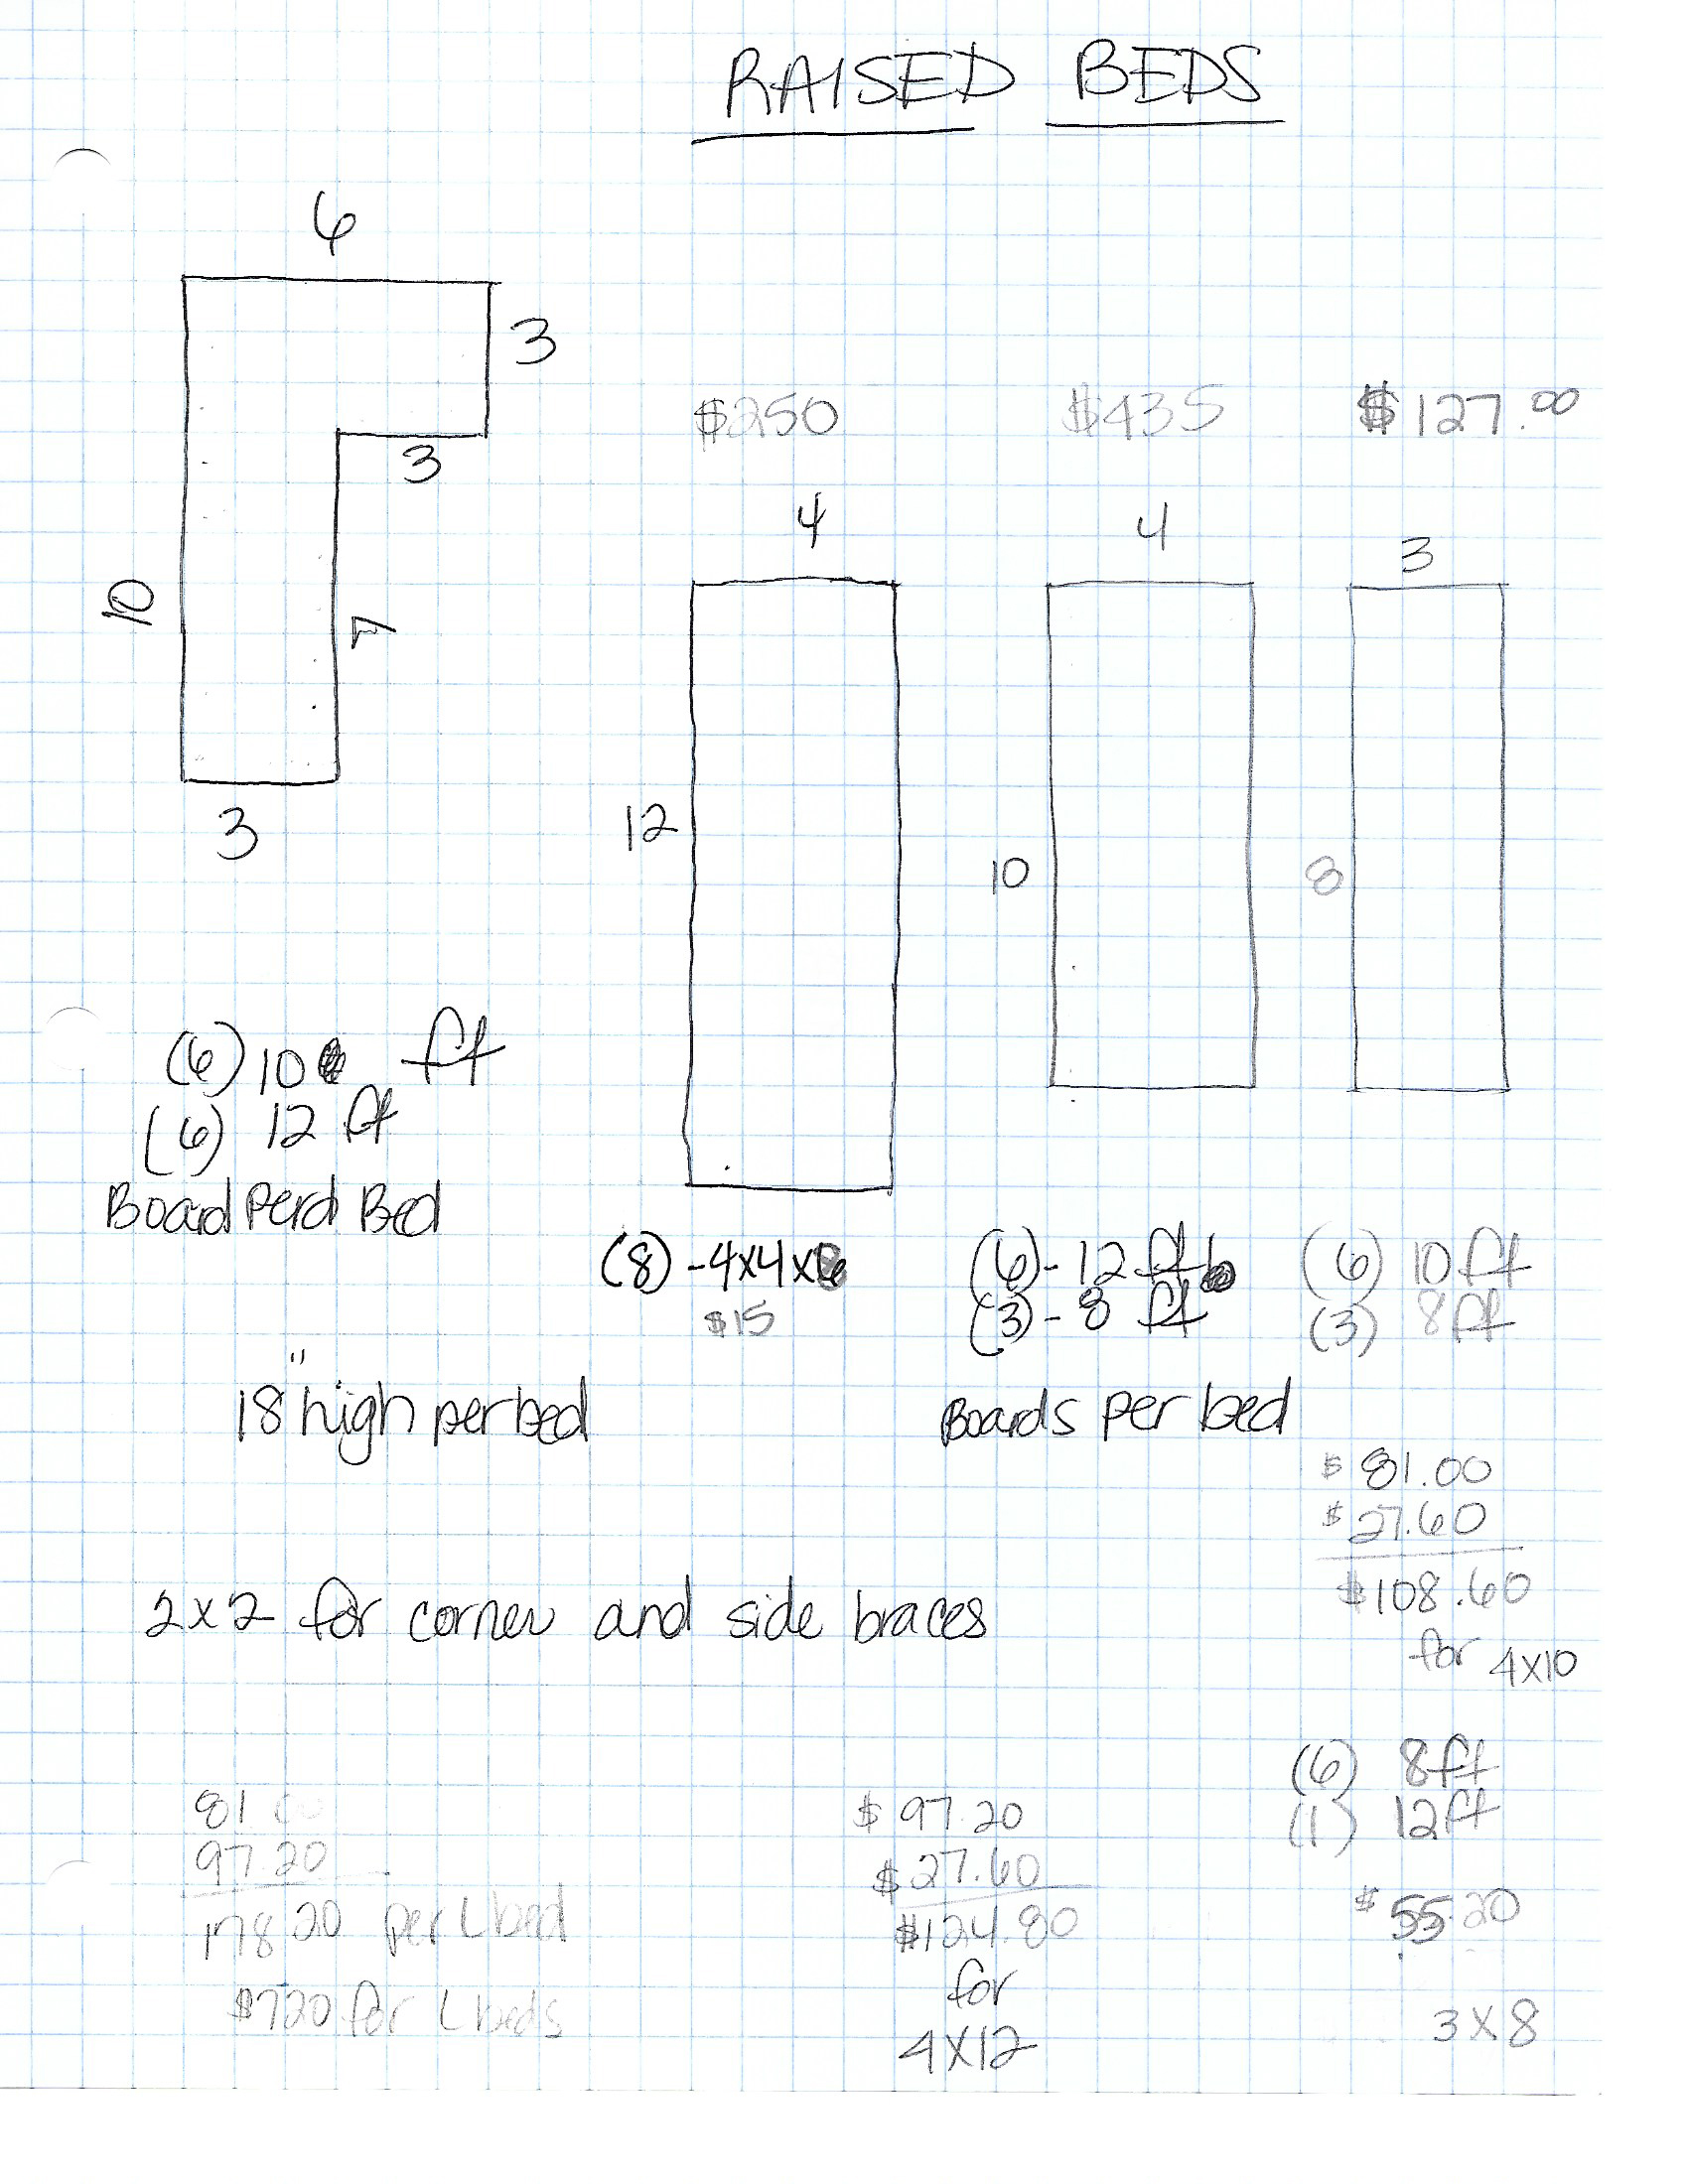
Here’s a break down of costs:
$108.60 per 4 x 10 bed (4) = $434.40
$124.80 per 4 x 12 bed (2) = $249.60
$55.20 per 2 x 6 bed (2) = $110.40
$15 per 4x4x 8 post (7) = $105
$30 for 5 lb box decking screws
plus taxes | Total = $1028.02
The Cottage Flower Border
Another major visual element I wanted to create in the garden is my version of a herbaceous border at the entry. A nice thick established cottage flower border overflowing with perennial and annual shrubs and flowers is one of my absolute favorite things.
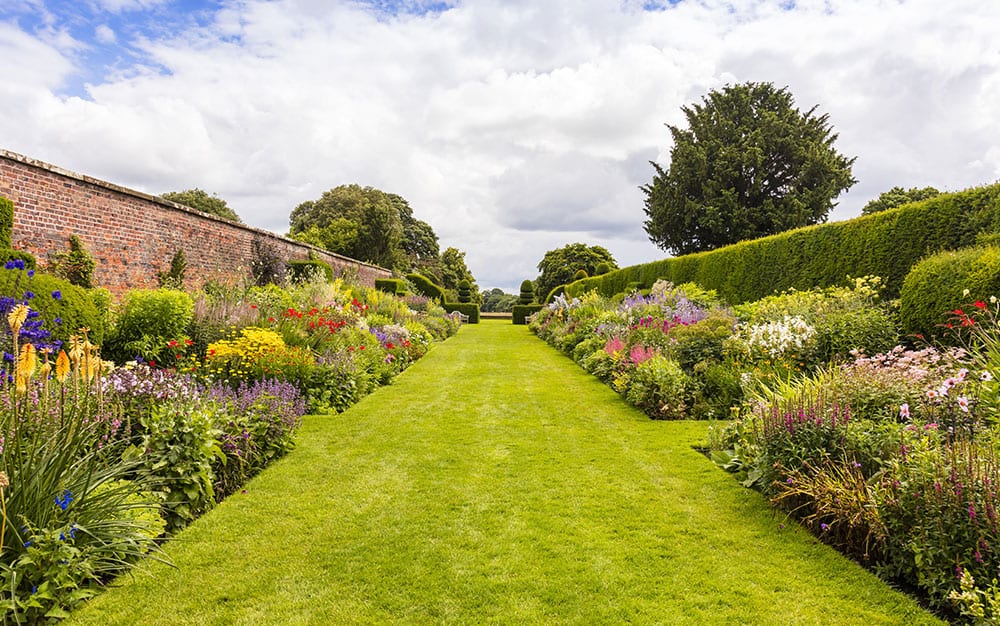
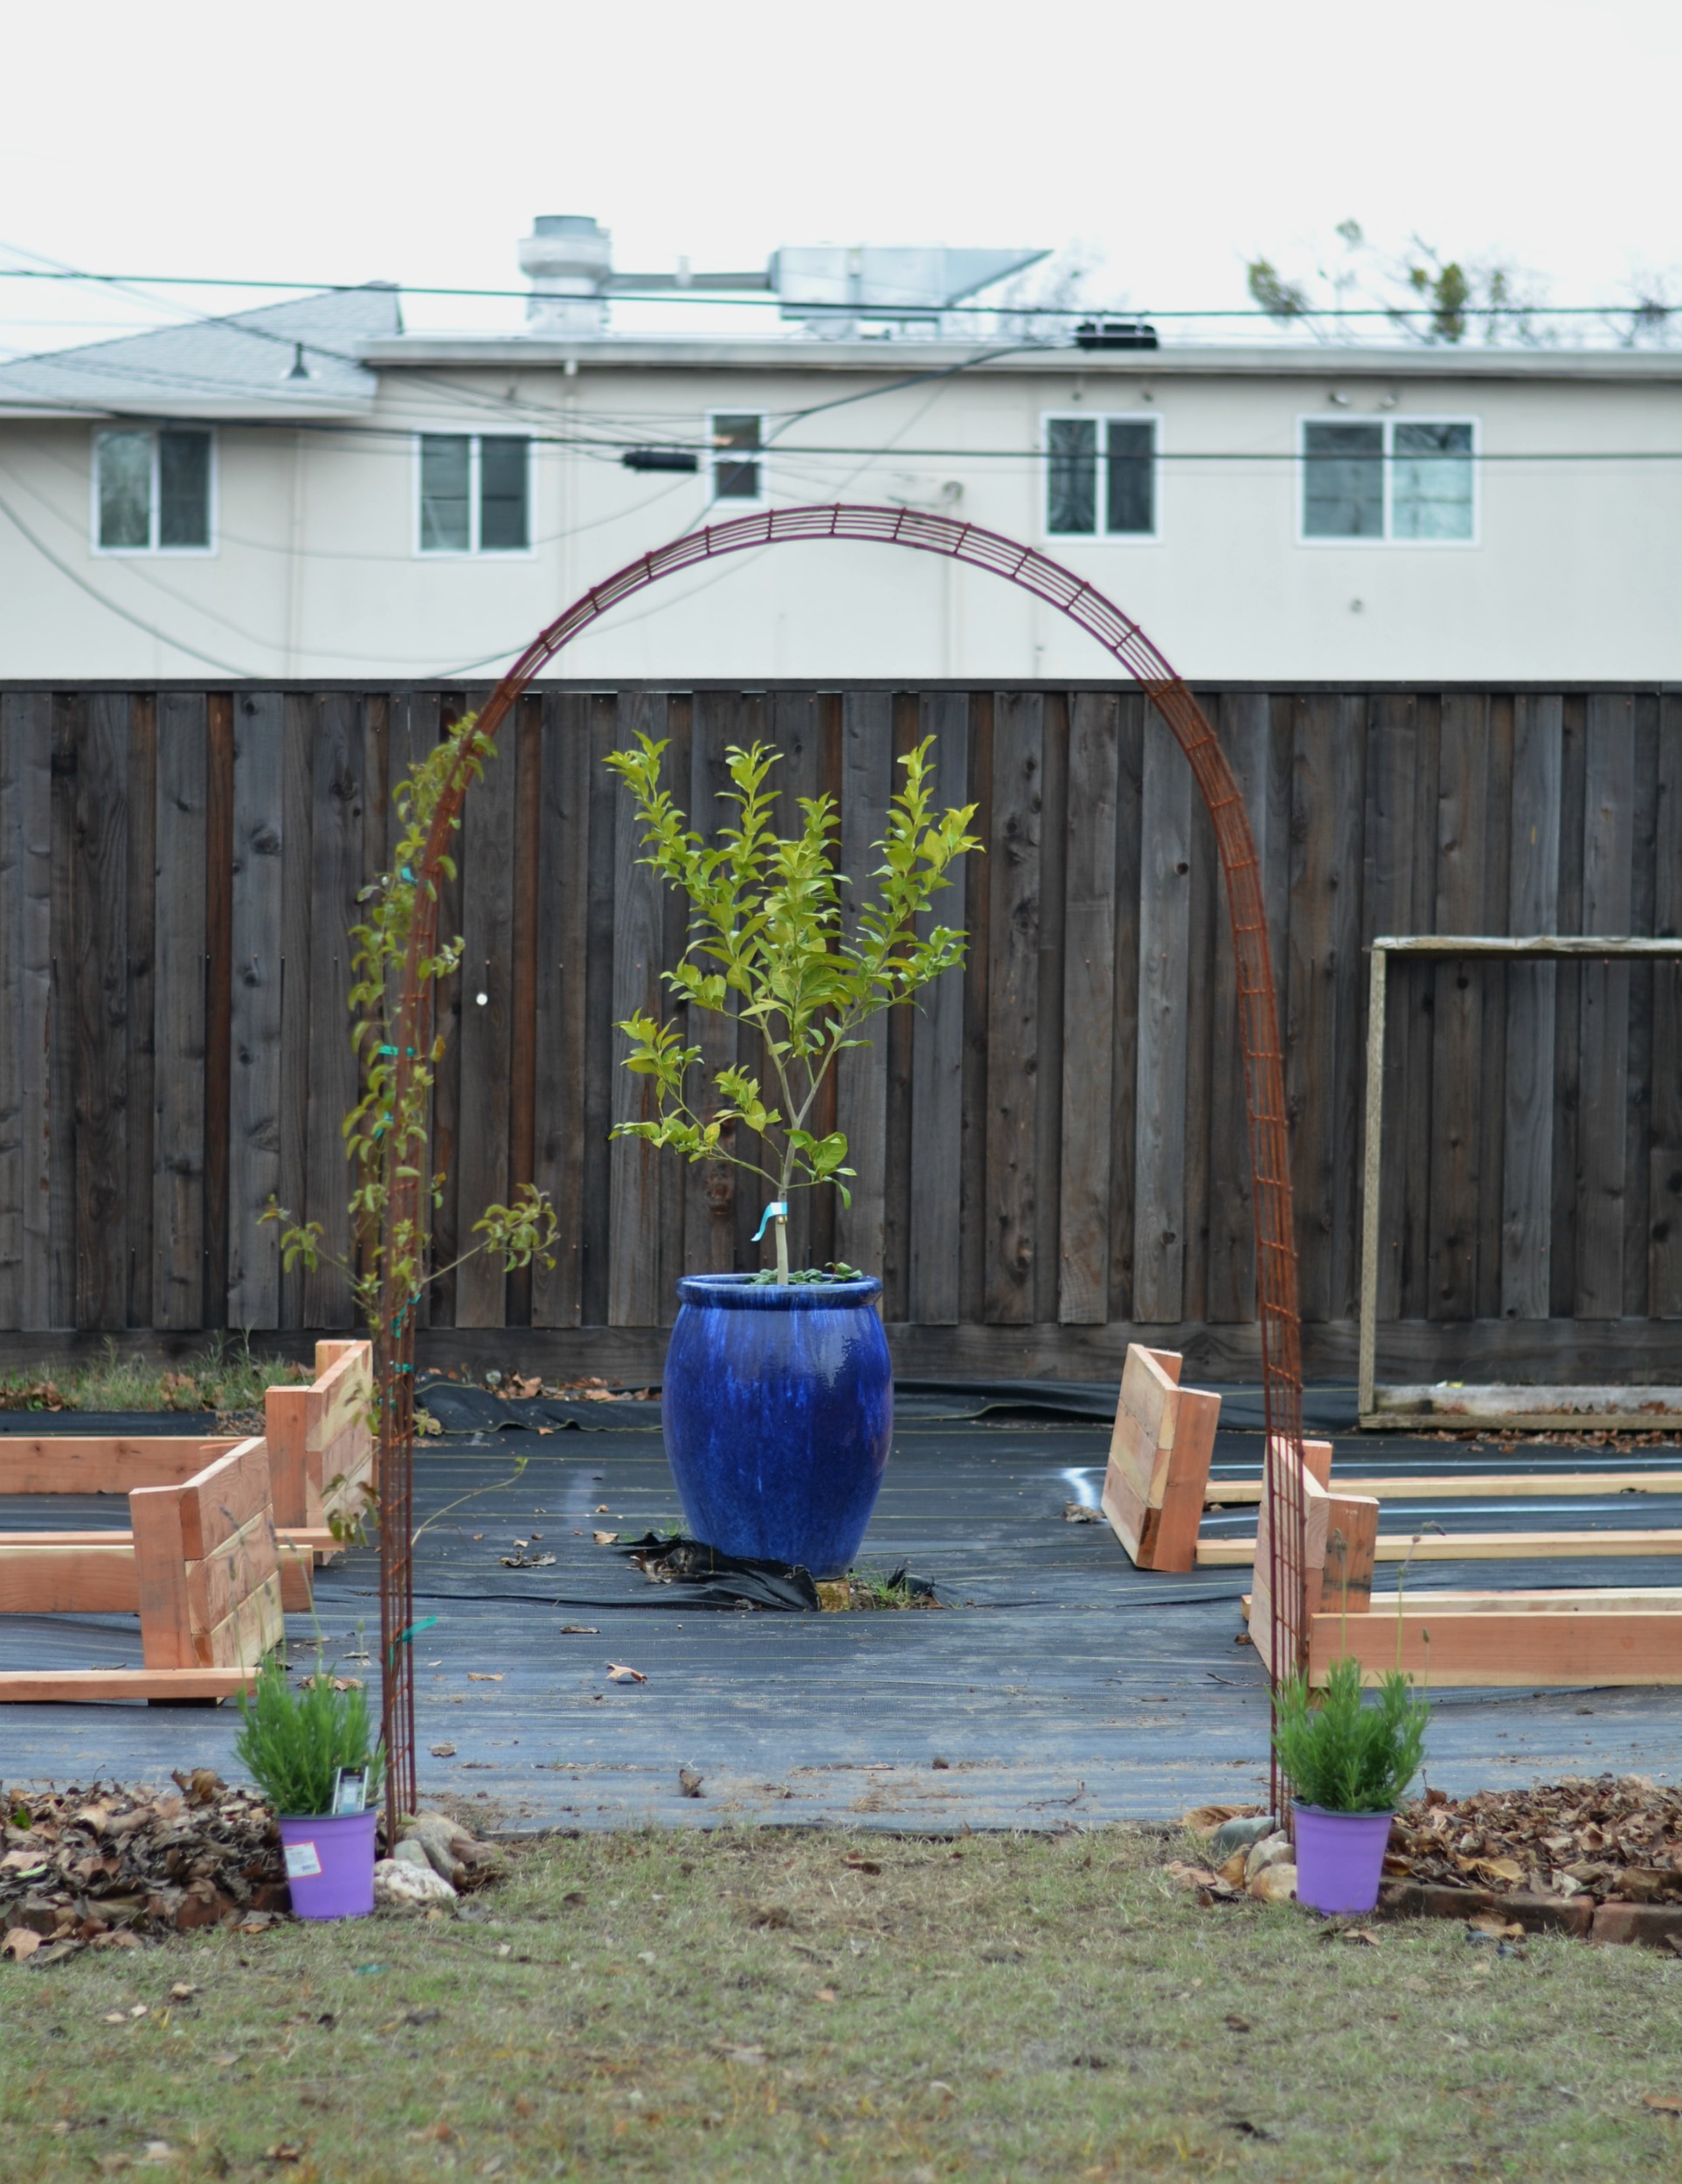
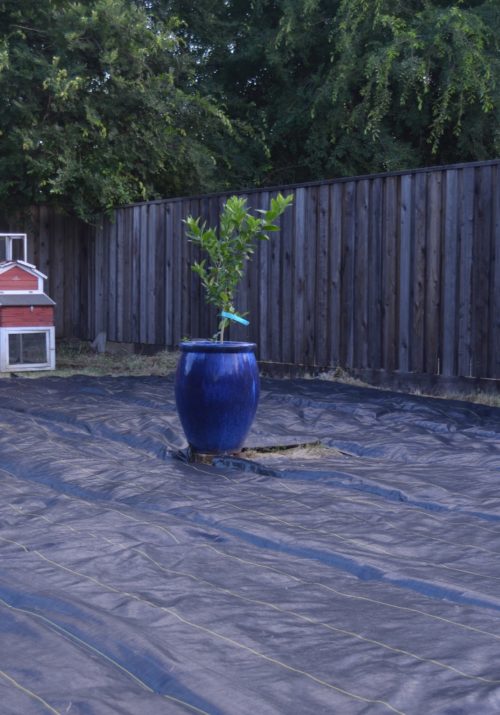
And while I wont be creating one that stretches for miles I did want to create a cottage border for our garden filled with flowers and shrubs that would 1. attract pollinators for the edibles, and 2. be fragrant and beautiful leading into the garden from the main yard. In the spring just after getting the potted lemon planted and laying down the landscape fabric I installed a metal arbor at the entrance of the garden and planted three fruit trees along either side. It was a great start to creating the border and I needed to expand on it.
While building the raised beds I also took some time to work on creating the border and prepping the area for spring planting. I decided to go with the no dig method of smothering the grass over the rest of the winter rather than painstakingly digging it out. It’s a very easy process and it allowed me to put all the leaves we had yet to rake up from fall to good use.
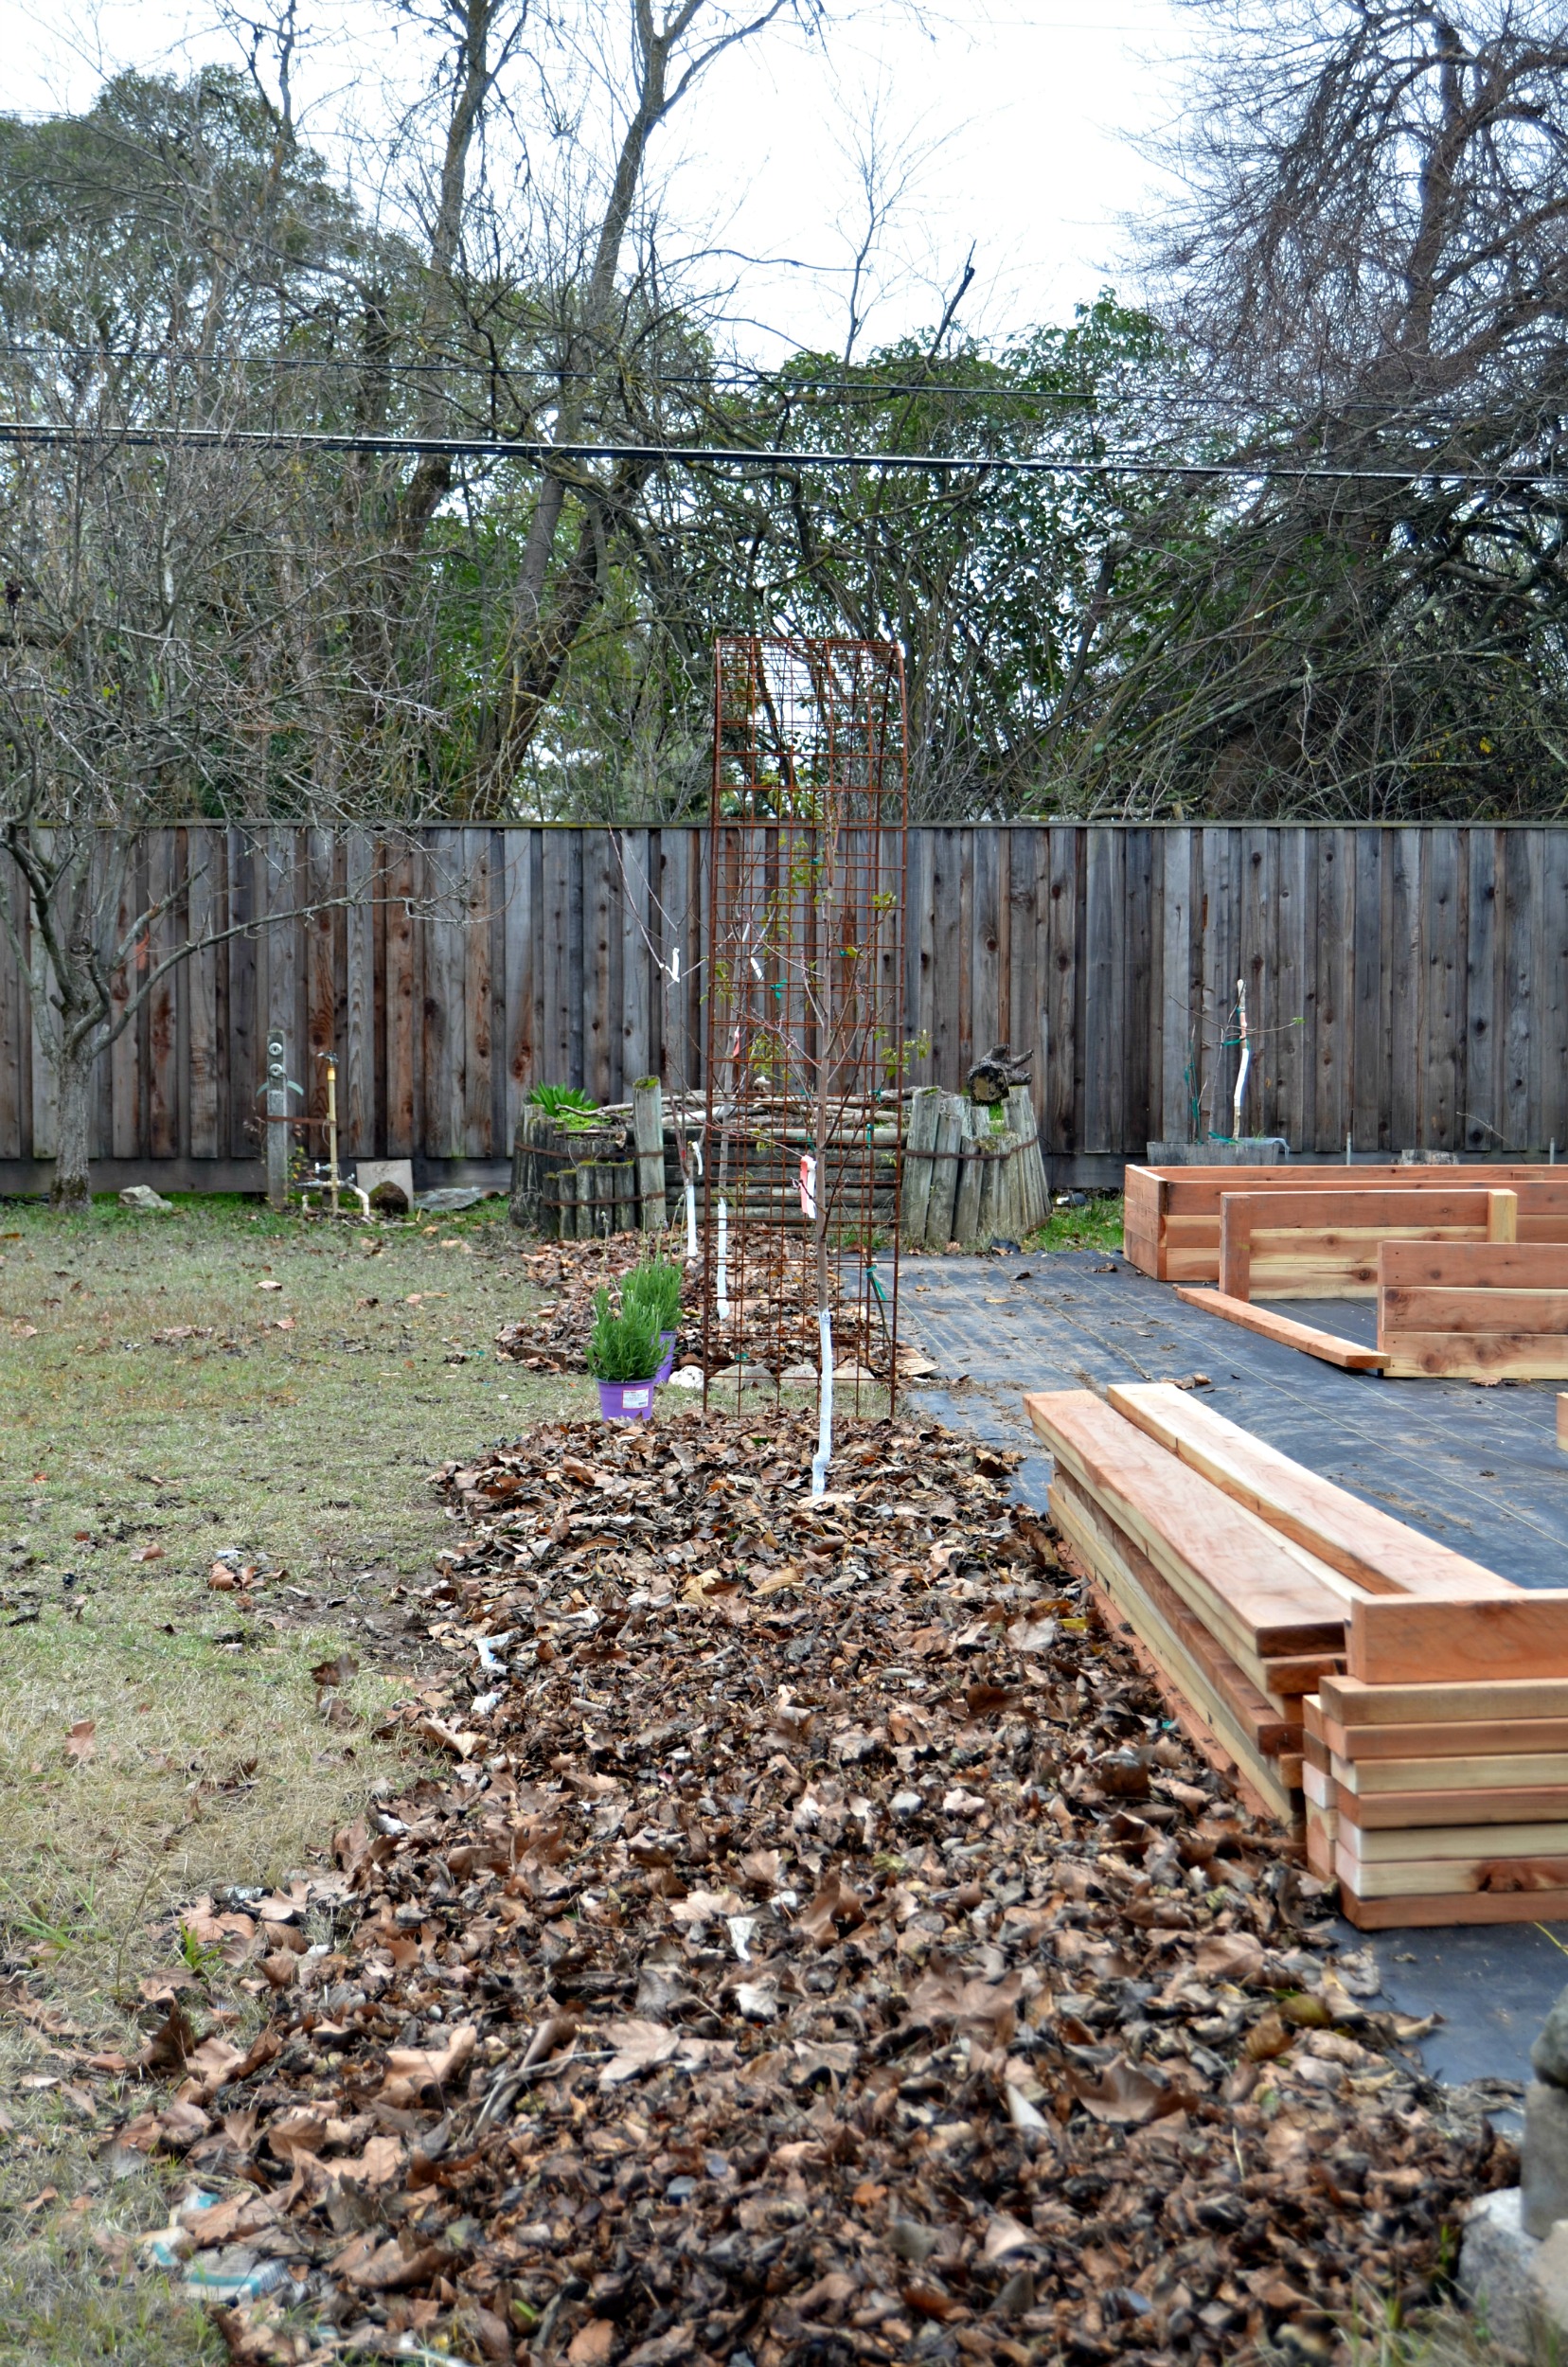
I just laid down a thick layer of newspaper and cardboard, wet it down, put down a layer of steer manure, and finally laid down a thick layer of leaves. This will smother the light and air to the grass which in turn kills it…without the use of herbicides AND it builds soil health. The steer manure was used as an added amendment to break down into the soil since this area had never been planting in before. The newspaper and cardboard will also decompose into the ground and add to its fertility.
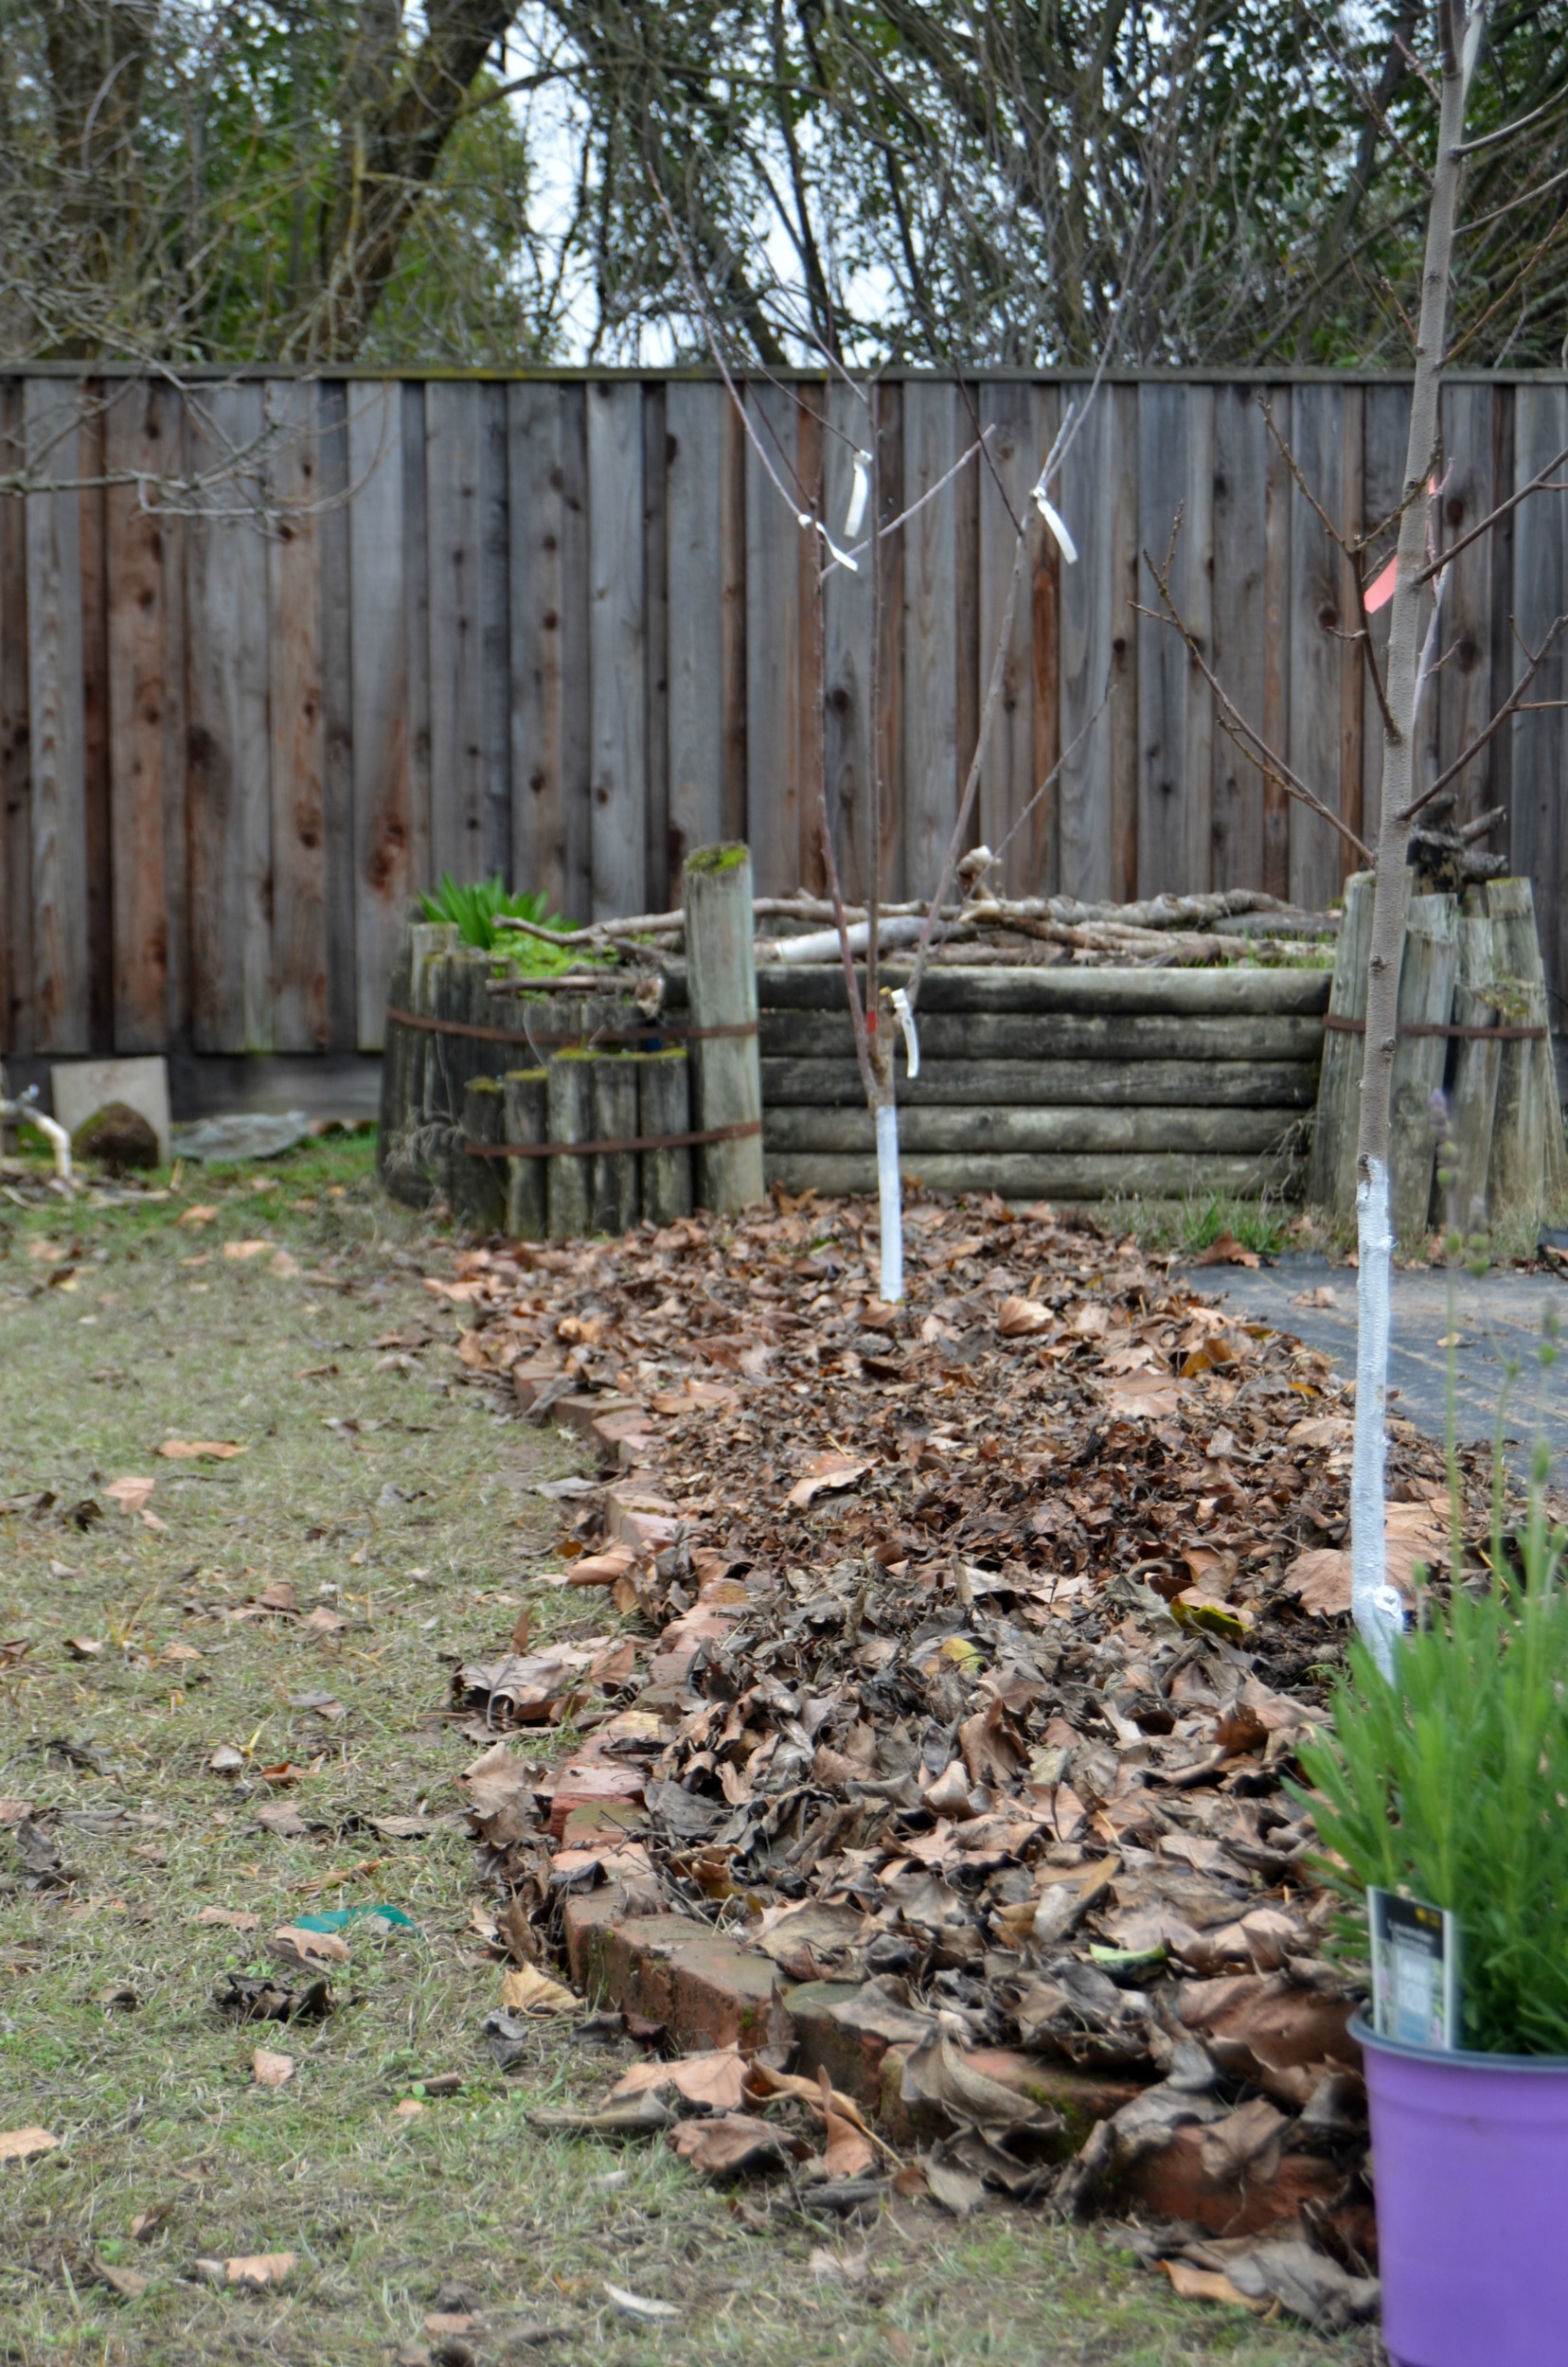
I decided to use some old bricks I’ve been collecting from other areas of the yard as the edging for the border. Part of the beauty and whimsy of a cottage garden is the incorporation of found and repurposed things, and there’s nothing more quintessential cottage garden than old bricks. I did have to dig out a small trench for the bricks, but that went fairly quickly.
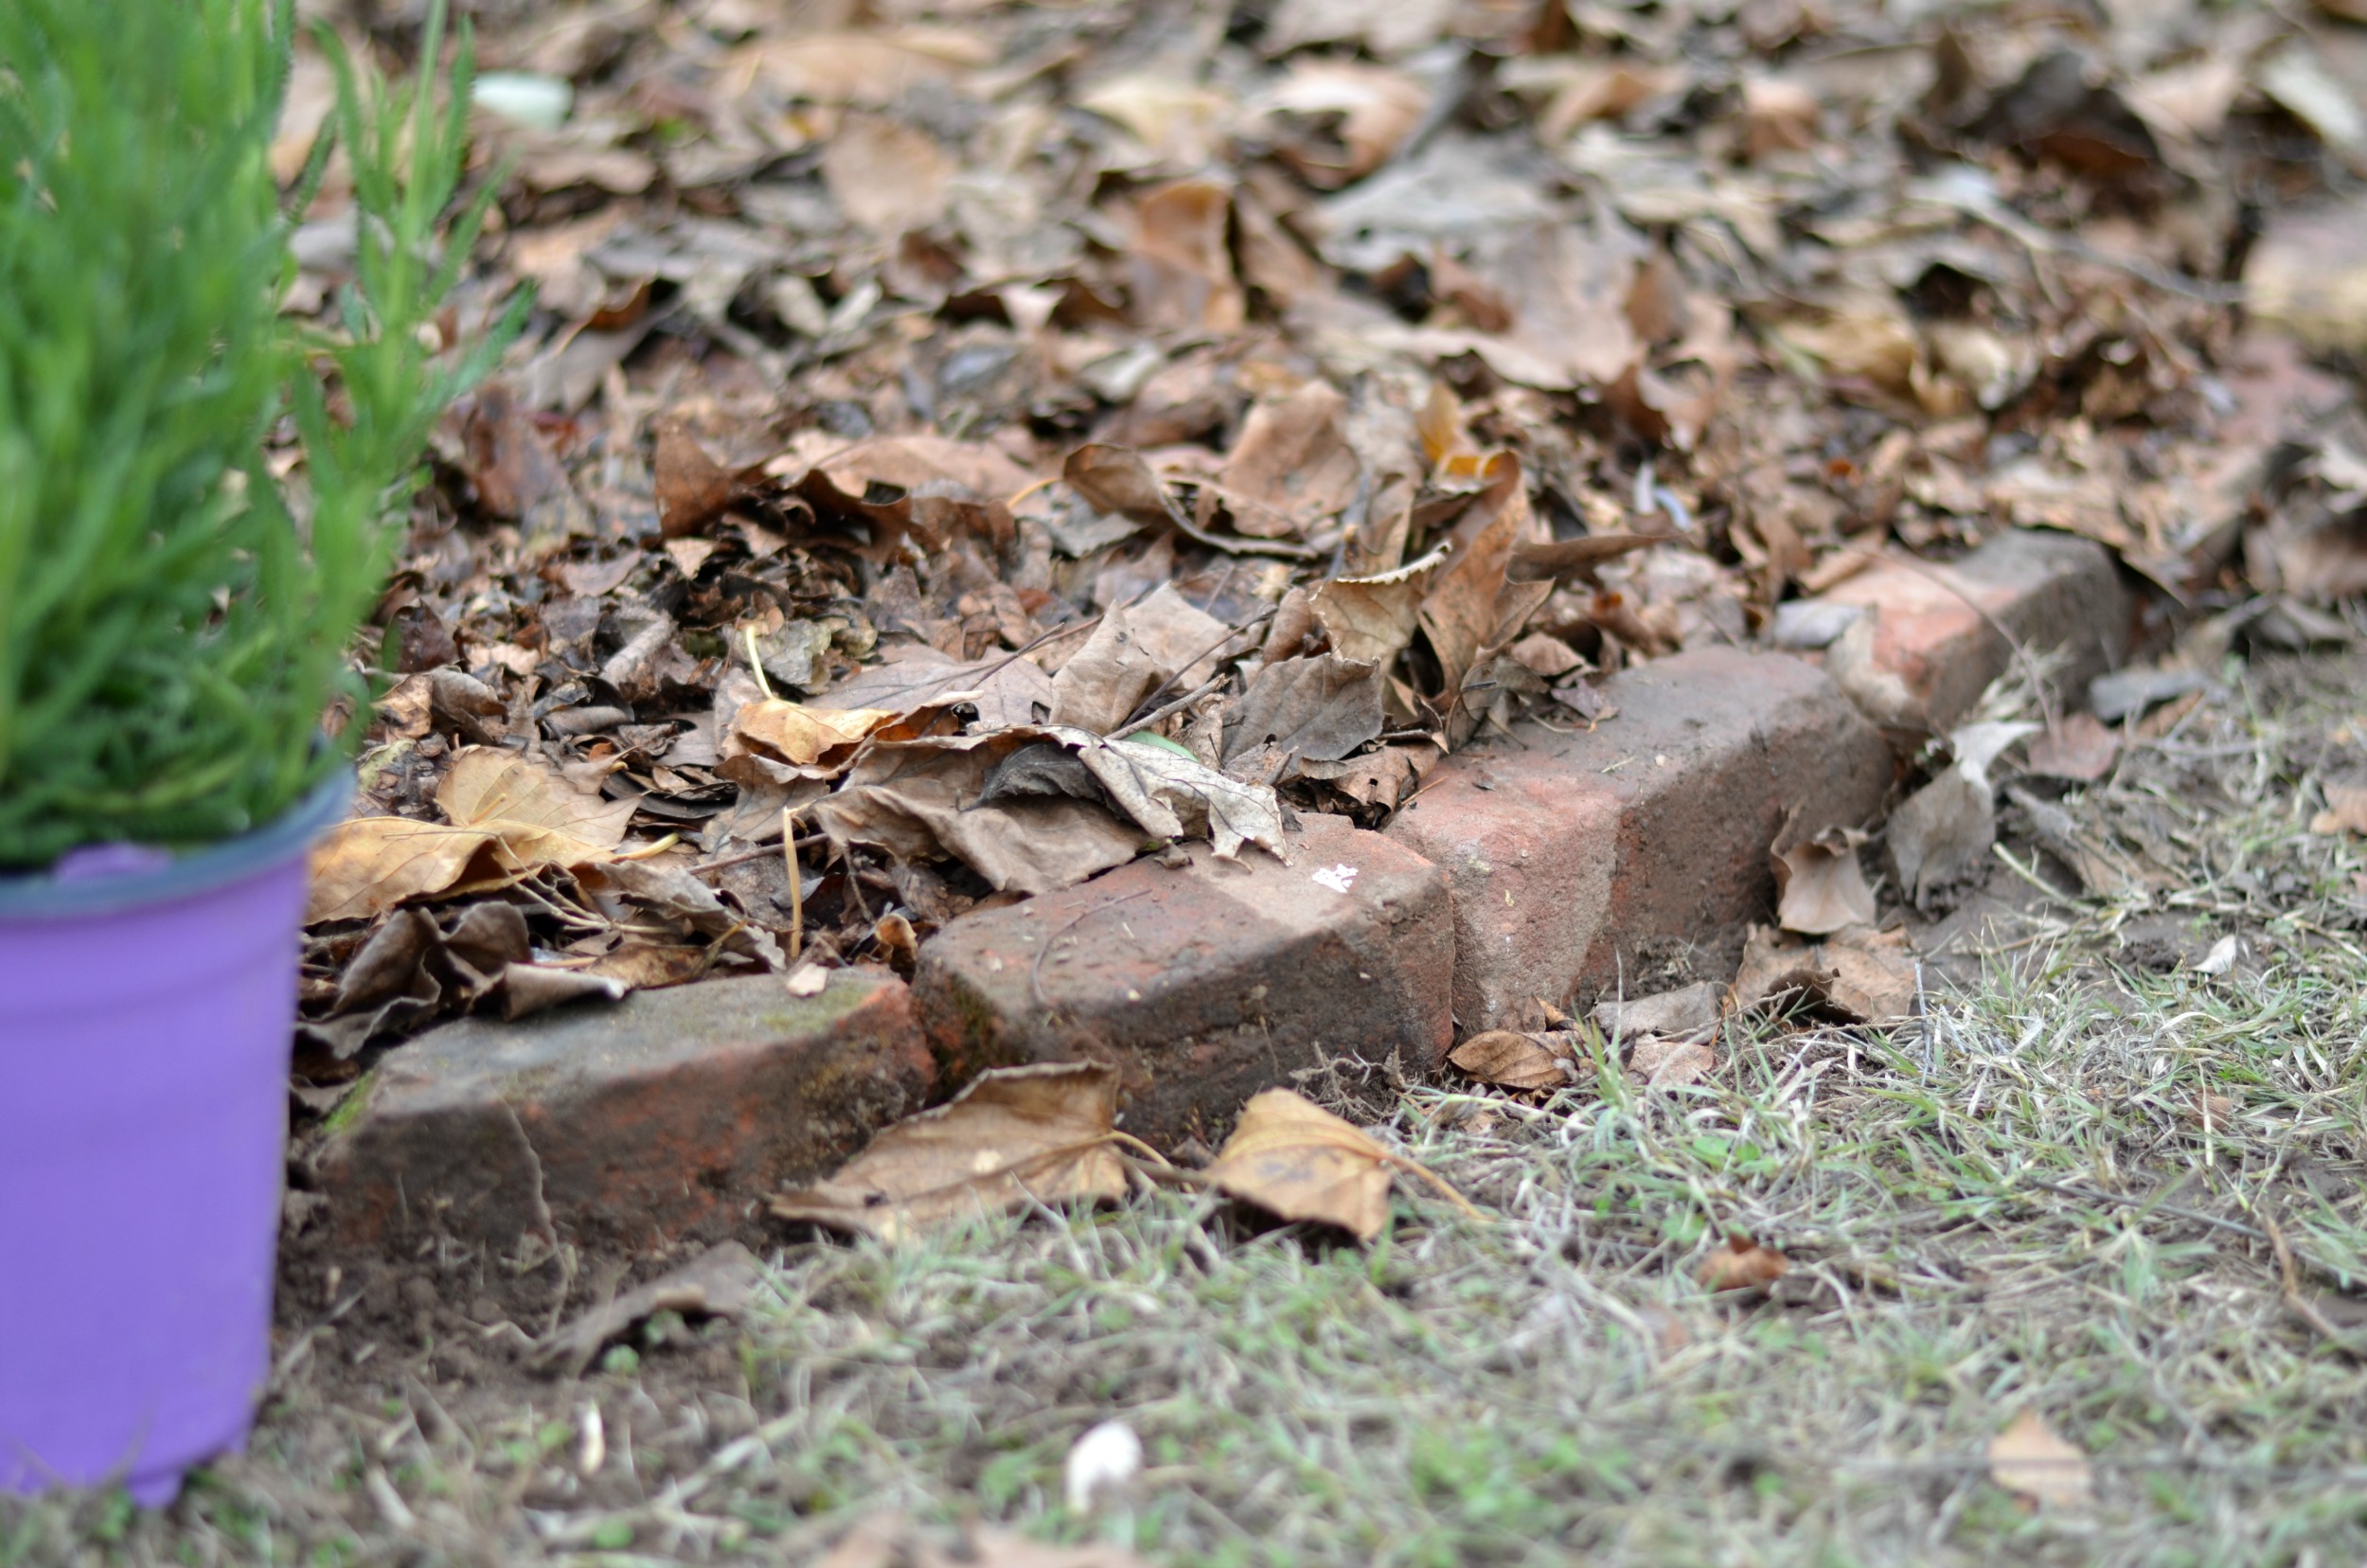
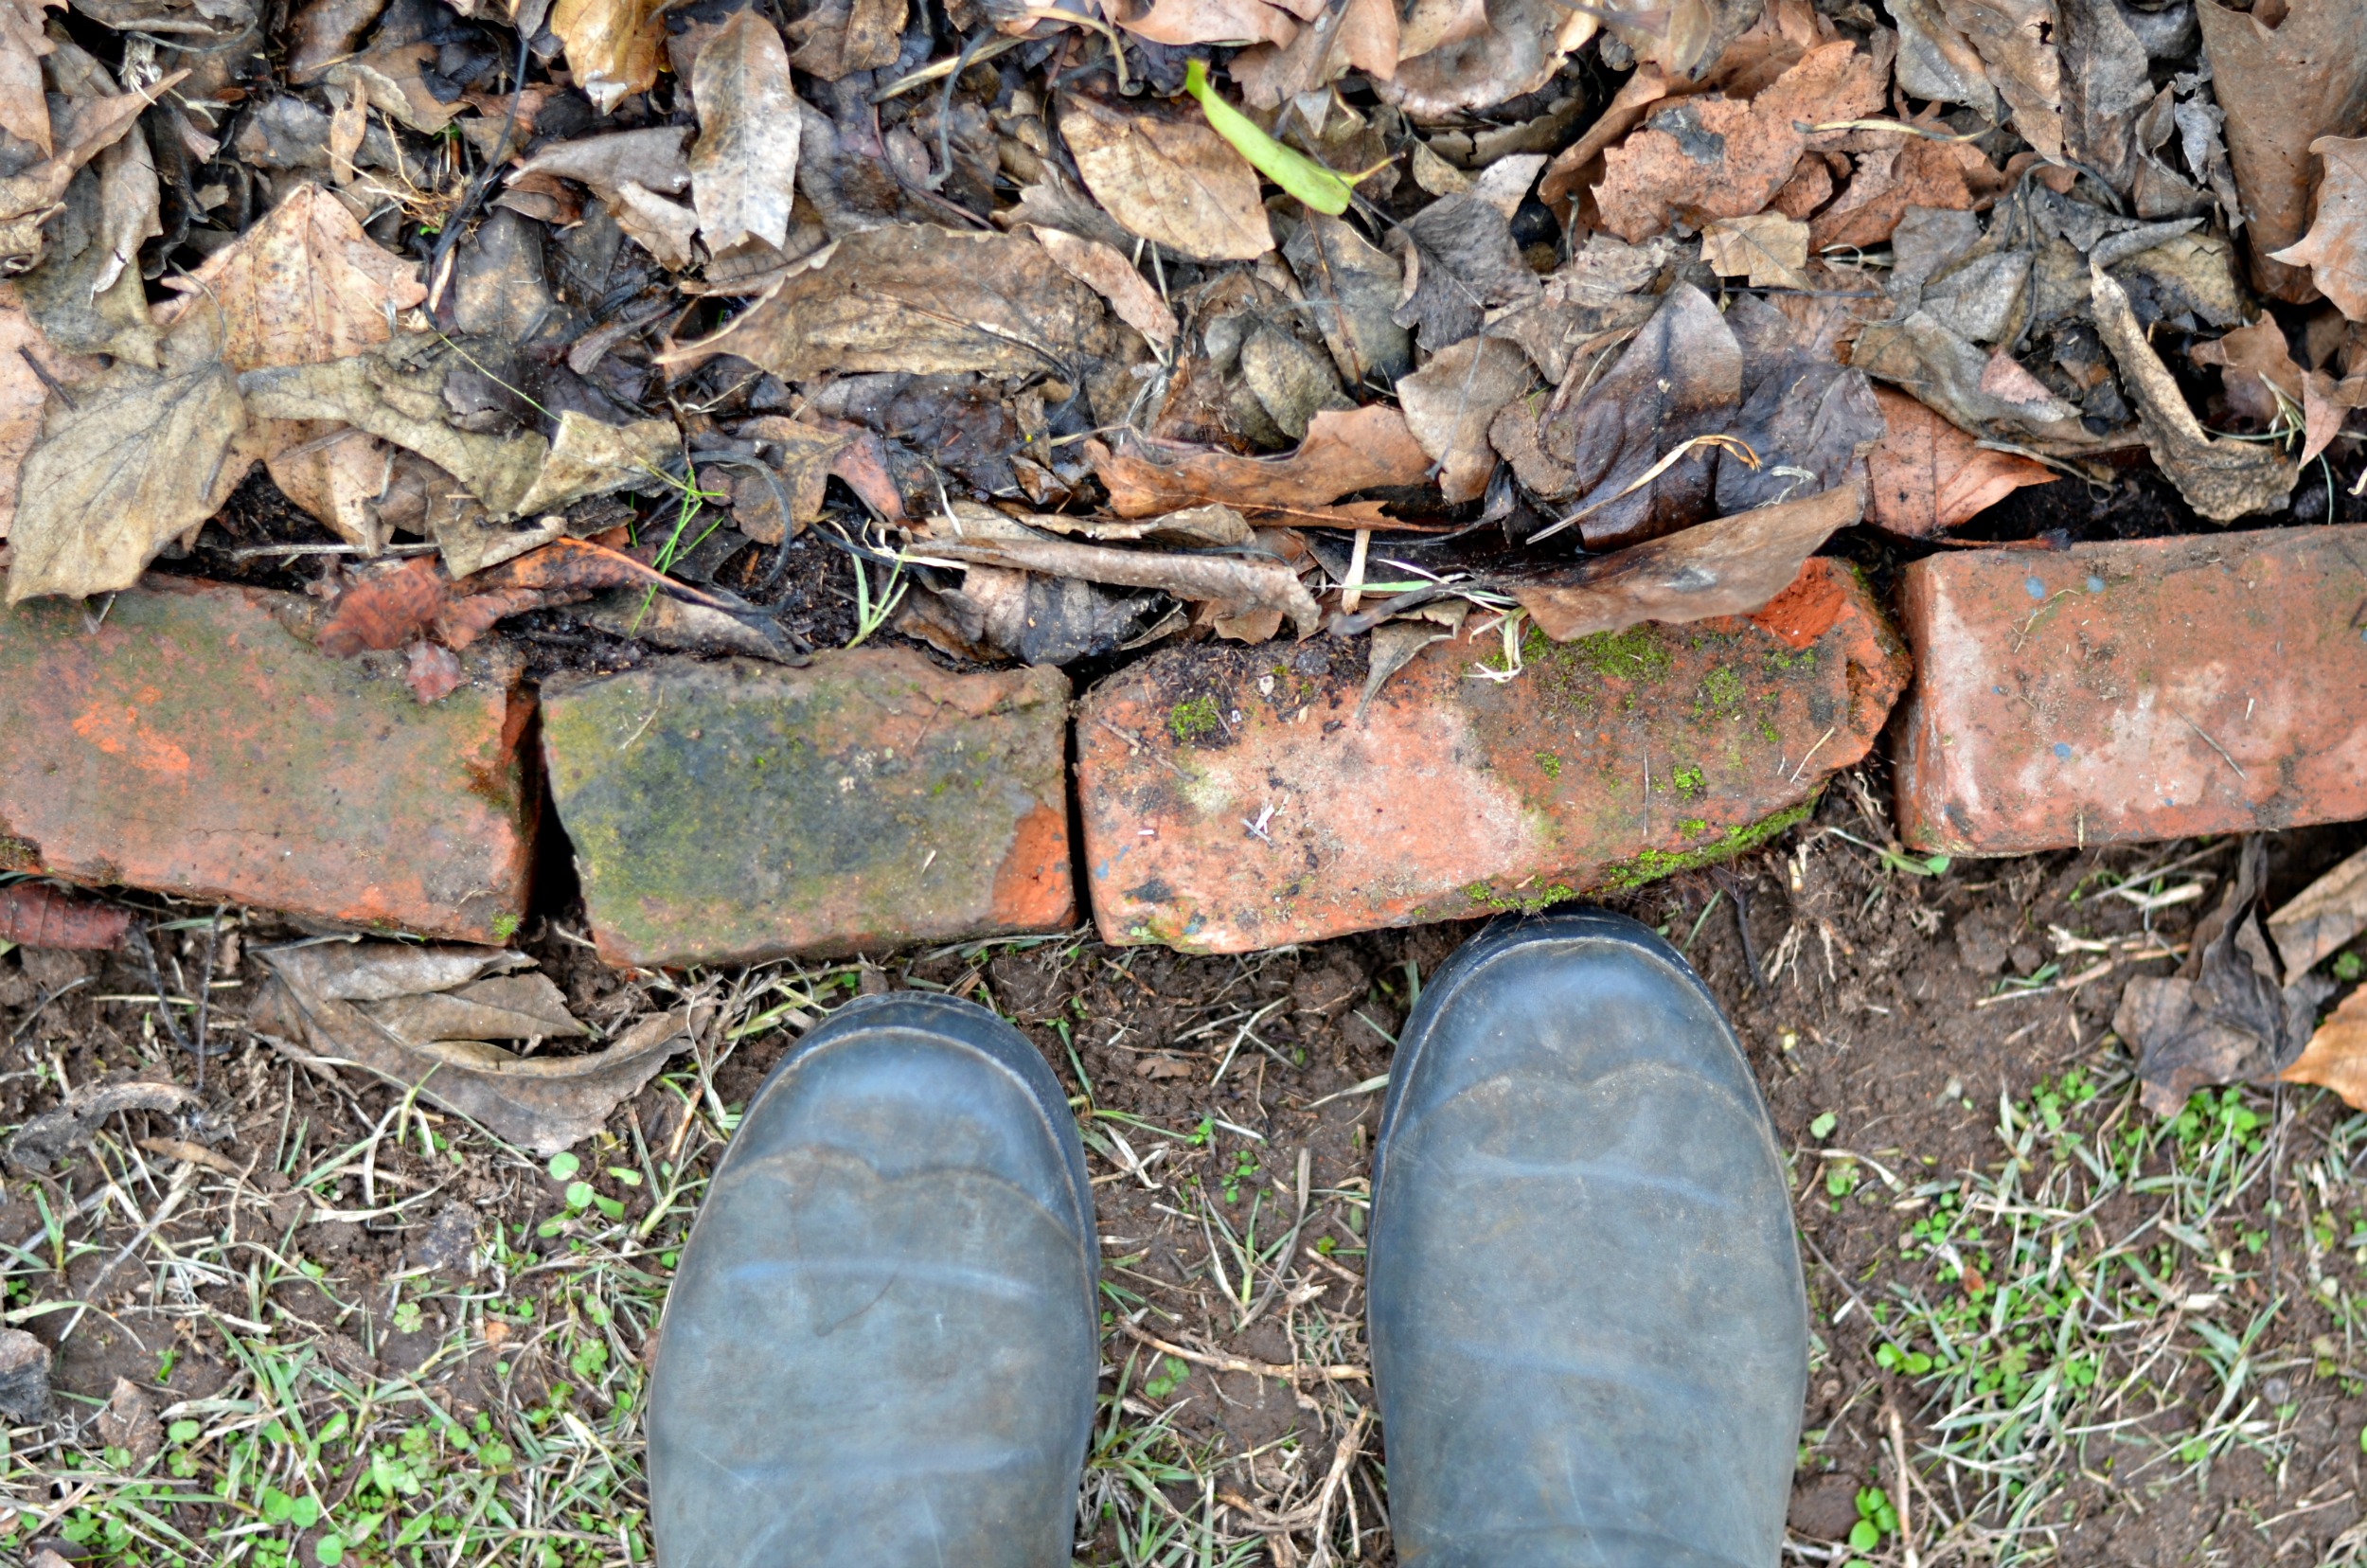
I’m thinking about either laying a row of cobble stones along the front of the bricks or just replacing the bricks with the cobbles instead in the spring. All of our other garden borders in the front, side and backyard are cobbles. We even incorporated them into the firepit area, so I like the idea of that continuity and connection. We’ll see. Either way, the bricks will still get used in the garden.
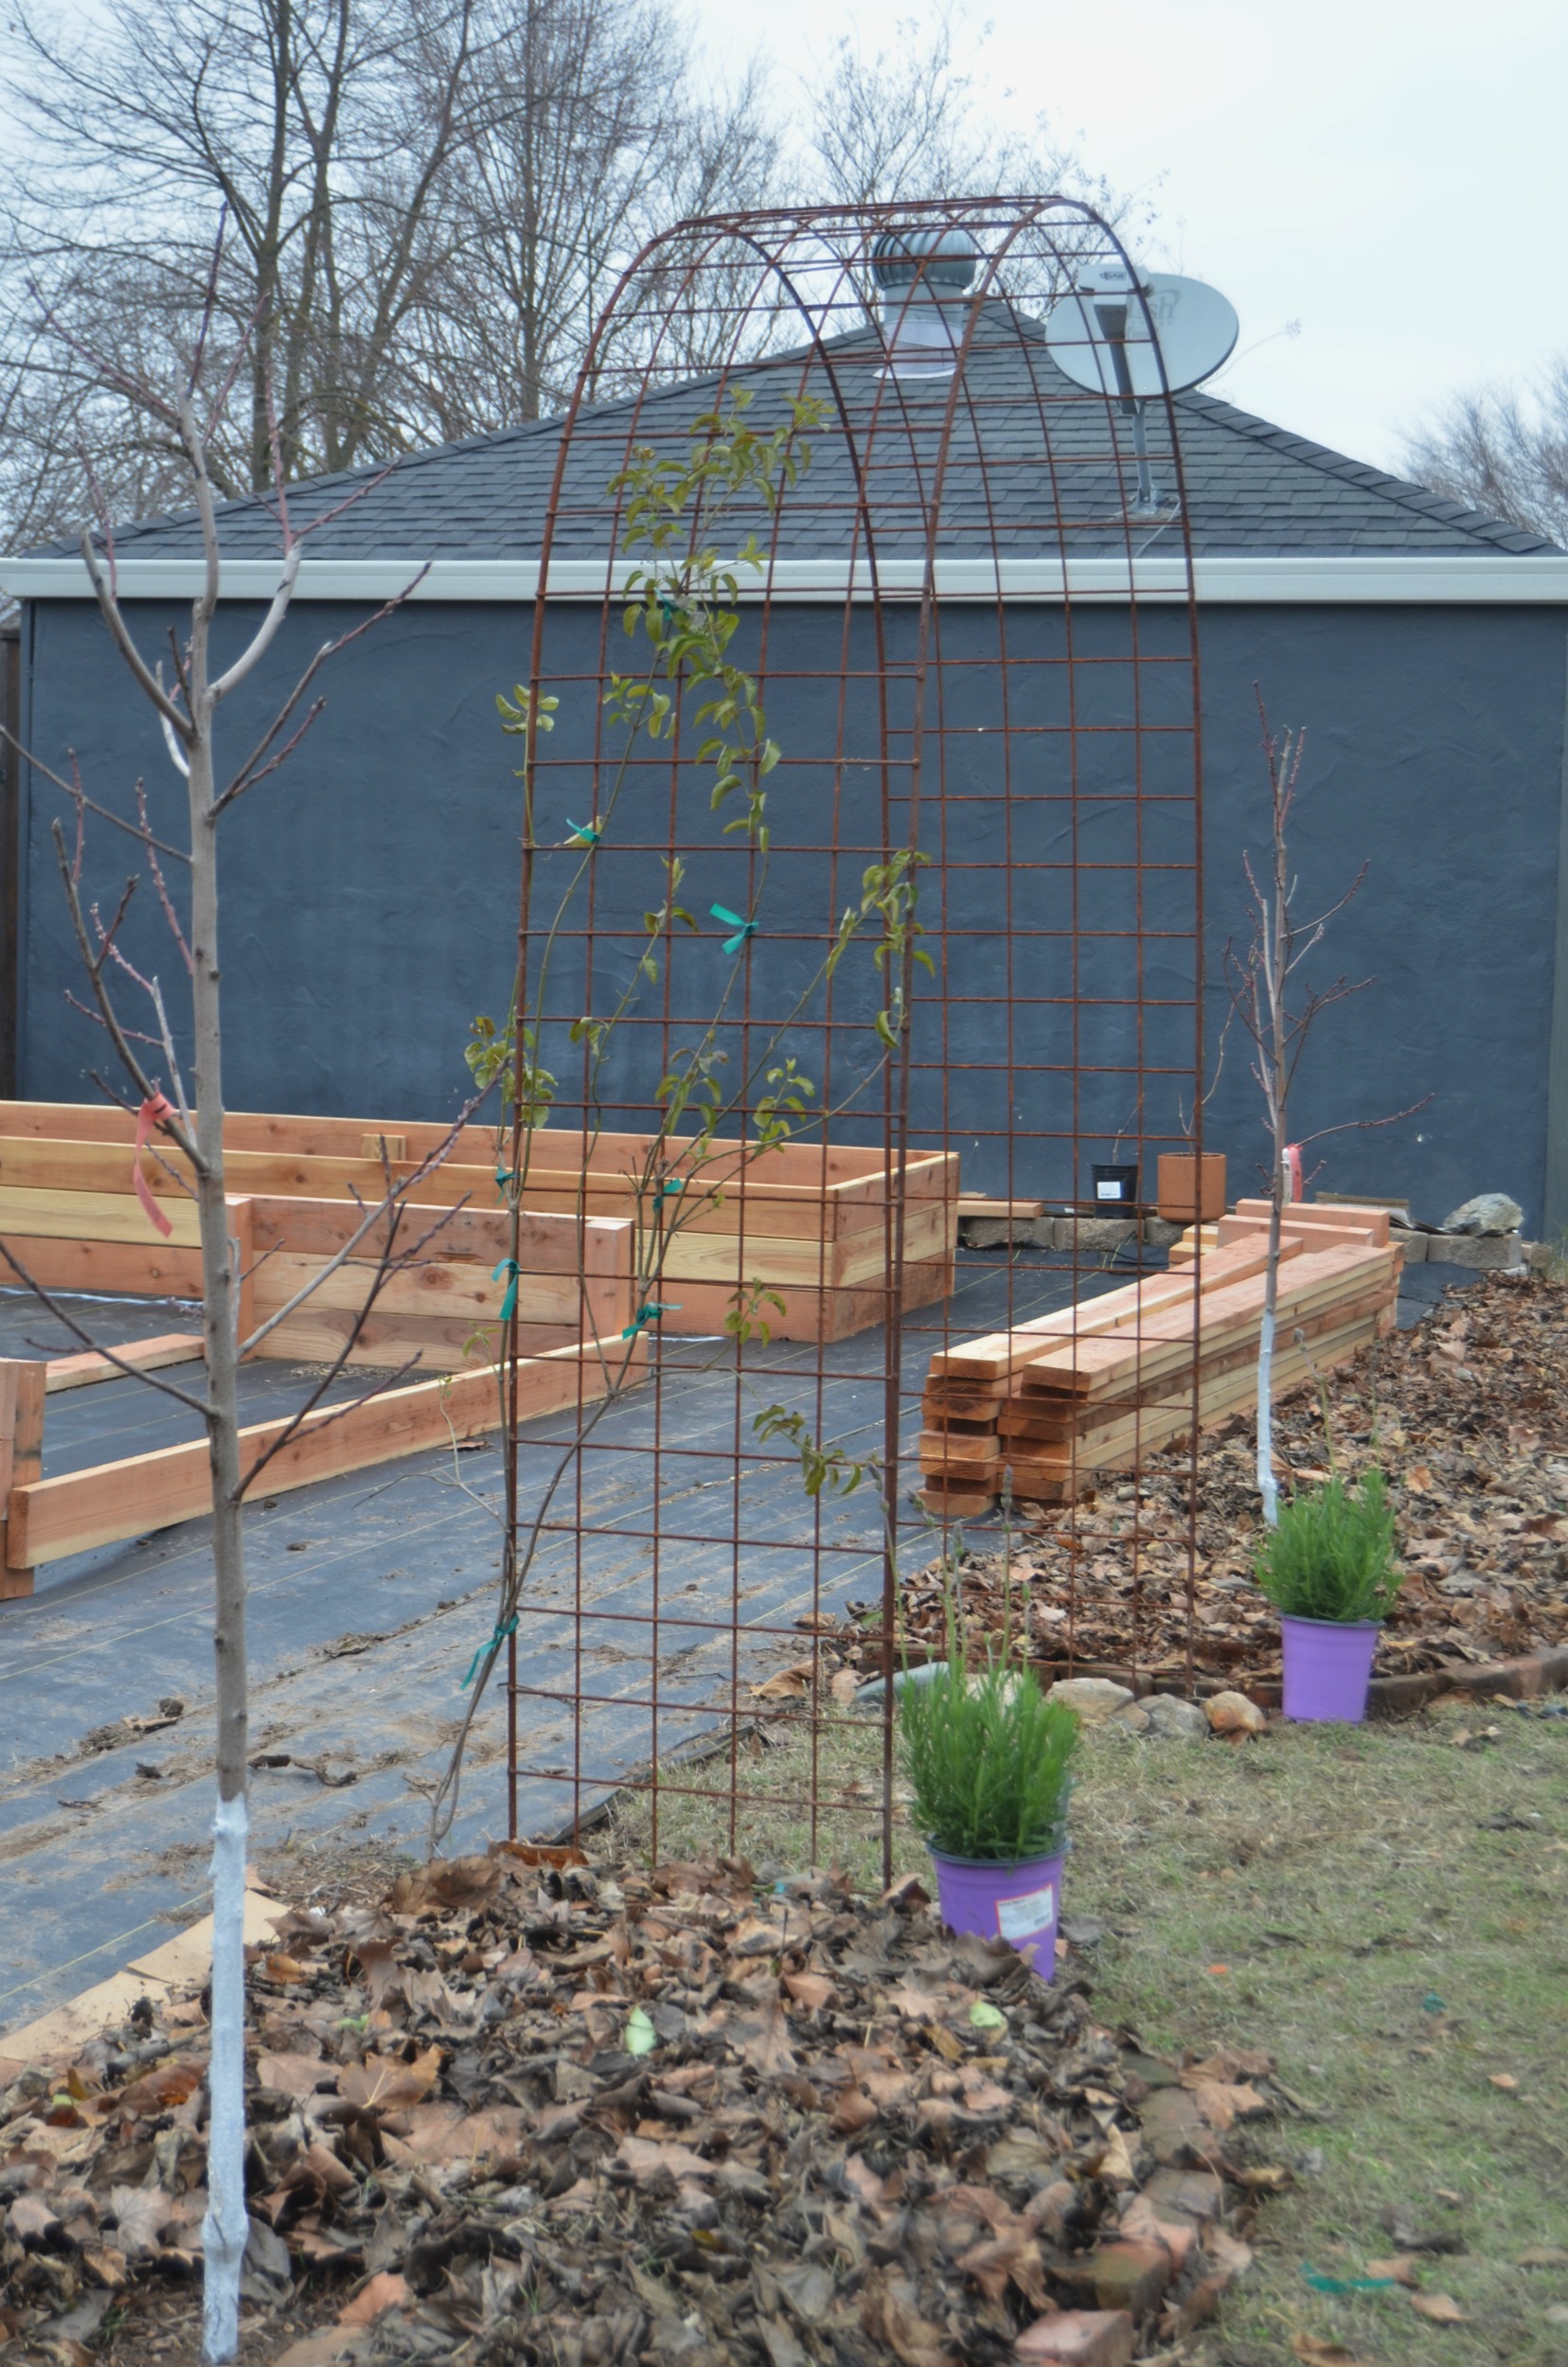 Now in all honesty starting the process of killing the grass is something I probably should’ve done earlier in the fall, like around end of Oct/beginning of Nov so it would have the chance to break down over the entirety of both seasons. But I’m not planning to start spring plantings until March so I’m hoping it’ll have time to get things moving along. And if the grass isn’t quite dead yet it’s fine. I’ll be removing the leaves and replacing it with shredded cedar mulch so it will just continue to break down over time anyway. I will be planting some bare root roses and blueberries in January and Ill just dig out the area I need while keeping the leaves in place.
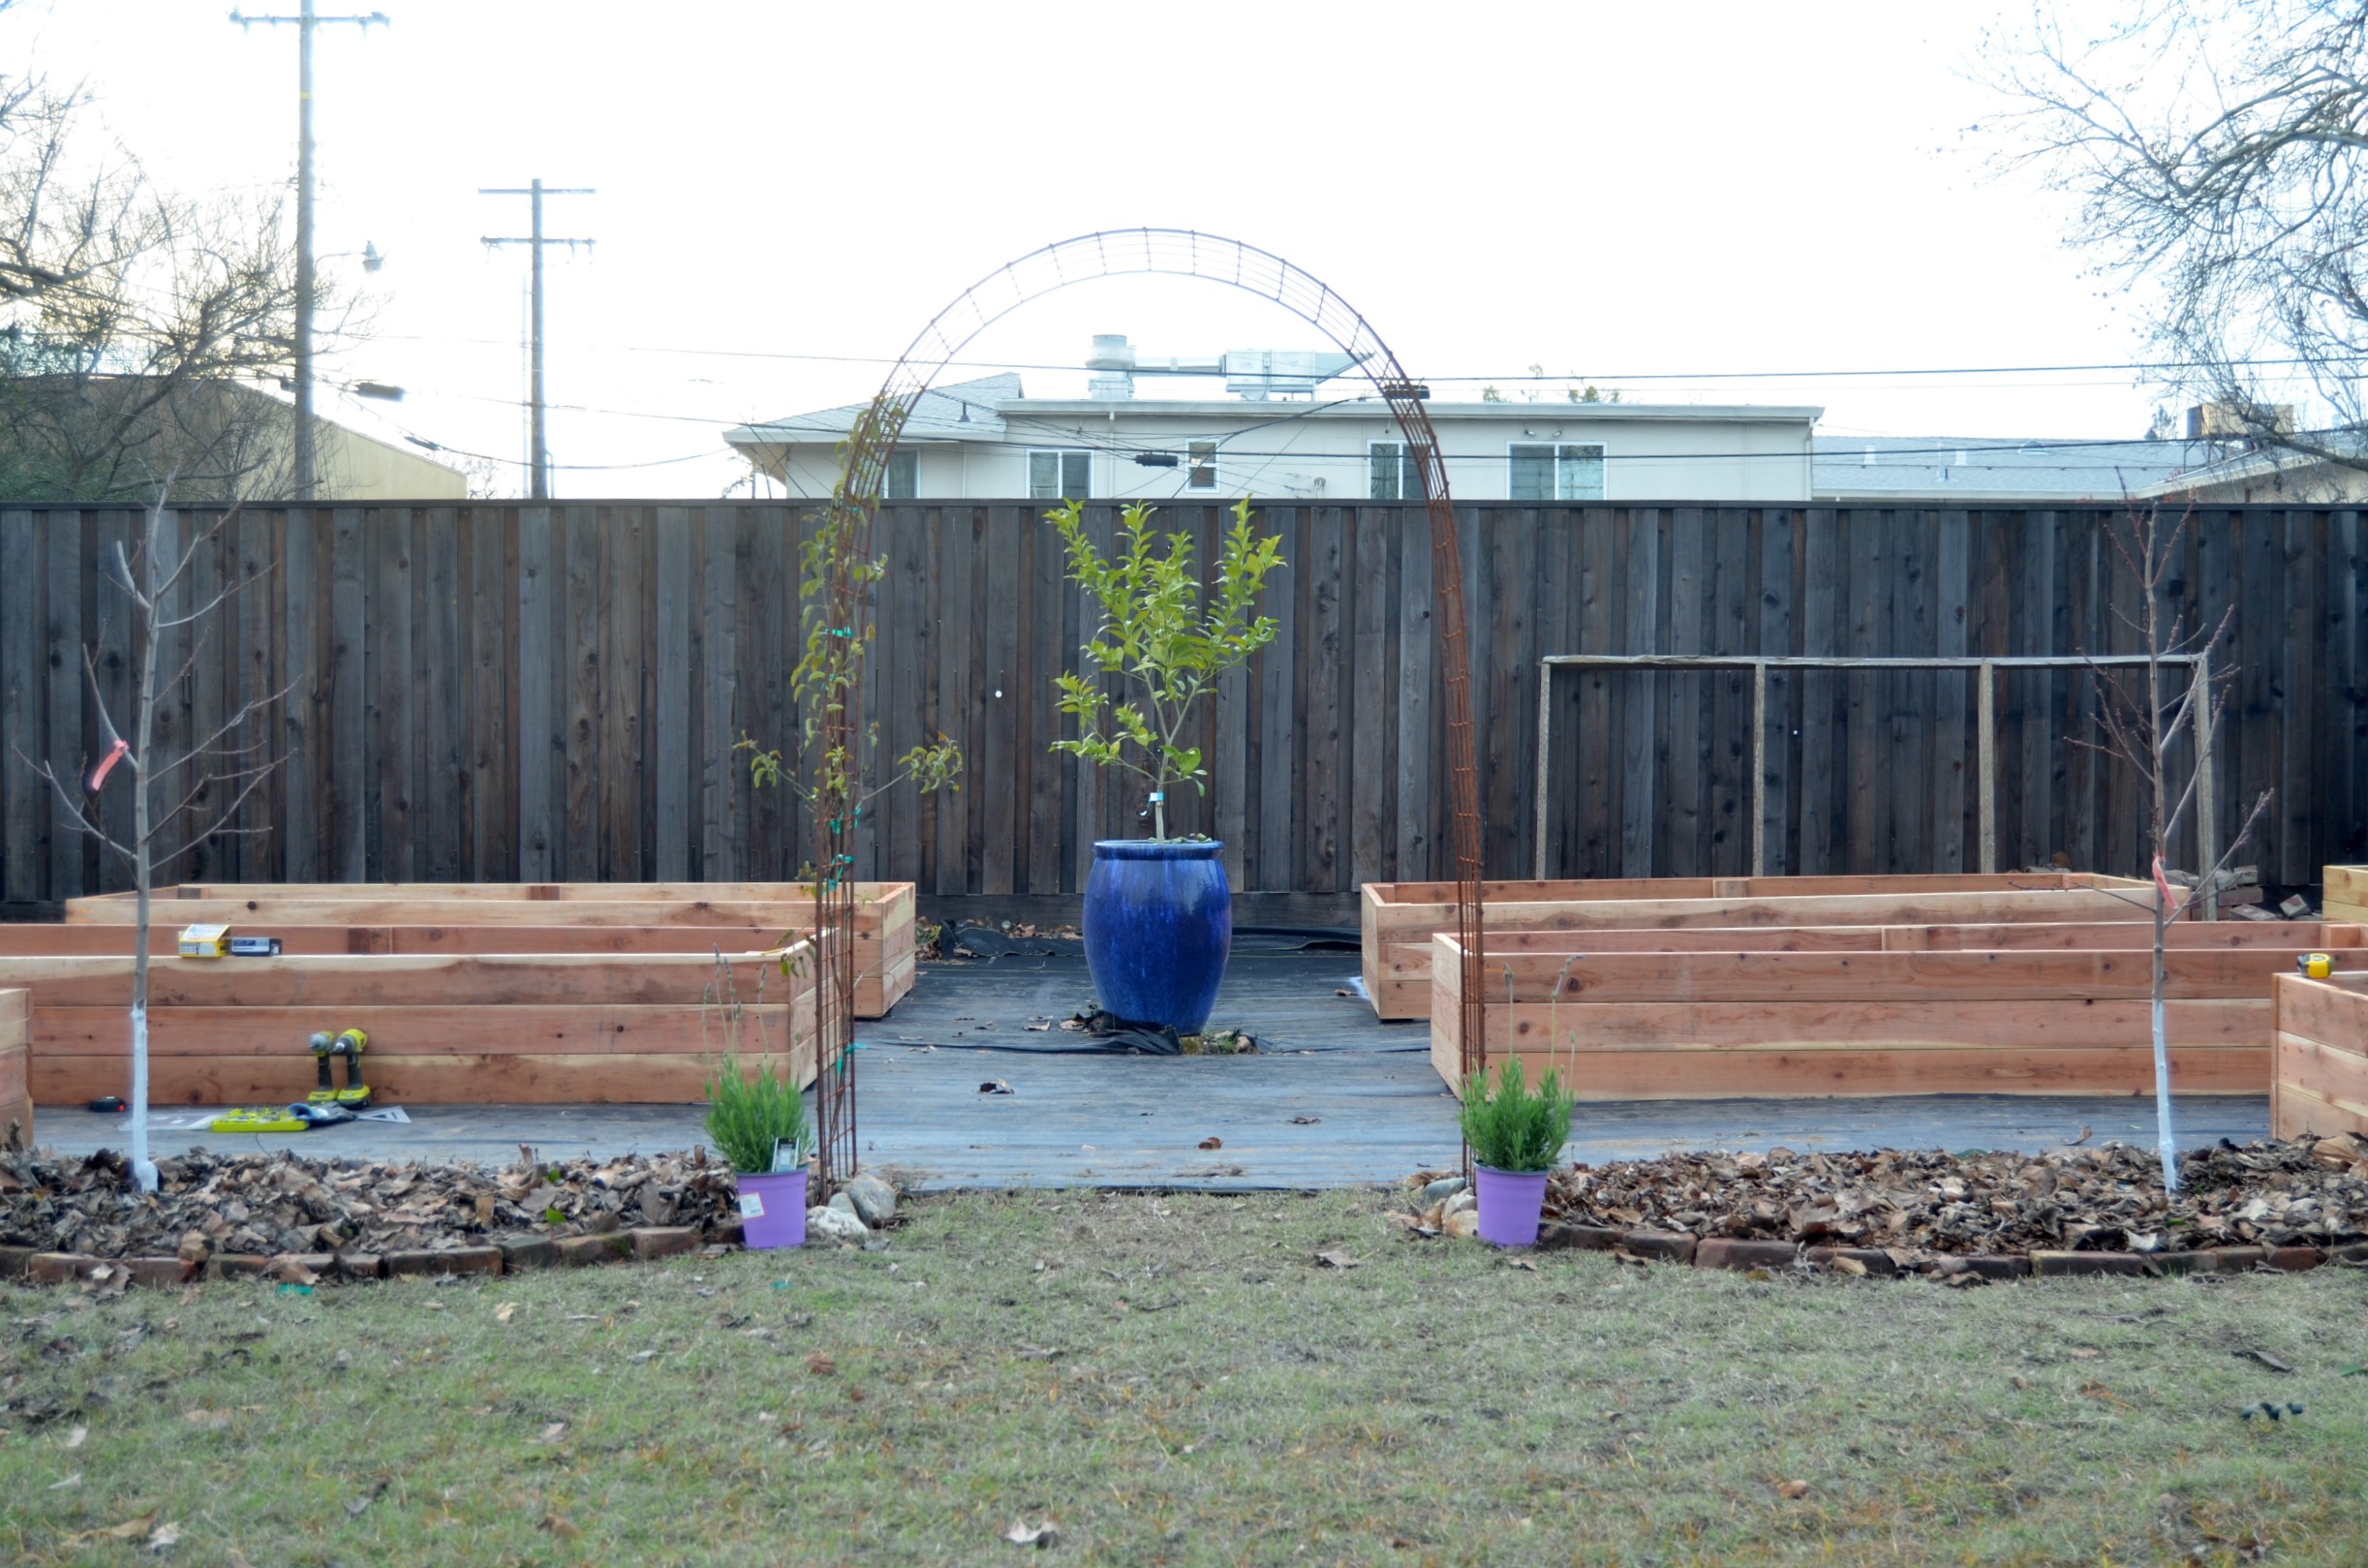
I’m SO in love with the way everything is coming together so far. This garden is already my happy place and I can’t wait for spring to get started with planting.
Next up on the garden building to do list is to build the chicken coop and run over the rest of the winter in preparation for spring chickens! I’ll also be purchasing soil by the yard to fill the beds so I’ll be sourcing that over the winter as well.
Holy Moly that was A LOT right!? Thank you for sticking with me through this lengthy one friends. You can also keep up with what I’m working on in the garden daily on IG @thecottagebungalowpotager. This weekend I’ll be adding some half wine barrels to the space and planting some more fruiting trees and shrubs.
Until next time friends….
*garden arbor and fruit trees were provided in partnership with Green Acres Nursery & Supply.
Ashley says
Hi Shavonda! Thank you for the wonderful blog post. What do you think of the weed barrier fabric so far? Did it do a good job of killing the grass and suppressing weeds?
Mia says
What a great job! I’m a new reader here and really liked this post. Very helpful.
Brittany says
I love a cobblestone garden border! My grandparents lived in a home in Milwaukee from 1950ish to 2003. As the cobblestone streets downtown were replaced with pavement, my grandfather brought home a few cobblestones each day, which they used to line their garden. I’m lucky enough to have one of those cobblestones all the way in Connecticut now as my family saved some when they moved.
Leigh says
Your timing is fantastic. I’m planning my garden (a new build with a mess of a building site) and garden beds. Your blogpost is informative and useful. I have to adapt for my NZ location, but I appreciate how open you are about effort and cost and your planning process.
Natasha Habermann says
Thanks for sharing this update! Such a great post. I love seeing your vision come to life! I also love that you’re using the no dig method! Brilliant!
Xx
Erika says
Great job. I’m looking forward to seeing how you fill the beds and how well your garden grows
Sam Reilly says
Great blog post. I feel really inspired or build my own raised bed rather than buy an off the shelf version.
Looking forward to seeing your garden bloom