Hey Hey Friends!
Welcome back to the primary en suite addition build series. We are now three months into the build process and SO much progress has been made. Originally we had a 12 week timeline, which meant we should’ve been done by now, but alas…..we aren’t even clooooose to being done, lol. Things went off the rails when our windows got delayed in production, and even with baking in an addition three weeks at the start of construction for instances such as that we are still behind. It’s all good though. We’ve waited 12 years for this space so I’m happy to wait just a bit more. It’s a marathon, not a sprint!
In the last post I shared all the before photos, talked about the overall goals for the space, shared the approved architectural plans and shared the design moodboard. Here’s a little refresher:
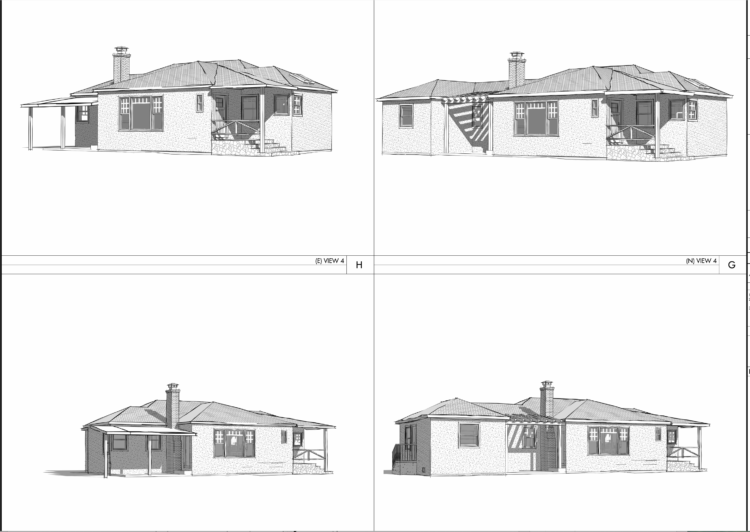
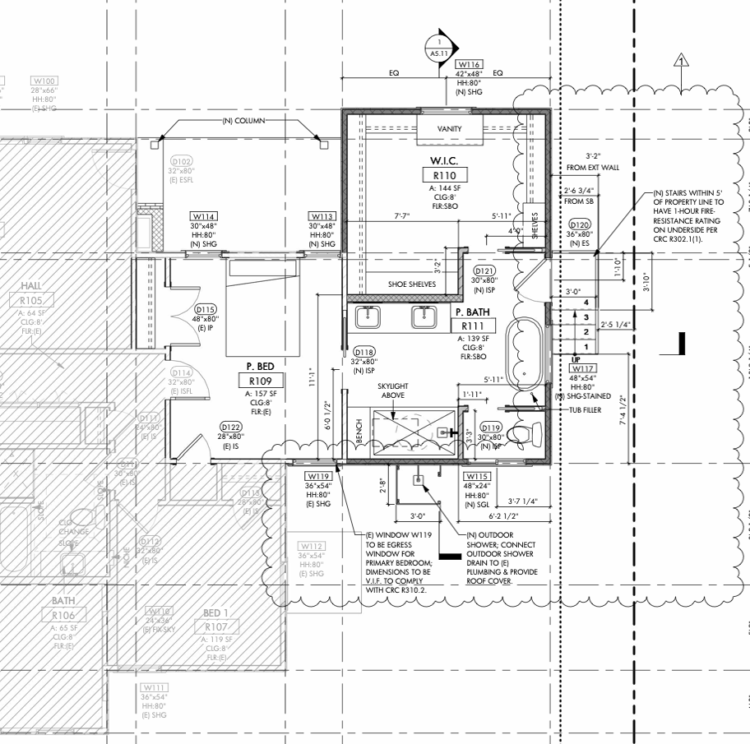
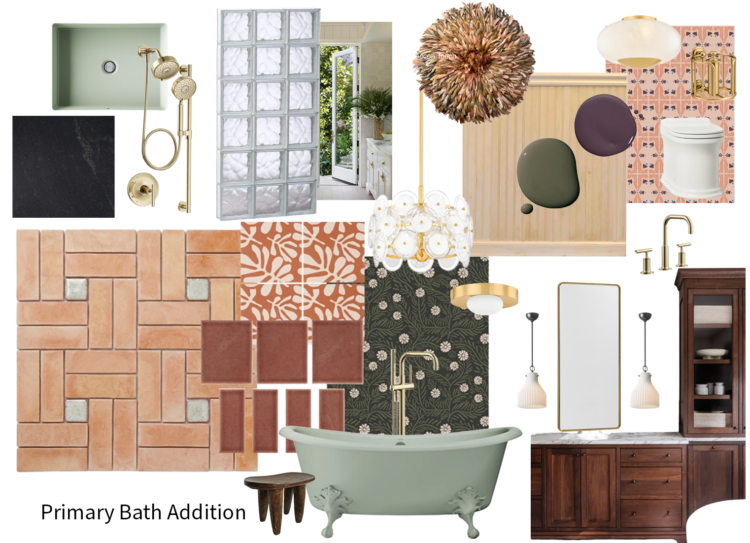
As these things go, the design of the space definitely changed and evolved as we had to make several pivots during the build process. And also as these things go, the changes and pivots end up being exactly what the space needed all along.
Today I want share a massive update on how things are going and share the renderings of the design now that we actually have walls and you can visualize what things will look like. Let’s start with photos. This is what things are looking like as of today:
EXTERIOR PROGRESS
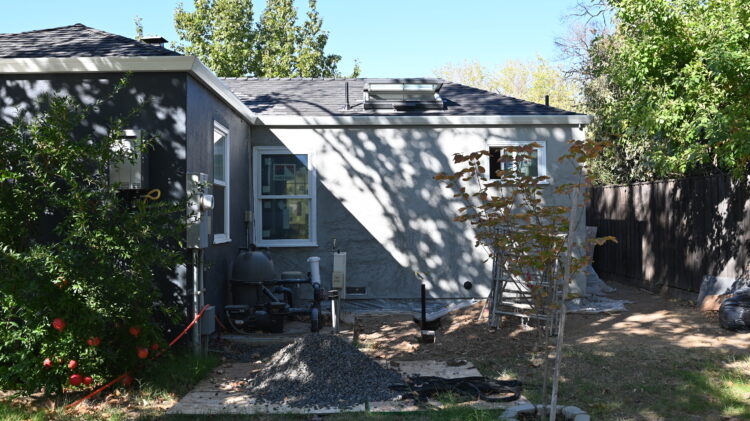
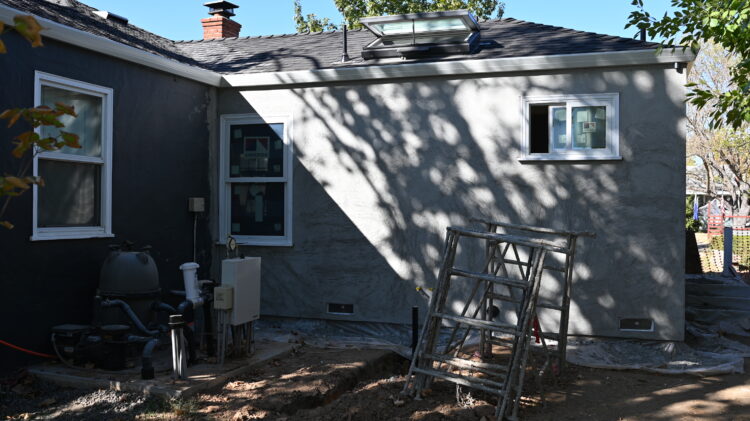
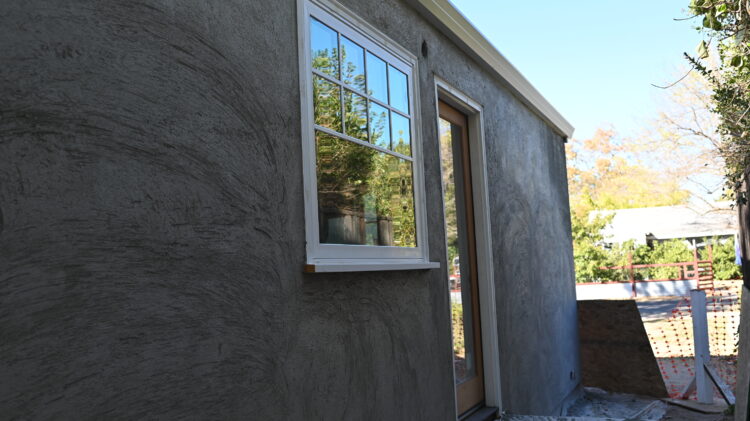
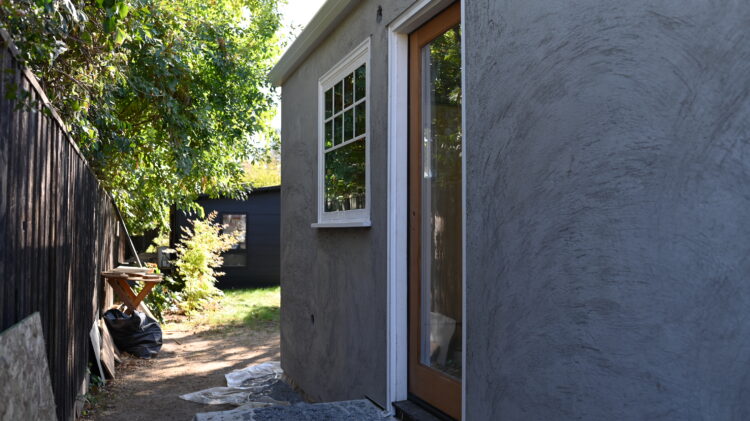
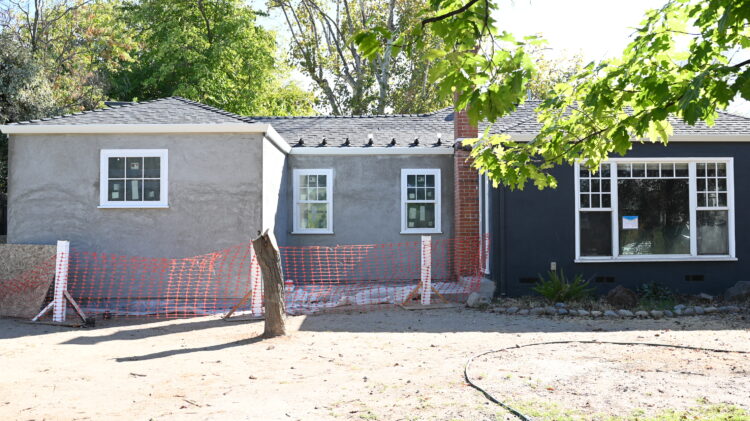
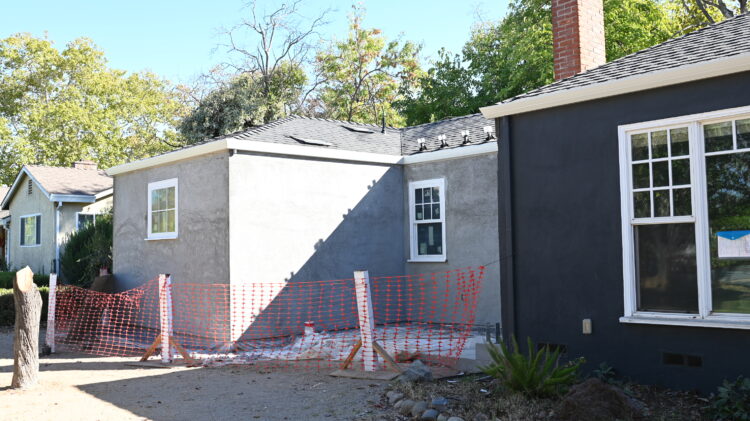
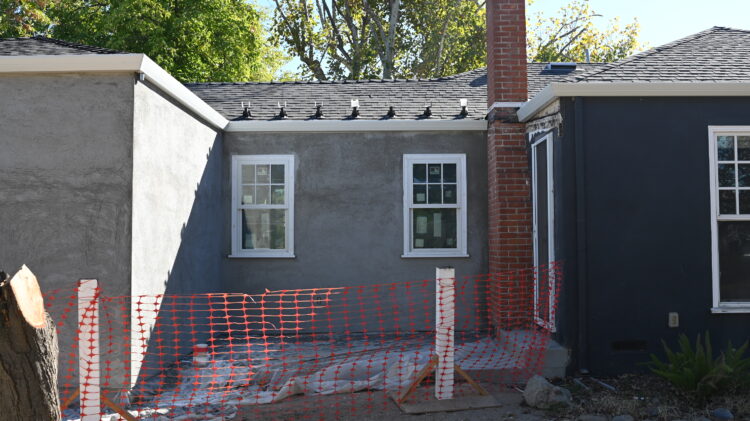
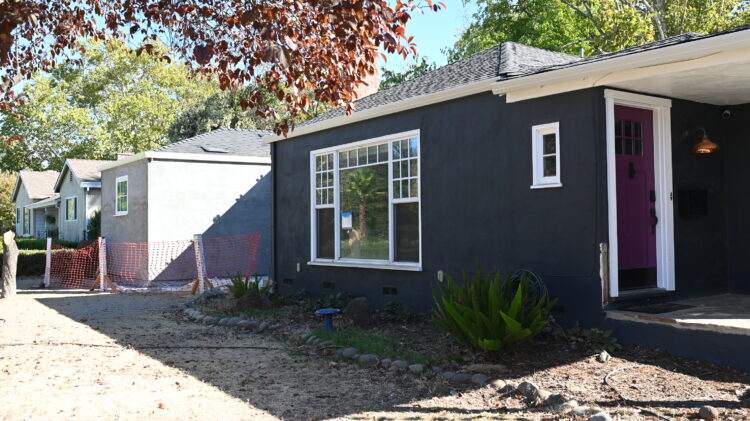
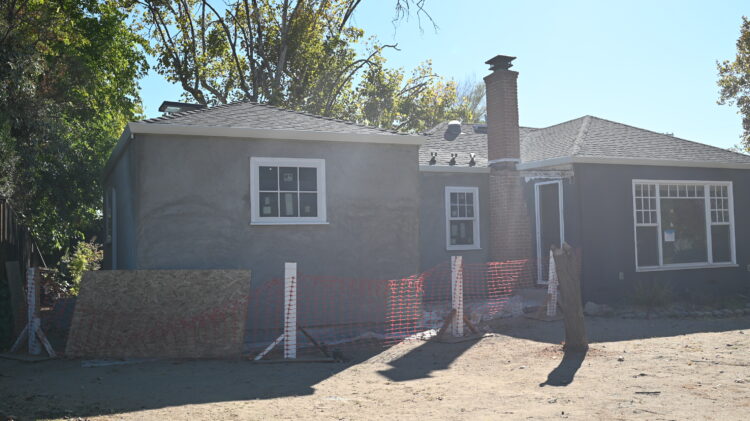
As you can see we have a whole ass addition friends!! We are currently waiting for the first brown coat of stucco to cure so we can put on the final texture coat, which then needs to cure for a bit before we can paint. The roof is tied in as best as possible considering we found out mid build that our existing roof is no longer being manufactured. That was a not a fun pivot to have to make! The adjustments have been made to the new side porch turned courtyard and I’m absolutely thrilled! All of the brackets are in place for the wood beams and posts, and the new floor has been poured for that as well. The gutters have been replaced, new windows and doors are in, the outdoor shower plumbing is in place and the back stairs and skylights are in, too!
I was really concerned about how close we’d end up being to the fence once the stairs went in. I assumed we’d pretty much be right up on it, but I was pleasantly surprised to see we have a little more that two feet between so it doesn’t feel as tight as I thought it would. It leaves plenty of space for a small walkway. The plan is to eventually put in pavers or flagstone in this entire area.
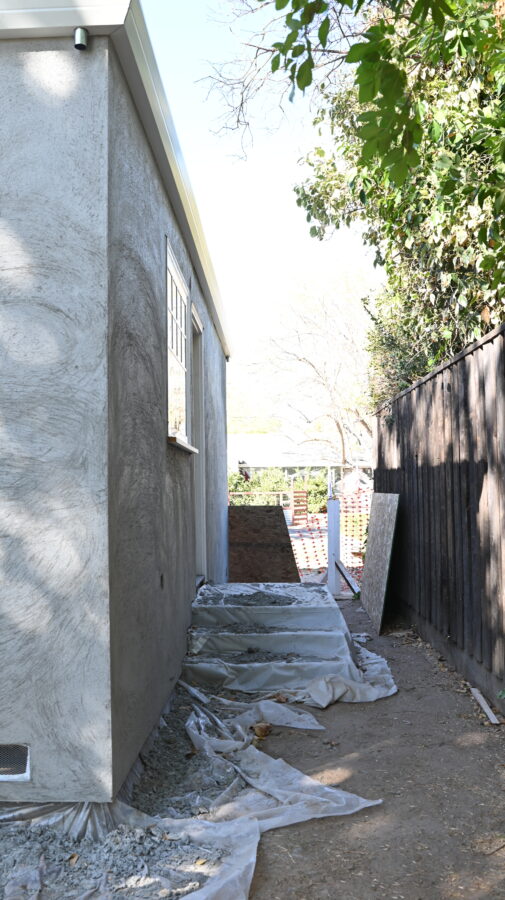
Once the fence goes back up after all the construction is done it will be a non issue since it will no longer be a thoroughfare!
Now let’s have a look at the interior. This is the part that is SO exciting because you get to see the floorpan come to life.
INTERIOR PROGRESS
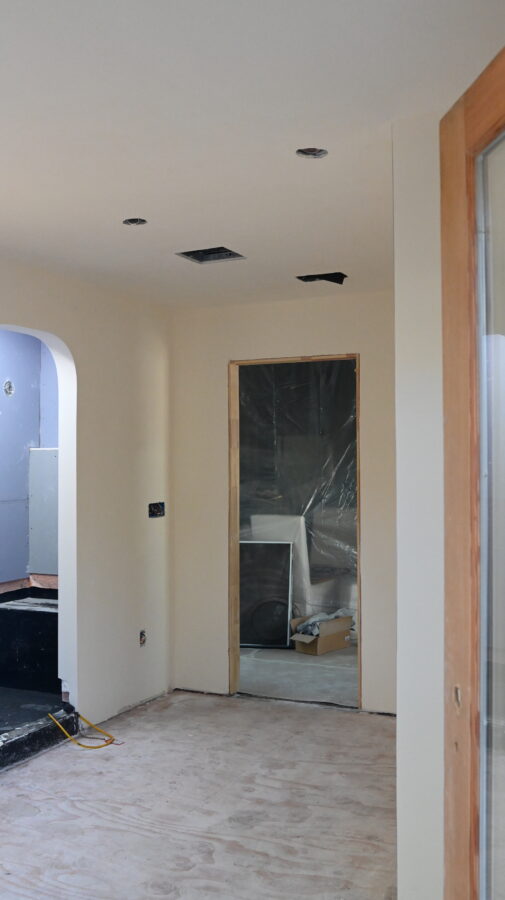
View walking into the door from the outside…
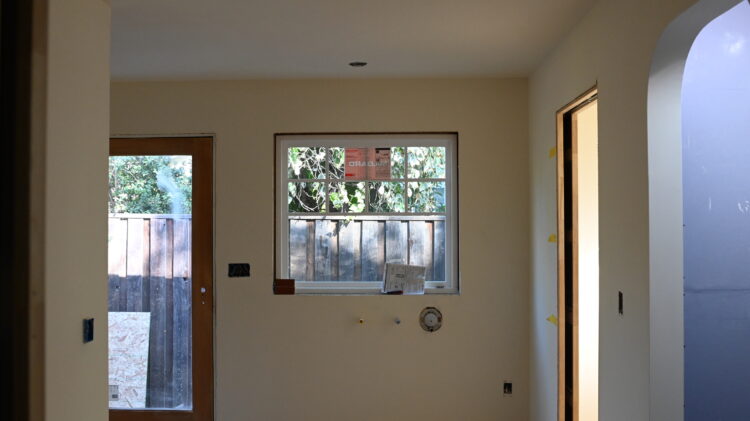
Clawfoot tub will sit under this picture window:)
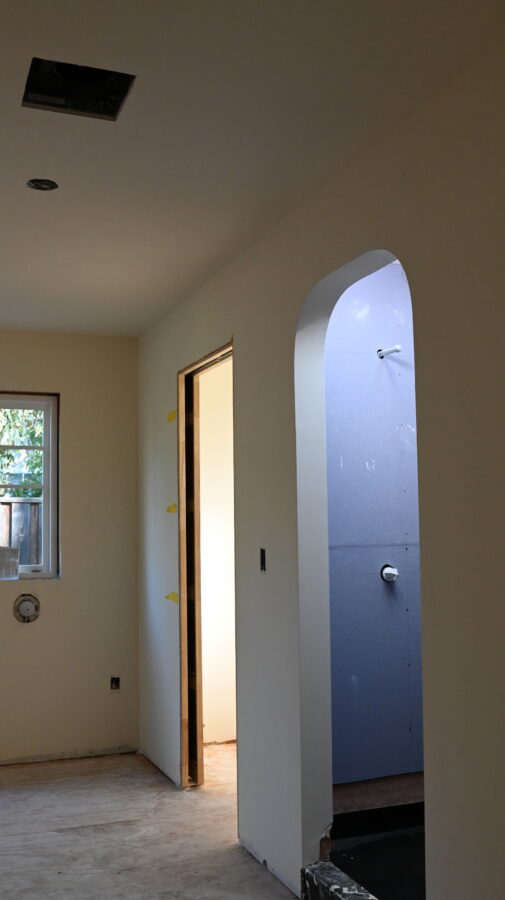
We added the arch detail to the shower based on the dimensions of the original arches in the foyer and bathtub alcove in the house. We did this when we renovated the kitchen as well and it really helps connect these new spaces to the original home.
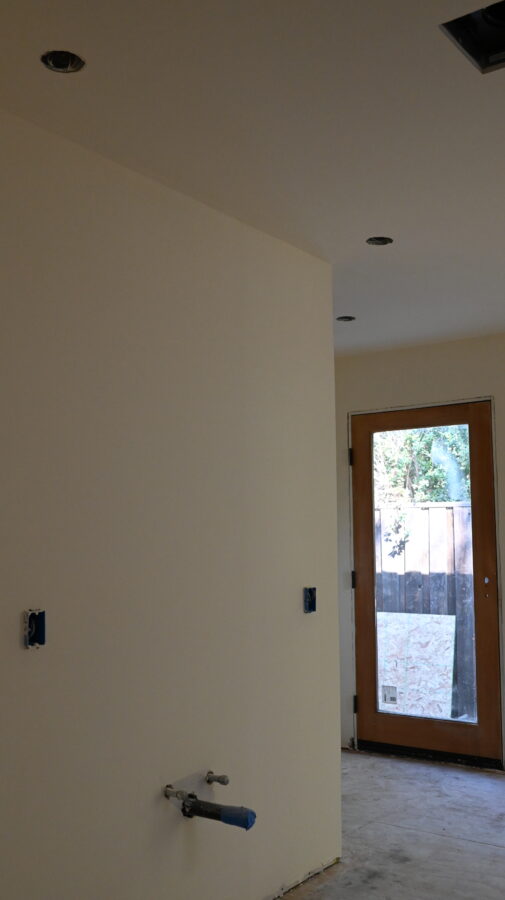
Vanity wall…
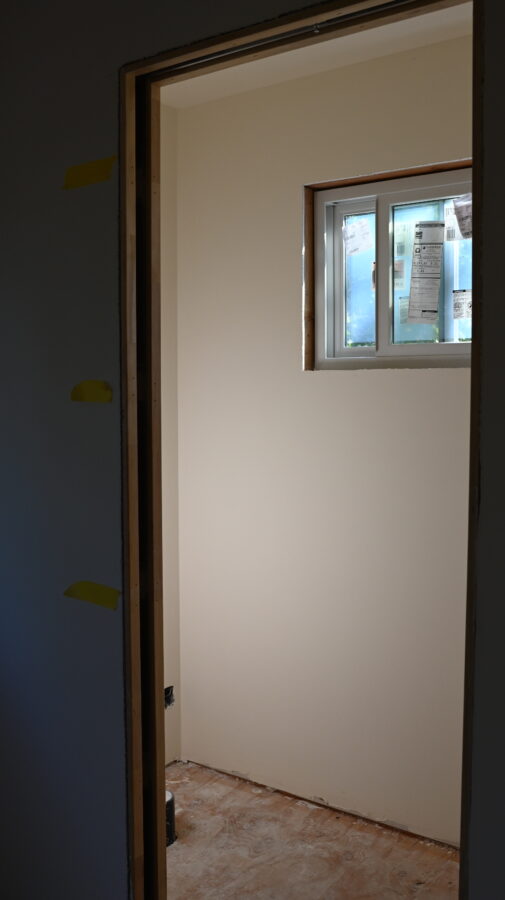
Water closet…
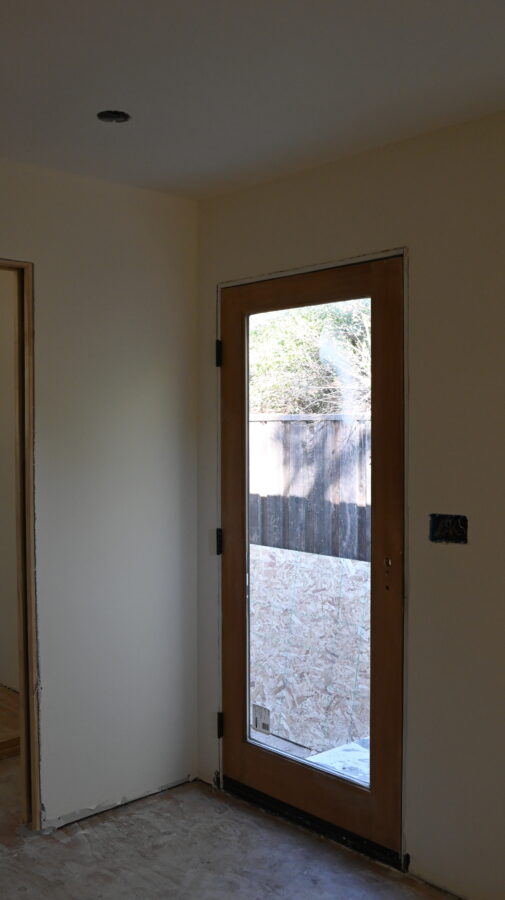
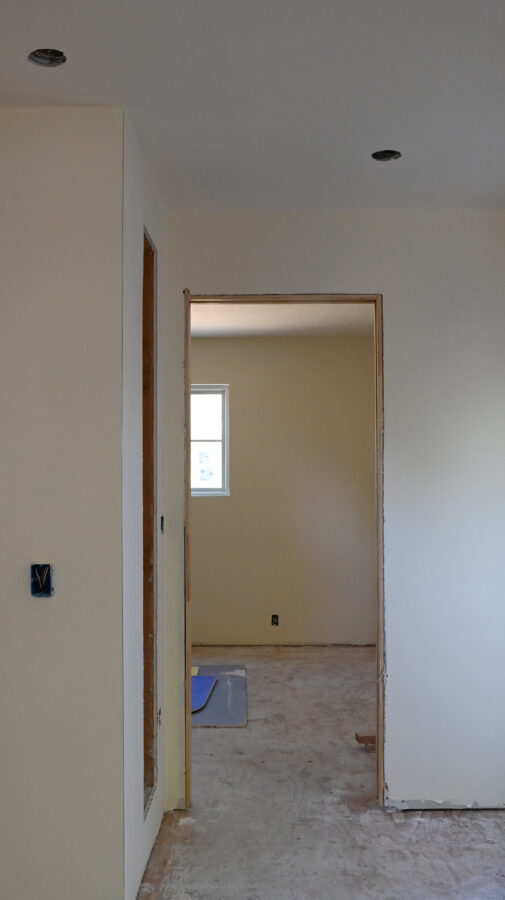
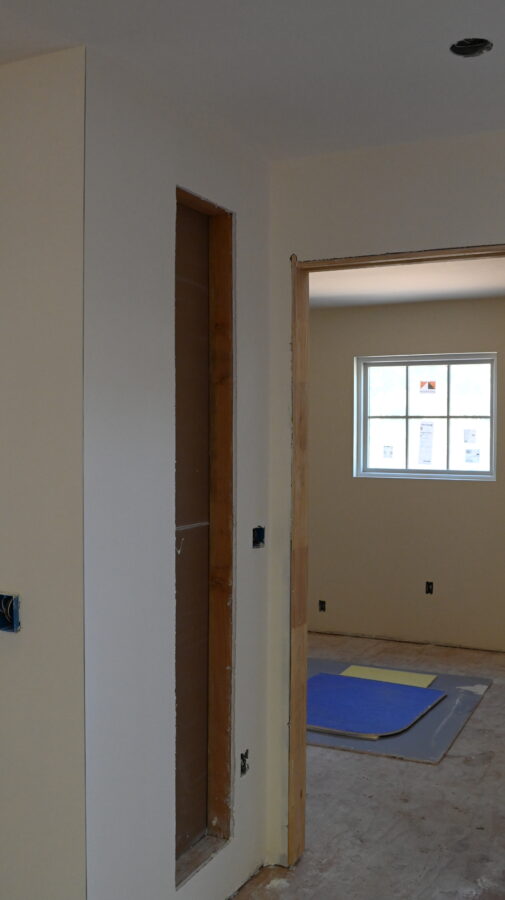
View into the dressing closet. We created a space to bring back the original built-in ironing board that was in the kitchen before that renovation! I’m SO excited. I stuck it in the Mary Poppins garage because I was determined to find another place for it in the house eventually.
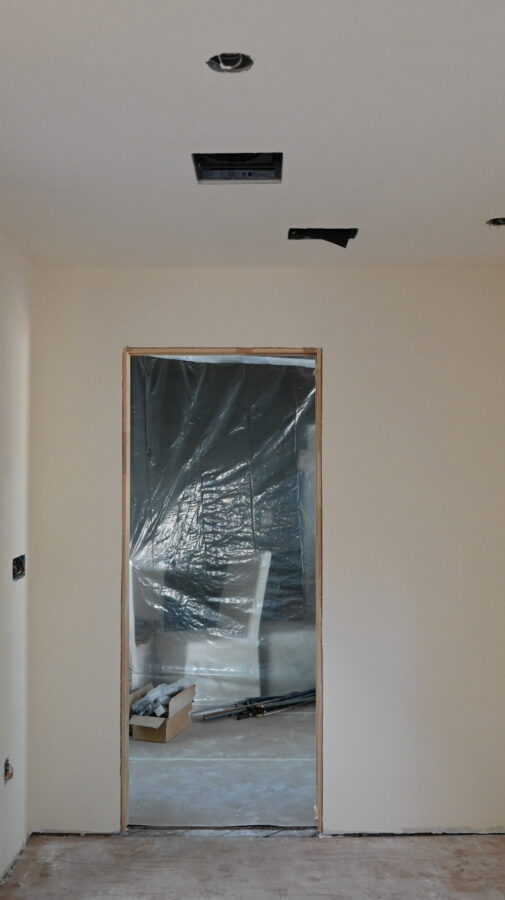
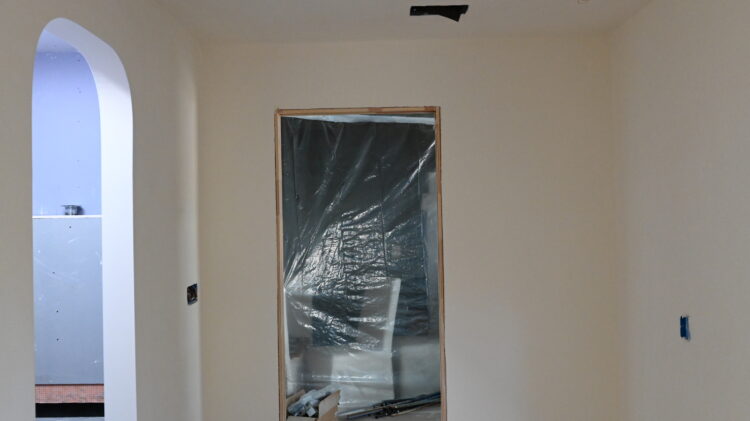
View into bedroom from addition…
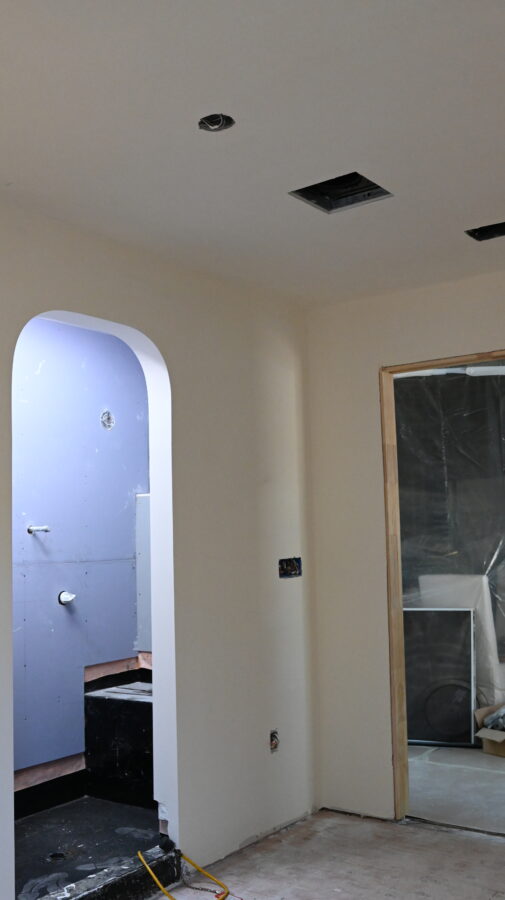
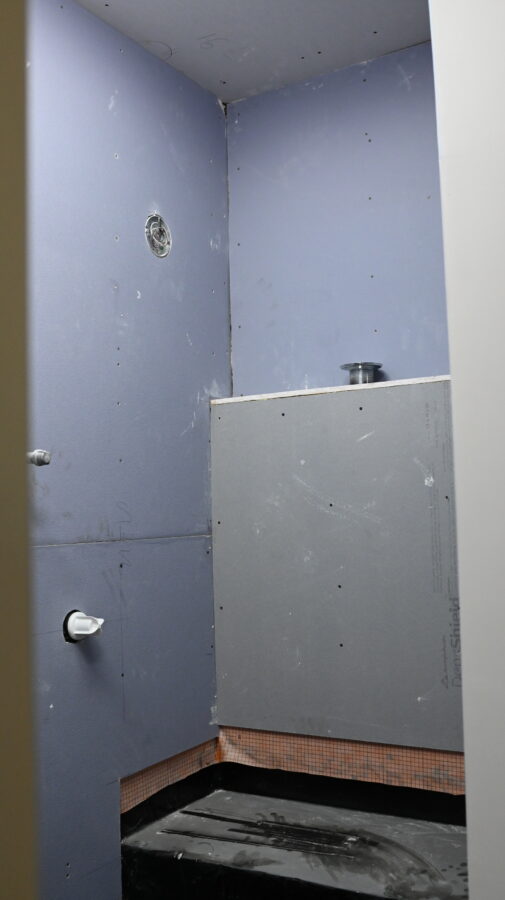
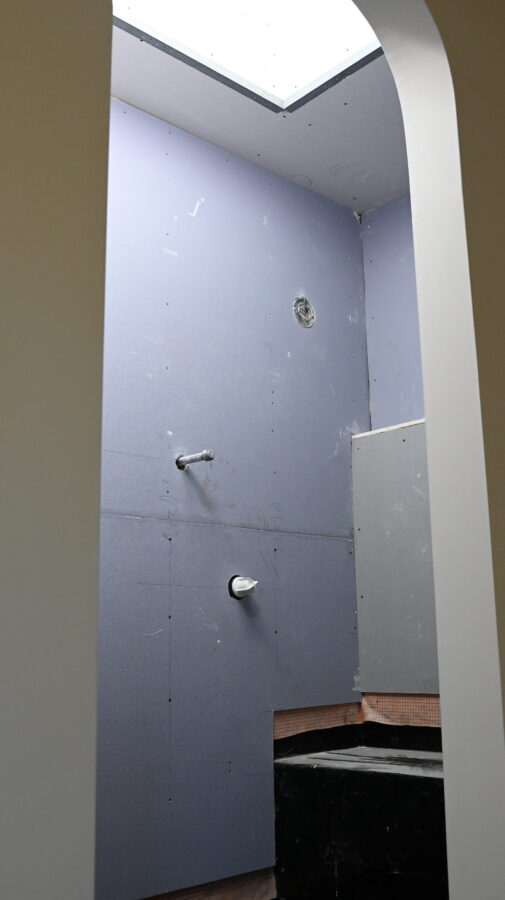
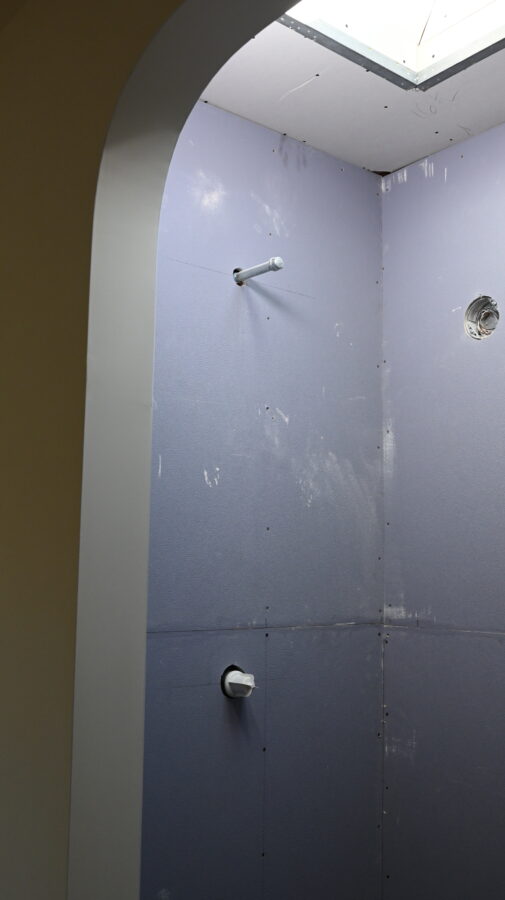
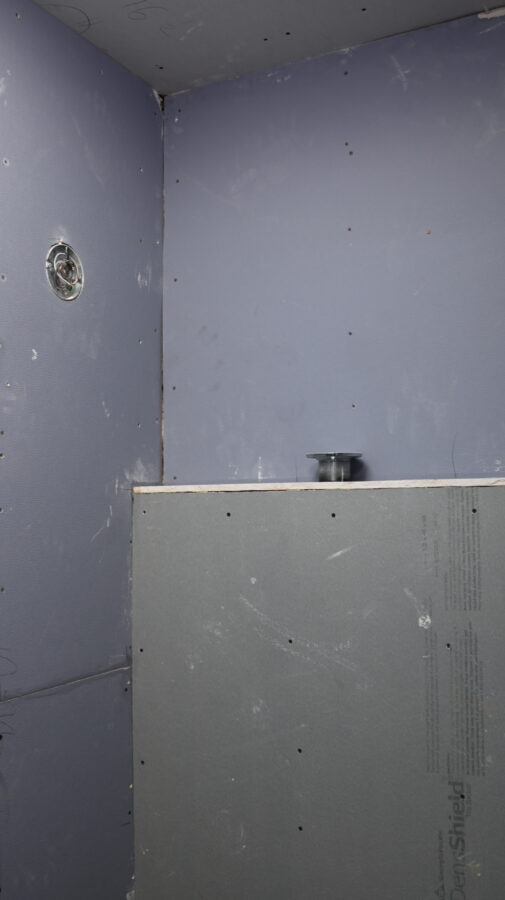
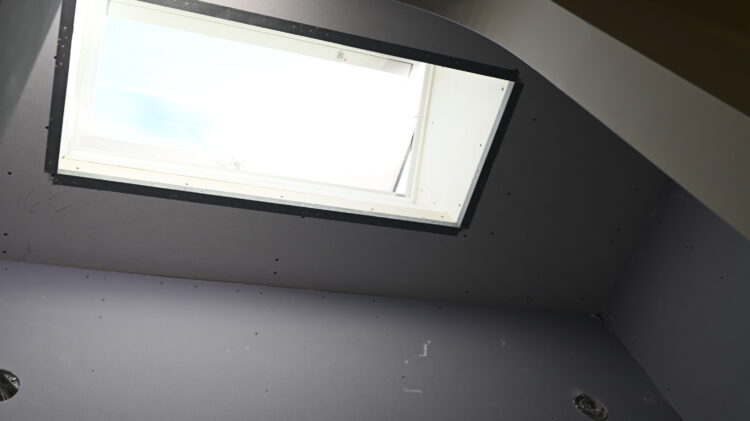
All the shower details! We did quite a bit of editing here and I’m happy where we landed. We opted for just a single ledge across the length of the wall instead of niches and I couldn’t be happier with that. Also absolutely OBSESSED with the big skylight in here too!
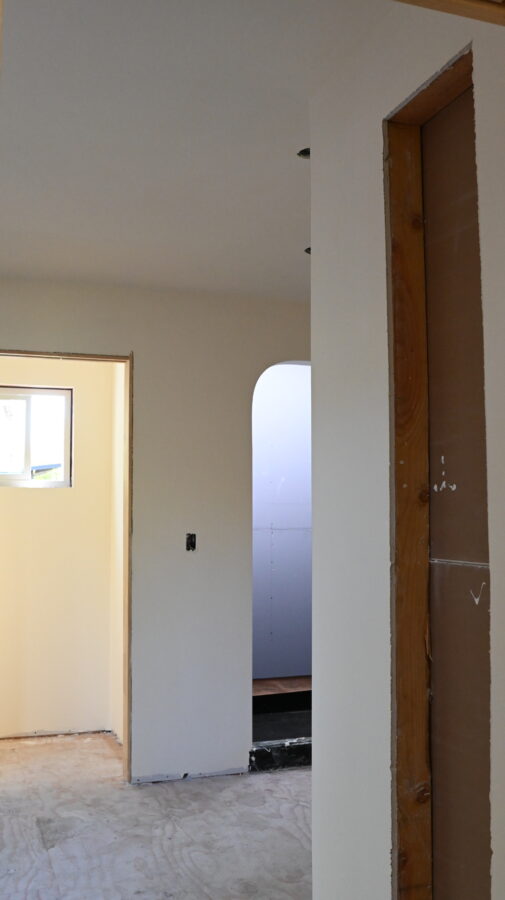
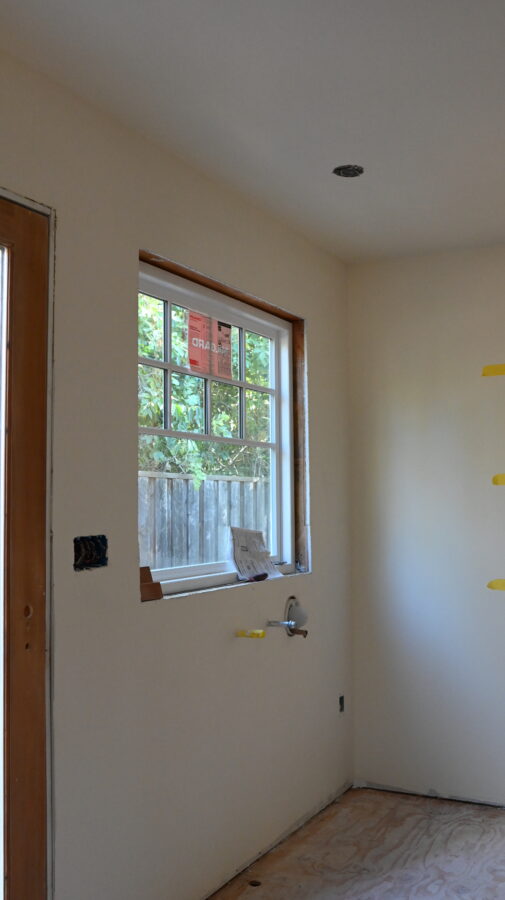
Inside the bedroom the new windows are in and I’m really happy with how that came together. The windows on the main wall are smaller to make space between them for the bed to go. Now that the pocket door opening has been made going into the bathroom this is the only wall the bed can be placed. It was essential to get the window placement right here inside and also align them as symmetrically as possible on the exterior as well. It was a little tricky because the exterior wall was longer than the interior one was, but we did it.
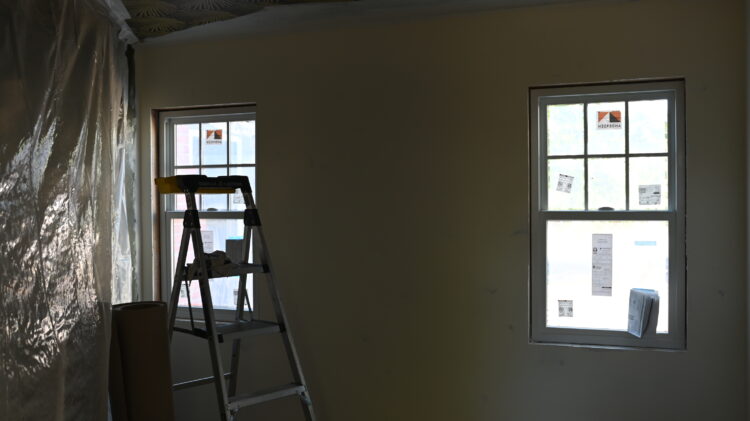
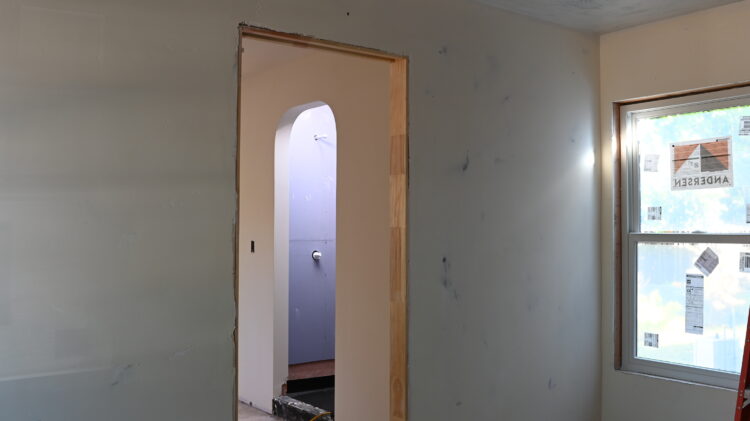
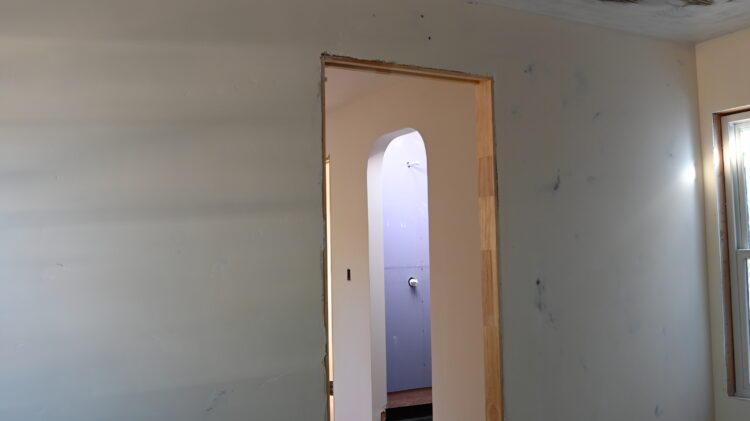
The window on the opposite wall got larger to make it legal for egress. You’ll notice I’ve started priming the ceiling to paint over the wallpaper, which I’ll get into in a later post as well:)
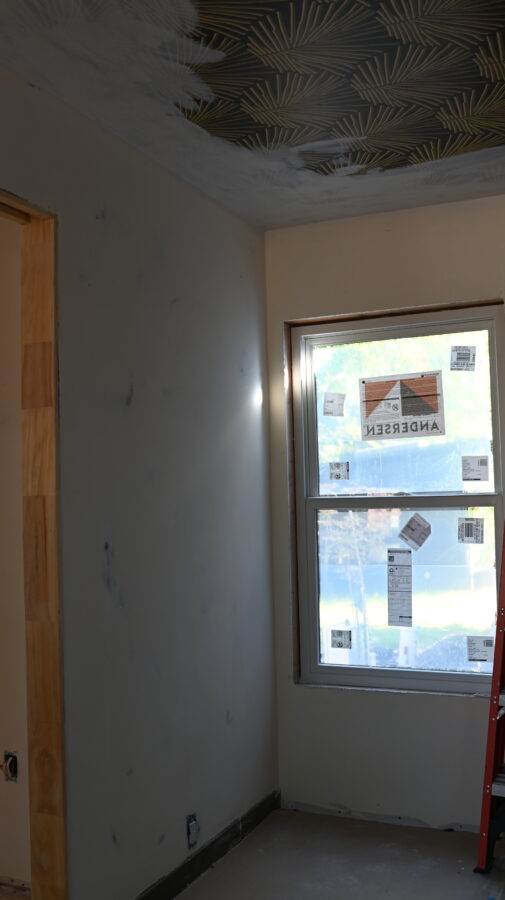
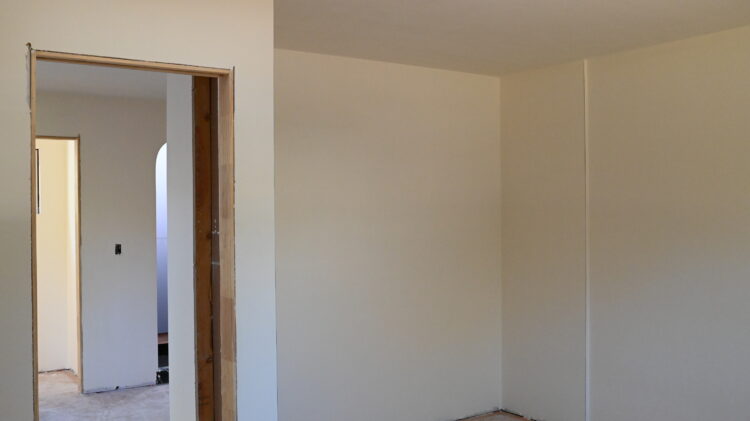
The closet build will be phase 2 of this project since it will be custom and it’s super pricey. It isn’t essential for us to function at the moment so it’s not a priority, but here’s what that space is looking like…
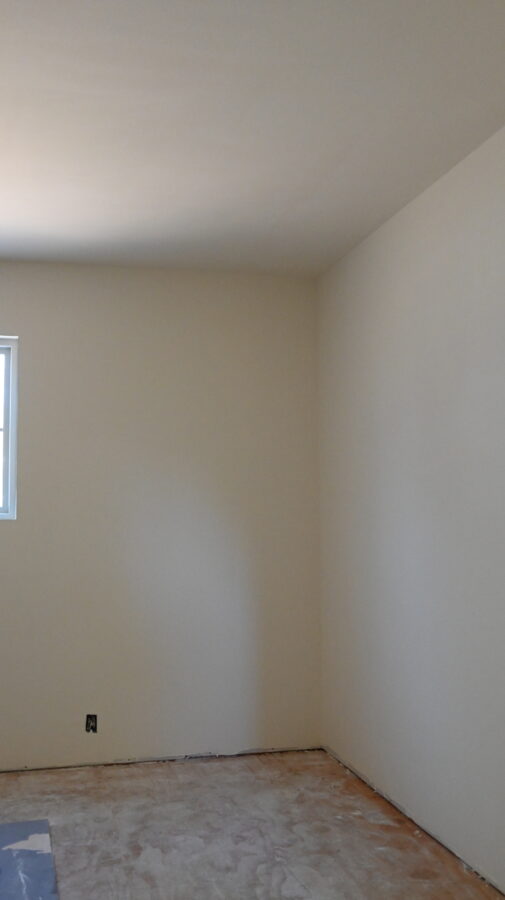
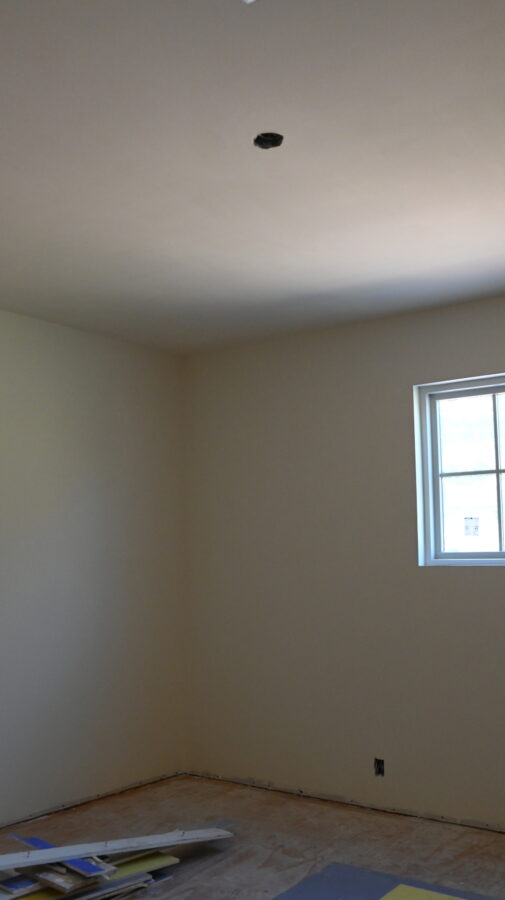
Now let’s take a look at how the moodboard design elements will actually look in the space. I worked with Daniel Bernard to create the renderings and they are AMAZING! Daniel is so talented and so patient. He’s actually be a longtime follower of mine on social and we’ve talked about working together on a project someday. He knows my style really well so it was such a seamless and effortless partnership. We worked together for months to get these just right, and they depict the space exactly as I imagined it in my mind.
DESIGN RENDERINGS
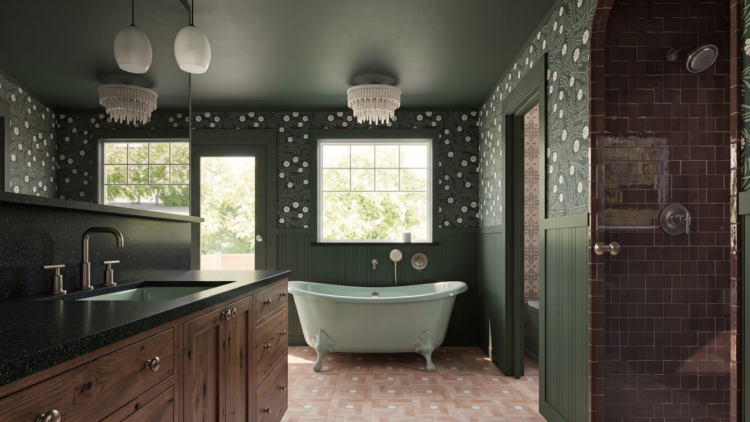
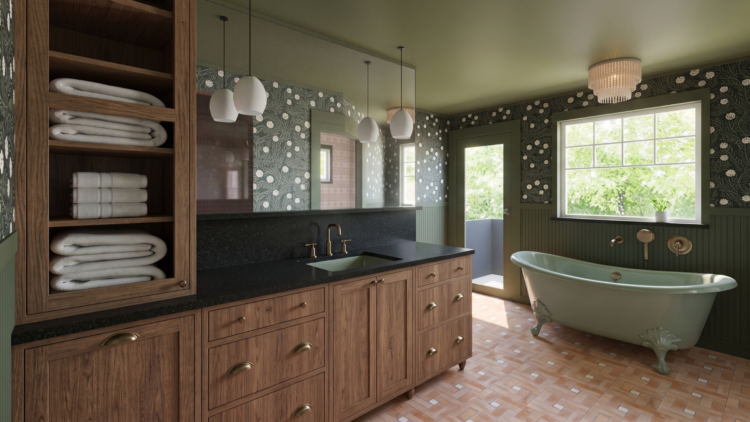
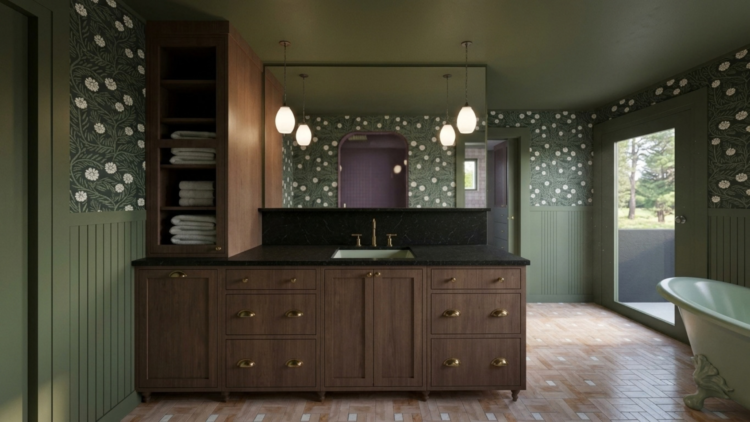
The vanity was the biggest pivot-a-bitch moment and compromise I had to make in the space. It was originally just supposed to be all countertop with the single sink and hella storage beneath. I designed a built in linen closet on the wall just the right of the vanity where the built in ironing board is now going. But once we realized how much space that would eat into the closet I decided to revisit the vanity design and incorporate a linen tower and pull out hamper into the design. Im not the biggest fan of a linen tower on a vanity, but I worked very closely with MasterBrand cabinets to create a custom piece that feels more like heirloom furniture than a basic bathroom vanity and I’m really excited to see it come into the space in real life. It definitely left like a huge compromise, but the place where the built in linen was going to go would majorly eat into Naomi’s sneaker storage inside the closet and THAT is the priority.
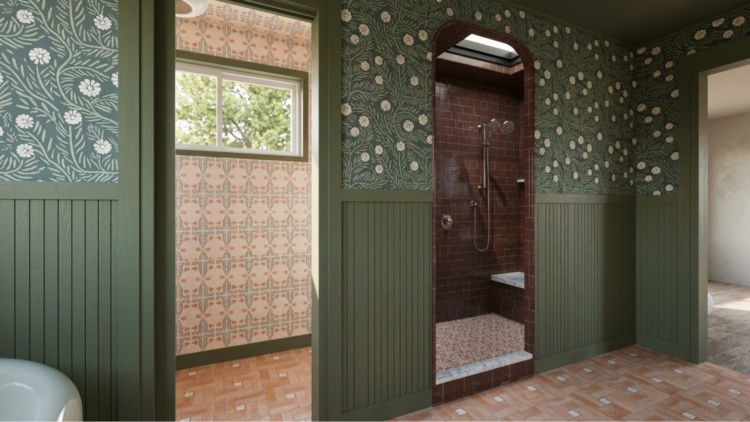
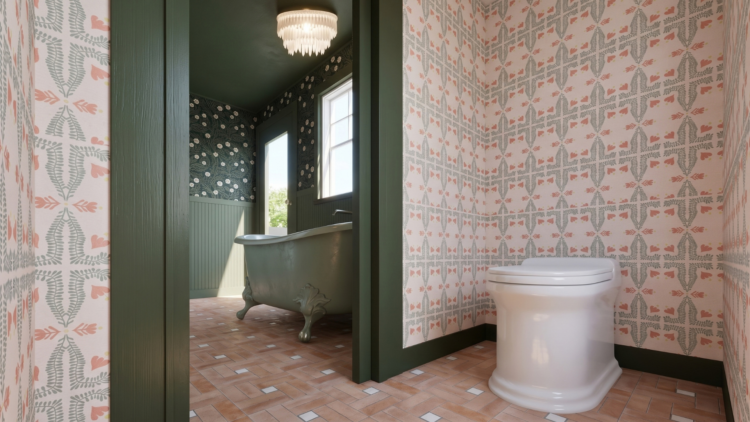
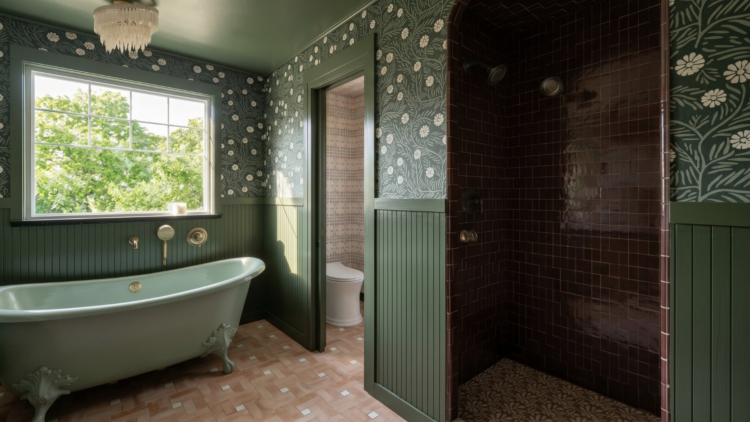
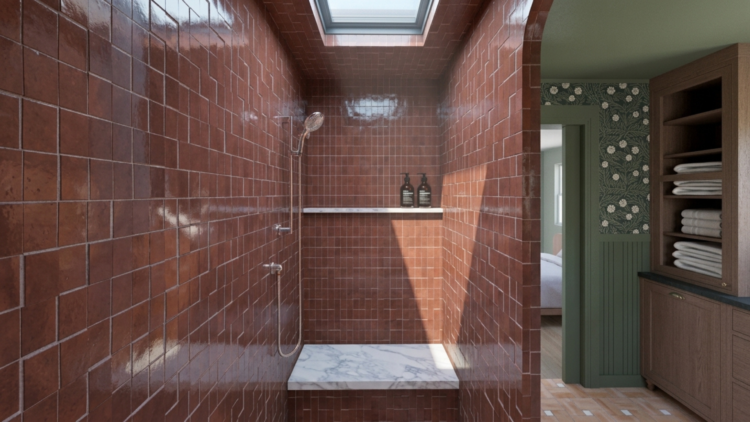
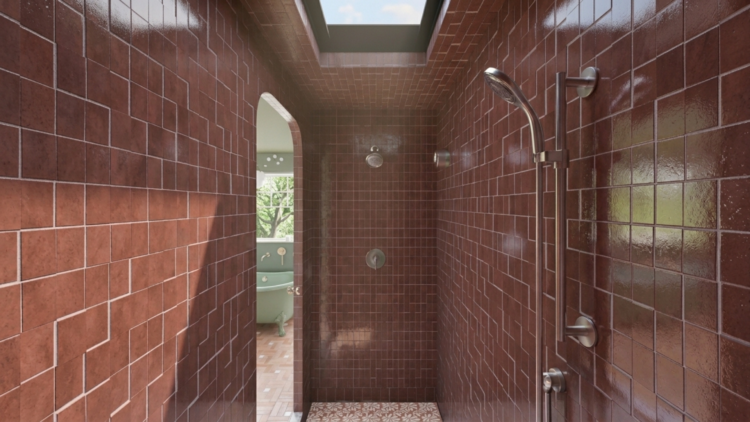
This space very much feels like the “Moroccan riad-meets-Mexican hacienda” vibe I was going for. The materials going in this space are so gorgeous. I can’t wait to really dive into those details in the next post once they are all in place.
Although we didn’t make our original deadline of mid October, at the end of the day we have a WHOLE bathroom and huge closet all to ourselves now. It’s SO MUCH space we didn’t have before so no matter what, we are winning in the end! I had to really keep that perspective as design details changed and major pivots took shape.
The team is actually here as I type starting the shower prep for tile so things are moving right along! Id imagine in the next couple of weeks we should have a fully functioning bathroom.
Until next time friends……
Leave a Reply